Hey there! Ever scratched your bathtub and wondered how to fix it?
Well, look no further. In this article, I’m going to share with you a simple and effective method for repairing those unsightly scratches in your bathtub.
With just a few materials and some easy-to-follow steps, you’ll have your bathtub looking brand new in no time.
So, let’s dive in and get those scratches fixed, shall we?
Key Takeaways
- Shallow and deep scratches require different repair methods
- Assess the severity of the scratches before proceeding with repairs
- Gather the necessary repair supplies and equipment before starting the repair process
- Follow the manufacturer’s instructions for applying filler compound and drying times

Tub Repair Kit White, Tub Chip and Bathtub Repair Kit for Enamel, Fiberglass, Acrylic, Porcelain, Patch and Repairs Chips, Crack, Scratches, Rust, Holes on Tubs, Toilet, Sink, Shower, Tray in Bathroom
Permanently Repair Bathtub Chips, Cracks and Holes: For Fiberglass, Enamel, Acrylic; restore a glossy, non-yellowing, leak-stopping and chip…
As an affiliate, we earn on qualifying purchases.
As an affiliate, we earn on qualifying purchases.
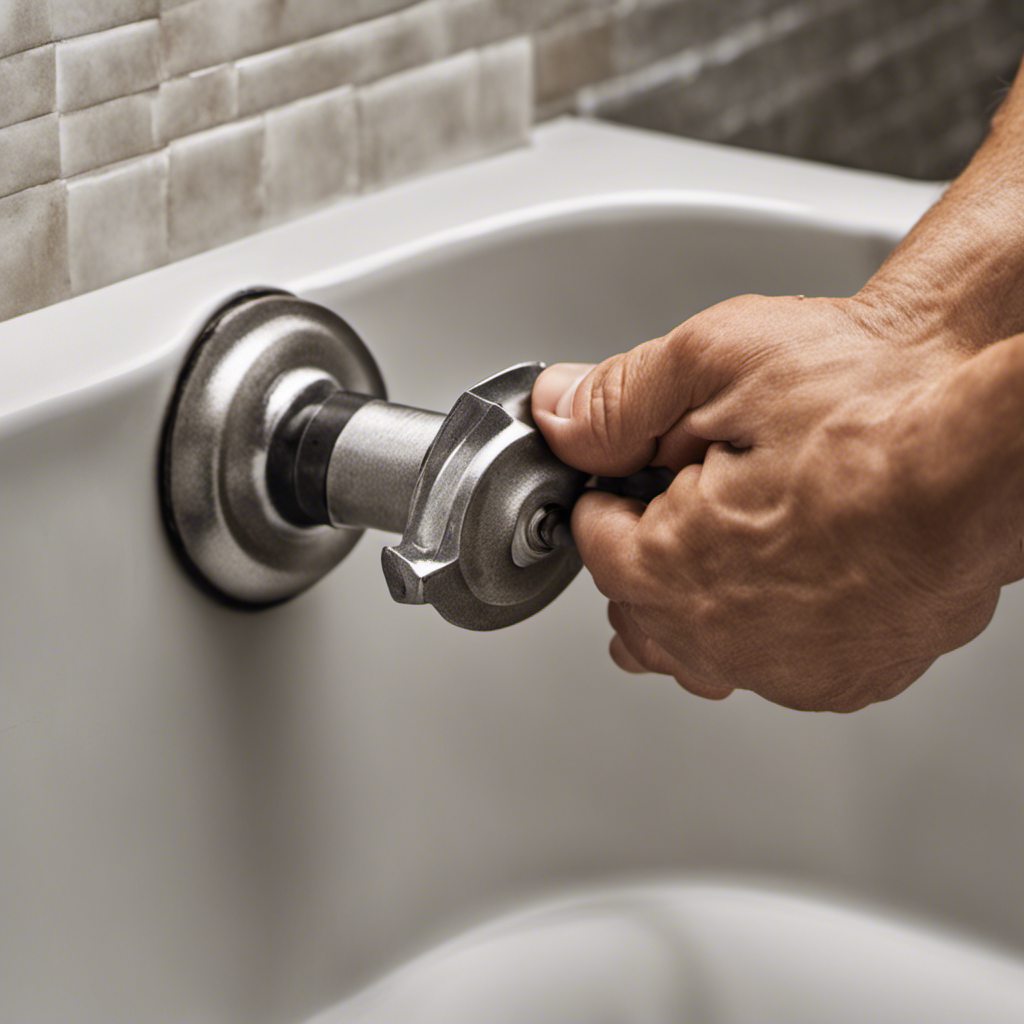
Assessing the Damage
Before you start fixing the scratched bathtub, it’s important to assess the damage. Assessing the severity of the scratches will help determine the most appropriate course of action.
Common causes of bathtub scratches include abrasive cleaning tools, dropped objects, and even pets with sharp claws. To assess the severity, carefully examine the scratches by running your fingers over them.
If the scratches are shallow and only affect the surface, they can potentially be buffed out. However, if the scratches are deep and have penetrated the bathtub’s material, a more extensive repair may be required.
Once you have assessed the damage, you can move on to gathering the necessary materials to fix the scratches.
bathtub refinishing filler
As an affiliate, we earn on qualifying purchases.
As an affiliate, we earn on qualifying purchases.
Gathering the Necessary Materials
When it comes to fixing a scratched bathtub, it’s important to have the essential repair supplies on hand. This includes items such as sandpaper, epoxy filler, a putty knife, and a bathtub refinishing kit.
Proper equipment selection is also crucial, as using the wrong tools can lead to further damage. So, before starting the repair process, make sure to gather all the necessary supplies and choose the right equipment for the job.
Essential Repair Supplies
You’ll need a few essential repair supplies to fix the scratched bathtub.
First, gather some fine-grit sandpaper and a sponge. The sandpaper will help you smooth out the scratches, while the sponge will assist in applying the repair product evenly.
Next, have a high-quality bathtub repair kit on hand. These kits usually contain a filler compound and a topcoat that can effectively cover up the scratches. Remember to follow the instructions provided in the kit for the best results.
Additionally, consider investing in a non-abrasive cleaner to maintain the repaired surface and prevent future damage.
By using these essential repair techniques and taking steps to prevent future damage, you’ll be able to restore your bathtub to its former glory.
Now, let’s move on to the next section about proper equipment selection.
Proper Equipment Selection
To properly select the equipment for your bathtub repair, make sure to consider the type and severity of the damage. Choosing the right tools and selecting suitable materials are crucial for a successful repair job.
When it comes to tools, you’ll want to have a good quality putty knife or scraper to remove any loose or chipped material from the surface. A fine-grit sandpaper or sanding block can be used to smooth out the area. For deeper scratches, you may need to use a fiberglass repair kit, which typically includes a resin and hardener. Make sure to follow the instructions carefully when using these products.
Additionally, having a high-quality bathtub refinishing kit can provide you with the necessary materials, such as a bathtub paint or enamel, to restore the surface to its former glory.
fine grit sandpaper for bathtub
As an affiliate, we earn on qualifying purchases.
As an affiliate, we earn on qualifying purchases.
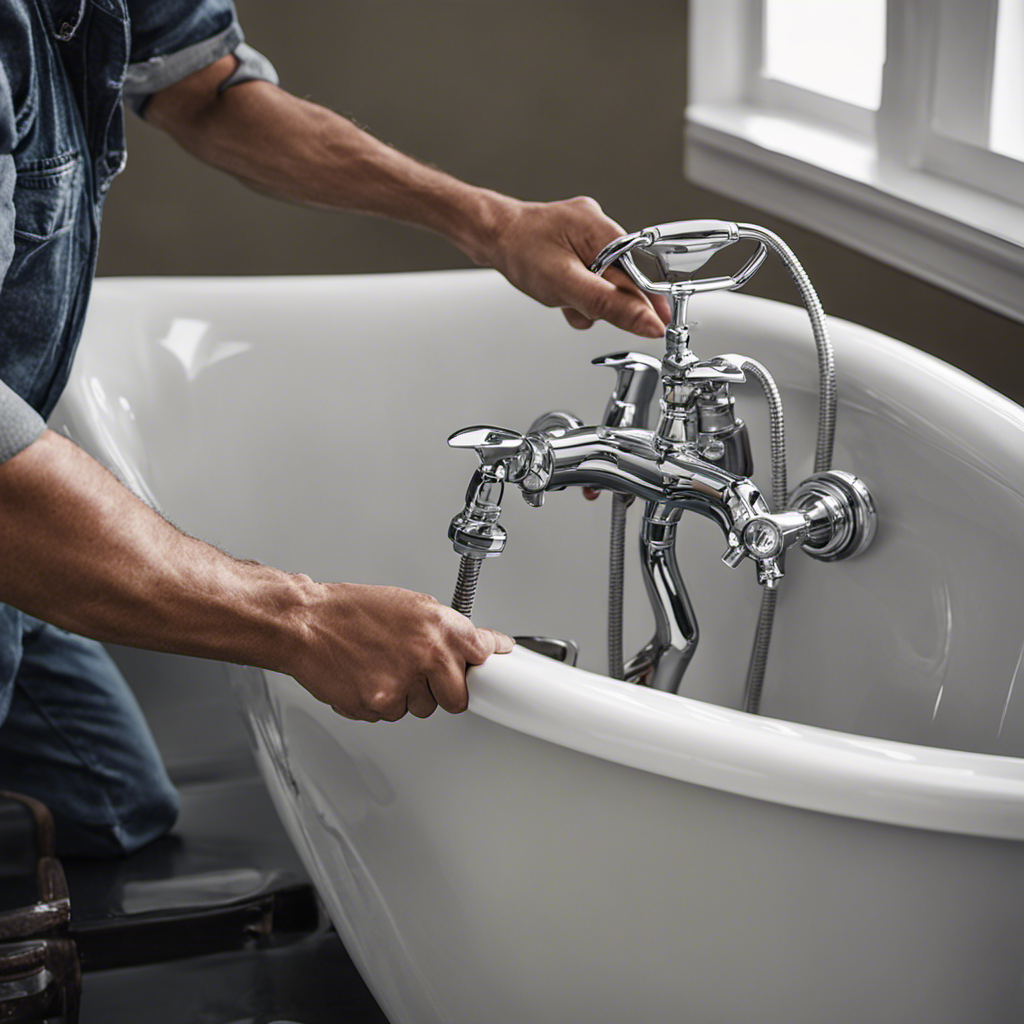
Preparing the Bathtub Surface
First, make sure you’ve gathered all the necessary supplies for preparing the bathtub surface.
Evaluating the bathtub’s condition is crucial before proceeding with any repairs. Inspect the surface for any scratches, chips, or stains that may need to be addressed. Take note of the severity of the damage to determine the appropriate course of action.
Next, remove any existing coatings on the bathtub to create a clean and smooth surface. This can be done using a chemical stripper or sanding the surface with fine-grit sandpaper. Be sure to follow the manufacturer’s instructions and take necessary safety precautions when using chemical strippers.
bathtub surface repair sponge
As an affiliate, we earn on qualifying purchases.
As an affiliate, we earn on qualifying purchases.
Filling in the Scratches
When it comes to fixing scratched bathtubs, there are two important steps to consider: sanding the surface and applying filler compound.
Sanding the surface helps to smooth out any rough edges or imperfections, creating a clean canvas for the filler compound.
Once the surface is sanded, the filler compound can be applied to fill in the scratches, ensuring a seamless and polished finish.
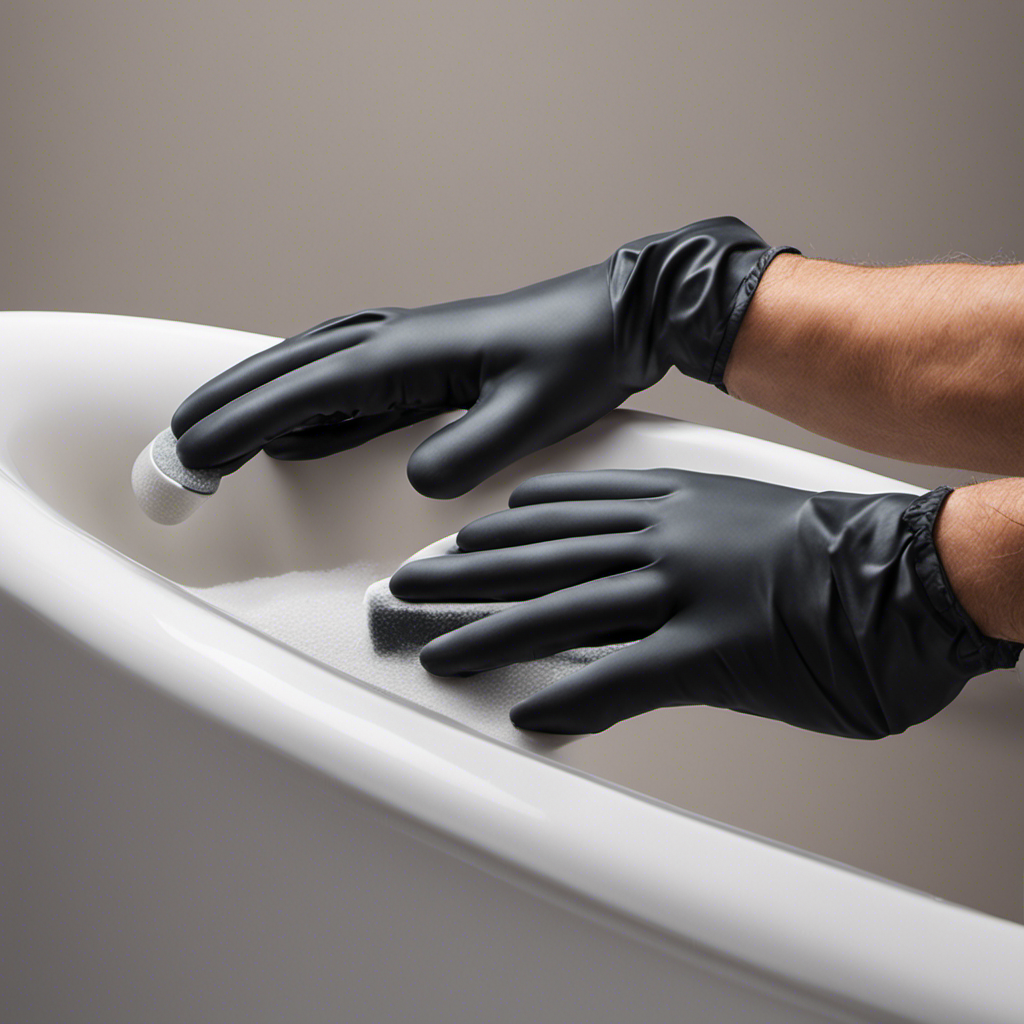
Sanding the Surface
Gently sand the surface of your scratched bathtub using a fine-grit sandpaper. This is an essential step in the process of fixing your bathtub. The sanding technique helps to smooth out the scratches and prepare the surface for the next steps.
Make sure to use a light touch and move the sandpaper in a circular motion. This will help to blend the sanded area with the rest of the bathtub.
After sanding, make sure to clean the surface thoroughly to remove any dust or debris. Once the surface is clean and dry, you can move on to the next step, which is applying a primer.
The primer helps to ensure better adhesion of the filler compound and creates a smooth surface for the final finish. By sanding and priming, you are setting the foundation for a successful bathtub repair.
Applying Filler Compound
Now, you can start applying the filler compound to the sanded and primed surface. Choosing the right filler is crucial to achieving a smooth and durable finish. Look for a filler specifically designed for bathtub repairs, as it will be resistant to water and chemicals.
Before applying the filler, make sure the surface is clean and free of any dust or debris. Use a putty knife to spread the filler evenly over the scratched area, smoothing it out as you go. Be sure to follow the manufacturer’s instructions for drying time and any additional coats that may be needed.
Once the filler has dried, you can move on to sanding and smoothing the surface, creating a seamless and professional-looking repair.
Sanding and Smoothing the Surface
After applying the primer, you can start sanding and smoothing the surface of the scratched bathtub. This step is crucial to achieve a flawless finish. Here are some sanding techniques and polishing methods to help you restore your bathtub to its former glory:
-
Use fine-grit sandpaper: Start by sanding the scratched area gently using a fine-grit sandpaper. This will help remove any roughness or imperfections.
-
Sand in circular motions: Make sure to sand in circular motions to ensure an even and smooth finish. This will help blend the repaired area seamlessly with the rest of the bathtub.
-
Polish with a buffing compound: Once the surface is sanded, apply a buffing compound to further smooth out the area. Use a soft cloth or buffing pad to rub the compound in circular motions.
-
Finish with a polishing agent: Finally, apply a polishing agent to bring back the shine and luster of the bathtub. This will help create a glossy and polished surface.
Applying a Protective Coating
To ensure long-lasting protection, it’s important to apply a protective coating to the surface of the restored bathtub. There are several alternatives for protective coatings that can provide the desired long-term durability.
One option is to use a clear epoxy coating, which creates a strong and durable barrier against scratches, stains, and water damage. Another alternative is a polyurethane coating, which is resistant to chemicals and UV rays, making it ideal for bathtubs exposed to sunlight. Additionally, there are acrylic coatings that offer good durability and easy application.
When applying the protective coating, it’s crucial to follow the manufacturer’s instructions and properly prepare the surface by removing any dirt or debris. By choosing the right protective coating and applying it correctly, you can ensure that your restored bathtub remains protected and looking great for years to come.
Maintaining the Repaired Bathtub
Regularly cleaning and applying a protective coating will help keep your restored bathtub looking pristine. However, to ensure the longevity of your repaired bathtub and prevent future damage, there are a few additional steps you should take:
-
Avoid using abrasive cleaners: Harsh chemicals and scrubbing pads can scratch the surface of your bathtub, undoing the repairs you’ve made. Stick to gentle, non-abrasive cleaners specifically formulated for bathtubs.
-
Use a soft cloth or sponge: When cleaning your bathtub, opt for a soft cloth or sponge instead of abrasive materials. This will help prevent any scratches or damage to the surface.
-
Dry the bathtub after each use: Standing water can lead to mold and mildew growth, as well as damage the protective coating. After each use, make sure to thoroughly dry the bathtub with a towel or squeegee.
-
Schedule regular maintenance checks: To catch any potential issues early on, it’s important to schedule regular maintenance checks with a professional. They can assess the condition of your bathtub, make any necessary repairs, and provide further guidance on maintaining its longevity.
Conclusion
In conclusion, fixing a scratched bathtub is a task that can be easily accomplished with the right materials and techniques.
By assessing the damage, gathering the necessary materials, and preparing the surface, you can effectively fill in the scratches and restore the bathtub’s appearance.
Sanding and smoothing the surface will ensure a seamless finish, and applying a protective coating will help maintain the repaired bathtub for years to come.
With these simple steps, you can say goodbye to unsightly scratches and enjoy a beautifully restored bathtub.