I know what you’re thinking. Fixing scratches in a bathtub can be a daunting task. But fear not, because I’m here to guide you through the process step-by-step.
With a little know-how and the right materials, you can restore your bathtub’s surface to its former glory. So grab your supplies and let’s get started on repairing those unsightly scratches.
Key Takeaways
- Regular maintenance is important to prevent scratches in the bathtub.
- Assess the depth and extent of the scratches to determine the appropriate repair method.
- Gather necessary materials such as sandpaper, epoxy resin, a putty knife, and a clean cloth for the repair.
- Prepare the bathtub surface by sanding, cleaning, and removing old caulk before applying the scratch repair method.
Assess the Extent of the Scratches
First, you’ll need to assess the extent of the scratches in your bathtub. Regular maintenance is important to keep your bathtub looking clean and scratch-free. However, accidents happen, and scratches can occur due to various reasons.
Common causes of bathtub scratches include using abrasive cleaning tools, dropping heavy objects, or even pets with sharp claws.
To assess the extent of the scratches, start by thoroughly cleaning the surface of the bathtub. Use a mild cleaner and a non-abrasive sponge to remove any dirt or debris.
Once the surface is clean, inspect the scratches closely. Are they shallow or deep? Are they limited to a small area or spread across the entire tub?
Assessing the extent of the scratches will help determine the appropriate method to fix them effectively.
Gather Necessary Materials for Repair
To gather the necessary materials for the repair, you’ll need sandpaper, epoxy resin, a putty knife, and a clean cloth. These items are essential for fixing scratches in a bathtub and ensuring a successful repair. Sandpaper is used to smooth out the surface and prepare it for the epoxy resin. The epoxy resin is the key component that fills in the scratches and restores the bathtub’s smooth finish. A putty knife is necessary for applying the epoxy resin evenly and removing any excess. Lastly, a clean cloth is used to wipe away any debris and ensure a clean and polished final result. By choosing the right repair kit and gathering these materials, you can confidently tackle the task of fixing scratches in your bathtub without the need for professional help.
| Materials | Use |
|---|---|
| Sandpaper | Smooth out the surface |
| Epoxy Resin | Fill in the scratches |
| Putty Knife | Apply epoxy resin and remove excess |
| Clean Cloth | Wipe away debris |
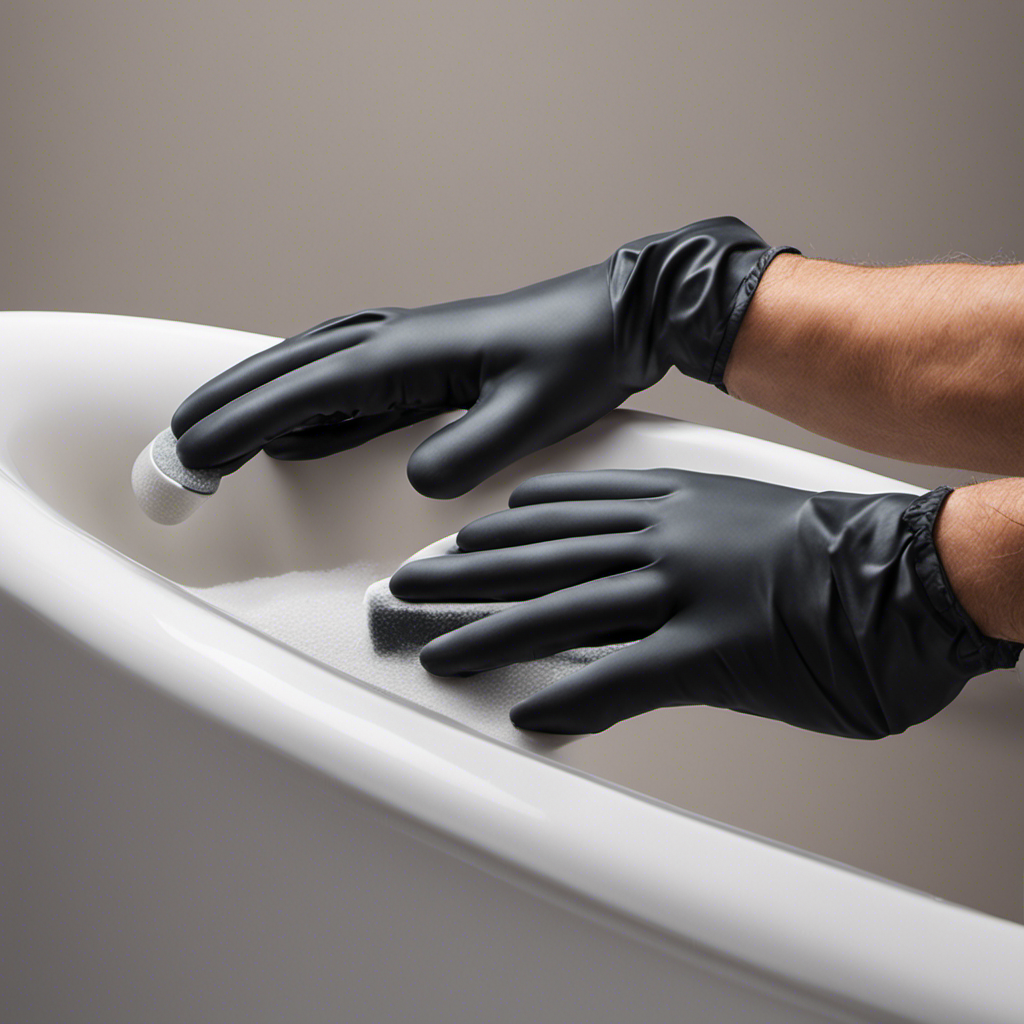
Prepare the Bathtub Surface for Repair
Before starting the repair process, it’s important to prepare the surface of the bathtub by sanding it with sandpaper. This step ensures that the surface is smooth and ready for the repair materials to adhere properly.
To clean the bathtub surface, use a mild detergent or cleaner and a soft sponge to remove any dirt, grime, or soap scum. Rinse thoroughly and dry the surface completely before proceeding.
Next, remove any existing caulk around the damaged area using a caulk remover tool or a utility knife. Make sure to remove all traces of old caulk to ensure a clean and even repair.
Once the surface is cleaned and the caulk is removed, you are ready to move on to the next step in the repair process.
Apply the Appropriate Scratch Repair Method
Once you’ve prepared the bathtub surface, it’s time to apply the appropriate scratch repair method.
When it comes to fixing scratches in a bathtub, there are a few options you can consider. If the scratches are minor, you can try using buffing techniques to remove them. Start by applying a small amount of polishing compound to a clean, soft cloth. Gently rub the compound onto the scratched area in circular motions. Continue buffing until the scratches are no longer visible.
However, if the scratches are deep or extensive, it may be best to consider professional repair options. A professional can assess the damage and recommend the most effective solution, such as refinishing or resurfacing the bathtub.
Finish and Protect the Repaired Area
After applying the appropriate scratch repair method, make sure to finish and protect the repaired area to ensure long-lasting results. Here are some steps to follow:
-
Applying a clear sealant: Once the scratches have been repaired, apply a clear sealant to the area. This will provide an extra layer of protection and help prevent future damage.
-
Polishing the repaired area: After the sealant has dried, use a soft cloth and a non-abrasive polish to gently buff the repaired area. This will help blend the repaired section with the rest of the bathtub’s surface, creating a seamless finish.
-
Regular maintenance: To keep the repaired area in top condition, make sure to regularly clean and maintain your bathtub. Avoid using abrasive cleaners or scrub brushes that could potentially damage the repaired section.
Conclusion
In conclusion, fixing scratches in your bathtub is a simple and practical task that can be done with the right materials and methods.
By assessing the extent of the scratches and preparing the surface properly, you can apply the appropriate repair method and finish off the area to protect it from further damage.
Following these steps will ensure that your bathtub looks good as new and maintains its functionality for years to come.
So don’t hesitate to tackle those scratches and enjoy a pristine bathtub once again.

With an impeccable eye for detail and a passion for bathroom-related, Ava leads our editorial team gracefully and precisely.
Under her guidance, Best Modern Toilet has flourished as the go-to resource for modern bathroom enthusiasts. In her free time, you might find Ava exploring antique shops and looking for vintage bathroom fixtures to add to her collection.