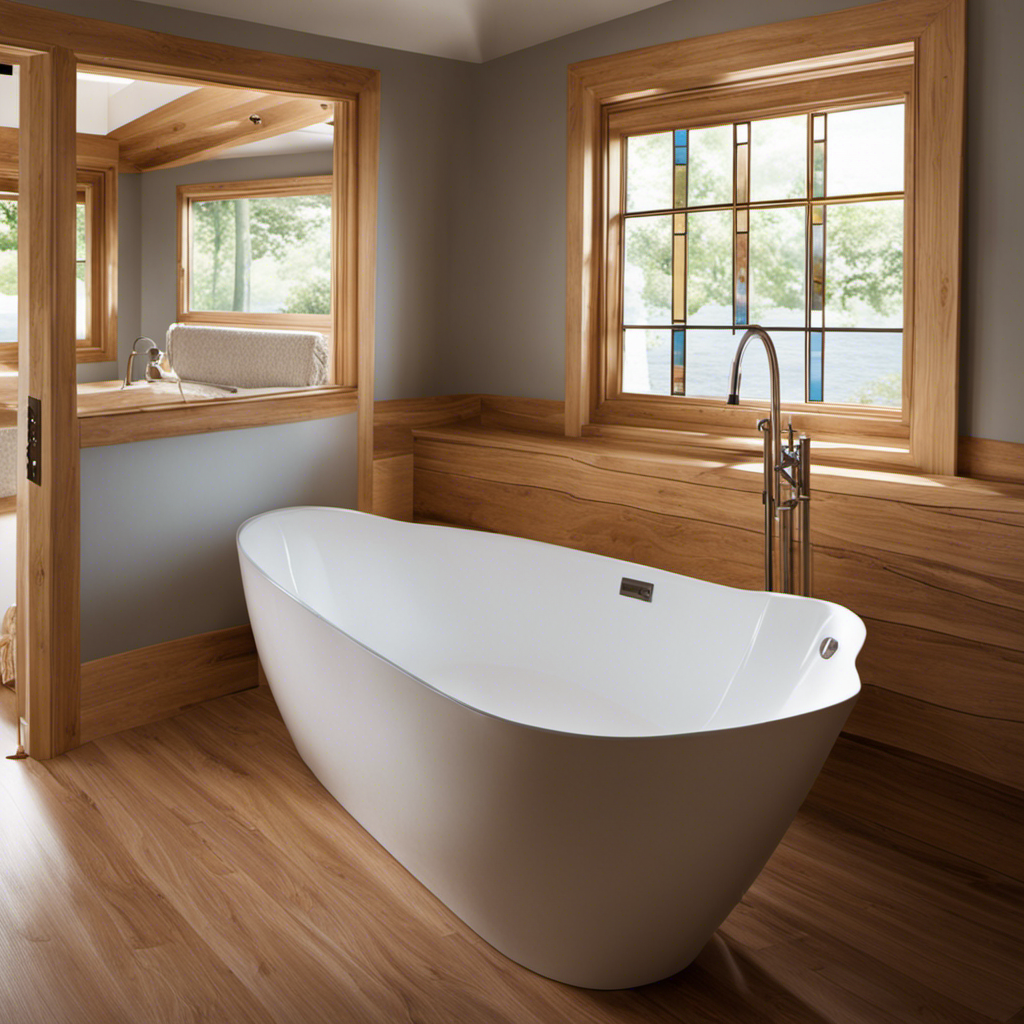
I’ve always dreamed of having a luxurious, tiled bathtub in my bathroom. So, when I finally decided to tackle the project myself, I knew I needed to start by framing the bathtub properly.
In this article, I’ll guide you through the process of framing a bathtub for tile, step by step. With the right tools and materials, careful planning, and some elbow grease, you’ll be on your way to creating a stunning tiled masterpiece in your bathroom.
Let’s get started!
Key Takeaways
- Measuring accurately and planning carefully are crucial steps in bathtub framing to ensure proper fit and avoid common mistakes.
- Using pressure-treated lumber and following proper framing techniques are important for the durability and stability of the bathtub frame.
- Installing support brackets and reinforcing the floor beneath the bathtub are necessary to distribute weight evenly and avoid sagging or movement.
- Proper waterproofing measures, such as applying a waterproof membrane, sealing seams, and using moisture-resistant materials, are essential for protecting against moisture damage and maintaining the integrity of the tiled surface.
Tools and Materials Needed
You’ll need a level, a tape measure, and a framing square to properly frame the bathtub for tile.
When framing the bathtub, it is important to start by cutting and shaping the framing lumber to fit the dimensions of your bathtub. Measure the length, width, and height of the bathtub and cut the lumber accordingly.
Use the framing square to ensure all the corners are square and level. This will provide a solid and sturdy base for the tile installation.
Once the framing is complete, it’s time to choose the right type of tile for the bathtub surround. Consider factors such as durability, water resistance, and aesthetics.
Ceramic or porcelain tiles are popular choices due to their strength and waterproof properties. Make sure to select tiles that complement the overall style and design of your bathroom.
Measuring and Planning
When measuring and planning for framing, it’s important to consider the dimensions of the space and any obstacles that may need to be worked around. Accurate measurements are crucial to ensure that the framing fits perfectly and provides the necessary support for the bathtub and the tile.
One of the most common measuring techniques is using a tape measure to measure the length, width, and height of the space. It’s important to measure multiple times to ensure accuracy. Additionally, taking into account any obstacles such as pipes or electrical outlets is essential to avoid costly mistakes.
Some common mistakes in measuring and planning include not accounting for the thickness of the framing material and forgetting to leave enough space for tile installation. Taking the time to carefully measure and plan will ensure a successful bathtub framing project.
Building the Frame
It’s important to consider the dimensions of the space and any obstacles that may need to be worked around when building the frame. Before starting the framing process, it’s crucial to gather the right materials.
When it comes to framing a bathtub, you want to choose sturdy and moisture-resistant materials. Here are some framing techniques and tips to keep in mind:
- Use pressure-treated lumber for the frame to prevent rot and water damage.
- Opt for 2×4 or 2×6 boards for the frame, depending on the weight and size of the bathtub.
- Ensure that the frame is level and plumb by using a spirit level.
Building a solid frame is essential for the stability and long-lasting durability of your bathtub. By choosing the right framing materials and following proper techniques, you can provide a strong foundation for the tile installation process.
Installing Support and Reinforcement
To ensure stability and prevent any future issues, I highly recommend reinforcing and supporting the frame with additional cross beams. This step is crucial in ensuring that the bathtub is properly supported and can handle the weight of both the water and the person using it.
Begin by installing brackets on the existing frame to secure the cross beams in place. These brackets will provide the necessary support and prevent any sagging or movement in the frame.
Next, reinforce the floor beneath the bathtub by adding additional beams or joists. This will distribute the weight evenly and prevent any damage to the floor over time.
Once the support and reinforcement are in place, you can move on to the next step of waterproofing and preparing for tile.
Now that the frame is reinforced and supported, it’s time to move on to the next step: waterproofing and preparing for tile.
Waterproofing and Preparing for Tile
Now that you’ve reinforced and supported the structure, it’s time to make sure it’s waterproof and ready for tiling. Here are some essential waterproofing techniques to consider before starting the tile installation process:
-
Apply a waterproof membrane: This thin layer of material creates a barrier against moisture, preventing water from seeping into the underlying structure.
-
Seal all seams and joints: Use a high-quality waterproof sealant to seal any gaps or joints between the bathtub and the surrounding walls.
-
Install a waterproof backer board: This moisture-resistant material provides a stable surface for the tile and helps prevent water damage.
-
Use waterproof grout: Regular grout is porous and can absorb water, so opt for a waterproof grout that will help maintain the integrity of your tiled surface.
-
Apply a waterproofing sealer: Once the tile is installed, apply a waterproofing sealer to protect the grout and tile from water damage and stains.
Conclusion
In conclusion, framing a bathtub for tile is a crucial step in ensuring the longevity and stability of your bathroom renovation project. By following the steps outlined in this article, you can confidently tackle this task and create a solid foundation for your tile installation.
While it may seem daunting at first, with the right tools and materials, careful planning, and attention to detail, you can successfully frame your bathtub and achieve professional-looking results.
Don’t let the fear of the unknown hold you back; take the plunge and transform your bathroom today!


