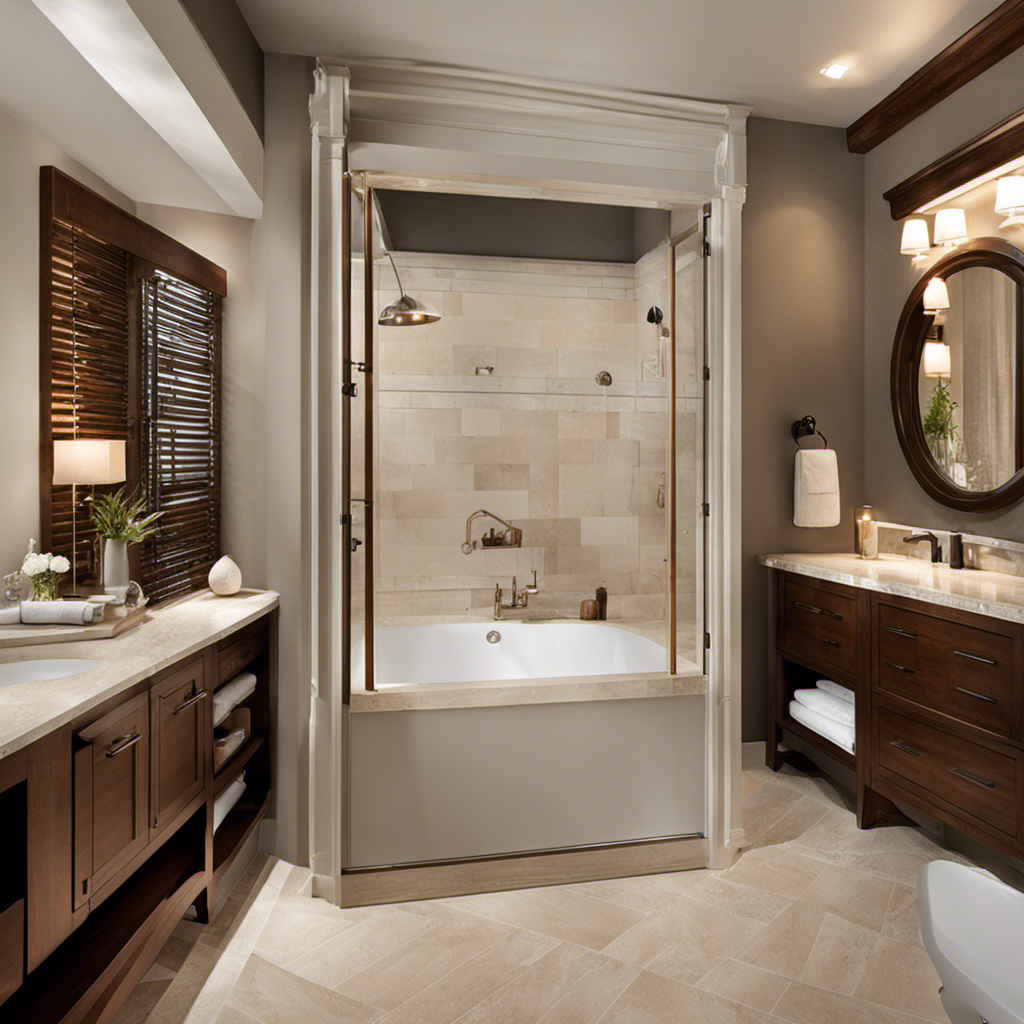

I’ve framed walls for countless projects, but framing a wall for a bathtub and shower requires special attention.
Did you know that proper framing is crucial for ensuring the stability and support of your bathroom structure?
In this article, I’ll guide you through the step-by-step process of framing a wall that can withstand the weight and moisture of a bathtub and shower.
By following these detailed instructions, you’ll be able to create a strong and durable wall that will last for years to come.
Key Takeaways
- Consider the dimensions and placement of fixtures, as well as water and electrical connections, when determining the wall layout and calculating dimensions.
- Gather the necessary tools and materials, such as a framing square, circular saw, level, hammer, tape measure, nail gun, 2×4 lumber, plywood, nails, screws, and construction adhesive.
- Ensure that the wall studs are spaced at 16 inches on center and determine the appropriate header size based on load-bearing capacity and span of the opening.
- Create a well-organized shopping list, prioritize pressure-treated lumber and galvanized nails, include waterproof membrane, cement board, and a vapor barrier to meet building codes and prevent water damage.
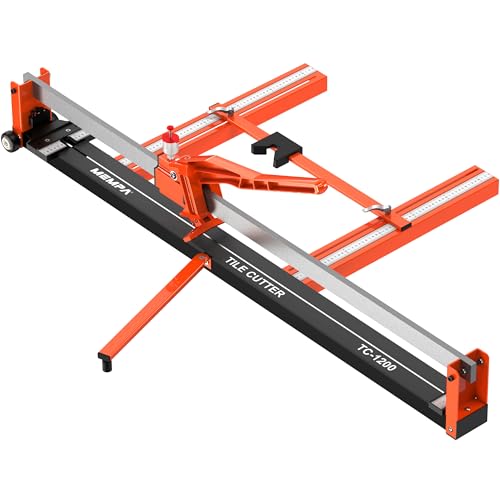
Mempa 48 Inch Manual Tile Cutter with Cutting Guide, Tungsten Wheel and Dust-Sealed Roller, Heavy-Duty Steel Rail Cutter for Ceramic and Porcelain
SHARP WHEEL, SEALED RAIL : The tungsten carbide wheel scores clean and sharp for chip-free results, while a...
As an affiliate, we earn on qualifying purchases.
Determining the Wall Layout
To determine the wall layout for your bathtub and shower, you’ll need to consider the dimensions and placement of the fixtures. Proper placement is crucial to ensure a functional and aesthetically pleasing bathroom.
Start by measuring the length and width of your bathtub and shower, as well as the distance from the walls. This will help you determine the size and position of the walls needed.
Additionally, it’s important to consider water and electrical connections. Locate the existing plumbing and electrical outlets and plan the wall layout accordingly. Ensure that the walls are positioned in a way that allows for easy access to these connections during installation and future maintenance.

59 Inch Corner Jetted Tub - Luxury White Whirlpool Plastic Acrylic Bathtub with 7 Color Light Perfect for Couples' Relaxation and Wellness Home Spa, Ergonomical Designed Bathtub with Water Message
[Ergonomic Design for Ultimate Comfort] Featuring dual headrests and ergonomically angled sides, this bathtub delivers exceptional support for...
As an affiliate, we earn on qualifying purchases.
Calculating the Dimensions for the Wall Frame
When it comes to framing a wall, two important factors to consider are measuring wall stud spacing and determining header size.
The first step in measuring wall stud spacing is to determine the desired layout, which will depend on the specific requirements of the project. Once the layout is determined, I can use a tape measure and mark the stud placement accordingly.
To determine the header size, I need to consider the load-bearing capacity of the wall and the span of the opening.
Measuring Wall Stud Spacing
The standard practice is to measure wall stud spacing at 16 inches on center. When framing a wall for a bathtub and shower, accurate measurements are crucial to ensure stability and proper installation.
To achieve this, there are a few measuring techniques that I employ. Firstly, I use a tape measure to mark the starting point for the studs. Then, I carefully measure and mark the 16-inch intervals along the wall. It’s important to maintain consistency and precision throughout the process.
Common mistakes in measuring wall stud spacing include inaccurate measurements, inconsistent spacing, and not accounting for corners or obstacles. These mistakes can lead to structural issues and difficulties during installation. Therefore, it is essential to double-check measurements and ensure that the stud spacing is consistent and accurate.
Determining Header Size
You can determine the size of the header by considering the weight and load-bearing requirements of the structure. The header is a crucial component of wall frame construction techniques, as it provides support and distributes the weight of the structure evenly. To determine the appropriate header size, you need to take into account the span of the opening and the load it will bear. Here is a helpful table that illustrates the recommended header sizes based on the span and load requirements:
| Span (inches) | Load (pounds per linear foot) | Header Size (inches) |
|---|---|---|
| 24-36 | 0-100 | 2×4 |
| 30-48 | 100-200 | 2×6 |
| 48-72 | 200-300 | 2×8 |
| 60-96 | 300-400 | 2×10 |
| 84-120 | 400-500 | 2×12 |

Empava 59" Corner Whirlpool Bathtub for 2-Person, Luxury Jetted Spa Tub with 10 Hydro Massage Jets, Built-in Heater, Chromatherapy LED Lights & Constant Heat System, ETL Certified Acrylic Tub
Dual-Person Hydrotherapy: Experience couples' relaxation in this corner tub featuring 10 strategically placed jets powered by a 1.0...
As an affiliate, we earn on qualifying purchases.
Gathering the Necessary Tools and Materials
In order to successfully complete the task of framing a wall for a bathtub and shower, there are several essential tools that I will need. These tools include a framing square, a circular saw, a level, a hammer, a tape measure, and a nail gun.
Additionally, I will need a variety of building materials such as 2×4 lumber, plywood, nails, screws, and construction adhesive.
To ensure that I gather all the necessary supplies efficiently, I will create a detailed list and carefully plan my trips to the hardware store to minimize any wasted time or resources.
Essential Tools Needed
First, make sure you have all the essential tools you’ll need for framing a wall for a bathtub and shower. It is crucial to have the right tools to ensure a successful and safe construction process. Here are five essential tools you should have:
- Hammer: A claw hammer will be needed to drive nails into the studs and secure the framing.
- Tape Measure: Accurate measurements are crucial for precise framing, so a good quality tape measure is essential.
- Circular Saw: This power tool will be used to cut the lumber to the correct dimensions for framing.
- Level: A level is necessary to ensure that the wall is plumb and level during construction.
- Safety Glasses: Safety should always be a priority, so wearing safety glasses is crucial to protect your eyes from any potential hazards.
Required Building Materials
Now that we have discussed the essential tools needed for framing a wall for a bathtub and shower, let’s move on to the required building materials.
These materials are crucial for the installation process and ensuring a sturdy and durable wall structure.
The primary building materials needed include lumber, such as 2×4 or 2×6 studs, which will form the framework of the wall. Additionally, you will need plywood or oriented strand board (OSB) to cover the frame and provide stability. Other materials include nails or screws for securing the studs and plywood, as well as construction adhesive to strengthen the joints.
It is important to carefully select and measure the building materials to ensure they fit properly and meet the necessary building codes.
Now that we understand the required materials, let’s move on to the next step of gathering supplies efficiently.
Gathering Supplies Efficiently
To gather supplies efficiently, it’s important to have a well-organized shopping list. Here are five key items that I prioritize when gathering supplies for framing a wall for a bathtub and shower:
-
Pressure-treated lumber: This material is essential for its resistance to moisture and decay.
-
Galvanized nails: These nails are durable and rust-resistant, ensuring a long-lasting frame.
-
Waterproof membrane: This membrane acts as a barrier, preventing water damage to the wall.
-
Cement board: This sturdy material provides a solid surface for tiling and protects against moisture.
-
Vapor barrier: This barrier prevents moisture from seeping into the wall cavity, reducing the risk of mold and rot.

Empava Whirlpool Bathtub Massage Soaking SPA Chromatherapy Jets Tub Model 2021 59JT005
Outer Dimensions: 59 in. W x 59 in. D x 25.59 in. H, 100 gallons of water capacity,...
As an affiliate, we earn on qualifying purchases.
Marking and Cutting the Wall Studs
Before starting, make sure you have marked and measured the wall studs accurately. Proper stud placement is crucial for a sturdy and secure wall frame.
Begin by locating the existing studs in the wall using a stud finder. Mark their positions with a pencil or chalk. Measure and mark the desired spacing for the new studs, typically 16 inches apart on center.
Next, it’s time to cut the wall studs to the appropriate length. Use a circular saw or a reciprocating saw to make clean, straight cuts. Remember to subtract the thickness of the top and bottom plates from the overall height measurement. Take care to cut the studs precisely to ensure a tight fit and proper support for the wall frame.
Once the studs are marked and cut, we can move on to assembling the wall frame.
Assembling the Wall Frame
Once you’ve cut the studs to the appropriate length, it’s time to start assembling the wall frame. The wall frame assembly is a crucial step in creating a sturdy and stable structure for your bathtub and shower.
Here are five key steps to follow:
-
Lay out the bottom plate: Place the bottom plate on the floor, ensuring it is level and aligned with your marked guidelines.
-
Attach the studs: Secure the vertical studs to the bottom plate, spacing them according to your design plans.
-
Add the top plate: Position the top plate on the top ends of the studs, making sure it is flush and level.
-
Install blocking: Insert horizontal blocking between the studs to provide additional support for fixtures and accessories.
-
Secure the frame: Use nails or screws to fasten the bottom plate, studs, top plate, and blocking together securely.
Attaching the Wall Frame to the Floor and Existing Walls
Align the bottom plate of the wall frame with the guidelines and make sure it is level before securing it to the floor and existing walls. To attach the wall frame securely, there are several methods you can use depending on the type of construction and materials. First, ensure that the floor is properly prepared by removing any debris and leveling it. Then, determine the attaching method based on the materials involved. For wood frame walls, use nails or screws to fasten the bottom plate to the floor and existing walls. For concrete or masonry walls, use concrete anchors or screws specifically designed for this purpose. It is crucial to follow manufacturer instructions for proper installation. Additionally, consider using construction adhesive for added stability. By using these attaching methods and properly preparing the floor, you can ensure a sturdy and secure wall frame.
| Attaching Methods | Floor Preparation |
|---|---|
| Nails or screws | Level and clean |
| Concrete anchors | Remove debris |
| Construction adhesive | – |
Reinforcing the Wall Frame for Stability and Support
To reinforce the stability and support of the wall frame, it’s important to use additional braces and anchors. These reinforcing techniques are crucial in ensuring that the wall frame can withstand the weight and pressure exerted by the bathtub and shower.
Here are some key methods to reinforce the wall frame:
-
Install diagonal braces: These braces provide additional support by connecting the wall studs to the top and bottom plates at a diagonal angle.
-
Use corner braces: Corner braces are metal brackets that can be attached to the corners of the wall frame to strengthen the joints and prevent them from shifting.
-
Add blocking between studs: Blocking refers to additional pieces of lumber installed between the wall studs, which helps to distribute the load evenly and increase the overall stability.
-
Utilize anchor bolts: Anchor bolts are threaded rods that are inserted into the concrete floor and secured with nuts and washers. They provide a strong connection between the wall frame and the foundation.
-
Apply adhesive and fasteners: Using construction adhesive along with nails or screws can further reinforce the wall frame by enhancing the bond between the framing members.
Conclusion
In conclusion, framing a wall for a bathtub and shower requires careful planning and precise execution. By determining the wall layout, calculating dimensions, and gathering the necessary tools and materials, you can ensure a sturdy and functional wall frame.
From marking and cutting the wall studs to assembling and attaching the frame, each step is crucial in creating a stable structure. By reinforcing the wall frame for stability and support, you’ll have a solid foundation for your bathtub and shower.
Remember, as they say, ‘Measure twice, cut once’ to avoid any costly mistakes.