I’ve been there before – struggling to remove stubborn caulk from my bathtub. But after years of trial and error, I’ve finally found the perfect method.
In this article, I’ll guide you through the process of getting caulk off your bathtub, step by step. With the right tools and a little patience, you’ll have your bathtub looking brand new in no time.
So let’s get started and say goodbye to that pesky caulk once and for all.
Key Takeaways
- Use the right tools and materials, such as a putty knife, utility knife, rubbing alcohol, and bathtub caulk remover.
- Prepare the bathtub by thoroughly cleaning it and choosing a caulk remover designed for bathroom use.
- Soften the old caulk using vinegar, lemon juice, baking soda paste, or essential oils before scraping it away with a putty knife.
- Clean the surface by wiping it down with a damp cloth, using a mild detergent or bathroom cleaner, and avoiding abrasive cleaners or harsh chemicals.
Top picks for "caulk bathtub"
Open Amazon search results for this keyword.
As an affiliate, we earn on qualifying purchases.
Tools and Materials Needed
You’ll need a putty knife, a utility knife, and some rubbing alcohol to get the caulk off the bathtub. When it comes to removing caulk, having the right tools is essential. The putty knife is perfect for scraping off the old caulk, while the utility knife helps with precision cutting. As for the rubbing alcohol, it is excellent at dissolving any stubborn residue left behind.
To start, use the putty knife to gently scrape away the old caulk. Be careful not to damage the surface of the bathtub. Once the majority of the caulk is removed, use the utility knife to cut away any remaining bits. Finally, apply some rubbing alcohol on a cloth and wipe the area to get rid of any leftover residue.
With these caulking techniques, your bathtub will be ready for the next step: preparing the surface.
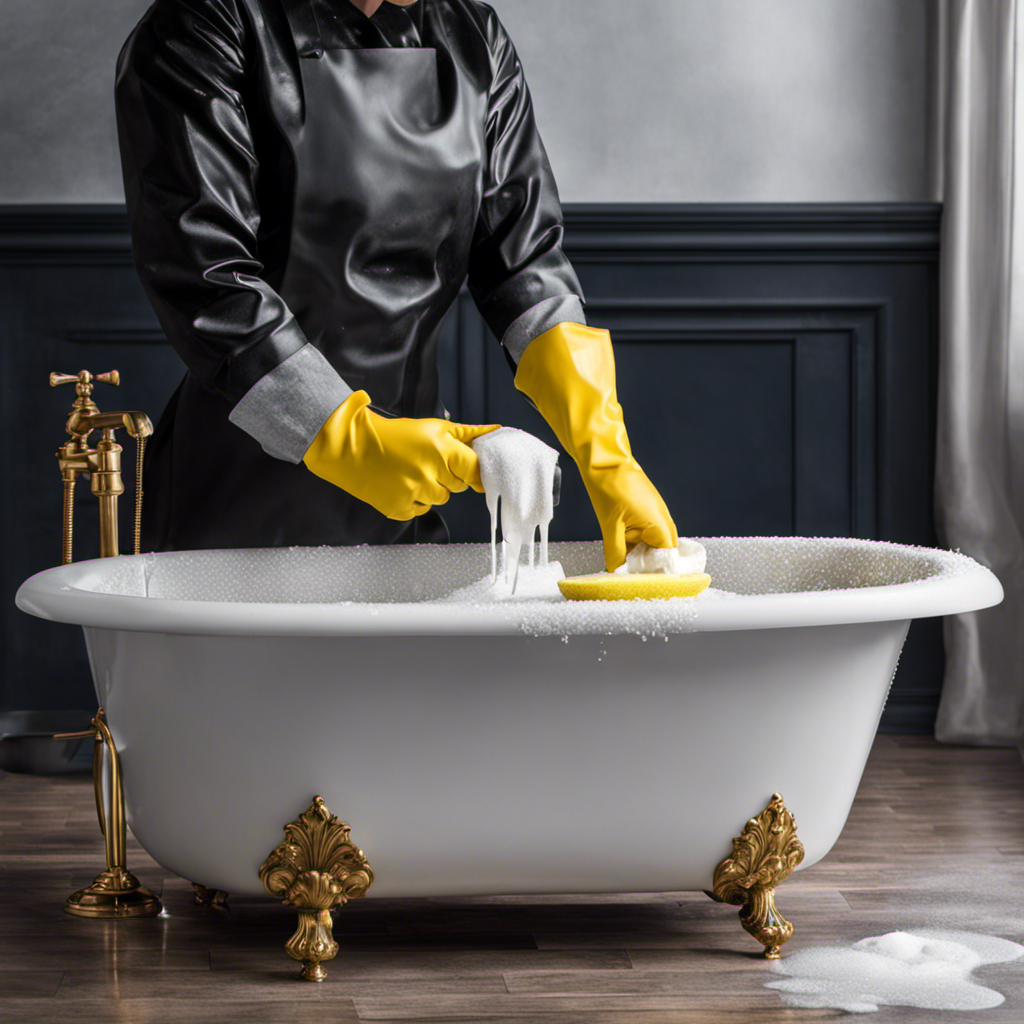
Preparing the Bathtub
Before starting, make sure the bathtub is thoroughly cleaned. This is an important step to ensure that the caulk remover works effectively.
When it comes to choosing the right caulk remover, there are a few options to consider. Firstly, look for a remover that is specifically designed for bathroom use. These products are formulated to break down and dissolve caulk without damaging the surface of the bathtub. It’s also a good idea to choose a remover that is easy to apply and doesn’t require excessive scrubbing.
To prevent future caulk buildup, there are a few tips that I can offer. Firstly, make sure to keep the bathtub clean and dry. Moisture can lead to mold and mildew, which can then cause caulk to deteriorate more quickly.
Additionally, regularly inspect the caulk for any signs of wear or damage. If you notice any issues, it’s best to address them promptly to prevent further damage.
Lastly, consider using a caulk with antimicrobial properties. This can help to prevent the growth of mold and mildew, keeping your bathtub looking clean and fresh for longer.
Removing the Old Caulk
Once the old caulk has been softened, it’s time to start scraping it away using a putty knife. This step is crucial in removing caulk without damaging the bathtub.
Here are some natural alternatives that can help you in this process:
-
Vinegar: Dip a cloth or sponge in vinegar and apply it to the caulk. Let it sit for a few hours to soften the caulk before scraping.
-
Lemon juice: Squeeze fresh lemon juice onto the caulk and let it sit for about an hour. The citric acid in lemon juice helps break down the caulk.
-
Baking soda paste: Mix baking soda with water to make a thick paste. Apply the paste to the caulk and let it sit overnight. The paste will soften the caulk, making it easier to remove.
-
Essential oils: Apply a few drops of essential oil, such as tea tree or eucalyptus oil, to the caulk. Let it sit for a few hours before scraping away.
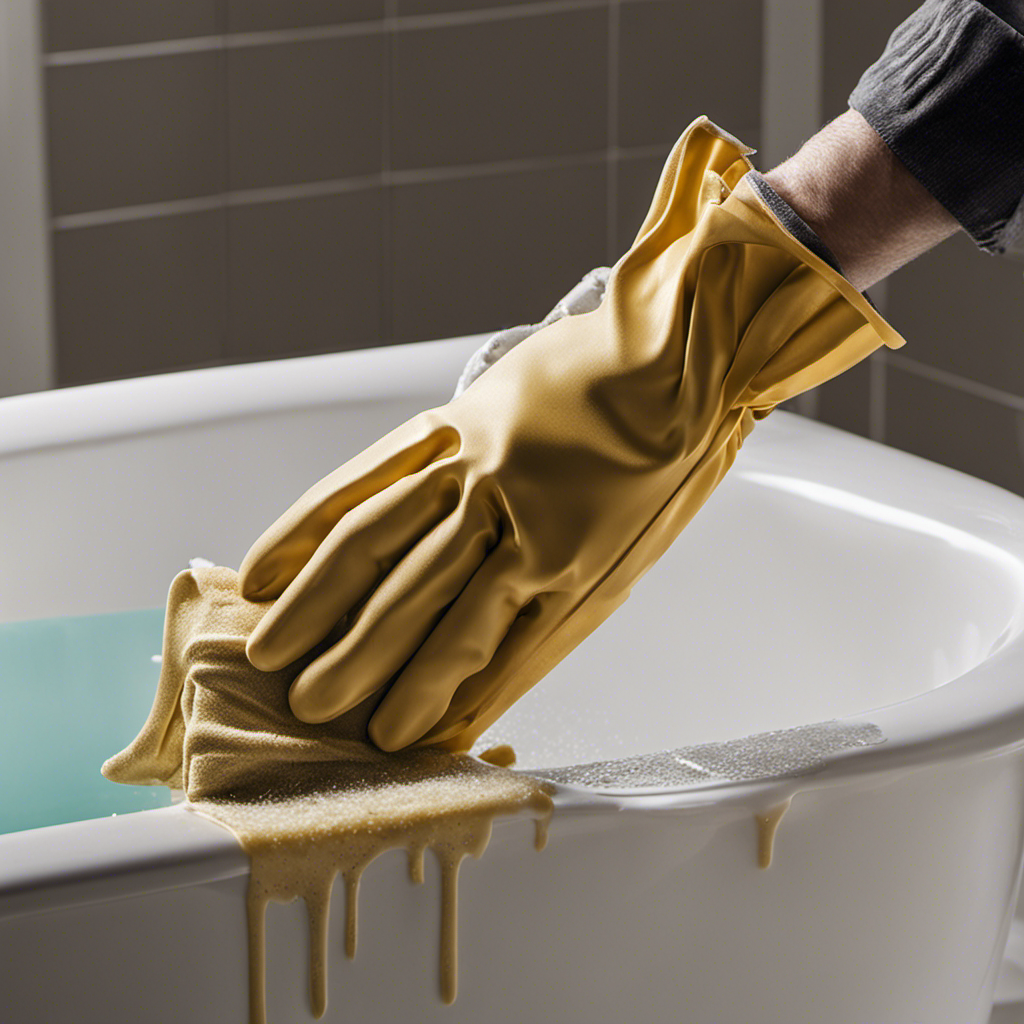
Cleaning the Surface
To clean the surface, start by wiping it down with a damp cloth to remove any loose debris. This step is crucial before applying new caulk, as it ensures a clean and smooth surface for proper adhesion. When cleaning the bathtub, it is essential to choose the right cleaning product and use proper cleaning techniques. I recommend using a mild detergent or a specialized bathroom cleaner. Avoid using abrasive cleaners or harsh chemicals, as they can damage the surface. Here is a table that highlights some key considerations when choosing a cleaning product and techniques for cleaning the surface:
| Choosing the right cleaning product | Proper cleaning techniques |
|---|---|
| Use a mild detergent or bathroom cleaner | Wipe the surface gently in a circular motion |
| Avoid abrasive cleaners or harsh chemicals | Rinse thoroughly with water |
| Consider eco-friendly options | Dry the surface completely before applying new caulk |
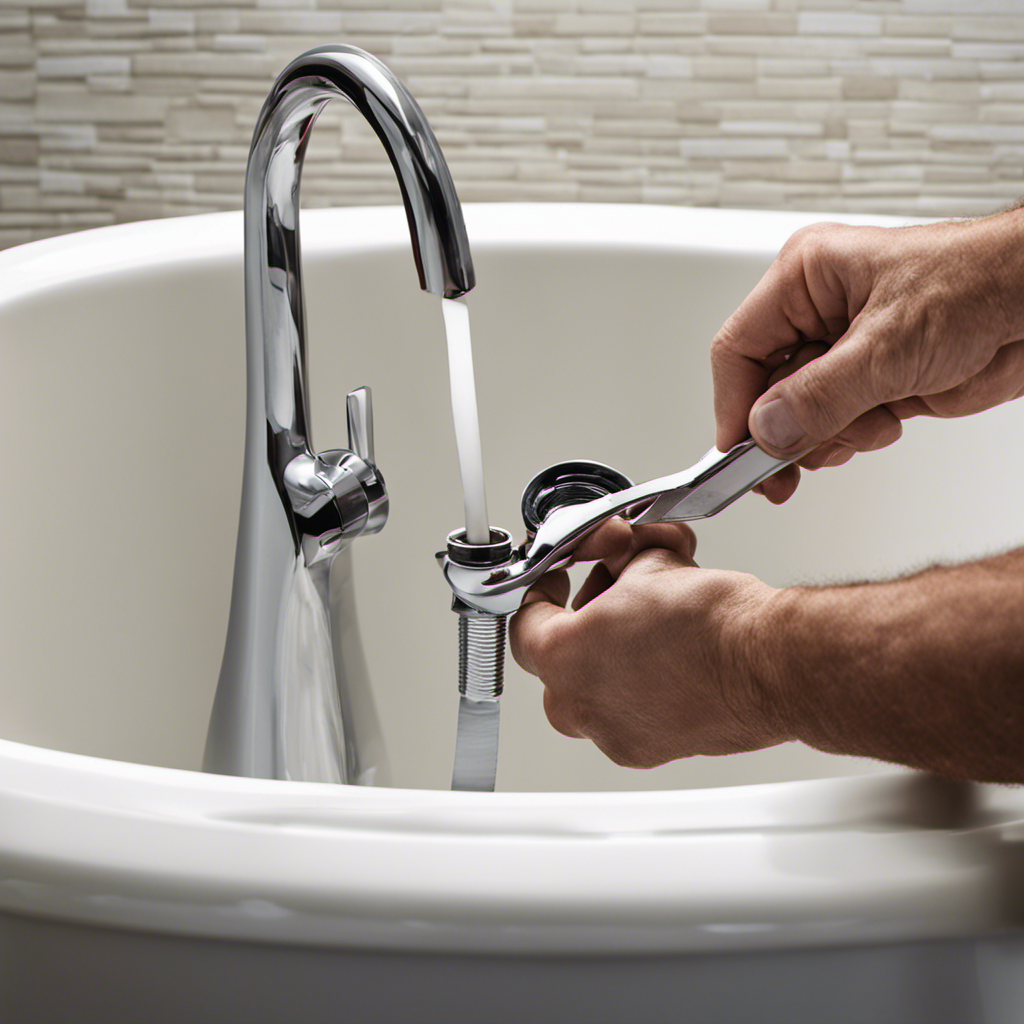
Applying New Caulk
Now that the surface is clean and dry, it’s time to start applying the new caulk. Here are some tips for achieving a smooth and professional-looking finish:
-
Choose the right caulk: Select a high-quality silicone caulk that is specifically designed for bathroom use. This will ensure durability and water resistance.
-
Cut the tip at a 45-degree angle: Use a sharp utility knife to cut the tip of the caulk tube at a 45-degree angle. This will create a small opening for precise application.
-
Apply steady pressure: Squeeze the caulk gun with a steady and even pressure to control the flow of caulk. This will result in a consistent bead.
-
Smooth the caulk: Use a caulk smoothing tool or your fingertip to smooth the caulk immediately after application. This will give it a professional finish and ensure a watertight seal.
Conclusion
In conclusion, getting caulk off a bathtub is a simple task that can be accomplished with the right tools and techniques.
By preparing the bathtub, removing the old caulk, cleaning the surface, and applying new caulk, you can achieve a smooth and professional-looking finish.
Remember to take your time and be patient throughout the process. With a little knowledge and experience, you can easily transform your bathtub and create a clean, waterproof seal that will last for years to come.
So go ahead, give your bathtub the makeover it deserves!