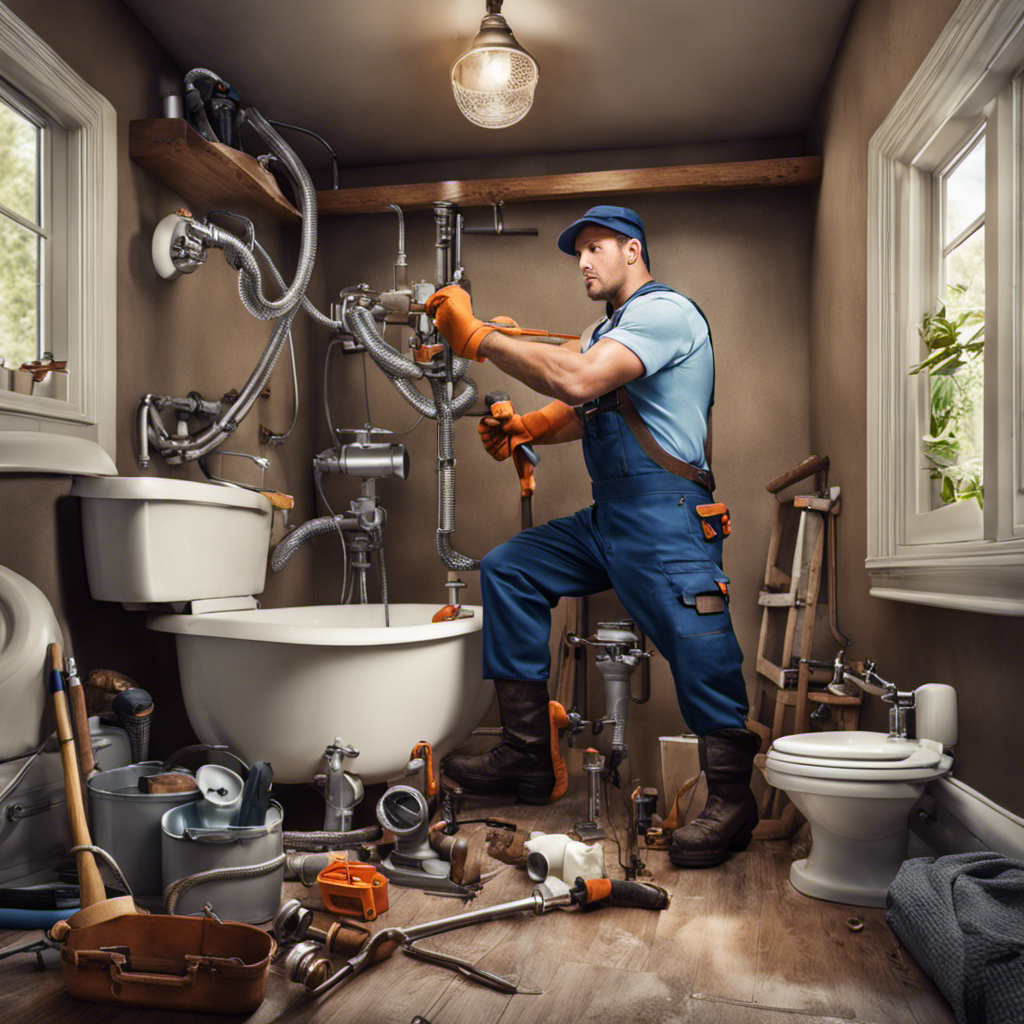
Are you tired of dealing with a slow-draining bathtub? Did you know that a clogged drain is one of the most common plumbing issues homeowners face? Well, you’re in luck!
In this article, we will show you step-by-step how to hook up a bathtub drain. By following our informative and detailed instructions, you’ll be able to:
- Remove the old drain
- Install a new assembly
- Connect it to the plumbing system
- Ensure it’s working perfectly
Say goodbye to clogs and hello to a smoothly functioning bathtub drain!
Key Takeaways
- Gather all the necessary tools and materials, including a wrench, plumber’s putty, and a drain assembly.
- Remove the old bathtub drain by unscrewing the overflow plate, locating the drain flange, and lifting it out.
- Install the new bathtub drain assembly by ensuring the correct type and applying plumber’s putty or silicone sealant for a waterproof seal.
- Connect the drain to the plumbing system by aligning the drain pipe with the bathtub drain outlet, sloping it downward towards the main drain pipe, and securely attaching it using PVC or ABS cement.
bathtub drain assembly
As an affiliate, we earn on qualifying purchases.
As an affiliate, we earn on qualifying purchases.
Gathering the Necessary Tools and Materials
You’ll need a wrench, plumber’s putty, and a drain assembly to complete the bathtub drain installation.
When choosing the right drain parts, it’s important to consider the size and type of your bathtub. Measure the diameter of the drain hole and ensure that the drain assembly matches that size. Additionally, check if your bathtub has an overflow drain and select a drain assembly that includes an overflow cover if needed.
Properly sealing the drain connection is crucial to prevent any leaks. Apply a generous amount of plumber’s putty to the underside of the drain flange before inserting it into the drain hole. Tighten the drain assembly using a wrench, ensuring a secure and watertight connection.
Taking the time to choose the right drain parts and properly seal the drain connection will help ensure a successful bathtub drain installation.

HAUTMEC Tub Drain Remover Wrench Tool Heavy Duty Aluminum Shower Bathtub Drain Removal Tool PL0030
The dual ended tub drain wrench fits most inner diameter 1 3/8" and 1 1/2" tub drain shoe,ideal…
As an affiliate, we earn on qualifying purchases.
As an affiliate, we earn on qualifying purchases.
Removing the Old Bathtub Drain
To remove the old drain, start by unscrewing the overflow plate using a screwdriver. This will give you access to the drain mechanism.
Once the overflow plate is removed, follow these steps to successfully remove the old bathtub drain:
- Locate the drain flange and remove any screws or bolts securing it in place.
- Use a drain wrench or pliers to loosen and unscrew the drain flange in a counterclockwise motion.
- Once the drain flange is loose, carefully lift it out of the drain hole, being mindful of any remaining water or debris.
- Inspect the drain for any signs of damage or leaks. If necessary, repair any leaks by applying a waterproof sealant around the drain threads before installing the new drain.
PVC ABS drain cement
As an affiliate, we earn on qualifying purchases.
As an affiliate, we earn on qualifying purchases.
Installing the New Bathtub Drain Assembly
Once the old drain has been removed, it’s time to install the new assembly. Installing a bathtub drain may seem daunting, but with the right tips and guidance, it can be a manageable task. Here are some important tips for a successful bathtub drain installation:
- Ensure you have the correct drain assembly for your bathtub type.
- Apply plumber’s putty or silicone sealant to create a waterproof seal between the drain and the bathtub.
- Tighten the drain flange securely using a drain wrench or pliers.
Following these steps will help prevent common bathtub drain problems such as leaks and slow draining. Now that the new drain assembly is in place, it’s time to connect it to the plumbing system and complete the installation process.
Transition: With the new drain assembly securely installed, it’s time to connect it to the plumbing system for proper functioning.

Harvey's WM Harvey 043010 Stainless Plumbers Putty, 14 oz
Will not support bacteria
As an affiliate, we earn on qualifying purchases.
As an affiliate, we earn on qualifying purchases.
Connecting the Drain to the Plumbing System
Now that the new assembly is securely in place, it’s time to make the necessary connections to ensure proper plumbing functionality. Here are four important steps to follow when connecting the drain to the plumbing system:
-
Sealing Techniques: Use plumber’s putty or silicone caulk to create a watertight seal between the drain and the bathtub. Apply a generous amount of putty or caulk around the flange of the drain before tightening it in place.
-
Proper Drainage: Ensure that the drain pipe is properly aligned with the bathtub drain outlet. Use a level to make sure it is sloping downward towards the main drain pipe to ensure proper drainage.
-
Secure Connections: Use PVC or ABS cement to securely attach the drain pipe to the main drain line. Apply the cement to both the drain pipe and the main drain line, then join them together and hold in place for a few seconds to allow the cement to set.
-
Test for Leaks: After connecting the drain, fill the bathtub with water and check for any leaks around the drain. If you notice any leaks, tighten the connections further or reapply sealing techniques as necessary.
Testing and Troubleshooting the Bathtub Drain Connection
Make sure you check for any leaks around the drain connection by filling the bathtub with water and observing closely. Troubleshooting common drain connection issues is essential to ensure a watertight seal.
Start by inspecting the drain flange and gasket. These components prevent water from leaking into the surrounding area. Ensure that the gasket is properly aligned and seated in the drain flange. Tighten the drain flange screws evenly to create an even seal.
If there are still leaks, check the drain pipe connections. Make sure they are tightly secured and properly aligned. Apply plumber’s putty or silicone sealant around the drain flange for an extra layer of protection.
Finally, run water through the drain to test for any leaks. If you notice any leaks, tighten the connections or reapply sealant as needed.
Taking these steps will help you troubleshoot common drain connection issues and ensure a watertight seal for your bathtub drain.
Frequently Asked Questions
How Do I Choose the Right Type of Bathtub Drain Assembly for My Specific Bathtub Model?
When choosing a bathtub drain assembly for your specific model, consider the type of drain, compatibility with your bathtub, and any additional features you may want. Avoid common mistakes like improper measurements or inadequate sealing. Bathtub drain installation tips can help ensure a successful hookup.
What Should I Do if the Old Bathtub Drain Assembly Is Stuck or Difficult to Remove?
If the old bathtub drain assembly is stuck or difficult to remove, don’t panic. Here are some tips for dealing with stubborn drain removal: use lubricant, apply heat, or use a drain removal tool.
Can I Reuse the Old Drain Assembly or Should I Always Install a New One?
You should always install a new drain assembly instead of reusing the old one. There are several benefits to using a new assembly, such as improved functionality, better sealing, and reduced risk of leaks.
What Should I Do if the New Bathtub Drain Assembly Is Leaking After Installation?
If your new bathtub drain assembly is leaking after installation, first check for common installation mistakes like improper sealing or loose connections. Troubleshooting leaks may involve disassembling the drain to fix any issues.
Are There Any Specific Building Codes or Regulations I Should Follow When Connecting the Drain to the Plumbing System?
When connecting the drain to the plumbing system, make sure to follow building code requirements and use proper installation techniques. This ensures compliance with regulations and prevents any potential leaks or issues in the future.
Conclusion
So there you have it, congratulations on successfully hooking up your bathtub drain! Who knew that something as simple as a drain could be so complex? But hey, at least now you can enjoy those relaxing bubble baths without any worries, right?
Just remember, if you ever encounter any issues with your drain, don’t panic. It’s all part of the fun!
Happy plumbing!