Are you tired of your outdated bathtub faucet? It’s time for a change. In just a few simple steps, you can install a brand-new faucet that will transform your bathing experience.
Gather your tools, shut off the water supply, and remove the old faucet. Then, it’s time to install the new one and add those finishing touches.
Get ready to enjoy a refreshing and stylish upgrade in no time. Let’s dive into the world of bathtub faucet installation.
Key Takeaways
- Choose the right faucet style that matches your bathroom decor.
- Shut off the water supply before starting the installation.
- Remove the old faucet carefully using the appropriate tools.
- Install the new faucet securely and test for leaks and proper water flow.
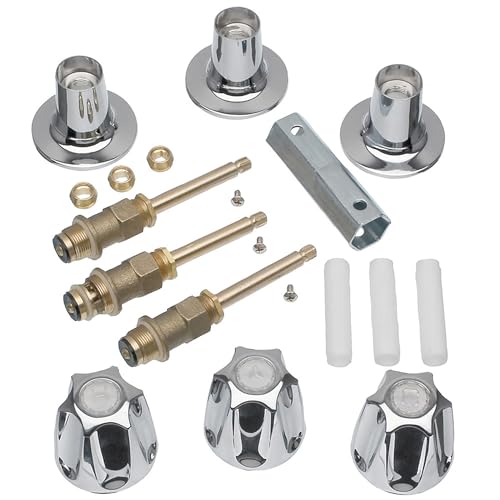
DANCO Bathtub and Shower 3-Handle Remodel/Rebuild Trim Kit for Price Pfister Verve Faucets | Knob Handle Replacement | Chrome (39619)
- Manufactured in China: Made in China
As an affiliate, we earn on qualifying purchases.
As an affiliate, we earn on qualifying purchases.
Gathering the Necessary Tools
Before you can start installing the bathtub faucet, you’ll need to gather all the necessary tools.
First, you’ll want to choose the right faucet style that matches your bathroom decor. There are various options available, such as single-handle, two-handle, or wall-mounted faucets.
Next, it’s essential to understand the different types of bathtub faucets. These include compression faucets, ball faucets, cartridge faucets, and ceramic-disc faucets. Each type has its own mechanism and installation process.
Once you have selected the style and type of faucet, gather the tools required for installation. These typically include an adjustable wrench, pliers, screwdriver, pipe wrench, plumber’s tape, and a bucket or towel to catch any water.
Having all the necessary tools assembled beforehand will make the installation process smoother and more efficient.
Shutting off the Water Supply
To shut off the water supply, you’ll need to locate the main water valve in your home. This valve controls the flow of water into your entire house and is essential for water supply maintenance. Follow these steps to shut off the water supply:
-
Locate the main water valve: It is usually found in the basement, crawl space, or utility room. Look for a round or lever-shaped valve.
-
Turn off the valve: If it’s a round valve, turn it clockwise until it stops. If it’s a lever valve, flip it to the off position.
Removing the Old Faucet
Now that the water’s off, you can easily remove the old faucet. Follow these steps to get the job done.
First, prepare the work area by placing a towel or bucket underneath the faucet to catch any water that may still be trapped.
Next, locate the supply lines connected to the faucet and use an adjustable wrench to loosen and disconnect them. Be sure to have a small container ready to catch any remaining water.
Once the supply lines are disconnected, use a basin wrench to loosen and remove the nuts holding the faucet in place.
Gently lift the old faucet out of the mounting holes.
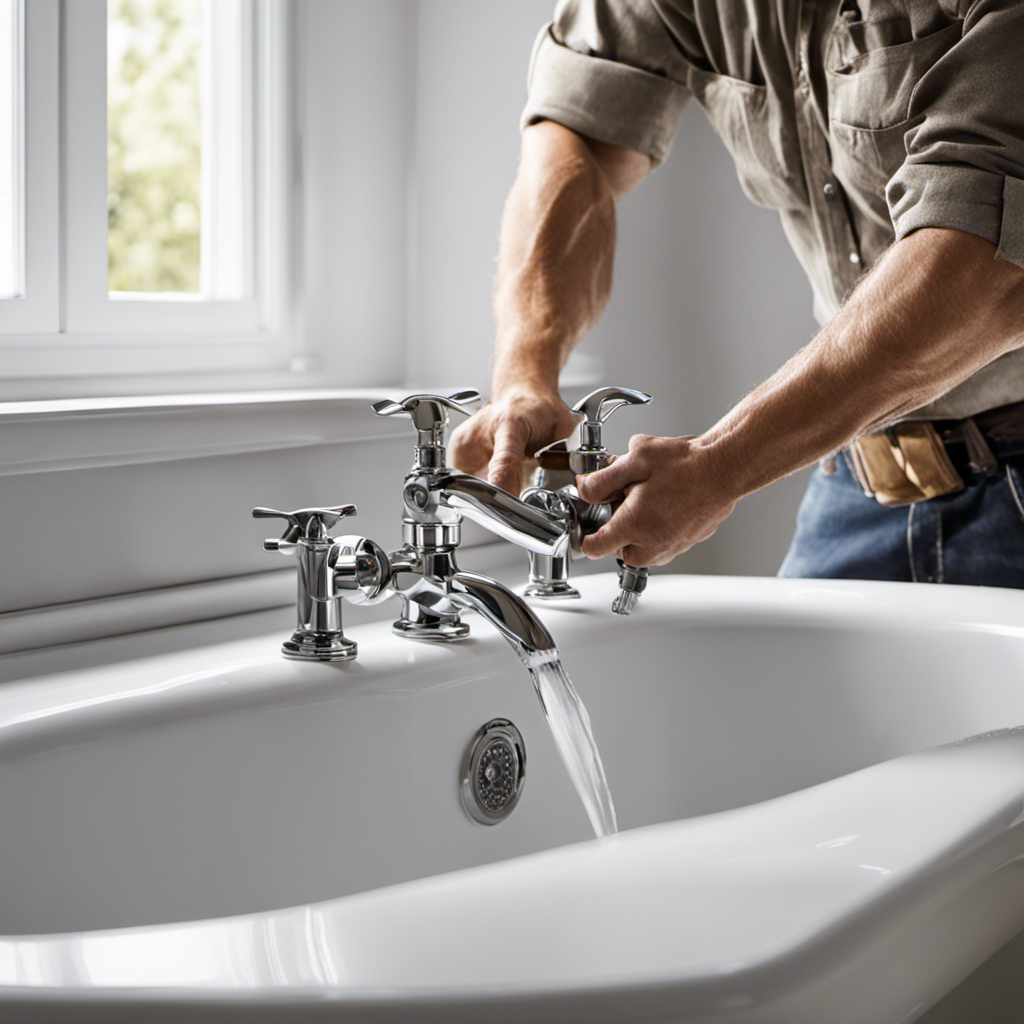
Installing the New Faucet
Once you’ve gathered the necessary tools and materials, it’s time to start connecting the new supply lines. Follow these steps to successfully install your new bathtub faucet:
-
Shut off the water supply: Before beginning any work, turn off the main water supply to avoid any accidents or leaks.
-
Remove the old faucet: Use a wrench to loosen and remove the old faucet from the wall. Make sure to properly dispose of it.
-
Install the new faucet: Place the new faucet into the mounting holes and secure it using the provided screws or nuts.
-
Connect the supply lines: Attach the hot and cold water supply lines to the corresponding valves on the faucet. Use a wrench to tighten the connections, but be careful not to overtighten and damage the threads.
By following these steps, you can ensure a proper installation of your new bathtub faucet.
Remember to regularly maintain your faucet to prevent any issues in the future. Additionally, explore different types of bathtub faucet designs to find the perfect one for your bathroom aesthetic.
Testing and Finishing Touches
Make sure you turn on the water supply and check for any leaks before finishing up the installation process. Once you have connected the new faucet, it is important to test it to ensure it is working properly. Here are some testing techniques and troubleshooting tips to help you with this step:
-
Turn on the water supply: Slowly turn on the water supply valves to allow water to flow into the faucet. Check for any leaks around the connections and fix them if necessary.
-
Test the hot and cold water: Turn the faucet handles to both hot and cold positions. Make sure the water flows smoothly and adjust the handles if needed.
-
Check for proper water pressure: Ensure that the water pressure is adequate. If the water flow is weak, you may need to adjust the water supply valves or clean the aerator.
-
Look for any leaks: After testing, inspect the area around the faucet for any signs of leaks. If you notice any, tighten the connections or replace any faulty parts.
-
Check for proper drainage: Fill the bathtub with water and check if it drains properly. If there are any issues, you may need to adjust the drain stopper or seek professional help.
Frequently Asked Questions
What Type of Faucet Should I Choose for My Bathtub?
When choosing a bathtub faucet, consider the materials available. Each has pros and cons. Common options include chrome, brass, and stainless steel. Research their durability, appearance, and maintenance requirements before making a decision.
Can I Install a Bathtub Faucet Without Professional Help?
You can definitely install a bathtub faucet without professional help. Save money and gain satisfaction by tackling this DIY project. Follow these step-by-step instructions to successfully complete the installation.
How Do I Know if My Bathtub Faucet Needs to Be Replaced?
If your bathtub faucet is showing signs of being faulty, such as leaks, low water pressure, or difficulty turning the handle, it may need to be replaced. Common causes of problems include worn-out parts or mineral buildup.
What Should I Do if I Encounter a Leak After Installing the New Faucet?
If you encounter a leak after installing the new faucet, don’t panic. First, turn off the water supply. Then, check for loose connections or damaged seals. Tighten or replace as needed. If the issue persists, consult a professional for further troubleshooting.
Is It Necessary to Turn off the Water Supply When Replacing a Bathtub Faucet?
To replace a bathtub faucet, it is safe and necessary to turn off the water supply. This step ensures that you won’t encounter any leaks or water damage during the installation process.
Conclusion
Congratulations! You’ve successfully completed the installation of your new bathtub faucet. By following these simple steps, you’ve transformed your bathroom into a beautiful oasis.
Remember, always gather the necessary tools, shut off the water supply, remove the old faucet, install the new faucet, and test for any leaks.
With a little patience and a touch of DIY magic, you’ve achieved a stunning, stylish, and serene space. So sit back, relax, and revel in the remarkable results of your hard work!