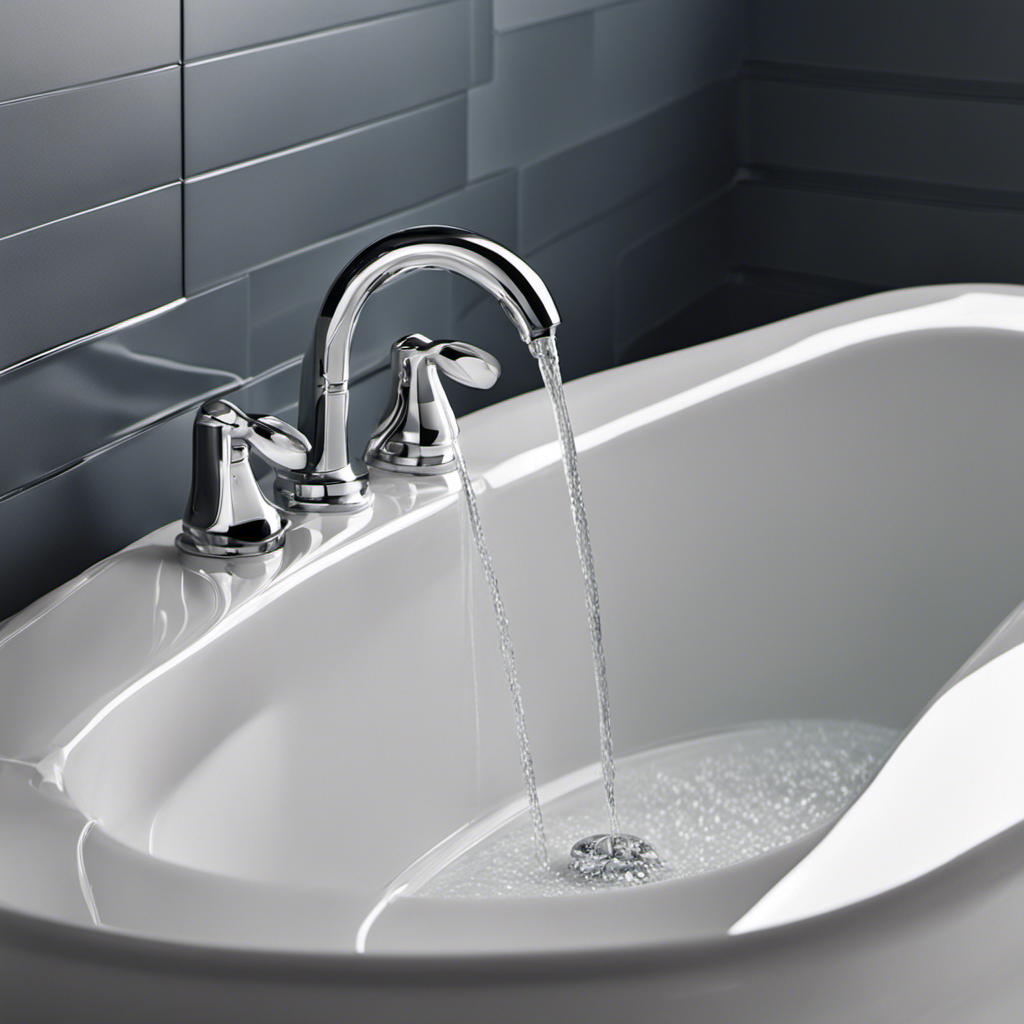
I’ve always wanted to upgrade my mobile home with a new bathtub, but I wasn’t sure where to start. Well, look no further! In this step-by-step guide, I’ll show you how to install a bathtub in a mobile home.
We’ll assess the space, choose the right bathtub, prepare the plumbing and drainage system, remove the old bathtub, install the new one, and add the finishing touches.
Let’s dive in and make your mobile home bathroom dreams come true!
Key Takeaways
- Accurately measure the available space and consider the layout and design of the bathroom when choosing the right size and style of bathtub.
- Ensure the weight of the bathtub is within the safe range for your mobile home and that the structure can support it.
- Assess the water pressure and choose durable drain materials compatible with your plumbing system.
- Properly remove the old bathtub, prepare the area, and install the new bathtub, ensuring it is level and aligned with the drain and water supply lines.
Assessing the Space and Choosing the Right Bathtub
Before you start, make sure you’re assessing the space and choosing the right bathtub for your mobile home.
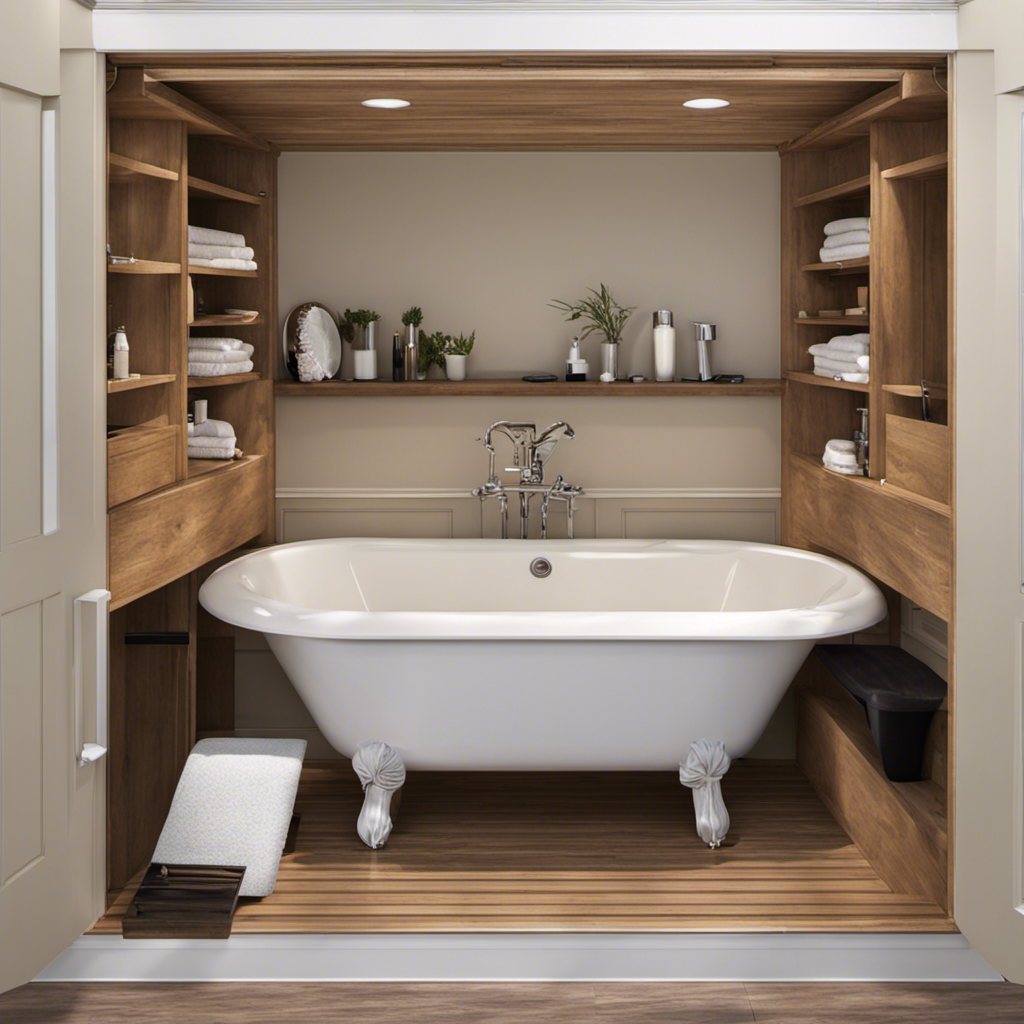
Choosing the right size and style is crucial to ensure a proper fit and functionality. Measure the available space accurately, taking into account any obstructions or limitations. Consider the layout and design of your bathroom to determine the best size and style that will complement the overall aesthetic.
Additionally, it is essential to consider the weight and structural support of the bathtub. Mobile homes have specific weight limitations, so it’s important to choose a bathtub that is within the safe weight range. Ensure that the structure of your mobile home can support the weight of the bathtub and any additional water weight when filled.
Taking these factors into consideration will help you select the perfect bathtub for your mobile home.
Preparing the Plumbing and Drainage System
To prepare the plumbing and drainage system, you’ll need to first ensure that all the necessary pipes and connections are in place. Start by assessing the water pressure in your mobile home. This will help you determine if any adjustments or upgrades are needed to ensure proper water flow to your new bathtub.
Next, choose the right drain materials for your installation. Consider factors such as durability, compatibility with your existing plumbing system, and ease of installation. PVC pipes and fittings are commonly used for drain systems in mobile homes due to their lightweight and corrosion-resistant properties.
Once you have assessed the water pressure and chosen the appropriate drain materials, you can move on to removing the old bathtub and preparing the area for the installation of the new one.
Removing the Old Bathtub and Preparing the Area
Start by disconnecting the plumbing fixtures and removing any screws or fasteners securing the old bathtub in place.
Begin the demolition process by carefully removing the old bathtub from its position. This may require using a pry bar or hammer to loosen any adhesive or caulk. Take caution not to damage the surrounding walls or flooring.
Once the old bathtub is removed, inspect the area for any signs of water damage or mold. Repair any damage and ensure the area is dry and clean.
Now, it’s time to prepare for the installation of the new bathtub. Consider using waterproofing methods such as applying a waterproof membrane or sealant to protect against water damage.
With the old bathtub removed and the area prepared, we can move on to installing the new bathtub and connecting the plumbing.
Installing the New Bathtub and Connecting the Plumbing
Once you’ve removed the old bathtub, it’s important to carefully position the new bathtub in place. Here are the steps to install the new bathtub and connect the plumbing:
- Measure and mark the position of the new bathtub to ensure a proper fit in the space.
- Apply a layer of waterproofing membrane to the subfloor and walls around the bathtub area to prevent water damage.
- Carefully lower the new bathtub into position, making sure it is level and aligned with the drain and water supply lines.
It is important to avoid some common mistakes when installing a bathtub in a mobile home. These include:
- Not properly securing the bathtub to the subfloor, which can lead to instability and leaks.
- Forgetting to seal all joints and connections to prevent water leakage.
- Neglecting to check for proper drainage before finishing the installation.
Once the new bathtub is securely in place, you can move on to the finishing touches and testing for proper functionality.
Finishing Touches and Testing for Proper Functionality
After securing the new bathtub in place, it’s time to add the finishing touches and test for proper functionality. The first step is to seal and waterproof the bathtub to prevent any leaks. I recommend using a high-quality waterproof sealant that is specifically designed for use in bathrooms. Apply the sealant along the edges of the bathtub where it meets the walls and floor. Make sure to smooth out any excess sealant for a clean finish.
Next, it’s time to enhance the look of the bathtub by adding decorative elements and accessories. Consider installing a stylish shower curtain rod and curtains to match your bathroom decor. You can also add a bathtub caddy to hold your bath essentials, such as soap, shampoo, and a book or tablet for entertainment. Finish off the look with some bath mats and towels that complement the color scheme.
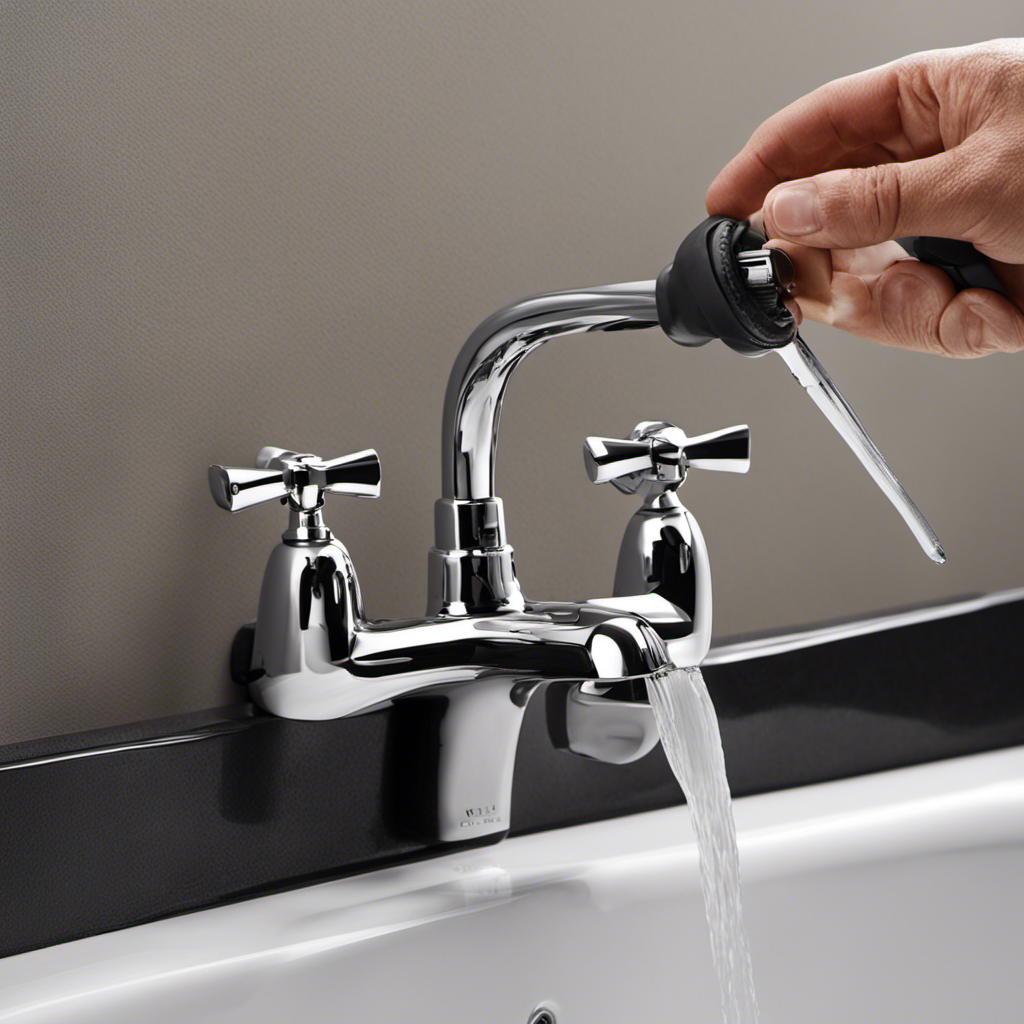
Finally, it’s important to test the bathtub for proper functionality. Fill the tub with water and check for any leaks or drainage issues. Test the hot and cold water faucets to ensure they are working properly. If any issues arise, make the necessary adjustments or call a professional plumber for assistance. With the finishing touches complete and proper functionality confirmed, your new bathtub installation is now complete. Enjoy your relaxing baths!
| Step | Actions |
|---|---|
| 1 | Seal and waterproof the bathtub using a high-quality sealant. |
| 2 | Install a shower curtain rod and curtains to enhance the look. |
| 3 | Add a bathtub caddy for convenience and storage. |
| 4 | Place bath mats and towels to complement the color scheme. |
| 5 | Test the bathtub for leaks and proper functionality. |
Conclusion
After assessing the space and choosing the right bathtub, preparing the plumbing and drainage system, and removing the old bathtub, it’s time for the finishing touches.
Connect the plumbing, ensuring a secure and leak-free connection. Double-check all the fittings and make any necessary adjustments.
Then, test the bathtub for proper functionality, ensuring the water flows smoothly and the drainage system works efficiently.
With these steps completed, you can now enjoy a relaxing soak in your newly installed bathtub in your mobile home.
