
Hey there! Did you know that replacing a bathtub can be a daunting task, especially if you’re not familiar with the process? Well, fear not! In this article, I’m going to guide you through the step-by-step process of installing a bathtub insert.
From assessing your bathroom to removing the old bathtub and finally installing the new insert, I’ll provide you with all the technical details and informative tips you need to get the job done right.
Let’s dive in!
Key Takeaways
- Measure the dimensions of the existing bathtub and the walls surrounding it before preparing the bathtub insert.
- Remove the old bathtub by turning off the water supply, disconnecting plumbing connections, and lifting and sliding the tub out of its position.
- Choose the appropriate material for the bathtub insert and ensure it fits properly before installing it with adhesive and securing it according to the manufacturer’s instructions.
- After the installation, thoroughly clean the area, apply waterproof caulk along the edges of the insert, and remove excess caulk for a clean and professional finish.
Assessing Your Bathroom
Before you start installing a bathtub insert, you should assess your bathroom to ensure it meets the necessary requirements. Evaluating the available space is crucial to determine if your bathroom can accommodate a bathtub insert.
Take measurements of the area where the insert will be placed, considering the length, width, and height. This will help you choose the right size and shape for your bathtub insert.
Additionally, it is essential to determine your budget for this project. Consider the cost of the bathtub insert itself, as well as any additional materials or professional help that may be required.
Research different options and prices to ensure you stay within your budget while still achieving the desired result.
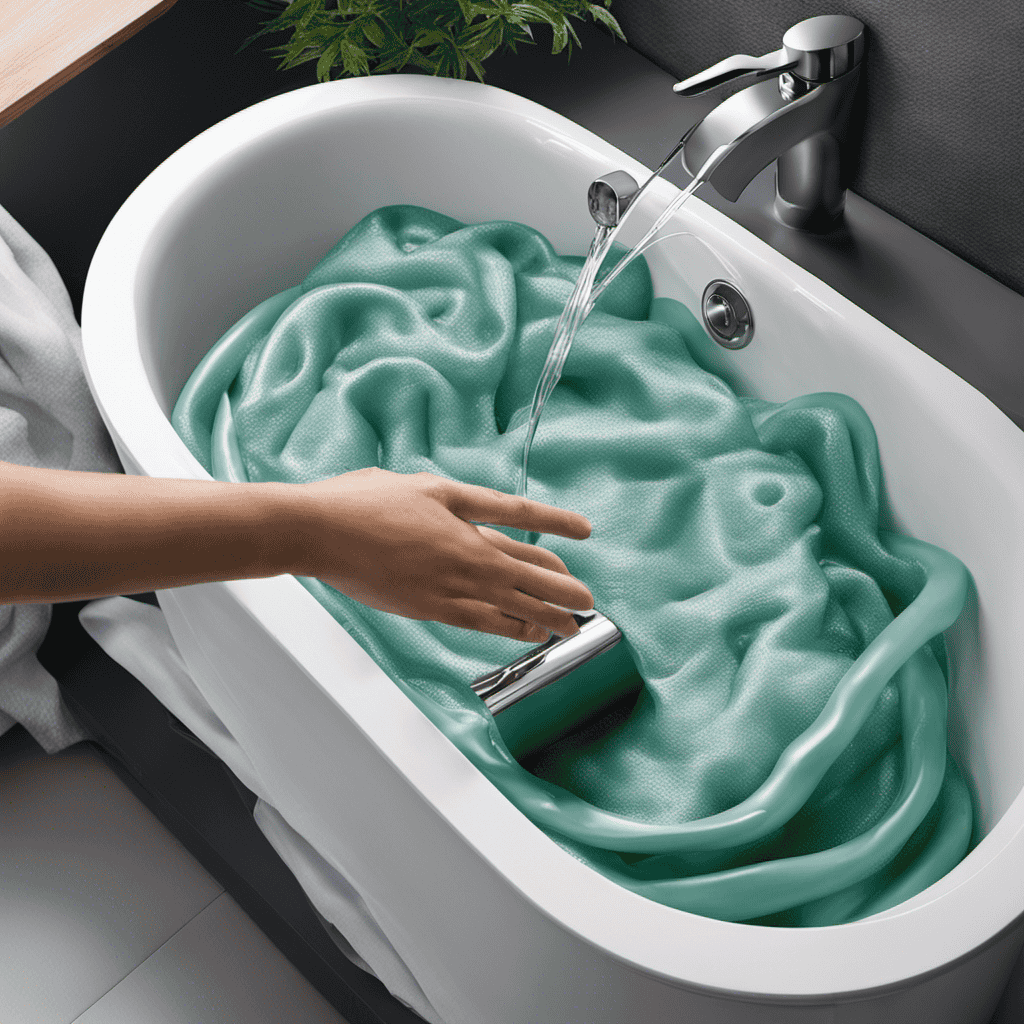
Preparing the Bathtub Insert
To properly prepare the tub insert, you’ll need to make sure all necessary measurements have been taken.
First, measure the dimensions of your existing bathtub to ensure a proper fit. Measure the length, width, and depth of the bathtub, taking into account any curves or irregularities. This will help you select the correct size of the tub insert.
Next, measure the walls surrounding the bathtub to determine the width of the insert. Ensure there is enough space for the insert to fit snugly without any gaps.
Once you have the measurements, you can proceed with sealing the edges of the tub insert. Use a waterproof adhesive or caulk to create a watertight seal, preventing any leaks or water damage.
Be thorough in applying the sealant, paying close attention to the corners and edges.
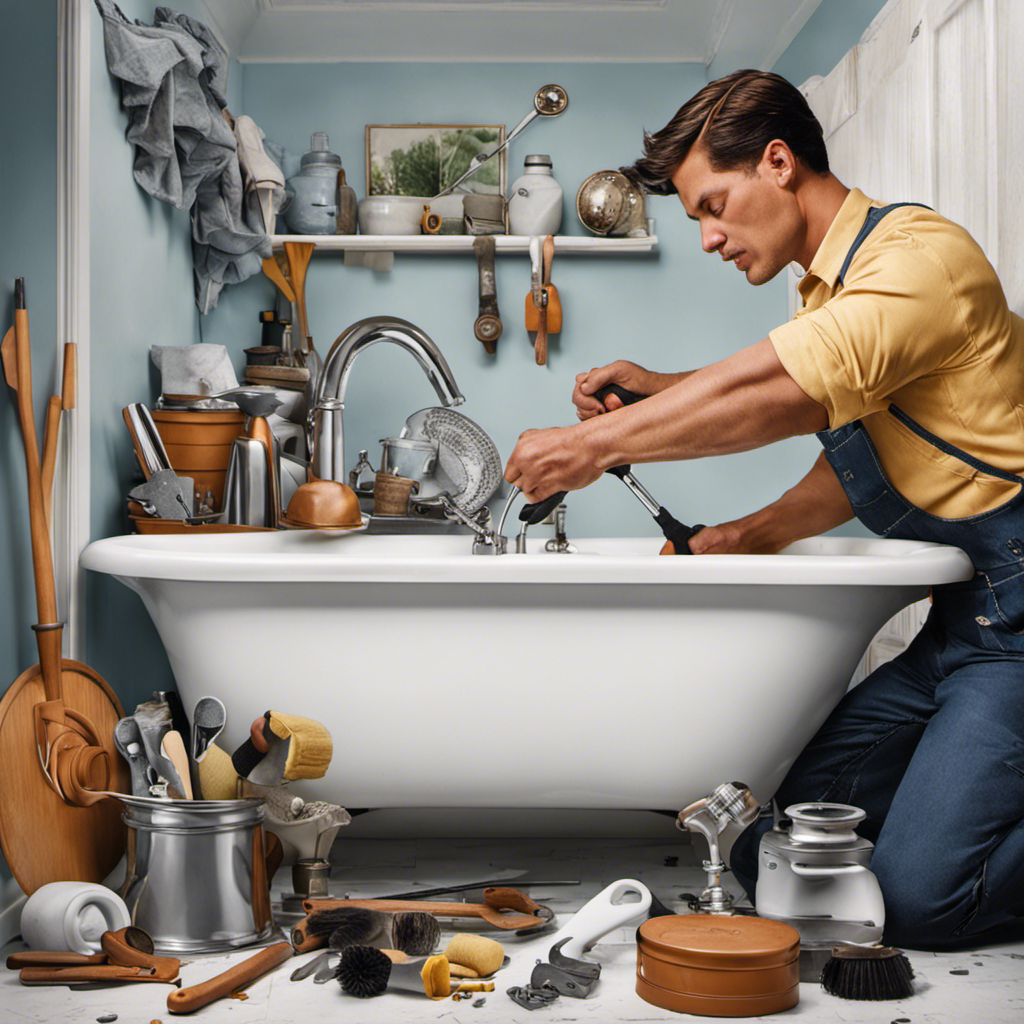
Removing the Old Bathtub
Once you’ve measured and sealed the edges, you can start removing the old bathtub. Here is a step-by-step guide on how to successfully complete this demolition process:
-
Turn off the water supply: Before starting any work, it’s essential to shut off the water supply to the bathtub. Locate the main water valve and turn it clockwise to close it.
-
Disconnect the plumbing: Use a wrench to disconnect the plumbing connections attached to the bathtub. This may include the drain, overflow pipe, and water supply lines. Make sure to have a bucket or towel handy to catch any water that may spill out.
-
Remove the bathtub: Once the plumbing is disconnected, it’s time to remove the bathtub itself. Start by removing any screws or nails securing the tub to the walls or floor. Then, with the help of a friend, carefully lift and slide the tub out of its position.
With the old bathtub successfully removed, we can now move on to the next step of installing the bathtub insert.
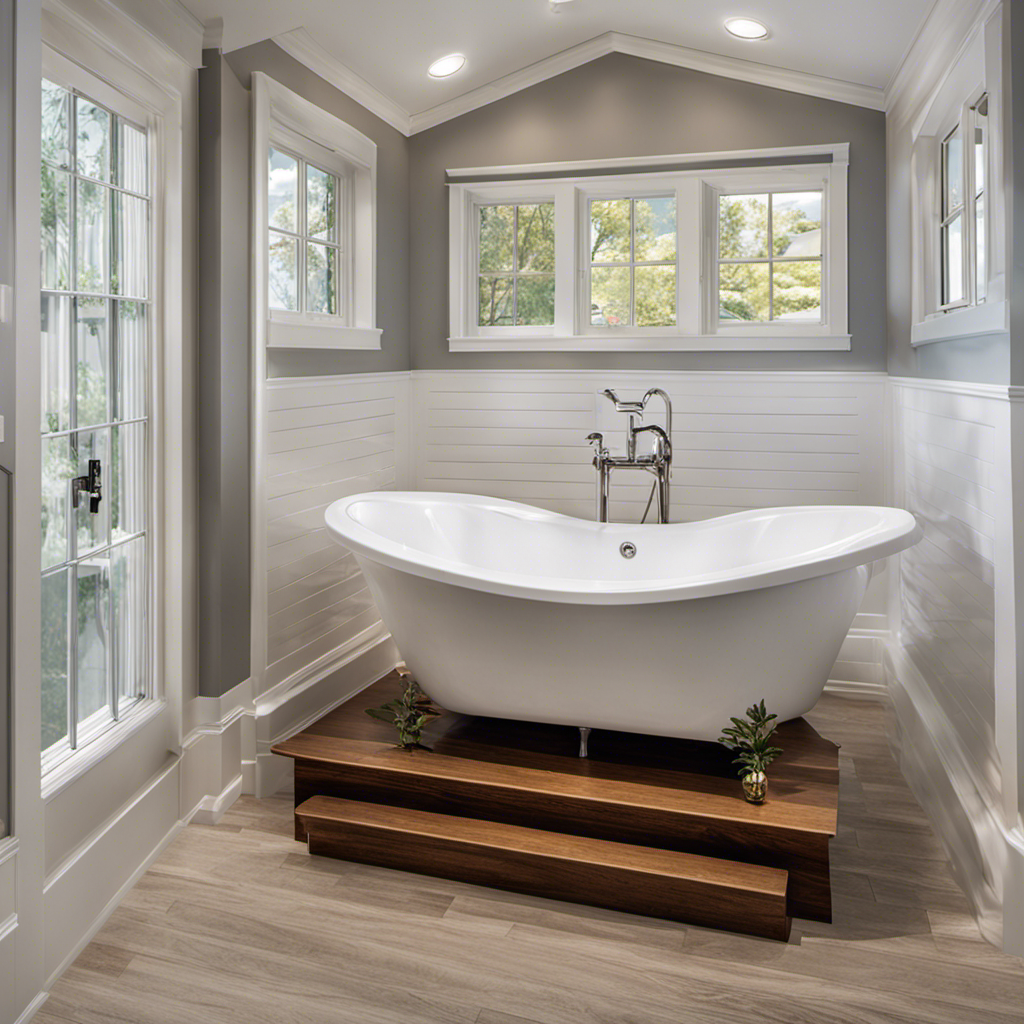
Installing the Bathtub Insert
Now that you’ve successfully removed the old bathtub, it’s time to move on to the next step: installing the new bathtub insert.
When it comes to bathtub insert materials, you have a few options. Acrylic is a popular choice due to its durability and easy maintenance. Fiberglass is another common material that is lightweight and affordable.
Before beginning the installation process, make sure to measure the dimensions of your new insert and ensure it fits properly in your bathroom space.
Start by preparing the area, ensuring it is clean and free of any debris. Apply a layer of adhesive to the bottom of the insert and carefully place it into position. Secure it in place using screws or clips, following the manufacturer’s instructions.
Finishing Touches and Clean-Up
After securing the new bathtub insert in place, it’s important to seal the edges with waterproof caulk to prevent any leaks. To ensure a proper seal, follow these steps:
-
Gather the necessary cleaning supplies: Before sealing the bathtub insert, make sure to clean the area thoroughly. Use a mild detergent and warm water to remove any dirt, grime, or residue that may interfere with the adhesion of the caulk.
-
Apply the waterproof caulk: Using a caulk gun, carefully apply a thin, even bead of waterproof caulk along the edges of the bathtub insert. Start from one corner and work your way around, ensuring complete coverage.
-
Smooth the caulk: After applying the caulk, use a caulk smoothing tool or your finger to smooth out the bead and remove any excess caulk. This will create a clean and professional-looking finish.
Conclusion
In conclusion, installing a bathtub insert is a challenging task that requires careful planning and execution. It involves assessing your bathroom, preparing the bathtub insert, removing the old bathtub, and finally installing the new insert.
The process may seem daunting, but with the right tools and guidance, it can be accomplished successfully. By following the steps outlined in this article, you can transform your bathroom into a luxurious oasis that will impress even the most discerning guests.
So, roll up your sleeves and embark on this exhilarating journey of bathtub installation!

With an impeccable eye for detail and a passion for bathroom-related, Ava leads our editorial team gracefully and precisely.
Under her guidance, Best Modern Toilet has flourished as the go-to resource for modern bathroom enthusiasts. In her free time, you might find Ava exploring antique shops and looking for vintage bathroom fixtures to add to her collection.