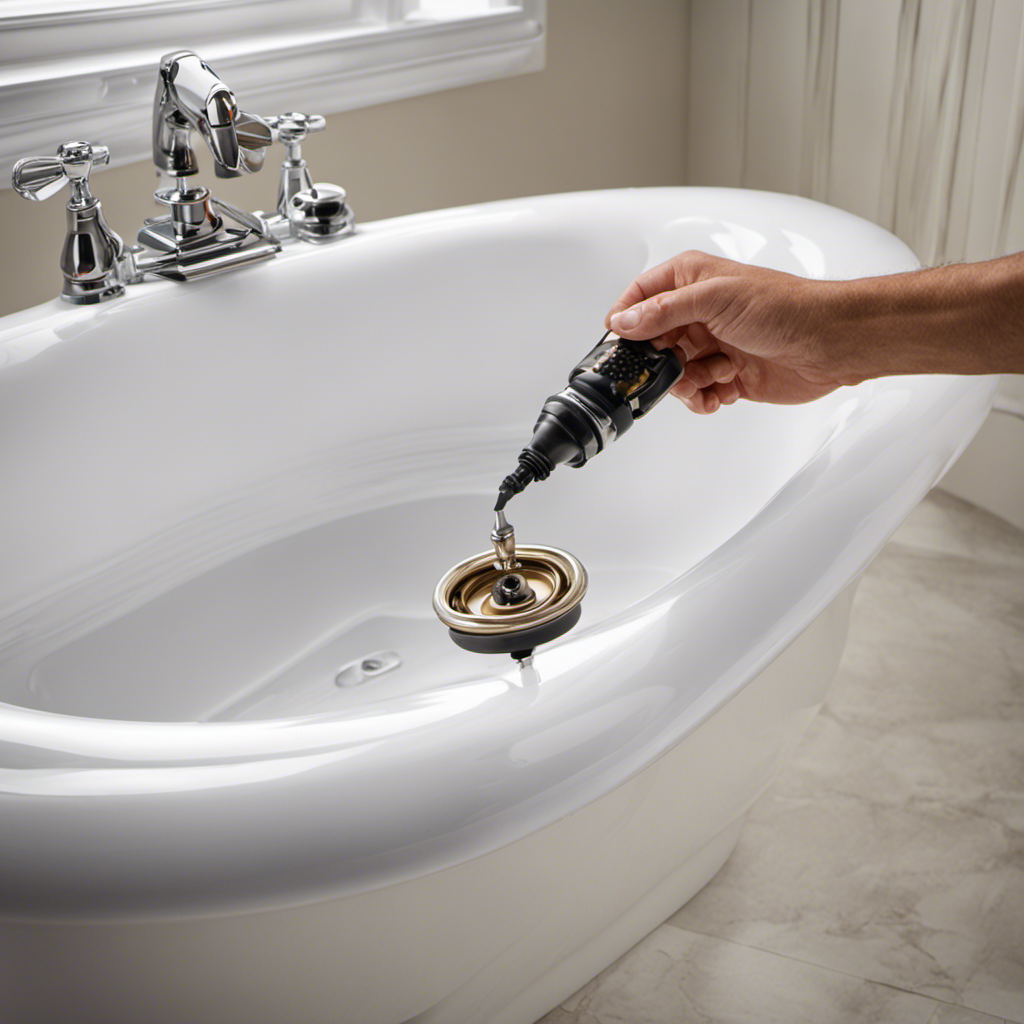
I’ve always believed that a well-designed bathroom is like a sanctuary, a place where you can escape the chaos of the world and indulge in some much-needed relaxation.
And what better way to enhance this experience than by installing a bathtub on a concrete floor?
In this article, I’ll guide you through the step-by-step process of transforming your bathroom into a luxurious oasis.
So grab your tools and let’s get started on this exciting project together.
Key Takeaways
- Clean the floor and check for levelness before installing the bathtub
- Use a waterproofing membrane to protect the floor from moisture
- Ensure proper alignment and connection of the bathtub drain to prevent leaks and clogs
- Secure the bathtub to the concrete floor using appropriate anchors and sealing methods
Required Tools and Materials
You’ll need a hammer, a drill, and a level to install the bathtub on a concrete floor.
Bathtub installation on a concrete floor requires careful preparation to ensure a secure and stable installation. Before you begin, make sure you have all the necessary tools and materials.
In addition to the hammer, drill, and level, you will also need a measuring tape, a pencil, a utility knife, a pry bar, and a silicone sealant. It is important to have these tools on hand to properly prepare the concrete floor for the bathtub installation.
Now that you have gathered all the necessary tools, let’s move on to preparing the concrete floor for the installation.
Preparing the Concrete Floor
Before starting, it’s important to ensure the concrete floor is clean and level. Proper concrete floor preparation is crucial for a successful bathtub installation. There are alternative bathtub installation methods available, but for a concrete floor, the following steps should be followed:
-
Clean the Floor: Remove any debris, dirt, or dust from the concrete floor. Use a broom and vacuum cleaner to ensure it is thoroughly cleaned.
-
Level the Floor: Check if the concrete floor is level using a spirit level. If there are any uneven areas, use a self-leveling compound to create a smooth and even surface.
-
Waterproof the Floor: Apply a waterproofing membrane to protect the concrete floor from moisture. This will prevent any water damage and ensure the longevity of the bathtub installation.
-
Allow Drying Time: Follow the manufacturer’s instructions for the drying time of the waterproofing membrane. This is crucial to ensure the effectiveness of the membrane.
Installing the Bathtub Drain
To ensure proper drainage, it’s important to connect the drain pipe to the bathtub trap using a wrench. Here are some bathtub drain installation tips and common troubleshooting issues to consider:
-
Use a wrench to securely tighten the drain flange to the bathtub. Make sure it is centered and level to prevent leaks.
-
Apply plumber’s putty or silicone sealant around the drain flange to create a watertight seal.
-
Connect the drain pipe to the bathtub trap using a wrench to tighten the connections. Ensure that the trap is properly aligned with the drainpipe to prevent clogs.
-
Test the bathtub drain by filling the tub with water and checking for any leaks. If there are leaks, tighten the connections or apply additional sealant as needed.
Common bathtub drain issues include clogs, leaks, and unpleasant odors. Troubleshooting these issues may require removing and cleaning the drain trap, using a plunger or drain snake to clear clogs, or inspecting the drainpipe for damage or blockages.
Positioning and Leveling the Bathtub
Positioning and leveling the bathtub is crucial to ensure proper installation and prevent any future issues.
When it comes to bathtub installation, there are several key tips and techniques to keep in mind. First, make sure to measure the space accurately before starting the installation process. This will help determine the right position for the bathtub and ensure a proper fit.
Additionally, it is important to check the levelness of the floor where the bathtub will be placed. Uneven floors can cause the tub to shift or crack over time, so it’s essential to address any leveling issues before installation. To level the bathtub, use shims or adjustable feet to ensure that it sits evenly on the floor.
Taking the time to position and level the bathtub correctly will result in a sturdy and long-lasting installation.
Securing the Bathtub to the Concrete Floor
When securing a bathtub to a concrete floor, it’s crucial to consider the proper anchor types to ensure stability. Different types of anchors, such as wedge anchors or sleeve anchors, may be used depending on the weight and size of the bathtub.
Additionally, securing methods for stability, such as using adhesive or brackets, should be carefully chosen to prevent any movement or shifting of the bathtub.
Lastly, waterproofing considerations should not be overlooked. Proper sealing and caulking around the edges of the bathtub will help prevent water damage and mold growth.
Proper Anchor Types
Choosing the right anchor types is crucial when installing a bathtub on a concrete floor. The type of anchor you use will depend on the weight and size of the bathtub, as well as the condition of the concrete floor. Here are four different anchor types to consider:
-
Expansion anchors: These are ideal for heavier bathtubs as they provide a secure and stable connection to the concrete floor. They expand when tightened, creating a strong grip.
-
Concrete screws: These screws are designed specifically for use with concrete and provide a reliable and durable anchor. They are easy to install and can support medium-sized bathtubs.
-
Wedge anchors: These anchors are great for larger bathtubs as they offer a high load-bearing capacity. They are installed by inserting them into pre-drilled holes and then expanding the anchor by tightening the nut.
-
Adhesive anchors: If you have a lightweight bathtub, adhesive anchors can be a suitable option. These anchors use epoxy adhesive to bond the bathtub to the concrete floor, providing a strong and permanent connection.
Determining the anchor placement is also important. It is recommended to consult the manufacturer’s instructions for specific guidelines on anchor placement. Typically, anchors should be placed along the edges and corners of the bathtub to ensure even weight distribution and stability.
Securing Methods for Stability
To ensure stability, make sure you properly secure the bathtub using the recommended anchor types and placement methods. The importance of proper bathtub installation cannot be overstated.
When securing a bathtub on a concrete floor, it is crucial to avoid common mistakes that can compromise stability and safety. One common mistake is using the wrong type of anchors. It is important to use anchors specifically designed for securing bathtubs on concrete surfaces.
Another mistake to avoid is improper placement of the anchors. They should be strategically placed to distribute the weight evenly and provide maximum support. Securing the bathtub properly will prevent shifting, rocking, or even collapsing. This is especially important for ensuring the longevity and functionality of the bathtub.
Now, let’s discuss some important waterproofing considerations.
Waterproofing Considerations
Properly securing the bathtub is crucial for preventing water damage and ensuring its longevity and functionality. When it comes to waterproofing, there are several techniques that need to be considered:
-
Apply a waterproofing membrane: This creates a barrier between the bathtub and the surrounding area, preventing water from seeping into the walls or floor.
-
Seal all joints and corners: Use a silicone-based sealant to seal any gaps or joints, ensuring a watertight seal.
-
Install a waterproofing underlayment: This is especially important for concrete floors, as it provides an extra layer of protection against water penetration.
-
Ensure proper drainage: Properly sloping the floor towards the drain and installing a waterproofing drain assembly will help prevent water from pooling around the bathtub.
By implementing these waterproofing techniques and ensuring proper drainage, you can effectively protect your bathtub from water damage.
Now, let’s move on to the next step: connecting the plumbing fixtures.
Connecting the Plumbing Fixtures
When it comes to connecting plumbing fixtures, there are several methods that can be used to ensure a secure and leak-free connection.
One common method is using threaded pipe connections, where pipes are threaded together using a wrench to create a tight seal.
Another option is using compression fittings, which involve using a compression nut and ferrule to create a watertight connection.
It’s also important to properly waterproof the connections to prevent any water damage or leaks. This can be done using waterproofing tape or sealant to seal the joints and ensure a tight seal.
Additionally, securing fixtures in place is crucial to prevent any movement or damage. This can be done using brackets or straps to secure the fixtures to a stable surface, ensuring they stay in place and function properly.
Pipe Connection Methods
There are two common methods for connecting pipes when installing a bathtub on a concrete floor. These methods are crucial to ensure proper water flow and prevent leaks or other common plumbing issues.
Here are four key aspects to consider when connecting pipes:
-
Compression fittings: These fittings are easy to install and require no soldering. They consist of a threaded nut and a compression ring that creates a watertight seal when tightened.
-
Push-fit fittings: Also known as quick-connect or push-to-connect fittings, these allow for a simple and secure connection without the need for tools or soldering. They work by using an O-ring and a collet that grip the pipe tightly.
-
Soldered connections: This traditional method involves heating the pipes and applying solder to create a strong bond. It requires skill and proper preparation to ensure a leak-free connection.
-
Threaded connections: This method involves joining pipes with threaded ends by using fittings like couplings or elbows. It requires proper sealing with thread tape or joint compound to prevent leaks.
By understanding these pipe connection types and considering the specific needs of your bathtub installation, you can ensure a reliable and leak-free plumbing system.
Now, let’s move on to the next step: waterproofing the connections.
Waterproofing the Connections
To prevent leaks, it’s important to ensure a watertight seal when waterproofing the pipe connections. There are several techniques available for waterproofing and sealing connections, each with its own advantages and applications. One common method is using waterproof tape, which provides a quick and easy solution for sealing joints. Another option is applying a waterproof sealant, such as silicone or polyurethane, which forms a flexible and durable barrier against water intrusion. Additionally, using compression fittings can provide a secure and leak-proof connection. It’s crucial to carefully follow the manufacturer’s instructions and choose the appropriate method for your specific needs. A properly waterproofed and sealed connection will help maintain the integrity of your plumbing system and prevent costly water damage.
| Waterproofing Techniques | Advantages |
|---|---|
| Waterproof Tape | Quick and easy to apply, affordable |
| Waterproof Sealant | Flexible and durable, suitable for various materials |
| Compression Fittings | Secure and leak-proof connection |
Securing Fixtures in Place
Securing fixtures properly is essential for ensuring stability and preventing any potential damage. When it comes to installing a bathtub on a concrete floor, there are several anchoring methods that can be employed to prevent movement and ensure a secure installation.
Here are four key methods to consider:
-
Adhesive Anchoring: Using a heavy-duty adhesive, such as epoxy, to bond the fixture to the concrete surface. This method provides excellent stability and prevents any movement.
-
Mechanical Anchoring: Utilizing mechanical fasteners, such as screws or bolts, to secure the fixture to the concrete floor. This method offers a strong and reliable hold, ensuring the fixture remains in place.
-
Expansion Anchors: These anchors expand within the concrete, creating a tight and secure fit. They are ideal for heavy fixtures and provide excellent resistance against movement.
-
Wedge Anchors: These anchors feature a wedge-shaped end that expands when tightened, creating a secure hold. They are commonly used for securing fixtures with high loads and preventing any potential movement.
Testing for Leaks and Finishing Touches
Check if there are any leaks by running water into the bathtub and inspecting the drainage system. This is a crucial step in ensuring the success of your bathtub installation. Leaks can lead to water damage and costly repairs if not addressed promptly. To test for leaks, fill the bathtub with water and let it sit for a few hours. Inspect the area around the drain and check for any signs of water leakage. Additionally, inspect the surrounding walls and floor for any moisture or water stains.
As part of the finishing touches, it is important to use proper sealing techniques to prevent water from seeping into the walls or floor. A common sealing technique is to apply silicone caulk around the edges of the bathtub where it meets the walls or floor. This creates a watertight seal and prevents any water from escaping. Another important tip is to ensure that all fixtures, such as faucets and handles, are securely tightened to avoid any future leaks.
To provide a visual representation, here is a table illustrating the steps involved in testing for leaks and finishing touches during the bathtub installation process:
| Steps to Test for Leaks | Steps for Finishing Touches |
|---|---|
| Fill the bathtub with water | Apply silicone caulk around the edges |
| Let the water sit for a few hours | Tighten all fixtures securely |
| Inspect the drain and surrounding areas for leaks | Check for any signs of water leakage on walls and floor |
Conclusion
In conclusion, installing a bathtub on a concrete floor requires careful preparation and precise execution. By following the steps outlined in this article, homeowners can confidently tackle this task.
From preparing the floor to connecting the plumbing fixtures, attention to detail is paramount. Remember to test for leaks and add the finishing touches to ensure a successful installation.
With patience and precision, you can transform your bathroom into a luxurious oasis on a concrete canvas.


