
Alright, folks, let me break it down for you.
Today, I’m gonna show you how to install a Moen bathtub faucet like a pro. Trust me, it’s gonna be a piece of cake.
We’ll gather up all the tools and materials we need, shut off that pesky water supply, and say goodbye to that old faucet.
Then, we’ll dive right into installing the shiny new Moen faucet. And of course, we’ll test it out and make sure there are no sneaky leaks.
Let’s get started, shall we?
Key Takeaways
- Choosing the right Moen bathtub faucet based on style, finish, and functionality is important for a successful installation.
- Proper maintenance of the faucet is necessary for optimal performance.
- Gathering all necessary tools and materials before starting the installation ensures efficiency.
- Shutting off the water supply to the bathtub is crucial for a safe and effective installation.
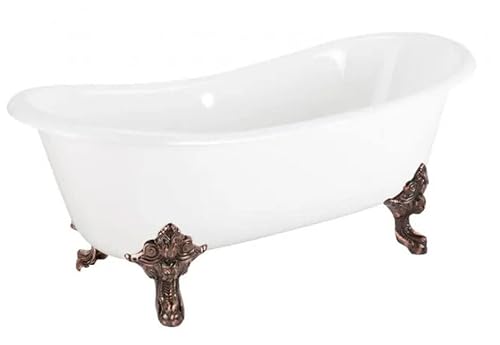
Signature Hardware 312542 Lena 72" Cast Iron Soaking Clawfoot Tub with Pre-Drilled Overflow Hole
Covered under Signature Hardware's 25 year limited
As an affiliate, we earn on qualifying purchases.
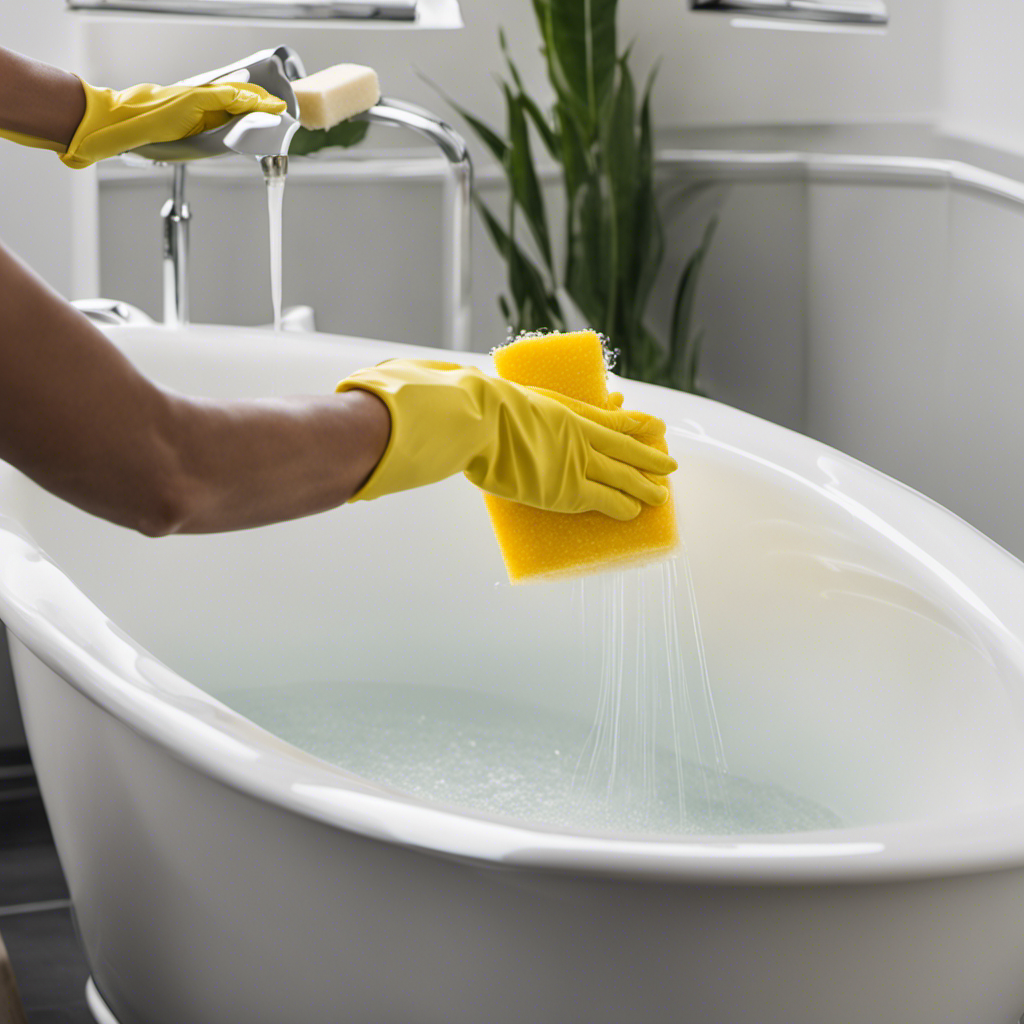
Gather the Necessary Tools and Materials
First, make sure you have all the tools and materials you’ll need for installing the Moen bathtub faucet. Choosing the right Moen bathtub faucet is essential for a successful installation. Consider factors such as the style, finish, and functionality that best suit your bathroom decor and personal preferences.
Proper maintenance of a Moen bathtub faucet will help prolong its lifespan and ensure its optimal performance. For this installation, you will need a pipe wrench, adjustable wrench, plumber’s tape, silicone sealant, and a screwdriver. Additionally, gather the Moen bathtub faucet kit, which typically includes the faucet, handles, spout, and necessary hardware.
Having all these tools and materials ready before starting the installation will make the process smoother and more efficient.

KOHLER 715-0 Villager 60" x 30-1/4" Alcove Cast Iron Bathtub with Left-Hand Drain and Integral Apron, Safeguard Slip-Resistant Surface, White
Durable cast iron construction ensures long-lasting quality and strength
As an affiliate, we earn on qualifying purchases.
Shut off the Water Supply to the Bathtub
Before you begin, make sure you shut off the water supply to your bathtub. This is an important step to ensure a safe and effective installation of your Moen bathtub faucet.
To properly drain the water, follow these steps:
-
Locate the water shut-off valves: These are usually found near the bathtub, either in the basement or behind an access panel.
-
Turn off the hot and cold water valves: Use a wrench or pliers to turn the valves clockwise until they are fully closed. This will stop the flow of water to the bathtub.
-
Open the bathtub faucet: Turn the handle to the ‘on’ position to release any remaining water in the pipes. Allow the water to drain completely before proceeding with the installation.

Aqua Eden VCT7DS6731NLW 67-Inch Cast Iron Double Slipper Clawfoot Tub with 7-Inch Faucet Drillings, White
Drilled for deck mount faucets 7" center to center
As an affiliate, we earn on qualifying purchases.
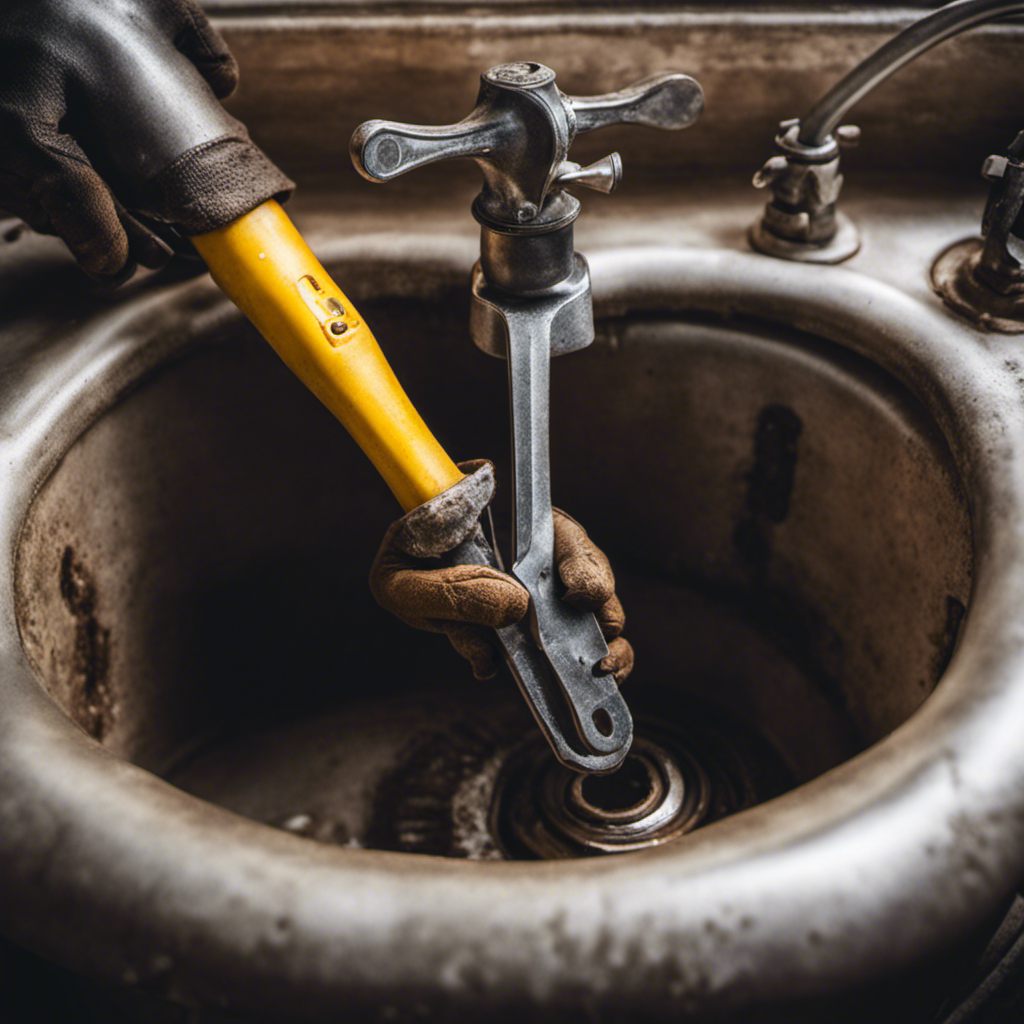
Remove the Old Faucet
To remove the old faucet, you’ll need to locate and turn off the water shut-off valves. This will prevent any water from flowing while you work. Once the water is shut off, follow these steps to disconnect the plumbing and properly dispose of the old faucet:
- Use a wrench to loosen and remove the nuts that hold the supply lines in place.
- Disconnect the supply lines from the faucet by unscrewing them.
- Remove any remaining connections, such as the drain stopper or overflow cover.
Carefully lift the old faucet out of the bathtub, being cautious not to damage any surrounding surfaces.
Dispose of the old faucet according to your local regulations. This may involve recycling or taking it to a designated disposal facility.

KOHLER K-26109-LA-0 Entity 60-Inch x 30-Inch Alcove Bath with Integral apron, integral flange and left hand drain, White
Low stepover height allows easy entry and exit
As an affiliate, we earn on qualifying purchases.
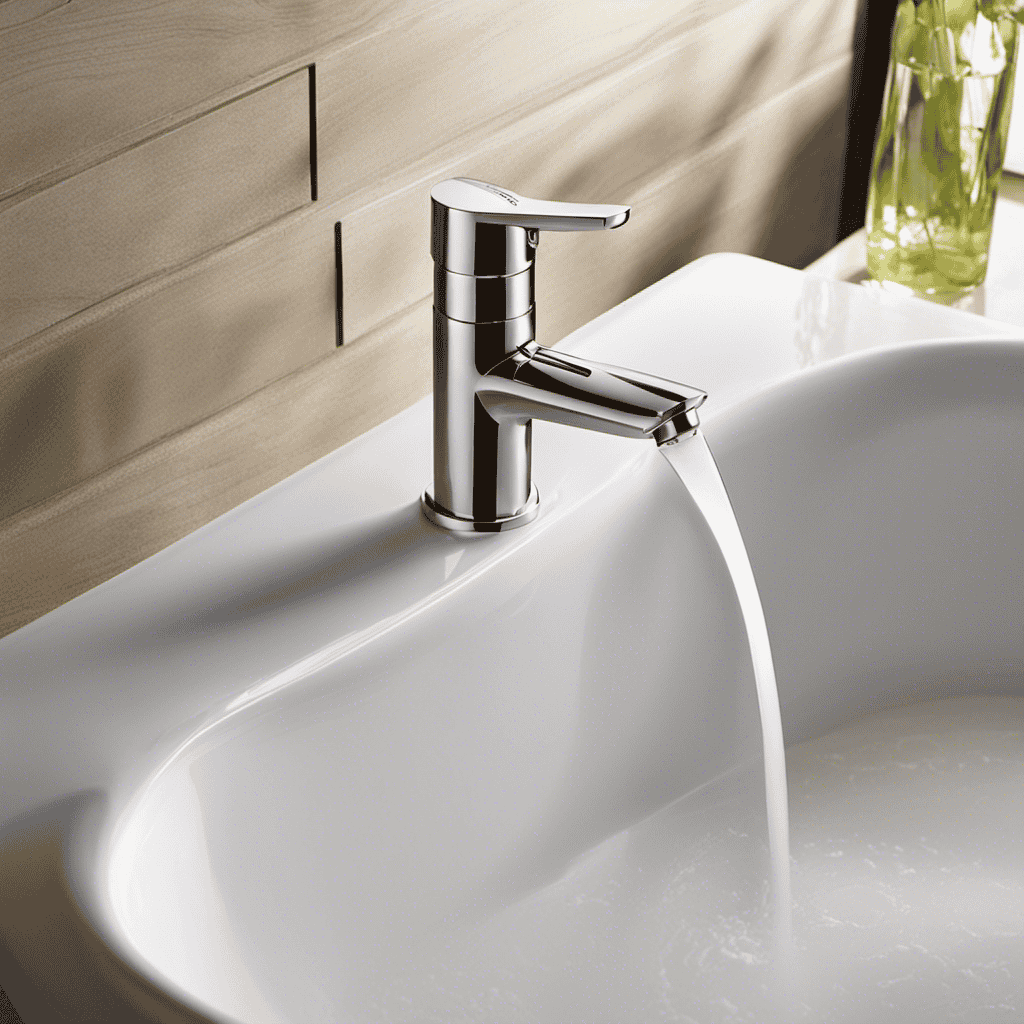
Install the New Moen Bathtub Faucet
Once you’ve removed the old faucet, it’s time to start attaching the new one. Installing bathtub accessories can be a straightforward process if you follow the instructions carefully. To ensure a successful installation, it’s important to troubleshoot common faucet installation issues that may arise.
Here is a step-by-step guide to help you install your new Moen bathtub faucet:
- Begin by placing the rubber gasket onto the faucet base, ensuring a tight seal.
- Insert the faucet into the mounting holes on the bathtub, aligning it properly.
- Secure the faucet in place by tightening the mounting nuts with a wrench.
- Connect the hot and cold water supply lines to the corresponding inlets on the faucet. Use Teflon tape to prevent leaks.
- Finally, turn on the water supply and test the faucet for any leaks or malfunctions.
Test and Check for Leaks
Make sure you turn on the water supply and check for any leaks or malfunctions in your new bathtub faucet. This step is crucial to ensure that your installation was successful and that your faucet is in proper working condition.
Here are some troubleshooting tips and common installation mistakes to watch out for:
- Check for any leaks around the base of the faucet or at the connections.
- Test both the hot and cold water handles to ensure they are functioning properly.
- Look for any signs of water pressure issues, such as weak flow or inconsistent water temperature.
- Verify that the bathtub spout is diverting water correctly when you switch between the shower and tub modes.
- Make sure the drain stopper is closing and opening smoothly without any obstructions.
Conclusion
As I stood back and admired my newly installed Moen bathtub faucet, I couldn’t help but feel a sense of accomplishment washing over me.
The process may have required a few tools and the shutting off of the water supply, but the end result was well worth it.
With each turn of the handle, a river of possibilities flowed through my bathroom, symbolizing the transformative power of taking matters into our own hands.
So go ahead, embrace the challenge, and let the beauty of a new faucet wash away any doubts.