Did you know that a leaky bathtub drain can waste up to 2,000 gallons of water per year? That’s not just a waste of water, but also a drain on your wallet.
In this article, I’ll show you step-by-step how to install a new bathtub drain, saving you both water and money. With the right tools and materials, you’ll be able to remove the old drain, prepare the new one, and install it with ease.
Let’s get started!
Key Takeaways
- Select a compatible and stylish bathtub drain.
- Remove the old drain using a drain wrench or other tools if necessary.
- Prepare the new drain for installation by measuring and cutting the drain pipe and applying plumber’s putty.
- Install the new drain by properly aligning and tightening the drain flange, and check for leaks to ensure a proper seal.
As an affiliate, we earn on qualifying purchases.
Gathering the Necessary Tools and Materials
You’ll need a few tools and materials before you can start installing the new bathtub drain.
Choosing the right bathtub drain is crucial for a successful installation. Make sure to select a drain that is compatible with your bathtub and matches your desired style.
Common mistakes to avoid during installation include using the wrong size drain, failing to properly seal the drain, or not tightening the drain enough. To prevent these errors, measure the diameter of your drain and choose a corresponding size.
Additionally, apply plumber’s putty or silicone caulk around the drain to ensure a watertight seal.
Lastly, use a wrench to securely tighten the drain in place.
Now that you have gathered the necessary tools and materials, it’s time to move on to removing the old drain.
Removing the Old Drain
To start, carefully unscrew the old drain from the bathtub using a drain wrench. This is a crucial step in the process of installing a new bathtub drain.
Here are some drain removal techniques and troubleshooting common drain removal issues that you may encounter:
- Use a drain wrench: This specialized tool is designed to grip the drain securely and provide leverage for unscrewing it.
- Apply lubricant: If the drain is stubborn and won’t budge, applying a lubricant like WD-40 can help loosen it.
- Use pliers or a screwdriver: If the drain wrench doesn’t fit properly or isn’t effective, you can try using pliers or a screwdriver to carefully turn and remove the drain.
Common issues you may encounter include rusted or corroded drains, stripped threads, or drains that are glued in place. In such cases, you may need to seek professional help or consider replacing the entire bathtub.
Preparing the New Drain for Installation
Before beginning, make sure you have all the necessary tools and materials for preparing the new drain for installation. This includes a measuring tape, a hacksaw or pipe cutter, plumber’s putty, and a wrench.
To start, measure and cut the drain pipe to the appropriate length using a measuring tape and a hacksaw or pipe cutter. Remember to account for the depth of the bathtub and the height of the drain assembly.
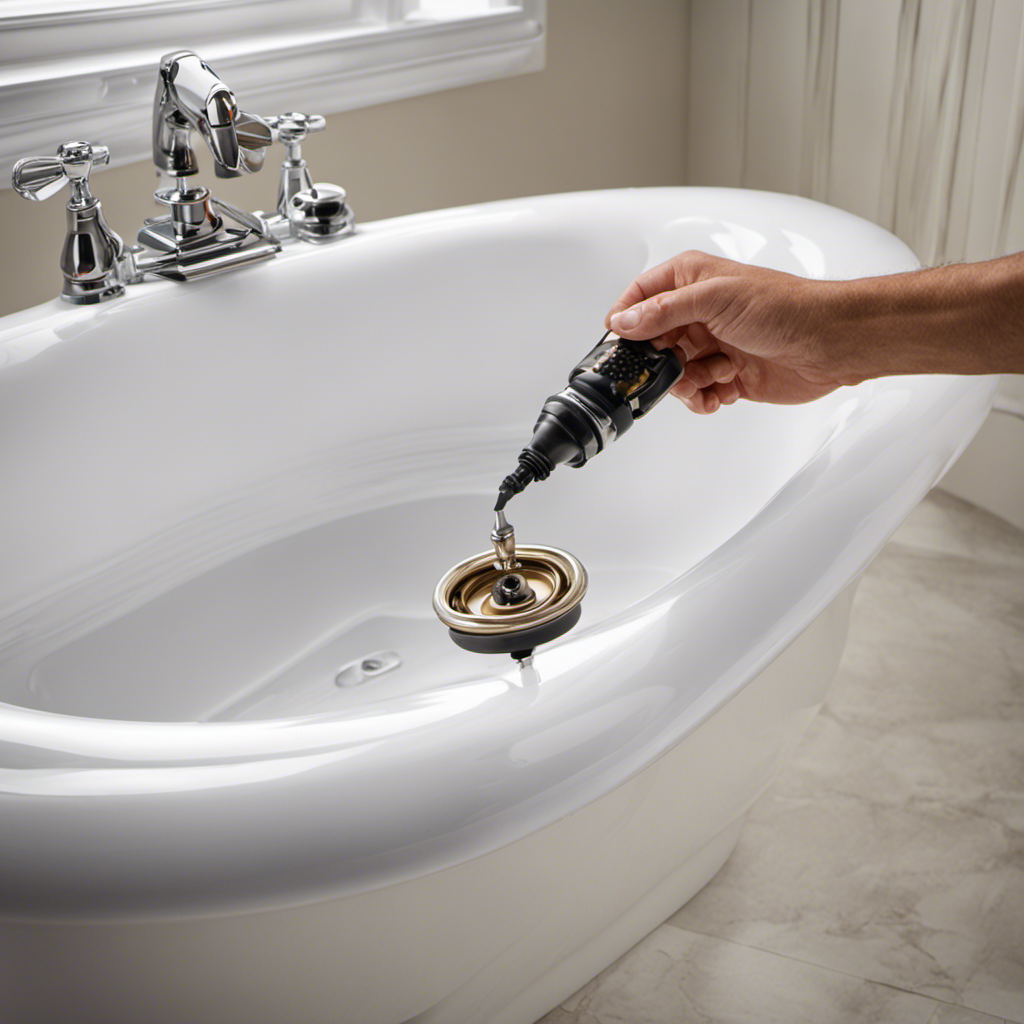
Next, apply plumber’s putty to the bottom of the drain flange. This will create a watertight seal between the drain and the bathtub. Press the drain flange into the drain hole and tighten it using a wrench.
Once the drain is securely in place, test for any leaks by filling the bathtub with water and checking for any drips or puddles around the drain. If necessary, tighten the drain flange further to ensure a tight seal.
Installing the New Drain
Once the drain flange is tightened, it’s important to test for any leaks by filling the bathtub with water and checking for drips or puddles. This step is crucial to ensure a proper seal and prevent any water damage in the future.
Here are some common mistakes to avoid and tips for ensuring a proper seal during the installation of a bathtub drain:
- Apply plumber’s putty or silicone sealant around the drain flange to create a watertight seal.
- Make sure the drain flange is properly aligned and centered before tightening it.
- Use a wrench to tighten the drain flange securely, but be careful not to overtighten, as this can damage the drain or the bathtub.
Testing and Finishing Touches
After tightening the drain flange, it’s important to test for leaks. Fill the bathtub with water and check for any drips or puddles. Proper sealing is crucial in bathtub drain installation to ensure that water flows smoothly and prevents leaks.
One common mistake to avoid during testing and finishing touches is not applying enough plumber’s putty or silicone sealant around the drain flange. This can lead to water leakage and cause damage to the surrounding areas.
Additionally, it’s essential to make sure that the overflow drain is properly aligned and sealed. This prevents water from seeping into unwanted areas.
Another mistake to avoid is overtightening the drain flange. This can cause the gasket to deform and result in leaks.
Taking the time to test for leaks and properly seal the drain will help ensure a hassle-free bathing experience and prevent potential water damage.
Conclusion
After carefully following the step-by-step instructions and gathering all the necessary tools and materials, I successfully installed the new bathtub drain.
It was a challenging process, but the end result is well worth it. Now, I can enjoy a relaxing bath without worrying about any leaks or drainage issues.
The satisfaction of a job well done is overwhelming, and I can’t wait to take my first soak in my newly installed bathtub.
Stay tuned for more exciting DIY adventures!