Are you tired of your old, worn-out bathtub? Ready to upgrade to a luxurious new one? Well, look no further!
In this step-by-step guide, we will walk you through the process of installing a new bathtub. You’ll learn everything from gathering the necessary tools and materials to sealing and caulking the bathtub.
So, let’s dive in and transform your bathroom into a relaxing oasis!
Key Takeaways
- Choose a bathtub that fits your bathroom’s dimensions and style
- Gather all necessary tools and materials for the installation process
- Measure the installation area accurately to ensure a perfect fit
- Remove the old bathtub properly and prepare the installation area for the new bathtub

WOODBRIDGE 67" Acrylic Freestanding Bathtub Contemporary Soaking Tub, White Acrylic (Matte Black Drain/Overflow), B0013-MB-Drain &O
Dimensions and specifications: Exterior dimension 67'' long x 31 1/2'' wide x 22 4/5'' deep, effective tub capacity...
As an affiliate, we earn on qualifying purchases.
Gathering the Necessary Tools and Materials
Before you begin, make sure you have all the necessary tools and materials for installing a new bathtub.
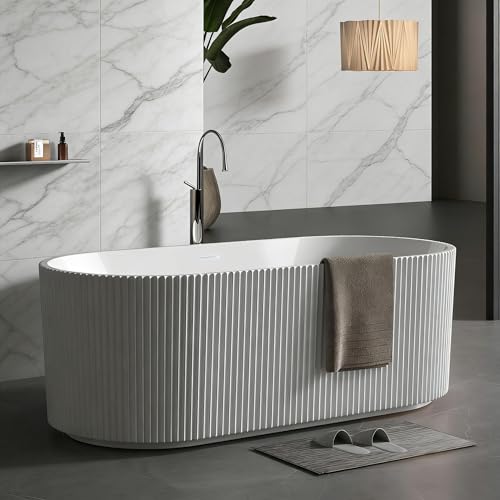
Choosing the right bathtub is essential for a successful installation. Look for a bathtub that fits your bathroom’s dimensions and style. Consider factors like material, size, and shape.
Once you have selected the perfect bathtub, gather the following tools and materials: a tape measure, adjustable wrench, pliers, level, screwdriver, bathtub drain kit, plumber’s putty, caulk gun, and bathtub caulk. Additionally, you may need a saw, hammer, and drill if modifications are required.
These tools will help you complete the installation process efficiently and effectively. Remember to read the manufacturer’s instructions carefully and follow them step-by-step for a seamless installation.

Freestanding Bathtub 67 inch Acrylic Soaking Bathtub with Chrome Drain & Overflow, Free Standing Bathtub for Spa-Inspired Bathroom, Deep Stand Alone Tub for Relaxation
【Deep Soaking Comfort – Melt Away Daily Fatigue】Immerse yourself in a full-body soak that wraps you in relaxation...
As an affiliate, we earn on qualifying purchases.
Measuring and Preparing the Installation Area
Start by measuring and preparing the area where you want to put the bathtub. This step is crucial to ensure a smooth and successful bathtub installation process. Take accurate measurements of the space to determine the size of the bathtub that will fit perfectly. Here are the necessary measurements you need to take:
| Measurement | Description |
|---|---|
| Length | Measure the distance from one wall to the other where the bathtub will be placed. |
| Width | Measure the distance from the back wall to the front edge of the area where the bathtub will be installed. |
| Height | Measure the height from the floor to the top edge of the installation area. |
| Depth | Measure the depth of the installation area from the back wall to the front edge. |
GarveeHome 67'' Freestanding Bathtub, Deep Soaking Tub, Non-Slip Base, Acrylic, cUPC Certified Free Standing Tub, Chrome Drain Bath Tub, Modern Tub for Bathrooms, White
【Premium Acrylic Construction】 Crafted with 4 mm thick high-gloss acrylic, this freestanding bathtub delivers superior heat retention with...
As an affiliate, we earn on qualifying purchases.
Removing the Old Bathtub
To remove the old bathtub, you’ll need to disconnect the plumbing and carefully lift it out of the installation area.
Start by turning off the water supply to the bathtub and opening the drain to release any remaining water.
Next, use a wrench to disconnect the water supply lines and the drain pipe.
Once the plumbing is disconnected, remove any screws or fasteners securing the bathtub to the wall or floor.
With the help of a friend, carefully lift the existing bathtub out of the installation area and set it aside. Be cautious not to damage any surrounding fixtures or walls during the removal process.
Dispose of the old bathtub properly and prepare the installation area for the new bathtub.

59" Acrylic Freestanding Soaking Bathtub, Free Standing Tub, Stylish Stand Alone Contemporary Soaking Tub with Integrated Overflow and Drain In Chrome, cUPC Certified
【RELAXATION-FOCUSED BATHING EXPERIENCE】:Measuring 59 inches long with a 17-18-inch soaking depth, this acrylic bathtub delivers a spacious, ergonomic...
As an affiliate, we earn on qualifying purchases.
Preparing the Plumbing for the New Bathtub
To prepare the plumbing for the new bathtub, there are three key points to consider.
First, you need to assess the existing plumbing compatibility with the new bathtub. This involves checking if the size and configuration of the new bathtub align with the existing plumbing connections.
Next, proper drain installation is crucial to ensure effective water drainage and prevent any leaks. This involves correctly connecting the drain pipe to the new bathtub and ensuring a tight seal.
Lastly, you may need to make water supply adjustments to accommodate the new bathtub. This could involve adjusting the water pressure or installing new valves or connectors.
Existing Plumbing Compatibility
Check if your existing plumbing is compatible with the new bathtub.
Before you begin the installation process, it is crucial to assess your current plumbing system. Start by examining the location and condition of your existing pipes and fixtures. Look for any signs of leaks, corrosion, or other plumbing issues that may affect the compatibility of the new bathtub.
If you notice any problems, it is highly recommended to hire a professional plumber to address these issues before proceeding with the installation. A licensed plumber will have the expertise to identify and resolve any existing plumbing problems, ensuring a smooth and successful installation of your new bathtub.
Proper Drain Installation
Before proceeding with the drain installation, it’s important to ensure that your existing plumbing is compatible and in good condition. Proper drain maintenance is crucial to avoid common issues such as clogs and leaks. To troubleshoot these problems, refer to the table below for step-by-step solutions.
| Common Issue | Troubleshooting Steps |
|---|---|
| Clogged Drain | 1. Use a plunger to try and dislodge the blockage. 2. If the clog persists, use a plumbing snake to break it up. 3. Consider using a chemical drain cleaner as a last resort. |
| Leaking Drain | 1. Tighten the connection between the drain pipe and the bathtub. 2. Replace the rubber gasket or plumbers putty if necessary. 3. If the leak persists, consult a professional plumber. |
Once you have addressed any drain maintenance issues, you can proceed with the installation. But first, let’s move on to the next section about making necessary water supply adjustments.
Water Supply Adjustments
Once you’ve ensured the compatibility and good condition of your existing plumbing, it’s time to make the necessary water supply adjustments.
Begin by adjusting the water pressure. Locate the main water supply valve and turn it off to prevent any water flow.
Next, remove the old faucet by unscrewing it from the water supply pipes. Take this opportunity to inspect the pipes for any signs of corrosion or damage. If necessary, replace the pipes before proceeding.
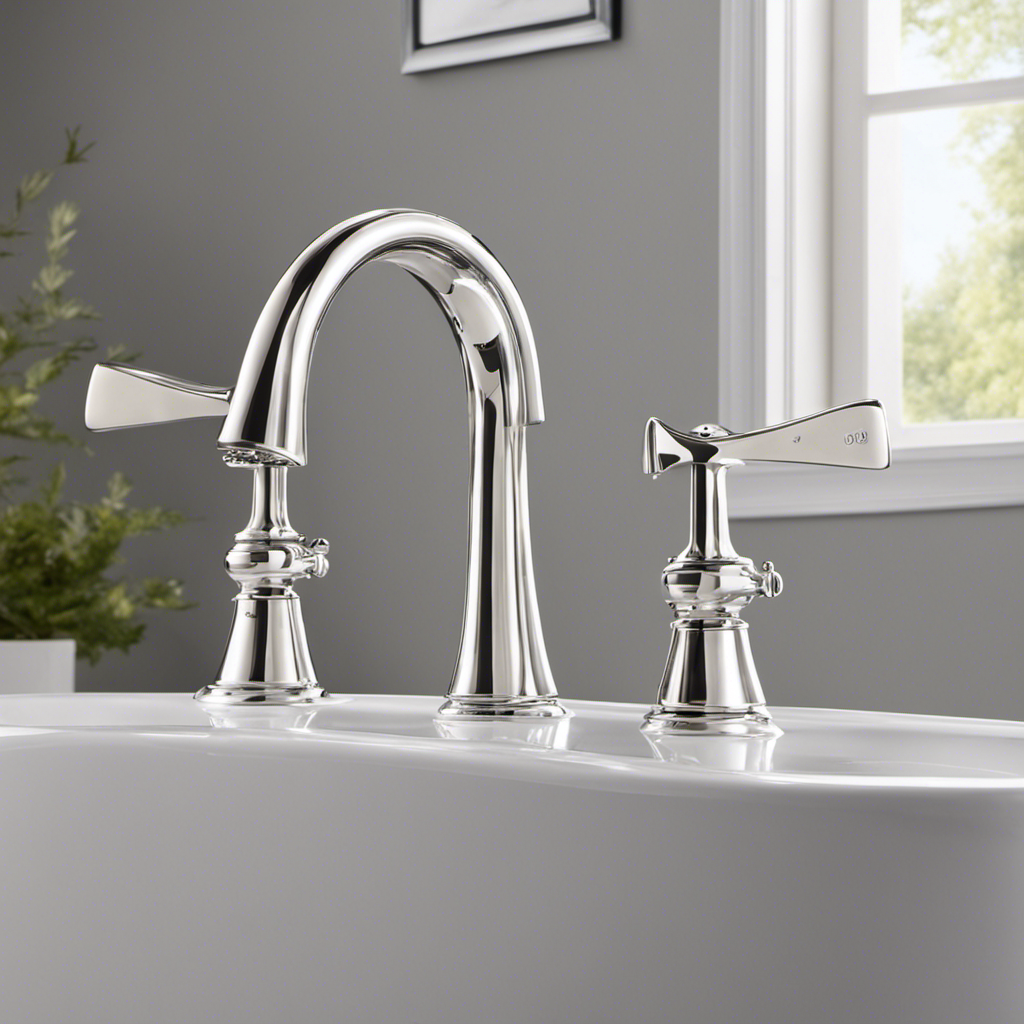
With the old faucet removed, install a new faucet by connecting it to the water supply pipes using a wrench to tighten the fittings.
Once the new faucet is securely in place, turn on the main water supply valve and check for any leaks. Adjust the water pressure as needed to ensure a steady flow of water.
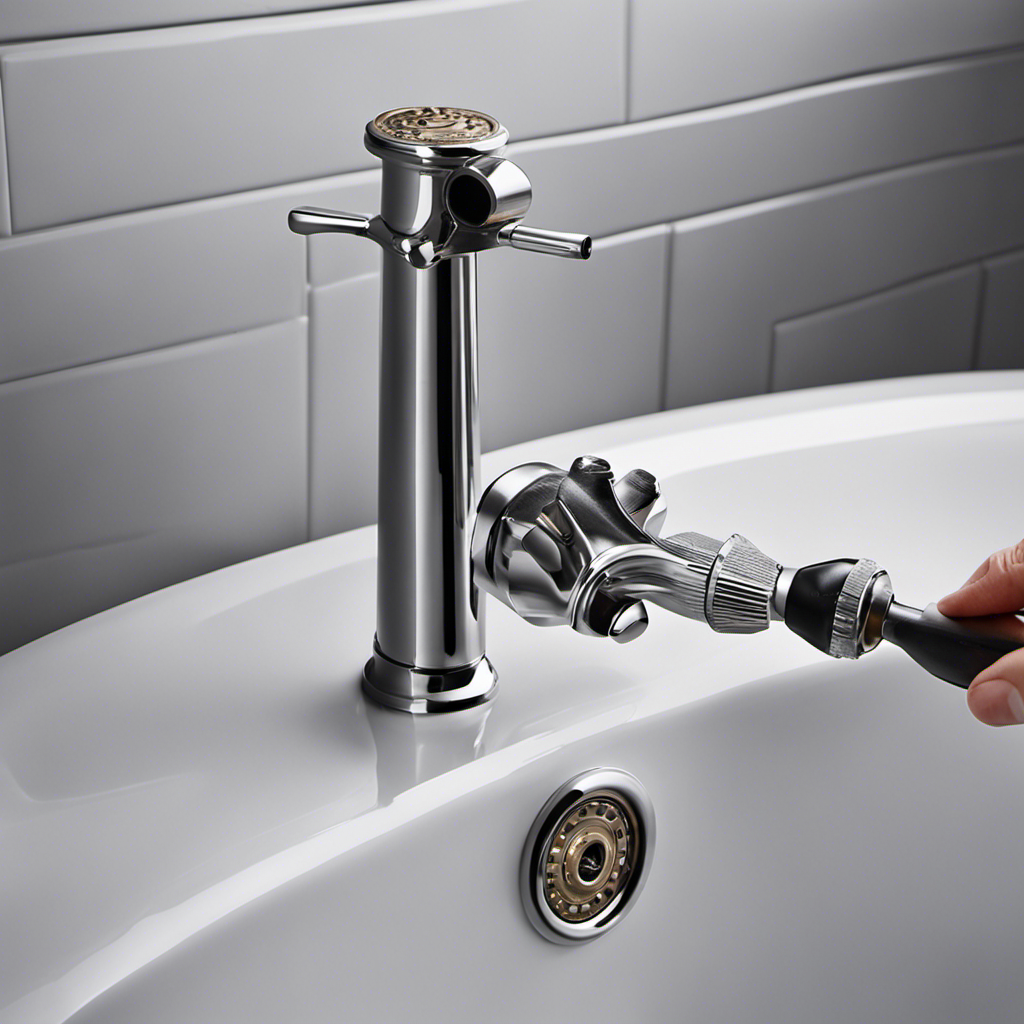
Installing the Bathtub Drain and Overflow
When installing the bathtub drain and overflow, it’s crucial to ensure proper drain pipe alignment. This involves carefully measuring and aligning the drain pipe with the bathtub’s waste outlet to ensure a tight and secure connection.
Choosing the right overflow is also important to prevent water from overflowing and causing damage. Consider factors such as the bathtub’s capacity, water flow rate, and aesthetic preferences when selecting the appropriate overflow for your bathtub installation.
Proper Drain Pipe Alignment
Make sure the drain pipe is properly aligned before installing the new bathtub. Proper alignment of the drain pipe is crucial for the efficient functioning of your bathtub and to prevent any water leakage or damage. Improper alignment can lead to clogs, slow drainage, and even structural issues. To ensure proper alignment, follow these steps:
- Measure and mark the centerline of the drain pipe on the floor.
- Align the drain pipe with the centerline mark and ensure that it is level.
- Use a level to check if the drain pipe is plumb.
- Secure the drain pipe in place using adjustable wrenches and pipe fittings.
- Test the alignment by pouring water down the drain and checking for any leaks.
By properly aligning the drain pipe, you can avoid common installation mistakes and ensure the longevity and functionality of your new bathtub.
| Common Installation Mistakes | Prevention |
|---|---|
| Improper pipe alignment | Measure and mark the centerline of the drain pipe before installation. |
| Uneven or unlevel drain pipe | Use a level to check if the drain pipe is plumb before securing it. |
| Insufficient sealing | Use proper pipe fittings and ensure a secure connection to prevent leaks. |
| Lack of testing | Pour water down the drain to test for leaks before completing the installation. |
| Inadequate support | Properly secure the drain pipe in place using adjustable wrenches and fittings. |
Choosing the Right Overflow
Choosing the right overflow is an important decision to ensure the proper functioning of your bathtub and to prevent any potential water overflow issues. There are different types of bathtub overflow options available, each with its own advantages.
The first type is the standard overflow, which is the most common option. It is installed at the top of the bathtub and includes a drain cover. This type of overflow is easy to install and maintain.
Another option is the pop-up overflow, which has a push-button mechanism that allows you to control the water level in the bathtub. This type of overflow is convenient and allows for a more customizable bathing experience.
Lastly, there is the overflow with a built-in drain, which combines the overflow and drain into one unit. This option is space-saving and provides a clean and minimalist look to your bathtub.
Choose the overflow option that best suits your needs and preferences to ensure a hassle-free bathing experience.
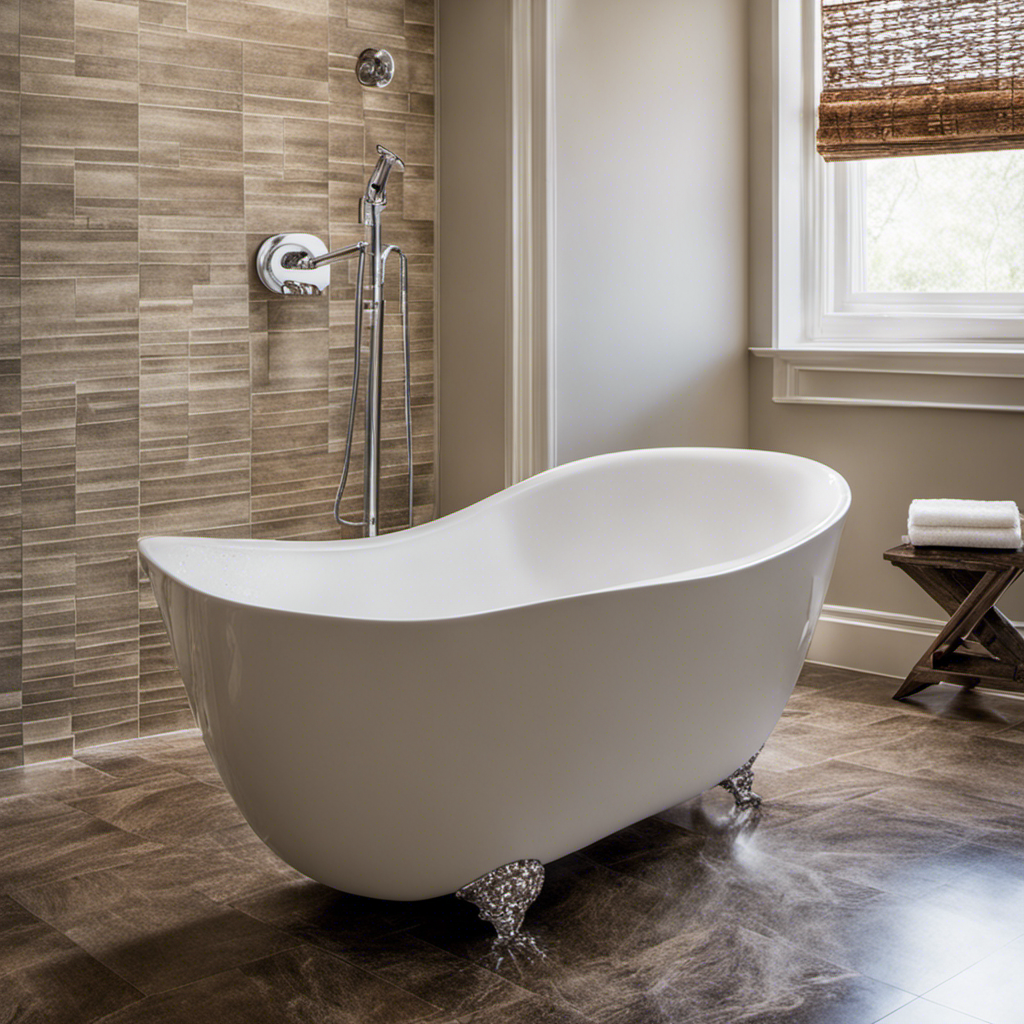
Positioning and Securing the New Bathtub
To ensure stability, it’s important to securely position the new bathtub in place. Follow these step-by-step instructions for leveling and stabilizing the bathtub before attaching the feet.
Start by placing a level on the rim of the bathtub and adjusting the height of the feet until the level indicates a perfectly level position. Once the bathtub is level, secure it in place by attaching the feet. Use a screwdriver to tighten the screws on each foot, ensuring that they are firmly attached to the floor.
Check the stability of the bathtub by applying pressure on different sides. If there is any wobbling or movement, readjust the feet until the bathtub is stable and secure.
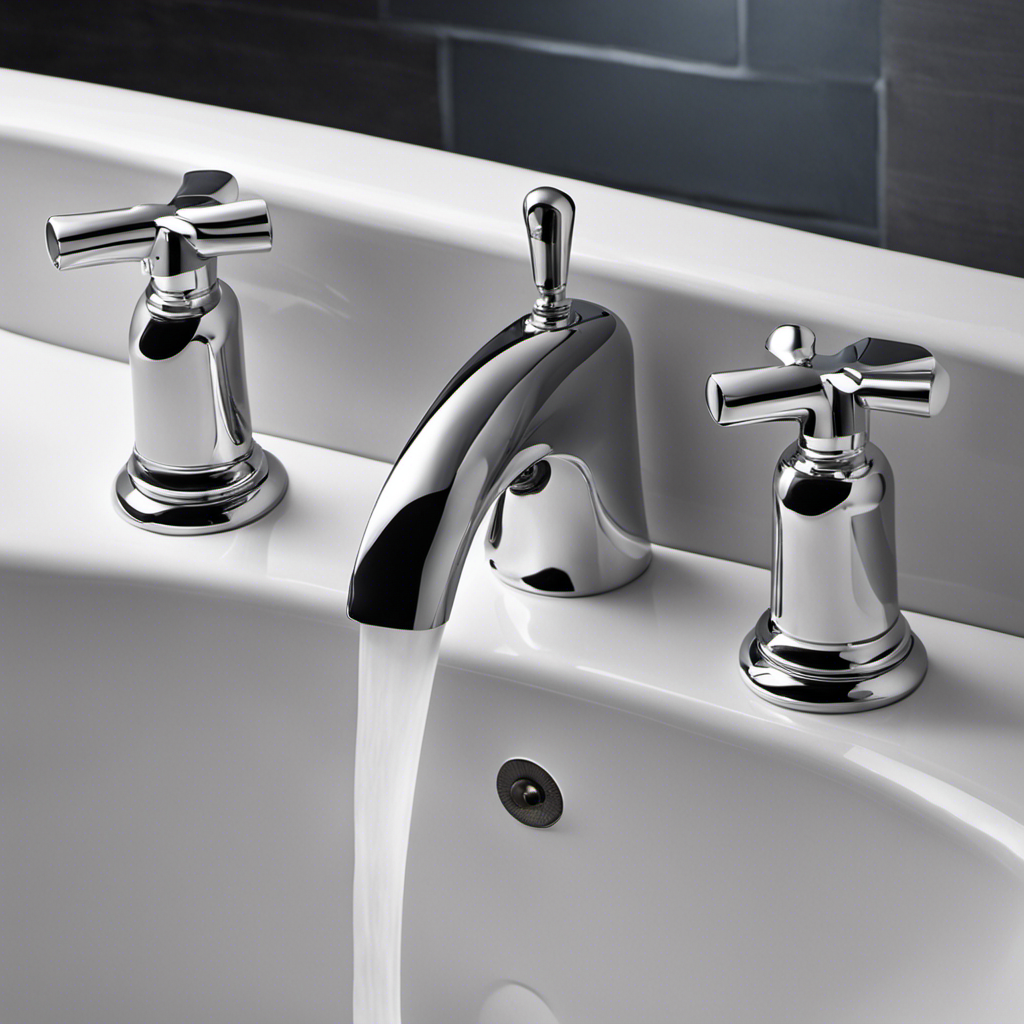
Connecting the Bathtub to the Plumbing
Now that you’ve successfully positioned and secured the new bathtub, it’s time to connect it to the plumbing.
There are three key points to consider in this process:
-
Proper drain connection: Ensure that the bathtub’s drain aligns correctly with the plumbing system. Use a drain wrench to tighten the drain flange and create a watertight seal. This will prevent any leaks or water damage.
-
Water supply attachment: Connect the water supply lines to the bathtub’s faucets. Use a wrench to tighten the connections and ensure they are secure. Make sure to test the water flow to ensure there are no leaks or issues with the supply.
-
Sealant for watertightness: Apply a generous amount of silicone caulk or plumber’s putty around the edges of the bathtub. This will create a watertight seal and prevent any water from seeping into the surrounding areas. Smooth out the sealant with a caulk smoothing tool or your finger for a neat and professional finish.
Following these steps will ensure a smooth and efficient installation of your new bathtub.
Proper Drain Connection
Make sure you’re properly connecting the drain to prevent any potential leaks. The drain connection is a crucial step in installing a new bathtub. To ensure a secure and watertight connection, you need to consider the drain pipe materials and drain pipe size. Here’s a step-by-step guide to help you:
-
Determine the drain pipe size: Measure the diameter of your existing drain pipe or consult the manufacturer’s instructions to determine the correct size.
-
Gather the necessary materials: You’ll need a PVC drain pipe, PVC solvent cement, a drain flange, a drain gasket, and a drain wrench.
-
Attach the drain flange: Apply PVC solvent cement to the inside of the drain flange and slide it over the drain pipe. Press it firmly to create a secure bond.
-
Install the drain gasket: Place the drain gasket over the drain flange, ensuring a tight fit.
-
Connect the drain pipe: Insert the drain pipe into the drain gasket and tighten it with a drain wrench.
By following these steps, you can successfully connect the drain of your new bathtub, ensuring a proper and leak-free installation.
| Steps | Description |
|---|---|
| 1. Determine Size | Measure existing drain pipe or consult manufacturer’s instructions |
| 2. Gather Materials | PVC drain pipe, PVC solvent cement, drain flange, drain gasket, drain wrench |
| 3. Attach Flange | Apply solvent cement, slide flange over pipe, press firmly |
| 4. Install Gasket | Place gasket over flange, ensure tight fit |
| 5. Connect Drain Pipe | Insert pipe into gasket, tighten with wrench |
Water Supply Attachment
By following the steps above, you can ensure a secure and watertight connection for the drain of your new bathtub.
Now, let’s move on to attaching the water supply. It is crucial to consider water pressure and the shut-off valve during this process.
-
Locate the shut-off valve for the water supply line. This valve is usually found near the bathtub or in the basement.
-
Turn off the shut-off valve by rotating it clockwise until it is fully closed. This will stop the flow of water to the bathtub.
-
Connect the water supply line to the bathtub’s water inlet. Use a wrench to tighten the connection, ensuring it is snug and leak-free.
-
Once the connection is secure, slowly open the shut-off valve by rotating it counterclockwise. This will allow water to flow into the bathtub.
-
Check for any leaks around the connection. If there are any, tighten the connection further or apply plumber’s tape to create a watertight seal.
Sealant for Watertightness
To ensure a watertight connection, you should apply sealant around the water supply line connection. Properly applying sealant is crucial in preventing leaks and water damage.
Before starting, make sure you have chosen the right sealant for your bathtub. There are different types of sealants available, such as silicone or latex-based sealants. Read the manufacturer’s instructions to determine which one is suitable for your bathtub material.
Once you have the right sealant, clean the area around the water supply line connection thoroughly. Apply a thin bead of sealant along the joint, making sure to cover the entire connection. Use a caulk gun for precise application. Smooth the sealant with your finger or a caulk tool to create a neat finish.
With the sealant properly applied, you can now move on to sealing and caulking the bathtub for complete water protection.
Sealing and Caulking the Bathtub
Before applying caulk, it’s important to thoroughly clean and dry the edges of the bathtub. This ensures a proper seal and prevents any moisture from seeping through.
To begin, gather your caulking materials, which include a caulk gun, a tube of silicone caulk, and a utility knife.
Next, use a scraper or putty knife to remove any old caulk or residue from the edges of the bathtub. Once the surface is clean, use a cloth or sponge to wipe away any remaining debris.
Now, load the caulk tube into the caulk gun and cut the tip of the caulk tube at a 45-degree angle. Apply a steady bead of caulk along the edges of the bathtub, making sure to fill in any gaps or cracks.
Smooth the caulk with a caulk smoothing tool or your finger, removing any excess.
Allow the caulk to dry for at least 24 hours before using the bathtub.
Testing the Bathtub for Leaks
After applying the caulk, you can test the bathtub for leaks by filling it with water and observing for any signs of water leakage. Here are the steps to follow for testing the bathtub:
-
Fill the bathtub with water. Make sure to fill it to the recommended level for testing purposes.
-
Allow the water to sit in the bathtub for at least 24 hours. This will give enough time to identify any leaks.
-
During this period, regularly check the water level. If the water level drops significantly, it indicates a leak.
-
Inspect the surrounding areas of the bathtub, including the caulked joints and drain, for any signs of water leakage.
By following these testing methods, you can troubleshoot any leaks in the bathtub.
Once you have completed the testing process and ensured that there are no leaks, you can move on to the finishing touches and clean-up.
Finishing Touches and Clean-Up
Now that you have tested the bathtub for leaks, it’s time to move on to the finishing touches and clean-up. This step is crucial to ensure that your new bathtub is installed properly and looks its best.
First, gather all the necessary cleaning supplies, such as a sponge, mild detergent, and a soft cloth. Start by wiping down the entire surface of the bathtub to remove any dust or debris. Pay special attention to the edges and corners.
Next, perform a final inspection to make sure there are no visible scratches or damage. If everything looks good, give the bathtub a thorough rinse with clean water. Finally, dry the bathtub with a soft cloth to prevent water spots.
Congratulations, you’re now ready to enjoy your newly installed bathtub!
Frequently Asked Questions
How Long Does It Typically Take to Install a New Bathtub?
Typically, bathtub installation takes about 4-6 hours, depending on the complexity. First, remove the old tub and prepare the area. Next, install the new bathtub following manufacturer instructions. Consider hiring a professional for efficiency and to avoid costly mistakes.
Can a New Bathtub Be Installed Without Hiring a Professional?
You can install a new bathtub without hiring a professional. You’ll need bathtub installation tools and can estimate the bathtub installation cost. Follow these step-by-step instructions for a successful DIY project.
What Are Some Common Mistakes to Avoid During the Bathtub Installation Process?
When installing a new bathtub, avoid common mistakes like inadequate waterproofing, improper leveling, and neglecting to secure the drain properly. Troubleshooting tips include checking for leaks and ensuring proper water flow.
Is It Necessary to Reinforce the Floor Before Installing a New Bathtub?
Before installing a new bathtub, reinforcing the floor is necessary to ensure its stability and prevent any potential damage. This step is crucial in the bathtub installation process to ensure long-term durability and safety.
Are There Specific Regulations or Building Codes to Follow When Installing a New Bathtub?
When installing a new bathtub, it is crucial to adhere to building code requirements and safety regulations. These guidelines ensure proper installation and prevent any potential hazards. Familiarize yourself with these rules before starting the installation process.
Conclusion
Congratulations! You’ve successfully installed your new bathtub, transforming your bathroom into a luxurious oasis.
Just like fitting the final piece of a puzzle, this installation process requires precision and attention to detail.
Much like a skilled conductor leading an orchestra, you orchestrated each step seamlessly, ensuring that all components worked harmoniously.
As you relax in your new bathtub, let it serve as a reminder that with patience and careful planning, any home improvement project can be accomplished.