
Have you ever wondered how to install an acrylic bathtub? Well, you’re in luck! In this article, I’ll guide you through the step-by-step process of installing an acrylic bathtub in your bathroom.
From choosing the right bathtub to sealing and finishing the installation, I’ll provide you with all the information you need to successfully complete this project.
So, let’s get started and transform your bathroom into a relaxing oasis!
Key Takeaways
- Factors to consider when choosing an acrylic bathtub include size, style, and durability.
- Acrylic bathtubs are low-maintenance, long-lasting, and resistant to stains and scratches.
- Acrylic bathtubs retain heat better than other materials, providing a comfortable bathing experience.
- Proper preparation, including clearing obstacles, ensuring proper plumbing alignment, and checking for leaks or damage, is necessary before installation.

Tub Repair Kit White, Tub Chip and Bathtub Repair Kit for Enamel, Fiberglass, Acrylic, Porcelain, Patch and Repairs Chips, Crack, Scratches, Rust, Holes on Tubs, Toilet, Sink, Shower, Tray in Bathroom
- Instantly Restores Glossy White Finish: Covers chips, cracks, and scratches seamlessly
- Strong, Durable Coverage: Resists scratches, rust, and high temperatures
- Waterproof, Stain-Resistant Finish: Prevents yellowing and stains over time
As an affiliate, we earn on qualifying purchases.
As an affiliate, we earn on qualifying purchases.
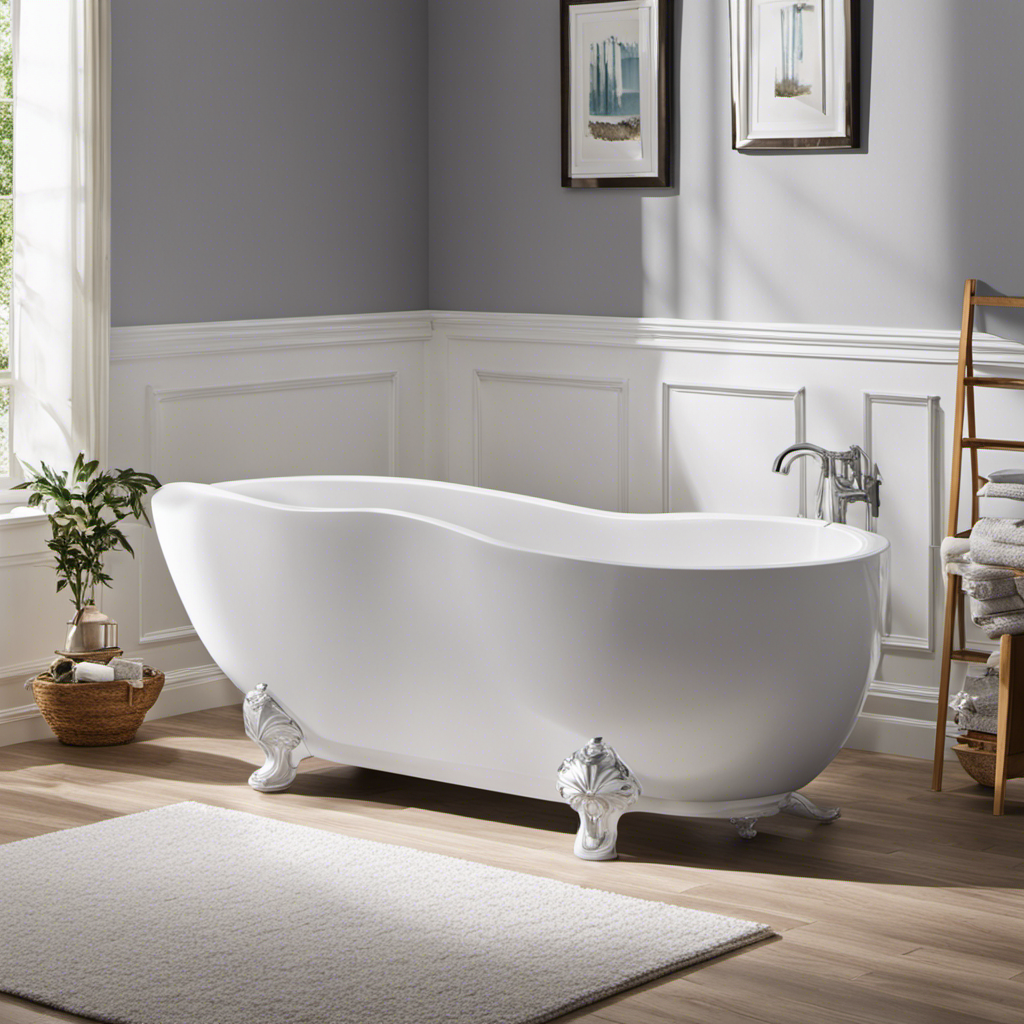
Choosing the Right Acrylic Bathtub
When choosing the right acrylic bathtub, you’ll want to consider factors such as size, style, and durability. Acrylic bathtubs are a popular choice due to their low-maintenance and long-lasting nature.
One of the main benefits of acrylic bathtubs is their ease of maintenance. Unlike other materials, acrylic is resistant to stains and scratches, making cleaning a breeze. To keep your acrylic bathtub looking its best, simply wipe it down with a mild cleanser and a soft cloth. Avoid using abrasive cleaners or scrubbing brushes, as they can damage the surface.
Additionally, acrylic bathtubs retain heat better than other materials, providing a more comfortable bathing experience.
With proper care and maintenance, your acrylic bathtub can last for many years to come.
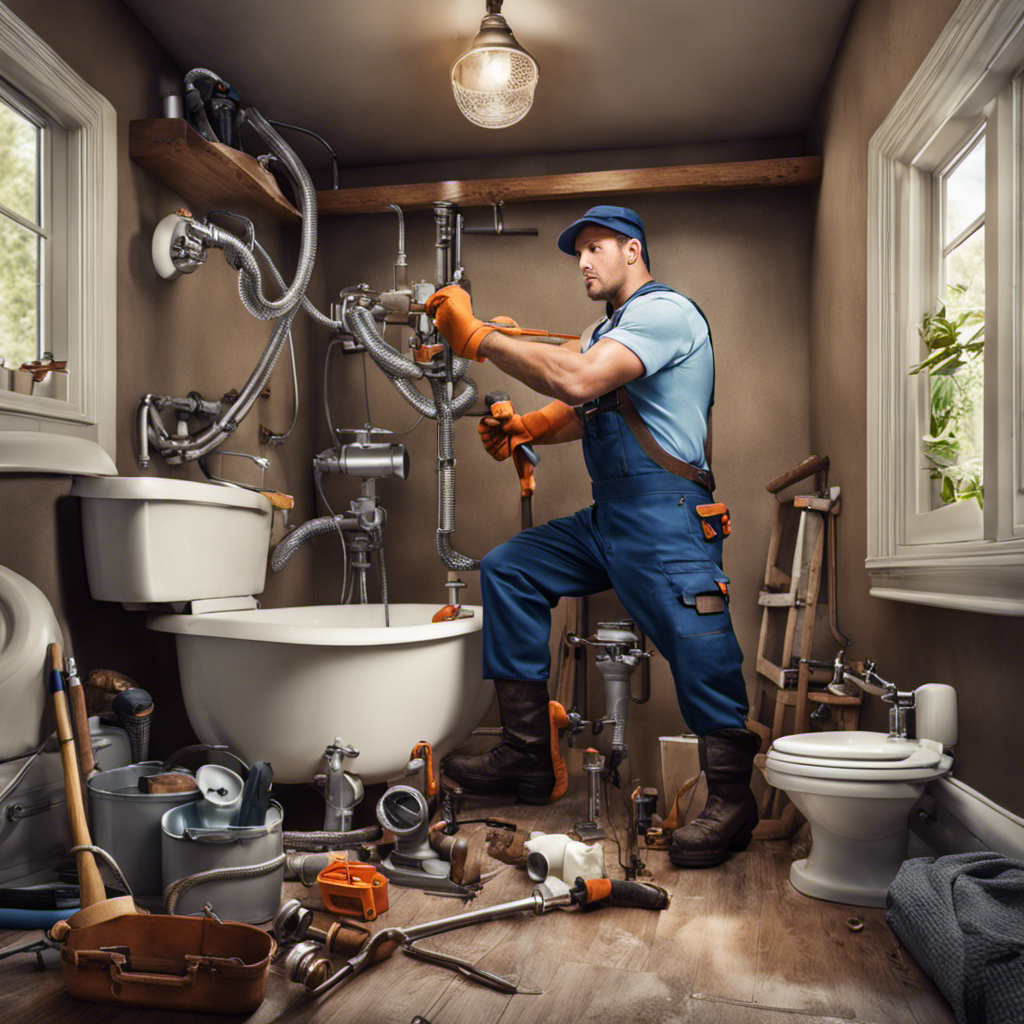
Preparing the Bathroom for Installation
To start preparing your bathroom for installation, you’ll first need to clear away any obstacles in the area. Take a good look at your bathroom layout and consider the plumbing considerations. Make sure there’s enough space for the acrylic bathtub and that the plumbing connections align properly.
Next, turn off the water supply to the bathroom and disconnect any existing fixtures or pipes that may be in the way. Remove the old bathtub if necessary and clean the area thoroughly. Check for any leaks or damage in the plumbing system and make repairs if needed.
Once you’ve cleared the space and ensured the plumbing is in good condition, you’re ready to move on to installing the drain and overflow system.
In order to install the drain and overflow system, you’ll need a few tools and materials.
Installing the Drain and Overflow System
Once you’ve cleared the space and ensured the plumbing is in good condition, you’re ready to start with the installation of the drain and overflow system.
Begin by placing the drain assembly into the hole at the bottom of the bathtub. Secure it in place using the provided screws or brackets.
Next, connect the overflow pipe to the overflow opening on the bathtub. Make sure to use plumber’s putty or silicone sealant to create a watertight seal.
Once the drain and overflow system are securely attached, test for any leaks by filling the bathtub with water and checking for any drips or seepage.
If everything is in order, you can move on to the next step of securing and leveling the acrylic bathtub.
Securing and Leveling the Acrylic Bathtub
Make sure you secure and level the bathtub properly to ensure it stays in place and doesn’t wobble. To level the bathtub, start by checking the floor for any uneven spots. If you find any, use shims to level them out.
Next, position the bathtub in its desired location and mark the outline on the floor. Apply a generous amount of construction adhesive to the bottom of the tub and set it in place. Secure the bathtub by using screws or nails to attach it to the wall studs. Make sure to follow the manufacturer’s instructions for proper securing methods.
Sealing and Finishing the Installation
To ensure a watertight seal, you should apply silicone caulk around the edges of the tub and the wall. This step is crucial in preventing any water leakage and maintaining the longevity of your bathtub installation.
Before applying the caulk, make sure the area is clean and dry. Use a mild detergent and warm water to clean the surface thoroughly. Once clean, allow it to dry completely.
Next, cut the tip of the caulk tube at a 45-degree angle and load it into a caulk gun. Apply a thin and even bead of caulk along the edges of the tub and the wall, making sure to fill any gaps or cracks. Smooth out the caulk with a caulk finishing tool or your finger.
Allow the caulk to fully cure before using the bathtub. Regular cleaning and maintenance will help prolong the life of the caulk and keep it looking fresh.
Conclusion
In conclusion, installing an acrylic bathtub is a straightforward process that can be done with a few basic tools and some patience. By following the steps outlined in this article, you can successfully install your own bathtub and enjoy a luxurious bathing experience in no time.
For example, Sarah, a homeowner in need of a bathroom renovation, followed these steps and was able to install her new acrylic bathtub without any issues. She now enjoys relaxing baths and is proud of her DIY project.
So why not give it a try and transform your bathroom into a personal oasis?