I’ve always heard that a bathroom makeover is one of the best ways to freshen up your home. And what better way to start than by installing an alcove bathtub?
In this step-by-step guide, I’ll show you how to choose the perfect bathtub, prepare your bathroom for installation, and connect the plumbing and drainage.
We’ll even cover the sealing and finishing touches to ensure a professional-looking installation.
So, let’s roll up our sleeves and get started on transforming your bathroom into a luxurious oasis.
Key Takeaways
- Consider the size of your bathroom when choosing an alcove bathtub.
- Acrylic and fiberglass are common materials for alcove bathtubs.
- Measure the dimensions of the bathroom to ensure a proper fit.
- Connect the bathtub drain to the main drain line using PVC pipes and fittings.

KINGSTON BRASS VTDE603122R 60-Inch Contemporary Alcove Acrylic Bathtub with Right Hand Drain and Overflow Holes, White
Acrylic construction with fiberglass and resin reinforcement, three wall alcove installation with tile flange and integral tub apron…
As an affiliate, we earn on qualifying purchases.
As an affiliate, we earn on qualifying purchases.
Choosing the Right Alcove Bathtub
When choosing the right alcove bathtub, it’s important to consider the size of your bathroom.
First, let’s talk about bathtub materials. Alcove bathtubs are usually made of acrylic or fiberglass. Acrylic is a popular choice because it is lightweight, durable, and easy to clean. Fiberglass is another option, which is also lightweight and offers good insulation.
Next, let’s discuss alcove bathtub dimensions. Measure the space in your bathroom to determine the appropriate size for your alcove bathtub. Standard alcove bathtubs are typically 60 inches long, 30 inches wide, and 15 inches deep. However, you can find variations in size to fit your specific needs.
Once you have chosen the right alcove bathtub, it’s time to prepare the bathroom for installation by clearing the area and checking the plumbing connections.
KINGSTON BRASS VTDE603122R 60-Inch Contemporary Alcove Acrylic Bathtub with Right Hand Drain and Overflow Holes, White
Acrylic construction with fiberglass and resin reinforcement, three wall alcove installation with tile flange and integral tub apron…
As an affiliate, we earn on qualifying purchases.
As an affiliate, we earn on qualifying purchases.
Preparing the Bathroom for Installation
To get your bathroom ready for installation, you’ll need to clear out any furniture or obstacles in the area. Here are the steps to prepare your bathroom for the installation of an alcove bathtub:
- Measure the dimensions of the bathroom to ensure that the alcove bathtub will fit properly.
- Remove any existing fixtures, such as a shower stall or old bathtub, that may be in the way.
- Disconnect the water supply lines and drain pipes connected to the existing fixtures.
- Remove any tile or flooring that may need to be replaced or repaired before the installation.
- Clean the area thoroughly to ensure a clean and smooth surface for the new alcove bathtub.
Punhard Kitchen Faucet Installation Tool Set – Faucet Wrench for Easy Removal & Installation, Compatible with Moen 118305 Collection, Faucet Repair Kit
Compatible with Moen 118305: Designed specifically for Moen 118305 series replacement parts, this tool is ideal for tightening…
As an affiliate, we earn on qualifying purchases.
As an affiliate, we earn on qualifying purchases.
Installing the Alcove Bathtub Frame
Once you’ve prepared the bathroom, you should begin by attaching the frame for your new alcove bathtub. The framing process is crucial to ensure the stability and support of the bathtub.
To start, gather the necessary tools such as a drill, screws, and a level. Measure and mark the placement of the frame on the walls, making sure it aligns with the dimensions of the bathtub. Use the drill to secure the frame to the studs, ensuring it is level and plumb. Double-check the stability of the frame before proceeding to the next step.
With the frame securely in place, you are now ready to move on to connecting the plumbing and drainage, ensuring a fully functional and efficient alcove bathtub installation.

Bathroom Sink Drain Kit,for Most 1-1/4” Bathroom & Kitchen Sink Drain Repair,1-1/4” P Trap or S Trap Sink Plumbing Kit,Sink Pipe Replacement Parts
Universal Compatibility: This bathroom sink drain repair kit include many sink drain tubular parts ,can be installed to…
As an affiliate, we earn on qualifying purchases.
As an affiliate, we earn on qualifying purchases.
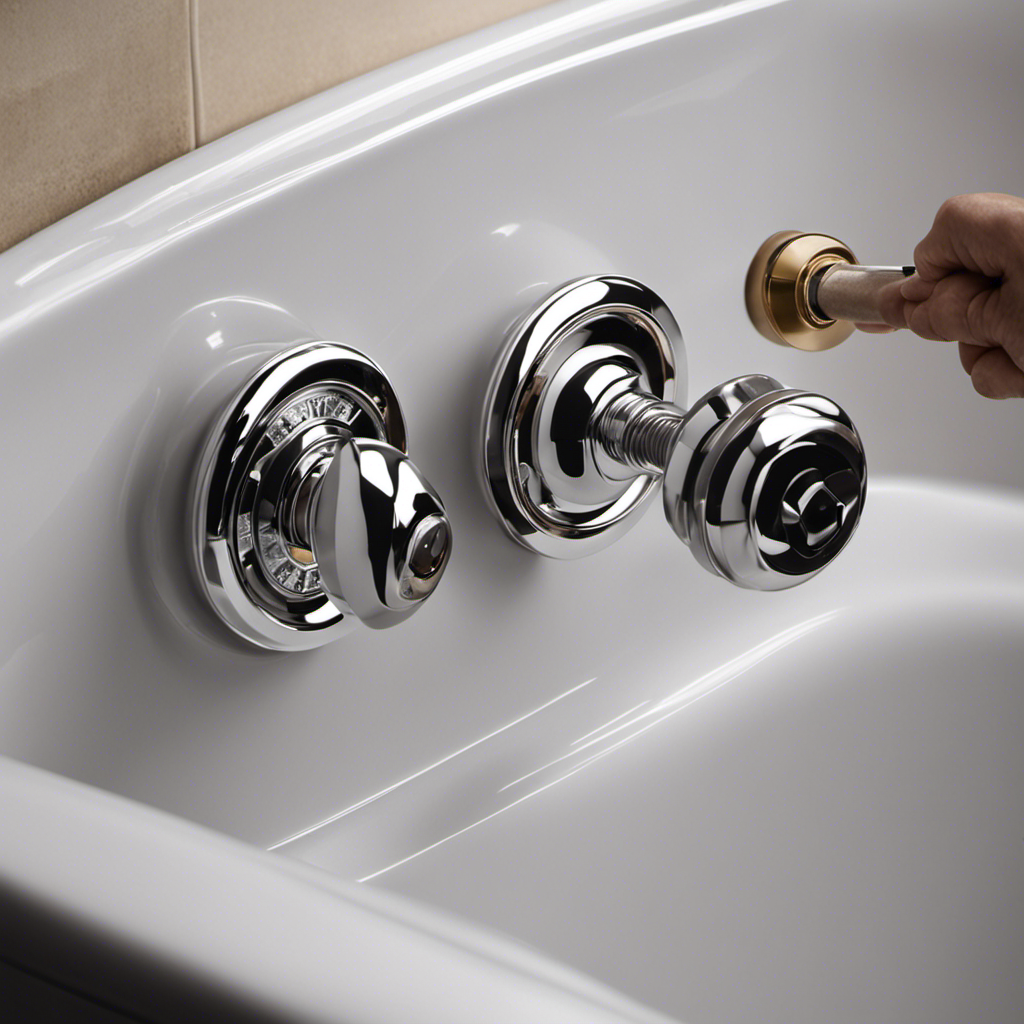
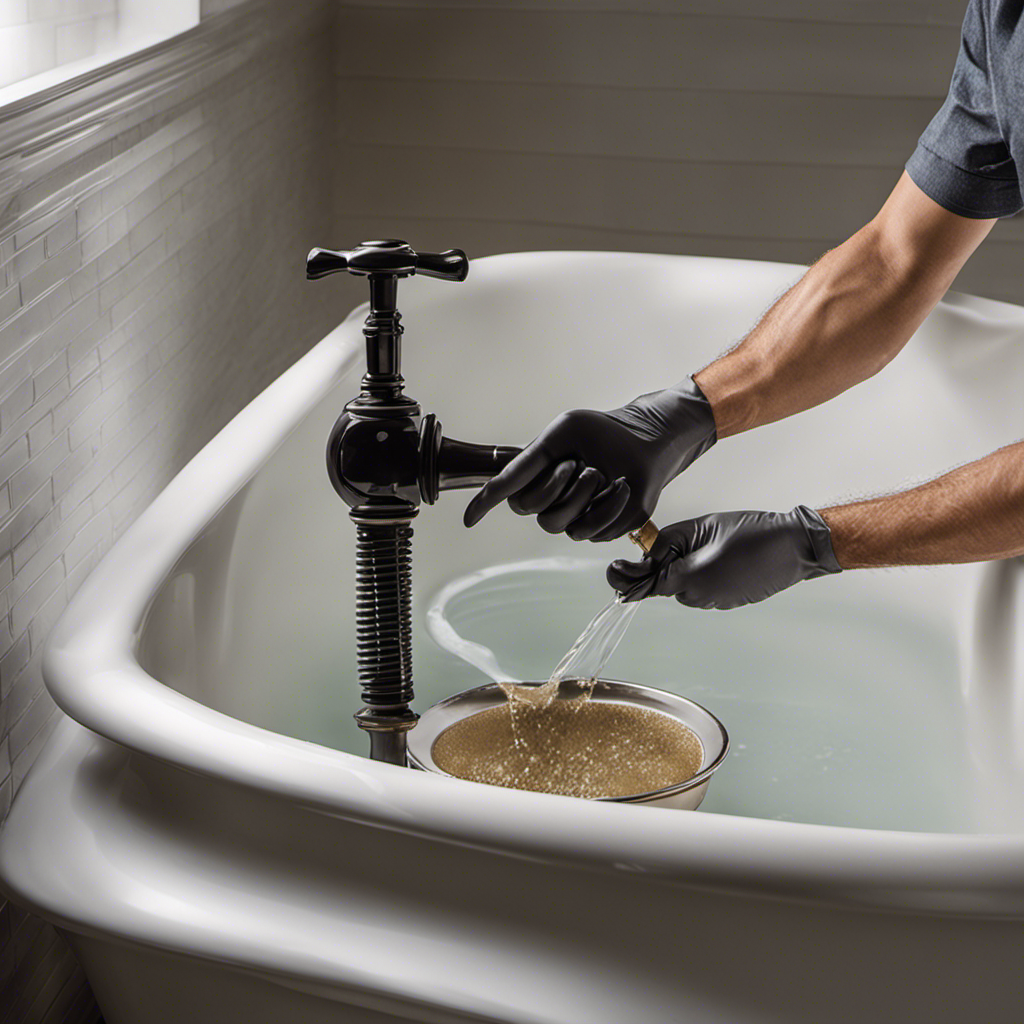
Connecting the Plumbing and Drainage
Make sure you have the necessary plumbing and drainage components ready before connecting them to ensure a smooth and efficient installation process. Here are the steps to connect the pipes and troubleshoot drainage:
-
Gather the required tools: pipe wrench, PVC glue, Teflon tape, and a hacksaw.
-
Start by connecting the bathtub drain to the main drain line using PVC pipes and fittings.
-
Apply Teflon tape to the threaded connections to prevent leaks.
-
Use a pipe wrench to tighten the connections securely.
-
Test the drainage system by filling the bathtub with water and checking for any leaks or slow drainage.
If you experience any issues, such as leaks or slow drainage, troubleshoot by checking for loose connections, blockages, or improper pipe slope. Adjust or replace components as needed to ensure proper functioning.
Sealing and Finishing the Alcove Bathtub Installation
After sealing and finishing the alcove bathtub installation, ensure that all edges are properly caulked to prevent water leakage. Properly caulking the bathtub is essential for maintaining its durability and preventing water damage. Follow these step-by-step instructions to ensure a watertight seal:
-
Clean the edges: Use a mild detergent or rubbing alcohol to clean the edges of the bathtub and remove any dirt or debris. Make sure the surface is dry before proceeding.
-
Choose the right caulk: Select a high-quality silicone caulk that is specifically designed for bathroom use. This type of caulk is waterproof and resistant to mold and mildew.
-
Apply the caulk: Cut the tip of the caulk tube at a 45-degree angle and load it into a caulk gun. Starting at one corner, apply a thin and even bead of caulk along the edge of the bathtub.
-
Smooth the caulk: Use a caulk smoothing tool or your finger to smooth out the caulk and create a clean finish. Wipe away any excess caulk with a damp cloth.
-
Let it cure: Allow the caulk to cure for at least 24 hours before using the bathtub. This will ensure a strong and durable seal.
Regularly inspect the caulked edges of your bathtub and recaulk if necessary to prevent any water leakage and potential water damage.
Conclusion
To wrap up, installing an alcove bathtub may seem daunting, but with the right steps, it can be a smooth process.
By choosing the right bathtub and preparing the bathroom properly, you set yourself up for success.
Installing the frame, connecting the plumbing, and sealing the bathtub are crucial final steps.
Remember, ‘practice makes perfect,’ so don’t be discouraged if it takes a few tries to get everything just right.
Soon enough, you’ll be enjoying a relaxing soak in your newly installed alcove bathtub.