
I’ve got a theory for you: installing a bathtub faucet handle doesn’t have to be a daunting task. In fact, with the right tools and a little know-how, it can be a straightforward and satisfying DIY project.
So, if you’re ready to give your bathroom a fresh update or fix that leaky handle, I’m here to guide you through the step-by-step process.
Let’s gather our tools and get started on installing your new bathtub faucet handle.
Key Takeaways
- Choose the right type of faucet handle that matches your bathtub’s design and style.
- Remove the old faucet handle by loosening the screw and carefully pulling it away.
- Ensure compatibility of the new handle and properly align it with the valve stem before tightening the screws.
- Test the newly installed handle for smooth turning, check for debris or damage in the cartridge or valve, and ensure even flow and temperature of the water supply.

Bluevua Official RO100ROPOT 4-Pack Replacement Filter Set, Pack of 1 PP Filter and 1 CTO Filter and 1 RO Filter and 1 PCF Filter
- Complete Filter Set: Includes PP, CTO, RO, and PCF filters
- Easy to Replace: No tools or water shut-off needed
- Long-Lasting Filters: Filters last up to 2 years
As an affiliate, we earn on qualifying purchases.
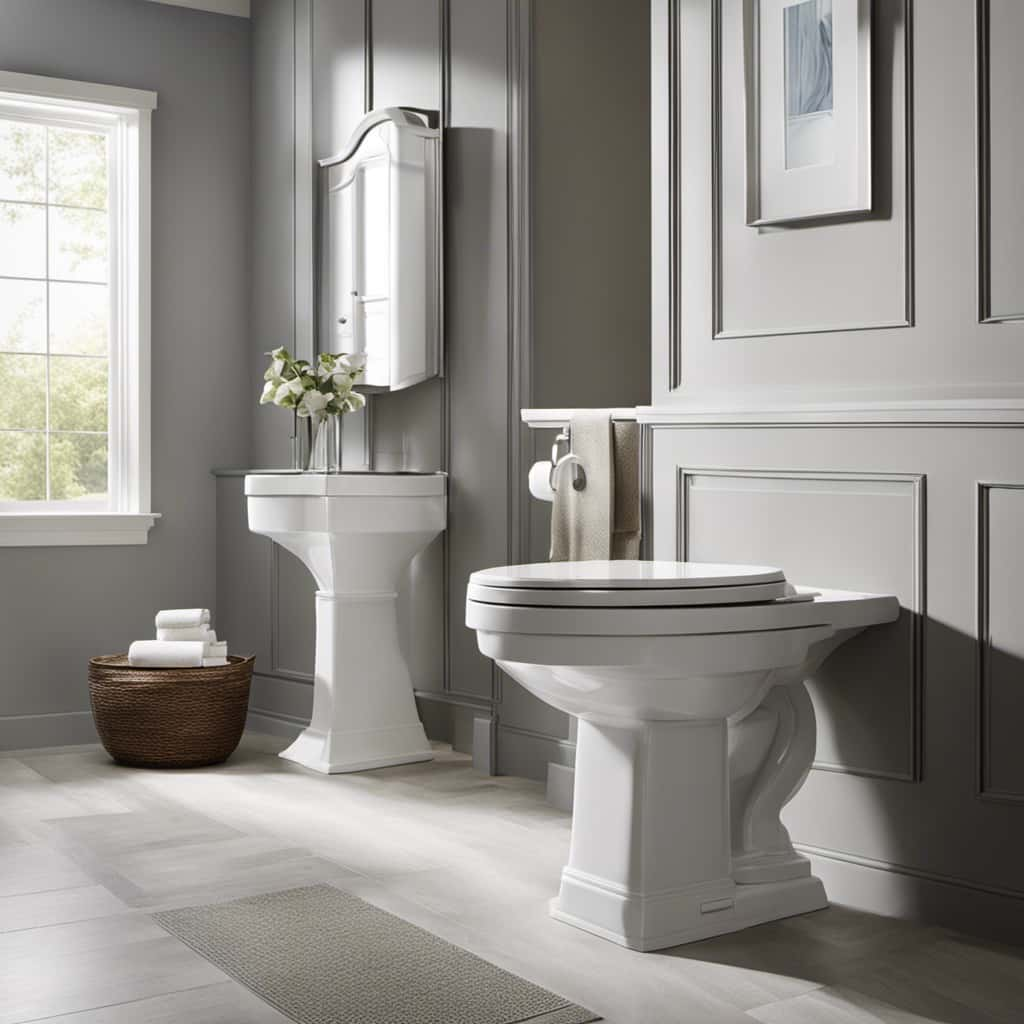
Gathering the Necessary Tools and Materials
You’ll need a few tools and materials to get started on installing the bathtub faucet handle.
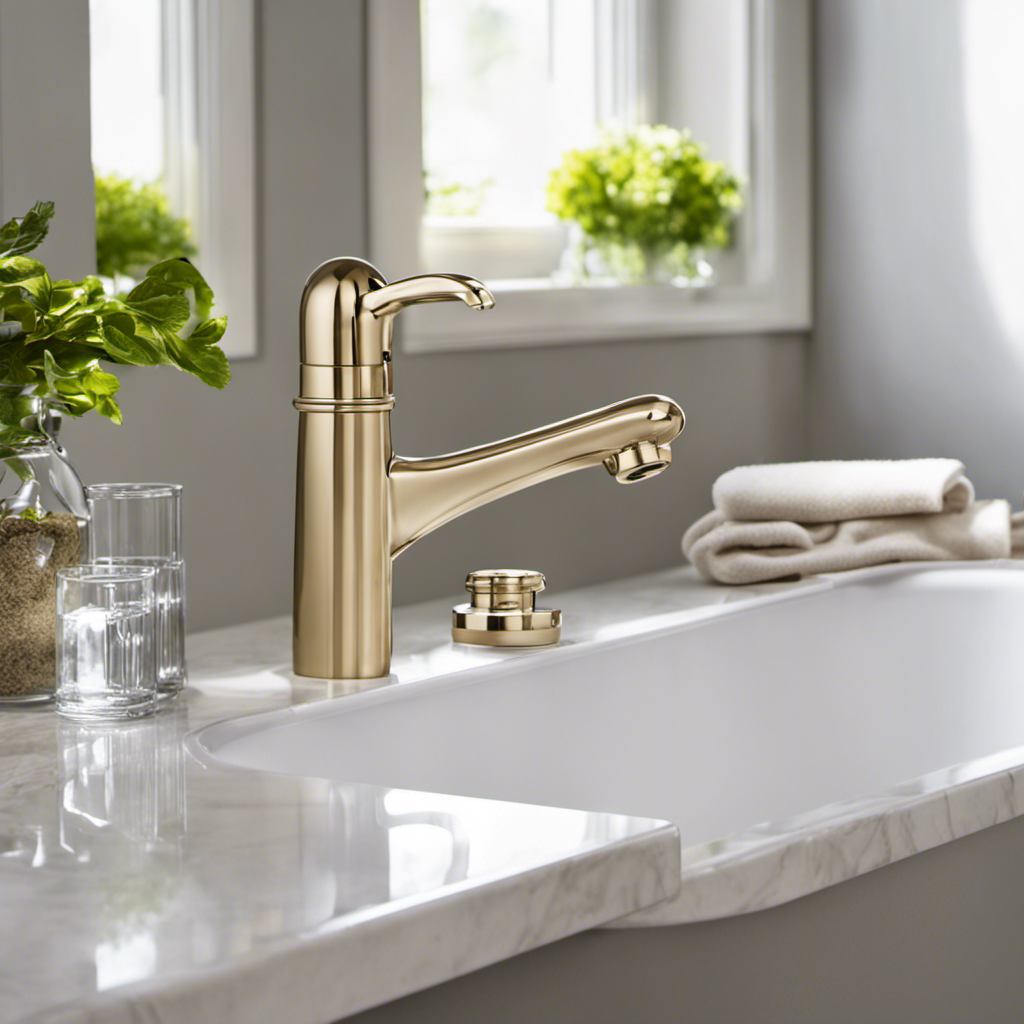
First, make sure to choose the right type of faucet handle that matches your bathtub’s design and style. There are various options available, such as single-handle, double-handle, or lever handles.
Once you have your chosen handle, it’s important to understand the different parts of a bathtub faucet handle. These typically include the handle itself, the escutcheon plate, the valve stem, the cartridge, and the trim. Each part plays a crucial role in the functioning of the handle.
Now that you have gathered the necessary tools and materials and understand the different parts, it’s time to move on to the next step of removing the old faucet handle.
Removing the Old Faucet Handle
To remove the old faucet handle, simply locate the small screw on the side and use a screwdriver to loosen it. Once the screw is loose, carefully pull the handle away from the faucet. If the handle doesn’t come off easily, you may need to wiggle it back and forth while pulling.
If the handle is stuck, try using a lubricant to loosen any rust or debris that may be causing the issue. If the handle is still not budging, you may need to use a handle puller tool to apply more force.
Once the old handle is removed, you can proceed with replacing it with a new one. Remember to choose a handle that matches your faucet’s design and measurements.
Preparing the New Faucet Handle for Installation
Once you’ve chosen the perfect new handle, it’s time to get it ready for installation. Before you begin, make sure you have all the necessary tools, such as a screwdriver and plumber’s tape.
One common mistake to avoid is not checking the compatibility of the new handle with your existing faucet. Ensure that the new handle is compatible with the type of faucet you have in your bathtub. Additionally, consider the style and design of the handle to ensure it matches the overall look of your bathroom.
Another mistake to avoid is not properly aligning the handle with the valve stem. Take your time to carefully align the handle before tightening the screws.
By following these tips and avoiding common mistakes, you can ensure a smooth and successful installation of your new faucet handle.
Now, let’s move on to installing the new faucet handle.
Installing the New Faucet Handle
Make sure you have aligned the new handle with the valve stem before tightening the screws. Installing a replacement faucet handle may seem daunting, but with the right steps, it can be done easily. Follow these instructions to ensure a smooth installation process:
- Gather the necessary tools: adjustable wrench, screwdriver, and the replacement handle.
- Turn off the water supply to the faucet.
- Remove the old handle by unscrewing the set screw with a screwdriver.
- Place the new handle onto the valve stem, aligning it properly.
- Tighten the screws with an adjustable wrench, ensuring a secure fit.
Troubleshooting common faucet handle installation issues:
- If the handle is loose, tighten the screws further.
- If the handle does not turn smoothly, check for any obstructions or debris in the valve stem.
- If the handle is difficult to install, double-check that it is properly aligned before tightening the screws.
Testing and Finishing the Installation
Now that you’ve tightened the screws, turn on the water supply to test the newly installed handle.
To ensure the handle is functioning properly, follow these troubleshooting steps.
First, check if the handle is turning smoothly without any resistance. If you encounter resistance, remove the handle and inspect the cartridge or valve for any debris or damage. Clean or replace the cartridge if necessary.
Next, test the hot and cold water supply by turning the handle to both extremes. If there is uneven water flow or temperature, adjust the water pressure or check the valve assembly for any blockages.
To maintain and care for your bathtub faucet handle, regularly clean it with a mild soap and warm water solution. Avoid using harsh cleaners or abrasive materials that could damage the finish.
Additionally, check for any leaks or drips and promptly repair or replace any worn-out parts. Proper maintenance will ensure the longevity and smooth operation of your bathtub faucet handle.
Frequently Asked Questions
What Are Some Common Signs That Indicate That the Bathtub Faucet Handle Needs to Be Replaced?
When the bathtub faucet handle is faulty, common signs include difficulty turning the handle, leaks or drips, and loose or wobbly handle. If these signs persist despite tightening, it’s time to replace the bathtub faucet handle.
Can I Use the Same Tools and Materials to Install a Bathtub Faucet Handle as I Would to Install a Sink Faucet Handle?
Yes, you can use the same tools and materials to install a bathtub faucet handle as you would to install a sink faucet handle. It’s a straightforward process that requires a few simple steps.
Are There Any Specific Safety Precautions I Should Take When Removing the Old Faucet Handle?
When removing an old faucet handle, it’s important to take certain safety precautions. First, turn off the water supply. Then, use a screwdriver or wrench to carefully unscrew the handle. Be cautious of any sharp edges or loose parts.
How Long Does It Typically Take to Install a New Bathtub Faucet Handle?
It typically takes about 30-60 minutes to install a new bathtub faucet handle. To choose the right handle, consider the style and compatibility with your existing plumbing. Here is a step-by-step guide for installation.
Is It Necessary to Hire a Professional Plumber to Install a New Bathtub Faucet Handle, or Can It Be Done as a DIY Project?
It’s a classic case of "DIY or hire a pro?" When it comes to installing a new bathtub faucet handle, there are pros and cons to both options. Let’s explore the possibilities.
Conclusion
In conclusion, installing a bathtub faucet handle requires patience and attention to detail. By following the step-by-step instructions and using the necessary tools and materials, you can successfully replace your old handle with a new one.
Remember to test the installation and ensure that the handle functions properly before finishing up.
Just like fixing a faucet handle, life often requires us to take small steps and pay close attention to the details in order to achieve success.