
Like a master craftsman meticulously shaping a work of art, I will guide you through the intricate steps of installing a freestanding bathtub.
With a deep understanding of plumbing and bathroom installation, I will provide clear and concise instructions to ensure your success.
From preparing the space to securing the bathtub, I will leave no detail unaddressed.
So grab your tools and let’s embark on this journey together, as we transform your bathroom into a sanctuary of relaxation and luxury.
Key Takeaways
- Measure the length and width of the area for the bathtub installation
- Waterproof the floor with a membrane or compound to prevent leaks and water damage
- Gather the necessary tools and materials, including a wrench, level, screwdriver, and measuring tape
- Secure the bathtub to the floor with anchor bolts or brackets for proper alignment, stability, and a watertight seal.

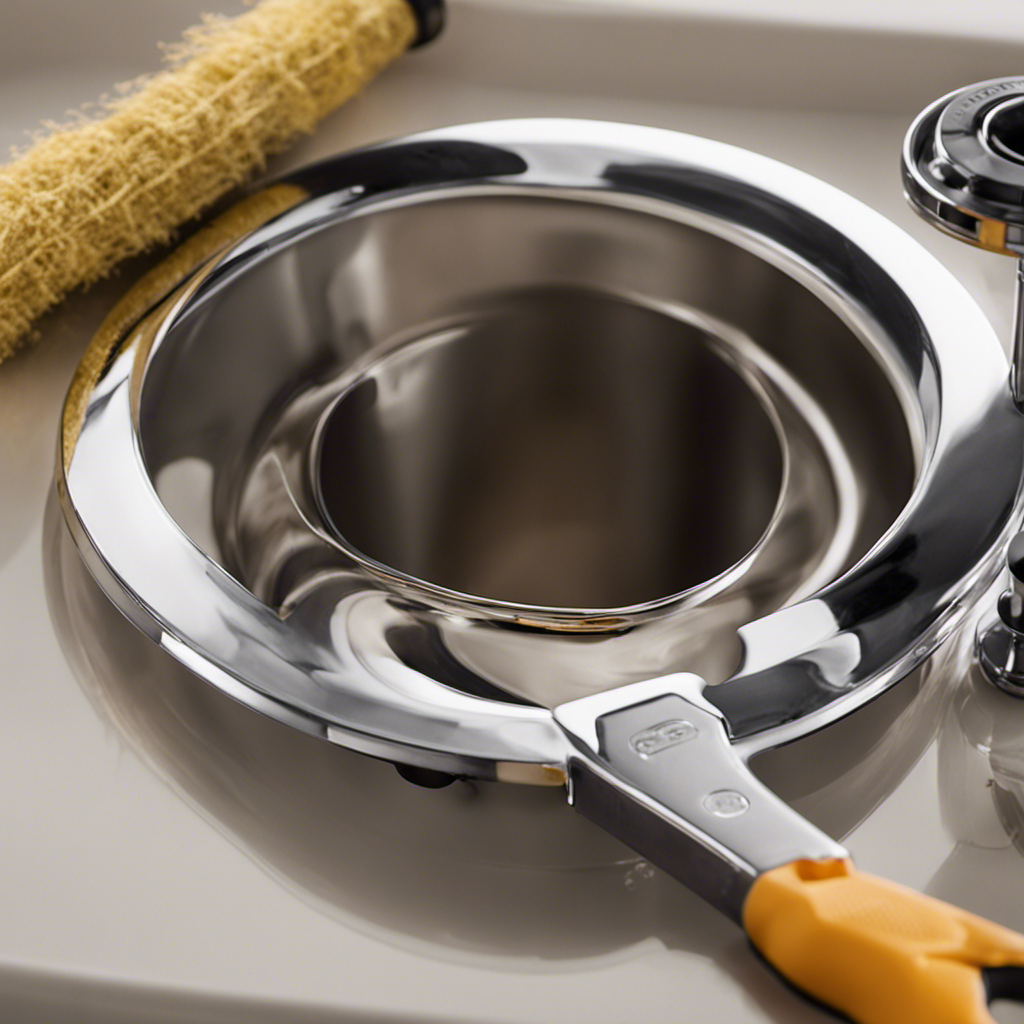
Freestanding Tub Drain Rough-in Kit, Bathtub Drain Kit with PVC Adapter & Brass Tail Pipes,Free Standing Tub Drain Kit, Suitable for All Freestanding Bathtub, Floor-Mounted, and Copper Bathtubs
- Wide Compatibility: Fits all freestanding and copper bathtubs
- Secure Installation: Stable drop-in drain system with debris protection
- Includes PVC Adapter: Easy connection to PVC waste systems with test cap
As an affiliate, we earn on qualifying purchases.
As an affiliate, we earn on qualifying purchases.
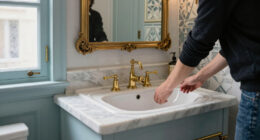
Preparing the Bathroom Space
Before installing the freestanding bathtub, you’ll need to measure the available space in your bathroom. Start by measuring the length and width of the area where you plan to place the bathtub. Take note of any obstructions, such as pipes or electrical outlets, that may affect the installation.
Additionally, consider the height of the bathtub and ensure it will fit comfortably in the space without obstructing any doors or windows.
Once you have the measurements, you can proceed to waterproofing the floor. Use a waterproof membrane or a waterproofing compound to create a barrier between the bathtub and the floor, preventing any water damage. Apply the membrane or compound according to the manufacturer’s instructions, ensuring full coverage.
This step is crucial in maintaining the integrity of your bathroom and preventing any potential leaks or water damage.
Gathering the Necessary Tools and Materials
To gather the necessary tools and materials for the project, make sure you have a wrench, a level, a screwdriver, and a measuring tape on hand.
As a plumbing expert, I understand the technical aspects of installing a freestanding bathtub.
Before starting the installation process, it is important to choose the right style and design that suits your bathroom. Once you have made the selection, gather the required tools and materials.
Measure the space where the bathtub will be installed to ensure a proper fit. Pay attention to details such as the position of the drain and the water supply lines.
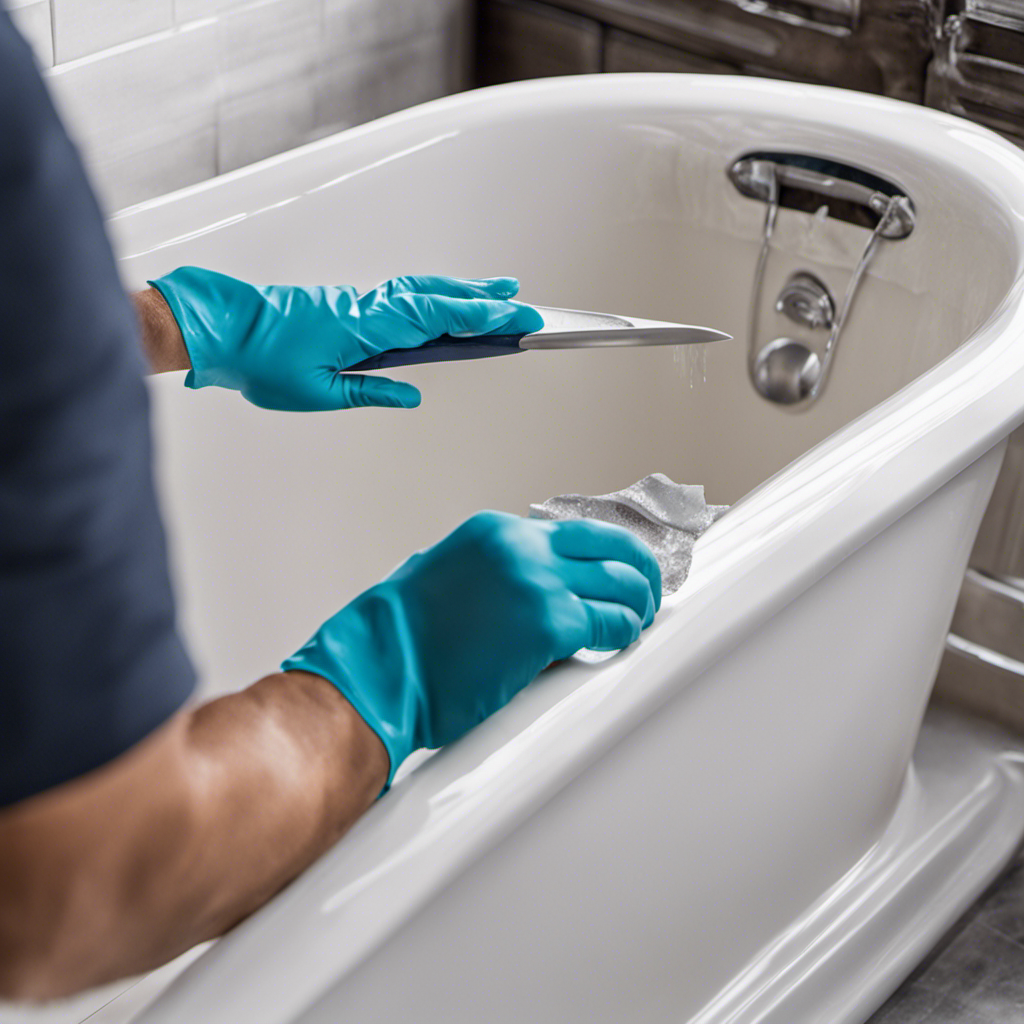
Proper maintenance and cleaning techniques are crucial to keep your bathtub in good condition. Regularly clean the surface using mild cleaners and avoid abrasive materials that can damage the finish.
Following these steps and paying attention to detail will ensure a successful installation and long-lasting enjoyment of your freestanding bathtub.
Checking the Floor for Levelness and Support
Before proceeding with the project, it is crucial to check if the floor is level and properly supported. This is important to ensure the stability and longevity of your freestanding bathtub installation. Here are some steps to follow in assessing the floor’s structural integrity and ensuring proper weight distribution:
- Use a level tool to check if the floor is even and free from any significant slopes or dips.
- Inspect the floor joists or subfloor underneath the area where the bathtub will be placed. Look for any signs of damage or weakness, such as rot or sagging.
- Consider the weight capacity of the floor and make sure it can support the weight of the bathtub, water, and occupants.
- If needed, reinforce the floor by adding additional floor joists or using support beams to distribute the weight evenly.
Assessing the floor’s structural integrity and ensuring proper weight distribution is essential to prevent any future issues such as sagging or cracking. Take the time to assess and reinforce the floor if necessary for a successful freestanding bathtub installation.
Installing the Drain and Overflow System
Once you’ve assessed the floor’s structural integrity and ensured proper weight distribution, it’s time to install the drain and overflow system.
Choosing the right drain and overflow components is crucial for the proper functioning of your freestanding bathtub. Start by selecting a drain kit that matches the specifications of your bathtub. Measure the distance between the drain hole and the overflow hole to ensure the components fit properly.
Install the drain and overflow components according to the manufacturer’s instructions. Use plumber’s putty to create a watertight seal between the drain flange and the bathtub. Apply silicone sealant around the overflow hole to prevent leaks. Make sure to tighten all connections securely but avoid overtightening, as it may damage the components.
Test the drain and overflow system by filling the bathtub with water and checking for any leaks. Proper sealing techniques are essential to ensure a reliable and leak-free installation.
Positioning and Securing the Freestanding Bathtub
Make sure you position and secure your freestanding bathtub in a location that provides adequate support and stability. This ensures that your bathtub stays in place and doesn’t wobble or shift during use. Here are some steps to follow for anchoring and sealing the bathtub:
- Start by measuring the distance between the bathtub and the walls to ensure it fits properly.
- Use a level to check if the floor is even and adjust the feet of the bathtub accordingly.
- Once the bathtub is level, secure it to the floor using anchor bolts or brackets.
- Apply a silicone sealant around the edges of the bathtub to prevent any water leakage.
Attention to detail is crucial during this process. Ensure that the bathtub is properly aligned and the feet are adjusted for stability. Use the correct tools, such as a level and anchor bolts, to securely anchor the bathtub. Applying a silicone sealant will help create a watertight seal.
Conclusion
In conclusion, installing a freestanding bathtub requires careful preparation and attention to detail. By ensuring that the bathroom space is properly prepared and gathering the necessary tools and materials, you can embark on a successful installation.
It is crucial to check the floor for levelness and support, as this will ensure the stability of your bathtub. Installing the drain and overflow system is a critical step, as it ensures proper functionality.
Finally, positioning and securing the freestanding bathtub completes the installation process. Remember, like a skilled artisan sculpting a masterpiece, each step must be executed with precision to achieve a stunning result.