
Hey there!
If you’re tired of dealing with a clogged or inefficient bathtub drain, I’ve got some good news for you.
In this article, I’m going to walk you through the process of installing a new bathtub drain.
With just a few tools and materials, you’ll be able to tackle this project head-on and enjoy a smoothly functioning drain in no time.
So, let’s dive in and get started!
Key Takeaways
- Gathering the necessary tools and materials is essential for a successful bathtub drain installation.
- Removing the old drain involves unscrewing the drain cover, locating and loosening the drain flange, and removing all remaining parts.
- Preparing the area for the new drain installation includes thoroughly cleaning the bathtub surface, measuring the dimensions of the drain hole, and sealing the area with plumber’s putty or silicone caulk.
- Installing the new bathtub drain involves applying sealant, inserting the drain flange, placing a rubber gasket, and tightening the screws evenly for a watertight seal.

EZ-FLO Lift-n-Turn Bath Drain Assembly Kit, 1-1/2 in. x 11.5 Coarse Thread, 2-7/8 in. OD Flange, 5/16 in. Tapped Zinc Body, Chrome Plated, 35233
BATH DRAIN STOPPER KIT: Bathtub drain stop kit makes for an excellent addition to any home bathroom
As an affiliate, we earn on qualifying purchases.
As an affiliate, we earn on qualifying purchases.
Gathering the Necessary Tools and Materials
You’ll need to gather a few tools and materials before you can start installing the new bathtub drain.
First, make sure you have a measuring tape to accurately measure the dimensions of your current drain. This will help you choose the right drain type that will fit perfectly in your bathtub.
Additionally, you’ll need a wrench or pliers to remove the old drain and install the new one.
It’s also a good idea to have a bucket and some rags nearby to catch any water that may spill during the process.
Once you have gathered these tools and materials, you’ll be ready to move on to the next step of removing the old bathtub drain.

HAUTMEC Tub Drain Remover Wrench Tool Heavy Duty Aluminum Shower Bathtub Drain Removal Tool PL0030
The dual ended tub drain wrench fits most inner diameter 1 3/8" and 1 1/2" tub drain shoe,ideal…
As an affiliate, we earn on qualifying purchases.
As an affiliate, we earn on qualifying purchases.
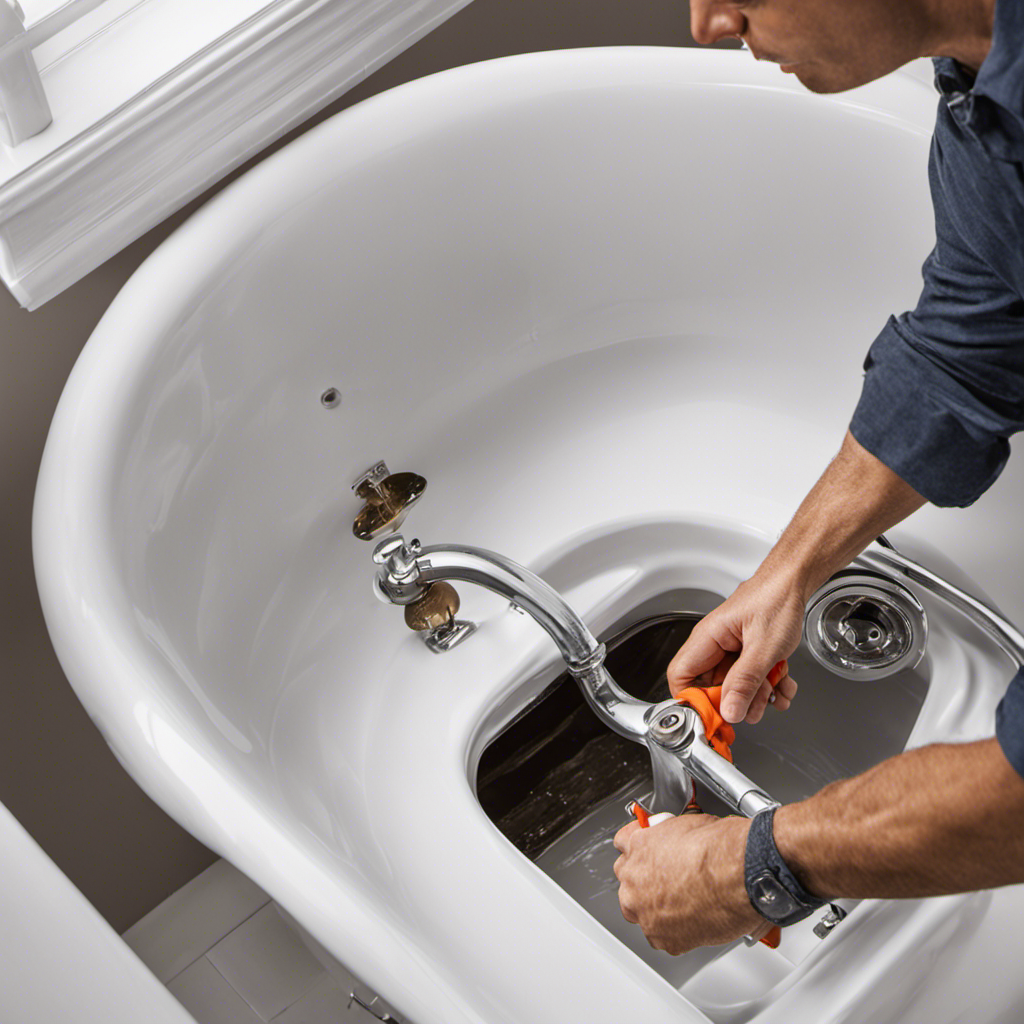
Removing the Old Bathtub Drain
To start, make sure the old drain is completely removed from the bathtub. Here are the steps to remove the old drain:
- Use a screwdriver to unscrew the drain cover, if applicable.
- Locate the drain flange underneath the bathtub. It is a round metal piece that connects to the drain pipe.
- Use a wrench to loosen the drain flange by turning it counterclockwise. It may take some effort, as it could be tightly secured.
- Once the drain flange is loose, carefully lift it out of the bathtub, along with any remaining parts of the old drain.
After removing the old drain, it is important to take the time to clean the bathtub surface thoroughly. Additionally, if you are also replacing the bathtub faucet, now is a good time to remove the old faucet as well. This will ensure that the area is prepped and ready for the new drain installation.

GE Advanced Silicone Caulk for Kitchen & Bathroom, Clear, 2.8 fl oz Tube, 1 Pack – 100% Waterproof Silicone Sealant, 5X Stronger Adhesion, Shrink & Crack Proof
100% Silicone Caulk Protection: This silicone caulk clear provides ultimate waterproof protection, ensuring a reliable seal against water…
As an affiliate, we earn on qualifying purchases.
As an affiliate, we earn on qualifying purchases.
Preparing the Area for the New Drain Installation
Once the old drain has been removed, it’s important to thoroughly clean the bathtub surface and remove the old faucet if necessary.
After ensuring a clean surface, the next step in preparing the area for the new drain installation is measuring the dimensions. Accurate measurements are crucial to ensure a proper fit and prevent any future issues.
Using a tape measure, measure the diameter and depth of the drain hole. This will help you choose the right size and type of new drain.
Additionally, it’s important to seal the area around the drain hole to prevent any leaks. Apply a layer of plumber’s putty or silicone caulk around the edges of the drain hole before installing the new drain. This will create a watertight seal and ensure a secure installation.

Eastman Tip-Toe Bath Drain Assembly Kit with Flange and Drain Washer, 1-1/2 Inch x 11.5 Inch Coarse Thread, Chrome Plated, 35235
BATH DRAIN STOPPER KIT: Bathtub drain stop kit makes for an excellent addition to any home bathroom
As an affiliate, we earn on qualifying purchases.
As an affiliate, we earn on qualifying purchases.
Installing the New Bathtub Drain
Make sure you have properly aligned the drain flange with the drain hole before tightening the screws. This is crucial for proper sealing and preventing any leaks.
Here’s a step-by-step guide on how to install the new bathtub drain:
- Apply plumber’s putty or silicone sealant around the drain flange to create a watertight seal.
- Insert the drain flange into the drain hole and press it firmly against the bathtub surface.
- Place the rubber gasket on top of the drain flange, ensuring it fits snugly.
- Finally, tighten the screws evenly to secure the drain flange in place.
Proper sealing is essential to prevent water damage and maintain the integrity of your bathtub. Regular drain maintenance, such as removing hair and debris, will help prevent clogs and ensure proper drainage.
Testing and Ensuring Proper Functionality
Check if the water flows smoothly down the drain without any backup or slow drainage to ensure the proper functionality of your bathtub. Testing the drain is an essential step in the installation process.
One method is to fill the tub with water and watch for any signs of clogging or slow drainage. If there are any issues, you can troubleshoot by using a plunger or a drain snake to remove any obstructions.
Another testing method is to run water through the drain and observe if it quickly and effectively drains away. If there are any backups or slow drainage, it may indicate a problem with the drain assembly or the pipes. In such cases, it is advisable to consult a professional plumber for further troubleshooting tips.
Ensuring the proper functionality of your bathtub drain is crucial to avoid any future plumbing problems.
Conclusion
Well, there you have it! Installing a new bathtub drain is not as daunting as it may seem. With the right tools and materials, removing the old drain and installing the new one can be done with ease.
By following the steps outlined in this article, you can ensure that your new drain is properly installed and functioning correctly. So go ahead and embark on this DIY project with confidence, knowing that you have all the knowledge and skills needed to get the job done right!