As I stood in my bathtub, staring at the old, worn-out shower head, I couldn’t help but imagine the refreshing streams of water cascading down from a brand new one.
If you’re like me and want to upgrade your showering experience, you’re in luck. In this article, I will guide you through the step-by-step process of installing a shower head in your bathtub.
With a few tools and some handy instructions, you’ll be enjoying a rejuvenating shower in no time.
So let’s dive in and get started!
Key Takeaways
- Choose the right shower head based on factors like water pressure, spray pattern, and design.
- Use the proper tools and materials, such as an adjustable wrench, plumber’s tape, and a cloth.
- Avoid common mistakes during installation, such as not using plumber’s tape and overtightening the shower head.
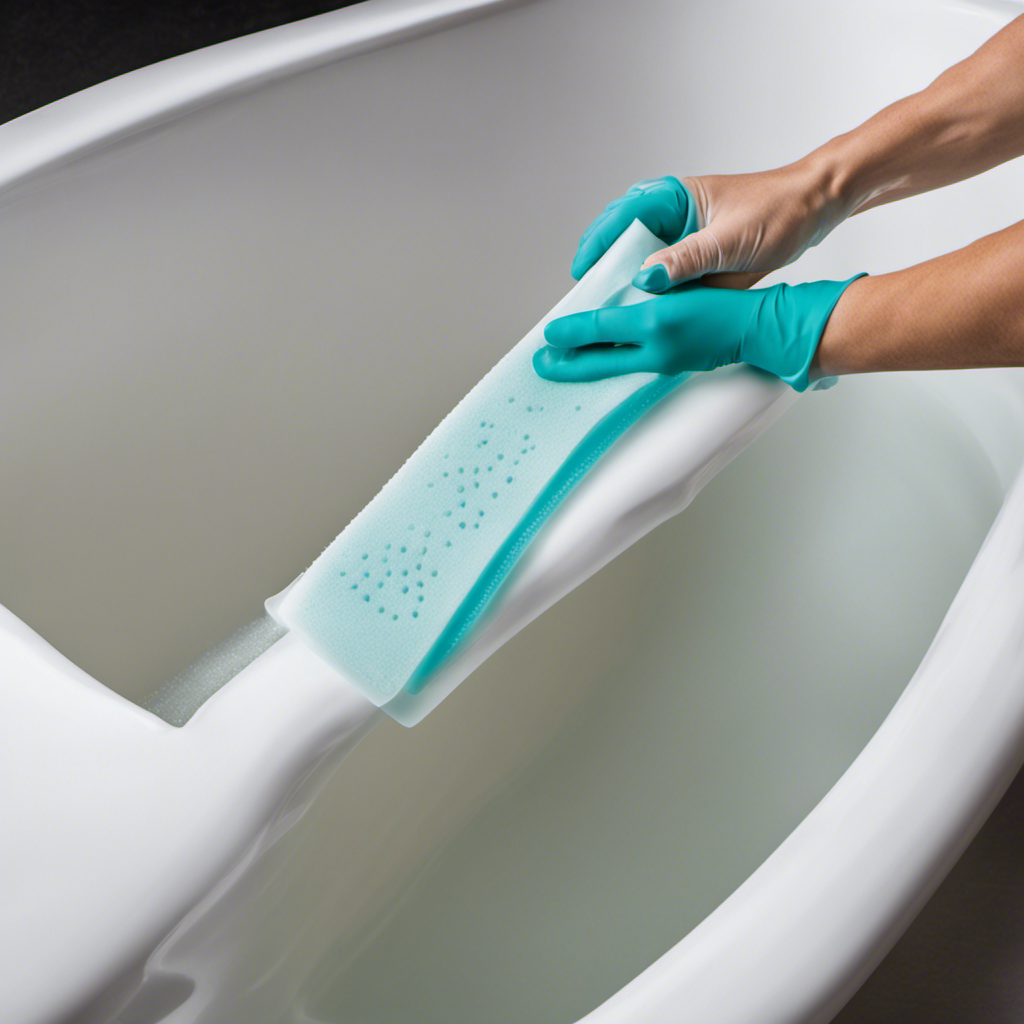
- Regular cleaning and maintenance of the shower head is important for proper water flow.

Brondell Bidet Toilet Seat Non-Electric Swash Ecoseat, Fits Elongated Toilets, White - Dual Nozzle System, Ambient Water Temperature - Bidet with Easy Installation
CLEAN AND REFRESHING: With Brondell’s Ecoseat 101 Bidet, you’ll experience a soothing, freshwater wash that leaves you feeling...
As an affiliate, we earn on qualifying purchases.
Gather the Necessary Tools and Materials
You’ll need to gather the necessary tools and materials before you can start installing the shower head in your bathtub.
First, choose the right shower head for your bathtub. Consider factors like water pressure, spray pattern, and design. Look for one that suits your preferences and fits your budget.
Next, gather the tools you’ll need, such as an adjustable wrench, plumber’s tape, and a cloth. It’s important to have these on hand to ensure a smooth installation process.
Additionally, be aware of common mistakes to avoid when installing a shower head in a bathtub. These include not using plumber’s tape, overtightening the shower head, and forgetting to properly clean the shower arm. By avoiding these mistakes, you can ensure a successful installation.
Now that you have your tools and knowledge, it’s time to move on to the next step: removing the existing shower head.

Shower Faucet Set, 12" Ceiling Mount Rainfall Shower System with 2 Rain Shower Head and Multi-function Handheld Head Push Button Diverter Shower Faucet Trim Kit (12", Matte Black)
COMPREHENSIVE SHOWER SYSTEM- This shower faucet set comes with two shower heads that can be used together or...
As an affiliate, we earn on qualifying purchases.
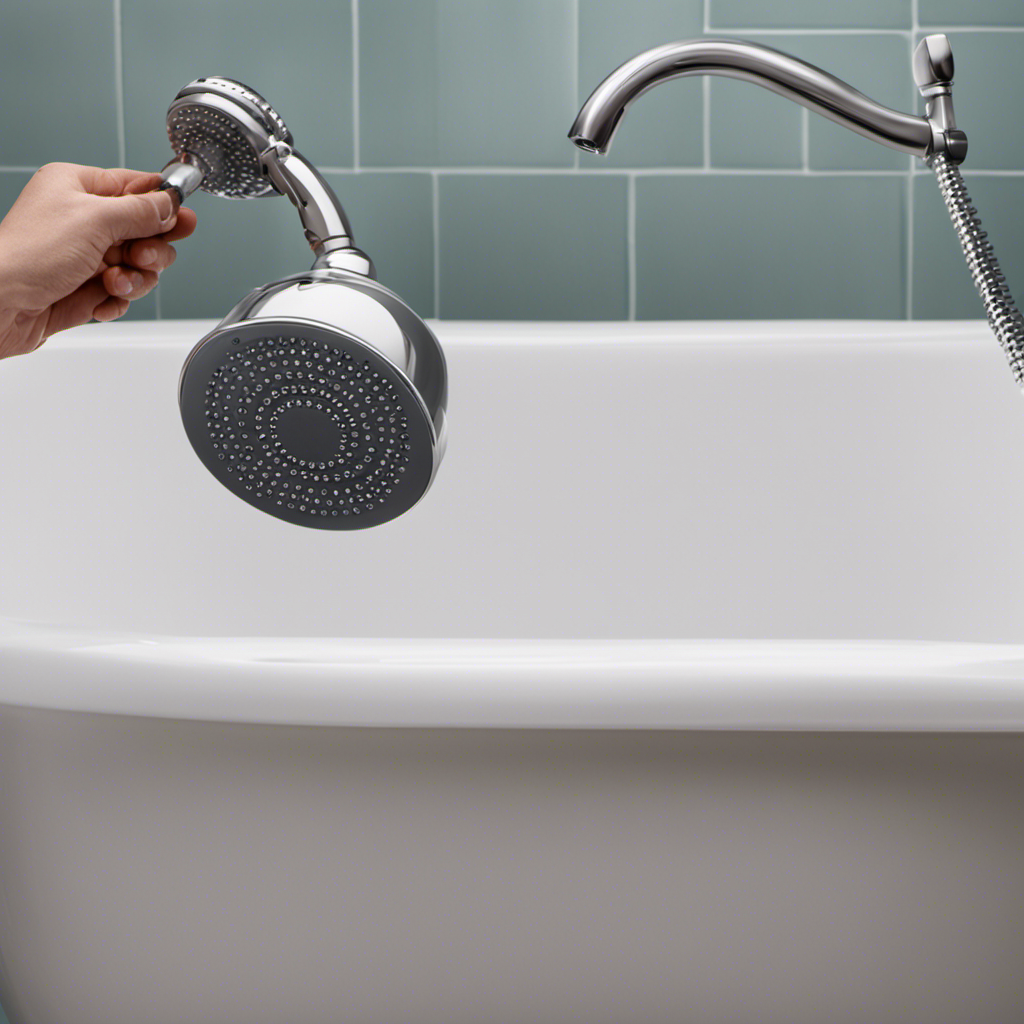
Remove the Existing Shower Head
To start, simply twist off the old shower head from the existing pipe. Before installing a new shower head, it’s important to remove the old one. There are different types of shower heads available in the market, such as rain shower heads, handheld shower heads, and adjustable shower heads.
When removing the old shower head, be sure to turn it counterclockwise until it comes off. If it’s stuck, you can use pliers or a wrench to help loosen it. Once the old shower head is removed, you can clean it with warm soapy water and a soft brush to remove any mineral deposits. Regular cleaning and maintenance of your shower head is important to ensure proper water flow and performance.
Now, let’s move on to preparing the shower arm and applying plumber’s tape.

VANFOXLE Shower Faucet Set Matte Black Shower System,Push Button Diverter Shower Faucet with 2 in 1 Handheld,Ceiling Mount 10 Inch Shower Head with 6 Inch Wall Mount Shower Head
Push Button Diverter: Vanfoxle has developed an improved version of water control —— Replacing the traditional square-shaped controller...
As an affiliate, we earn on qualifying purchases.
Prepare the Shower Arm and Apply Plumber’s Tape
Once the old shower head is removed, it’s time to prepare the shower arm and apply plumber’s tape. This step is crucial to ensure a proper installation and prevent leaks.
First, clean the threads of the shower arm with a cloth to remove any dirt or debris.
Next, take a roll of plumber’s tape and wrap it clockwise around the threads of the shower arm. This will create a watertight seal when the new shower head is installed. Plumber’s tape is essential as it helps to prevent leaks and maintain proper water pressure.
Now, the shower arm is ready for the new handheld shower head.
Installing a handheld shower head offers several benefits, including the ability to easily rinse and clean hard-to-reach areas, providing a more enjoyable shower experience, and conserving water.
Amazon Product B0GMY4B6YR
As an affiliate, we earn on qualifying purchases.
Install the New Shower Head
After wrapping plumber’s tape around the threads, simply screw on the new shower head. Here are the steps to successfully install a shower head:
-
Position the shower head: Place the new shower head onto the shower arm and align it with the threads.
-
Hand tighten: Begin by hand tightening the shower head onto the shower arm. Make sure it is secure, but avoid overtightening to prevent damaging the threads.
-
Use a wrench: If necessary, use an adjustable wrench to give the shower head a final tightening. Again, be cautious not to overtighten.
Choosing the right shower head:
-
Consider water pressure: Different shower heads have different flow rates, so choose one that suits your water pressure.
-
Spray options: Decide if you want a shower head with multiple spray settings or a standard one.
-
Material and finish: Select a shower head that matches your bathroom decor and is made of durable materials.
Remember to turn on the water and test the shower head for any leaks before fully enjoying your new installation.
Test the New Shower Head for Proper Functionality
Before using your new shower head, make sure to turn on the water and check for any leaks. Troubleshooting common issues with shower heads is important to ensure proper functionality.
If you encounter low water pressure, the problem may lie with a clogged shower head. To fix this, remove the shower head and clean it by soaking it in a mixture of vinegar and water.
Another common issue is a leaking shower head. To address this, check if the connections are tight and use plumber’s tape if necessary.
Additionally, understanding the different types of shower heads and their benefits can help improve your shower experience. From rain shower heads that provide a relaxing rainfall-like experience to handheld shower heads that offer flexibility, choose the one that suits your preferences and needs.
Conclusion
So there you have it, folks! Installing a new shower head in your bathtub is a simple task that anyone can do.
Just gather your tools, remove the old shower head, prepare the shower arm with plumber’s tape, and install the new shower head.
And voila! You’ll have a refreshing and functional shower head in no time.
It’s amazing how a small change like this can make a big difference in your daily routine.
Happy showering!