As a passionate DIY enthusiast, I embarked on a project that will leave you bubbling with excitement: creating your very own bathtub!
In this step-by-step guide, I will show you how to transform ordinary materials into a luxurious oasis.
From selecting the perfect materials to installing the plumbing system, we will dive into every detail.
So, grab your tools and get ready to immerse yourself in the art of bathtub making.
Let’s make a splash together!
Key Takeaways
- Factors to consider when choosing materials for a bathtub are durability and cost.
- Common materials for bathtubs include acrylic, fiberglass, cast iron, and porcelain.
- Pros and cons of acrylic, fiberglass, cast iron, and porcelain should be considered when selecting a bathtub material.
- Designing and constructing a bathtub involves considerations such as comfort, accessibility, aesthetics, and ergonomic factors.

KINGSTON BRASS VTDE603122R 60-Inch Contemporary Alcove Acrylic Bathtub with Right Hand Drain and Overflow Holes, White
Acrylic construction with fiberglass and resin reinforcement, three wall alcove installation with tile flange and integral tub apron…
As an affiliate, we earn on qualifying purchases.
As an affiliate, we earn on qualifying purchases.
Choosing the Right Materials
To choose the right materials for your bathtub, you’ll need to consider factors like durability and cost. There are several bathtub material options available in the market, each with its own set of pros and cons.
The most common materials include acrylic, fiberglass, cast iron, and porcelain. Acrylic is a popular choice due to its lightweight nature, affordability, and ease of maintenance. However, it may be prone to scratching and fading over time.
Fiberglass is another cost-effective option that is lightweight and easy to install. However, it may not be as durable as other materials and can develop cracks over time.
On the other hand, cast iron and porcelain are known for their durability and classic look. They are resistant to scratches and stains but require more maintenance and can be quite heavy and expensive.
Consider your budget, style preferences, and maintenance requirements when choosing the right material for your bathtub.

Tub Repair Kit White, Tub Chip and Bathtub Repair Kit for Enamel, Fiberglass, Acrylic, Porcelain, Patch and Repairs Chips, Crack, Scratches, Rust, Holes on Tubs, Toilet, Sink, Shower, Tray in Bathroom
Permanently Repair Bathtub Chips, Cracks and Holes: For Fiberglass, Enamel, Acrylic; restore a glossy, non-yellowing, leak-stopping and chip…
As an affiliate, we earn on qualifying purchases.
As an affiliate, we earn on qualifying purchases.
Designing the Bathtub Shape
Choose a shape for your tub that fits your preferences and complements your bathroom design. When designing custom bathtub shapes, there are a few key ergonomic considerations to keep in mind. Here are three important factors to consider:
-
Comfort: Look for a shape that provides ample space and support for your body. Consider features like armrests and headrests to enhance comfort during your bathing experience.
-
Accessibility: Choose a shape that is easy to enter and exit, especially if you have mobility issues. Consider options like walk-in tubs or low-profile designs that minimize the need to step over high sides.
-
Aesthetics: Your bathtub should not only be functional but also visually appealing. Consider the overall style and design of your bathroom and choose a shape that complements the existing elements, such as the sink, toilet, and tiles.
When designing your custom bathtub shape, it is important to keep these ergonomic considerations in mind to ensure a comfortable and visually pleasing bathing experience.
Now, let’s move on to constructing the bathtub frame.
American Standard 2460002.020 Cambridge Apron-Front Americast Soaking Bathtub Left Hand Drain,60 x 32 In, White, 50-60 gal
Americast engineered steel with glossy porcelain finish
As an affiliate, we earn on qualifying purchases.
As an affiliate, we earn on qualifying purchases.
Constructing the Bathtub Frame
Constructing the bathtub frame requires careful measurement and secure assembly to ensure stability and durability. To achieve optimal bathtub frame stability, it is important to choose high-quality lumber and use sturdy hardware.
Start by measuring the dimensions of the bathtub and cutting the lumber accordingly. Use a level to ensure that the frame is perfectly horizontal and plumb. Secure the frame together using screws or nails, reinforcing the corners for added strength.
To further enhance stability, consider adding cross braces throughout the frame. These will prevent any wobbling or shifting. Remember to periodically check the frame’s stability during the assembly process and make any necessary adjustments.
Once the bathtub frame is complete, it is time to move on to installing the plumbing system.

American Standard 2461002.020 Cambridge Americast 60 x 32-Inch Integral Apron Bathtub With Right-Hand Outlet, White
Americast engineered steel with glossy porcelain finish
As an affiliate, we earn on qualifying purchases.
As an affiliate, we earn on qualifying purchases.
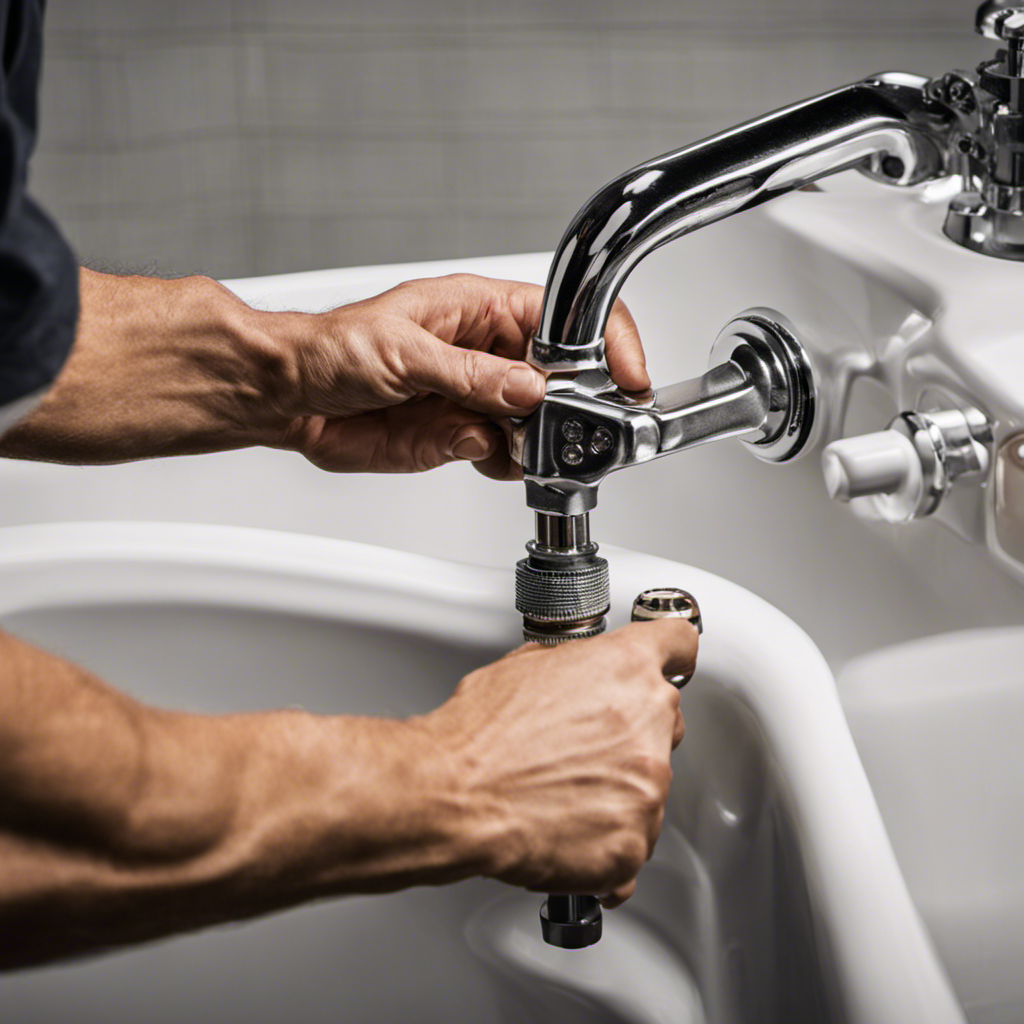
Installing the Plumbing System
Installing the plumbing system is a crucial step in completing the bathtub installation process. Here are three plumbing installation tips to ensure a successful installation:
-
Plan the layout: Before starting the installation, carefully plan the layout of the plumbing system. Consider the location of the water supply, drain, and any additional fixtures like a showerhead. Measure and mark the positions accurately to avoid any unnecessary adjustments later on.
-
Use quality materials: Invest in high-quality plumbing materials to ensure durability and prevent leaks. Choose pipes that are appropriate for the water pressure in your home and use strong, reliable connectors and fittings. Don’t forget to properly seal all connections with plumber’s tape or pipe joint compound.
-
Troubleshoot common plumbing issues: Be prepared to troubleshoot common plumbing issues that may arise during the installation process. Have a plunger on hand to deal with clogs, and familiarize yourself with basic plumbing techniques such as tightening connections and fixing leaks.
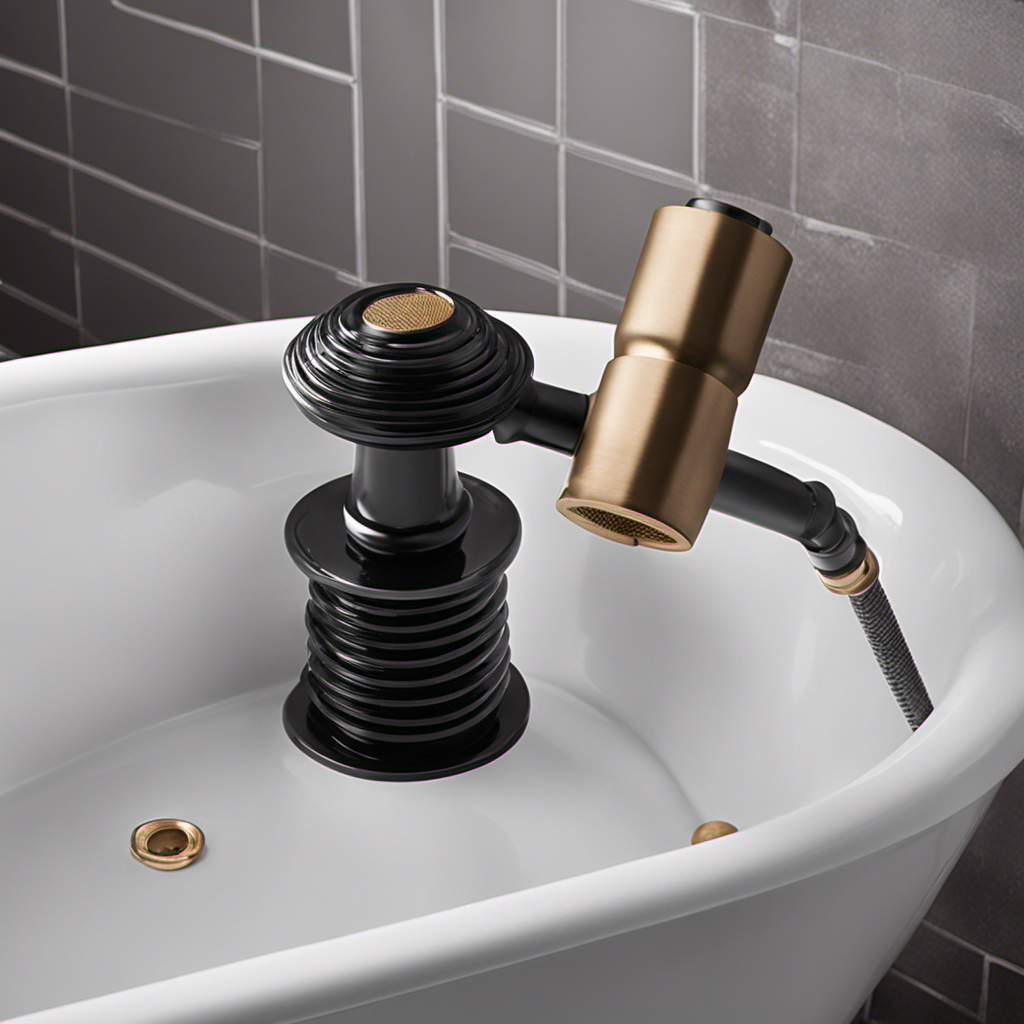
Adding the Bathtub Drain
To properly add the bathtub drain, you’ll need to ensure that the P-trap is securely connected and the drain pipe is properly aligned. Here’s a practical guide on how to install a bathtub drain.
First, let’s understand the different types of bathtub drains available:
| Type of Bathtub Drain | Description |
|---|---|
| Toe-Tap Drain | This drain type is operated by pressing it with your foot. It’s convenient and easy to use. |
| Lift and Turn Drain | This drain requires twisting and lifting to open and close it. It provides a tight seal and is popular for its durability. |
| Trip Lever Drain | This drain has a lever on the overflow plate that opens and closes the drain. It’s commonly found in older tubs. |
Now, let’s move on to the installation process:
- Remove the old drain by unscrewing it counterclockwise.
- Clean the drain hole to remove any debris or old putty.
- Apply plumber’s putty around the new drain flange and insert it into the drain hole.
- From underneath the tub, secure the drain flange with the provided screws.
- Connect the P-trap to the drain pipe using a compression nut and washer.
- Test for leaks by filling the tub with water and checking for any water seepage.
Waterproofing and Insulation
Once you’ve finished applying the waterproofing and insulation, you’ll have a bathtub that is well-protected and energy-efficient. To ensure a successful bathtub installation and easy bathtub maintenance, here are three key tips to consider:
-
Seal the seams: Use a waterproofing membrane or sealant to prevent any water leakage. Apply it along the joints and corners of the bathtub to create a tight seal. This will protect the surrounding walls and floors from water damage.
-
Insulate for energy efficiency: Apply a layer of insulation material around the bathtub to prevent heat loss. This will help maintain the water temperature for longer periods, reducing the need for frequent reheating. Insulation also helps to reduce noise and vibrations, providing a more tranquil bathing experience.
-
Regular maintenance: To keep your bathtub in top condition, clean it regularly using non-abrasive cleaners. Remove any soap scum or residue to prevent staining and maintain the bathtub’s appearance. Check for any signs of wear or damage and address them promptly to prevent further issues.
Finishing Touches and Maintenance
After completing the waterproofing and insulation, it’s important to regularly clean and inspect your bathtub for any signs of wear or damage. Proper maintenance will help extend the life of your bathtub and keep it looking its best. When it comes to cleaning, there are several bathtub cleaning techniques you can use. For routine cleaning, a mild soap and water solution is usually sufficient. However, for tougher stains or buildup, you may need to use a specialized cleaner or a mixture of baking soda and vinegar. Additionally, it’s important to avoid using abrasive cleaners or scrub brushes that could scratch the surface of your bathtub.
When it comes to bathtub refinishing options, there are a few routes you can take. If your bathtub is in good condition but just needs a little sprucing up, you can consider reglazing or resurfacing. This involves applying a new layer of finish to the existing bathtub surface. This can be a cost-effective way to give your bathtub a fresh look without the expense of replacing it. However, if your bathtub is severely worn or damaged, you may need to consider a full bathtub replacement. This can be a more involved process, but it will give you a brand new bathtub that meets your specific needs and style preferences.
To help you better understand the different options available for bathtub refinishing, I have created a table below:
| Refinishing Options | Description |
|---|---|
| Reglazing | Applying a new layer of finish to the existing bathtub surface. |
| Resurfacing | Similar to reglazing, but may involve more extensive repairs or preparation work. |
| Replacement | Completely replacing the bathtub with a new one. |
Conclusion
In conclusion, making your own bathtub can be an incredibly rewarding and satisfying project. By following the steps outlined in this article, you can create a custom bathtub that fits your needs and style perfectly.
Just imagine the relaxing baths you’ll be able to enjoy in your very own handmade oasis! So go ahead, grab your tools and get started on this DIY adventure.
Remember, with a little patience and creativity, the possibilities are endless. Happy bathtub making!