
So I’m sitting in my bathtub, ready for a relaxing soak, when I realize that the drain stopper is missing. Panic sets in as I imagine the water slowly draining away, ruining my peaceful moment.
But then I remember, I have the power to solve this problem myself. In this article, I’m going to show you how to make a bathtub stopper that will save your baths from becoming a watery disaster. Trust me, it’s easier than you think.
Key Takeaways
- Gathering the necessary materials and accurately measuring the drain size are important steps in making a bathtub stopper.
- Different materials like rubber, silicone, stainless steel, plastic, or metal can be used for the stopper, each with its own advantages and disadvantages.
- The chain or rope used to attach the stopper should be chosen carefully, and its attachment should be secure to prevent water leakage.
- Regular inspection, tightening, and testing of the stopper are necessary to ensure its functionality and prevent water leaks.

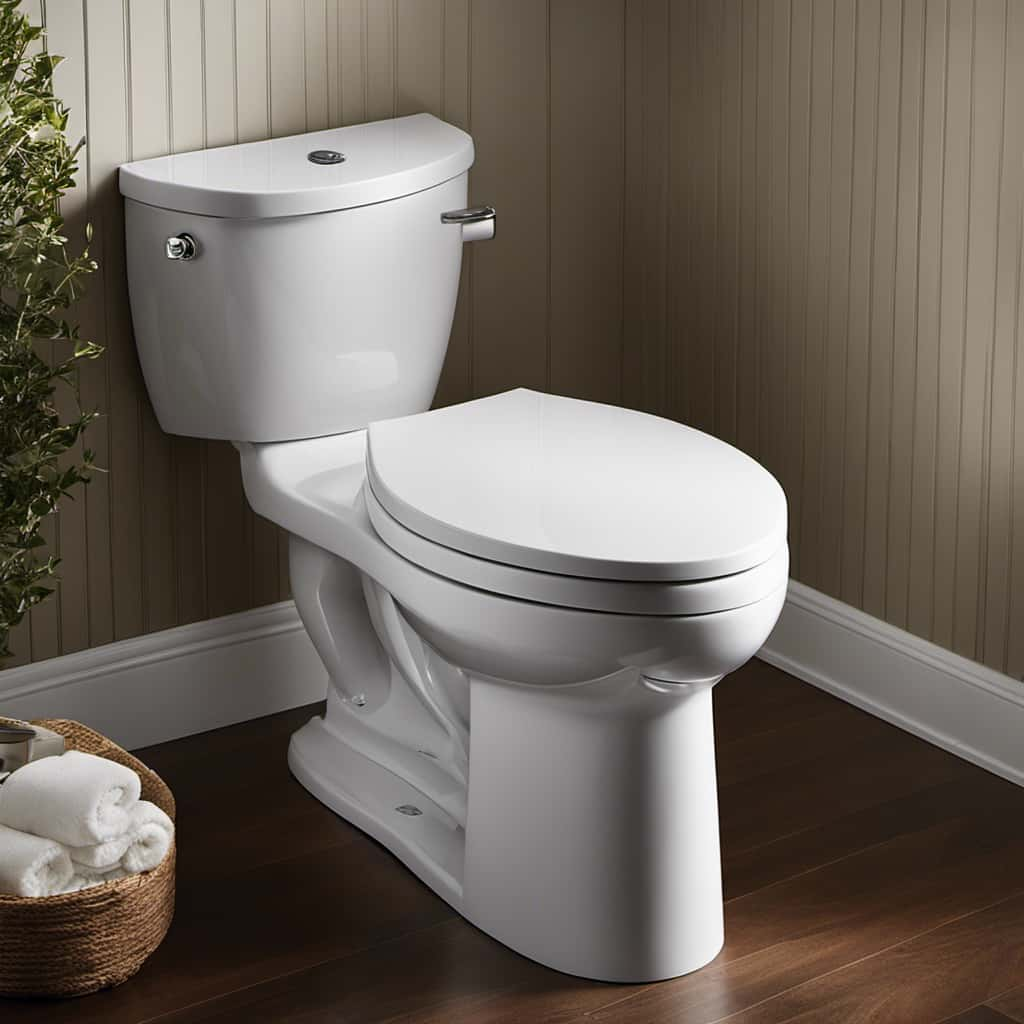
Brondell Bidet Toilet Seat Non-Electric Swash Ecoseat, Fits Elongated Toilets, White - Dual Nozzle System, Ambient Water Temperature - Bidet with Easy Installation
CLEAN AND REFRESHING: With Brondell’s Ecoseat 101 Bidet, you’ll experience a soothing, freshwater wash that leaves you feeling...
As an affiliate, we earn on qualifying purchases.
Gather Materials
To make a bathtub stopper, you’ll need a few materials.
The first thing you’ll need is a rubber or silicone stopper. These can usually be found at your local hardware store or online. Another option is to repurpose an old wine bottle cork or a rubber plug from a sink. These alternative materials may require a bit of creativity and modification to fit your bathtub drain, but they can work just as well.
Additionally, you’ll need a chain or string to attach the stopper to the drain plug, ensuring it doesn’t get lost down the drain. Finally, you’ll need a pair of pliers to help with the installation process.
With these materials in hand, you’re ready to move on to the next step of making your bathtub stopper.

BIGCOW Ultra-Slim Bidet Attachment for Toilet - Dual Nozzle (Frontal & Rear Wash) with Adjustable Cold Water Pressure and Stainless Steel Inlet - Hygienic Solution for Fresh Cleanliness, Silver 1 Pcs
【Dual Spraying Modes】- This toilet bidet offers both rear wash for thorough cleaning and a specially designed frontal...
As an affiliate, we earn on qualifying purchases.
Measure the Drain
First, you’ll need to measure the size of your drain to ensure the right fit. This step is crucial in choosing the right stopper for your bathtub.
To measure the drain, you can use a measuring tape or ruler. Start by removing any existing stopper or cover from the drain. Then, measure the diameter of the drain opening. This will help you determine the size of the stopper you need. It’s important to be precise in your measurements to ensure a proper fit.
If you’re having trouble finding a stopper that matches your drain size, don’t worry. There are alternative solutions available, such as using a universal stopper or a rubber plug that can be adjusted to fit different drain sizes. These options provide flexibility and can be easily adjusted to fit your specific drain measurements.

LUXE Bidet NEO 120 - Single Nozzle, Self-Cleaning, Non-Electric Bidet Attachment for Toilet Seat, Adjustable Water Pressure, Rear Wash (White)
THE ULTIMATE VALUE – With a sleek design and high-quality parts, Our Bidet Attachment will give your bathroom...
As an affiliate, we earn on qualifying purchases.
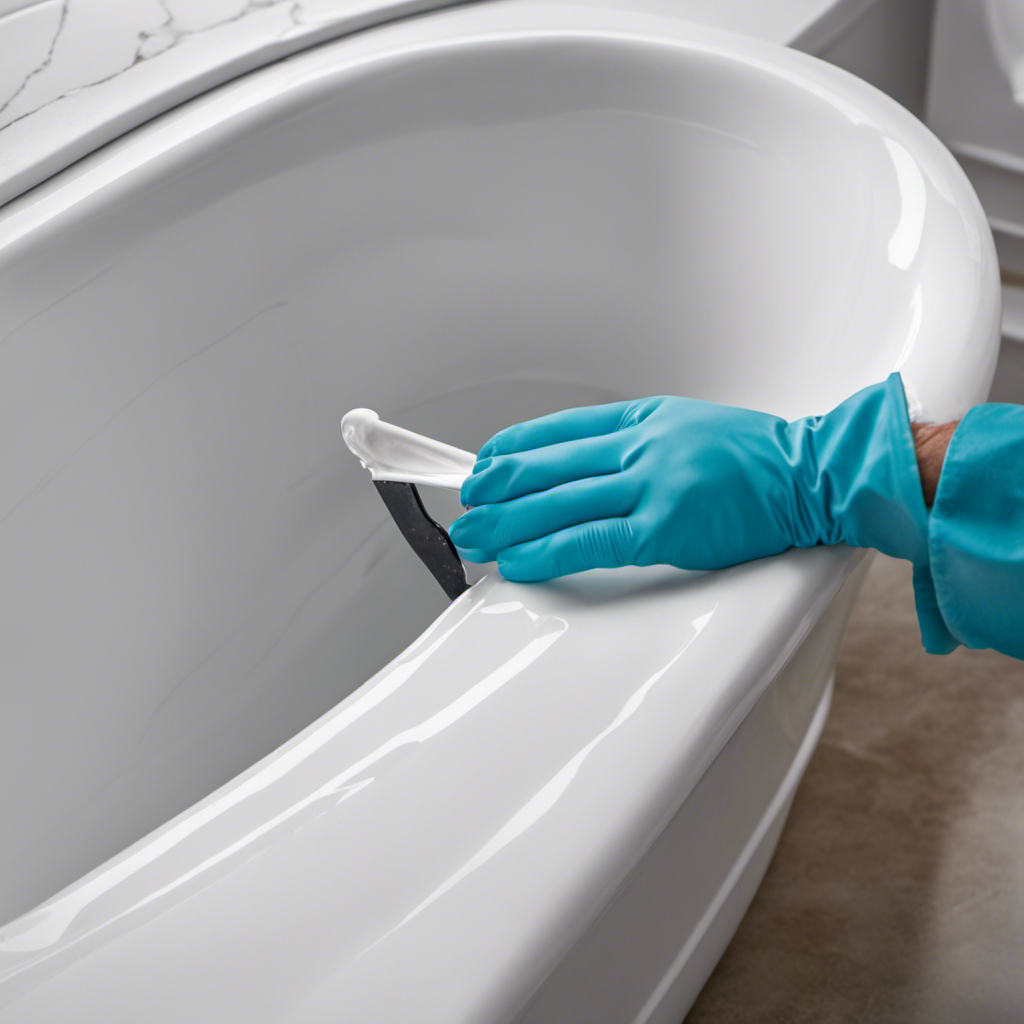
Cut the Stopper Material
After measuring the drain, you can begin cutting the material for the stopper. There are various cutting techniques that can be used depending on the material chosen. Here are the steps to cut the stopper material:
-
Choose the material: Consider alternative materials like rubber or silicone that are flexible and waterproof.
-
Measure and mark: Use a measuring tape to determine the dimensions of the stopper. Mark the material accordingly.
-
Cutting technique: Use a sharp utility knife or scissors to cut along the marked lines. Take your time and apply steady pressure to ensure clean and precise cuts.
-
Test the fit: Once the material is cut, place it over the drain to check if it fits properly. Make any necessary adjustments if needed.
Now that the material is cut, we can move on to shaping the stopper.
Amazon Product B0GMY4B6YR
As an affiliate, we earn on qualifying purchases.
Shape the Stopper
When it comes to choosing the material for a bathtub stopper, there are several options to consider.
The most common materials include rubber, silicone, and stainless steel. Each material has its own advantages and disadvantages, so it’s important to weigh the pros and cons before making a decision.
Additionally, you have the choice between DIY stoppers and store-bought ones. DIY stoppers can be made from various household items, such as wine corks or rubber balls, while store-bought options offer a wider range of materials and designs to choose from.
Ultimately, the decision between material options and DIY versus store-bought will depend on your personal preferences and needs.
Material Options for Stopper
For your bathtub stopper, you can choose from a variety of materials. Here are the different types of bathtub stoppers and the pros and cons of each material option:
-
Rubber: Rubber stoppers are a popular choice due to their flexibility and durability. They create a tight seal and are resistant to water damage. However, they can deteriorate over time and may require replacement.
-
Silicone: Silicone stoppers are similar to rubber but are more resistant to heat and chemicals. They are also easy to clean and maintain. However, they can be more expensive than rubber stoppers.
-
Plastic: Plastic stoppers are lightweight and affordable. They come in various shapes and sizes to fit different bathtub drains. However, they may not create as tight of a seal as rubber or silicone stoppers.
-
Metal: Metal stoppers, such as brass or stainless steel, are durable and long-lasting. They can add a touch of elegance to your bathtub. However, they can be more expensive and may require regular cleaning and maintenance to prevent rust.
When choosing a material for your bathtub stopper, consider your budget, durability requirements, and personal preferences.
DIY Versus Store-Bought
You can save money by opting for a store-bought stopper instead of making one yourself. There are pros and cons to both options, so it’s important to consider the cost comparison.
When it comes to DIY, you have the advantage of customization. You can make a stopper that fits your bathtub perfectly and matches your bathroom decor. However, the cost of materials can add up, especially if you need to purchase specific tools or equipment.
On the other hand, store-bought stoppers are convenient and readily available. They may not offer as much customization, but they are often more affordable, especially if you find a good deal or discount.
Ultimately, the decision between DIY and store-bought comes down to your budget, time, and personal preferences.
Attach the Chain or Rope
To attach the chain or rope, simply grab the end and connect it to the bathtub stopper.
Here are some discussion ideas on different types of chains or ropes that can be used to attach the bathtub stopper, as well as tips and tricks for ensuring a secure attachment:
-
Stainless steel chain: This durable and rust-resistant option provides a sleek and modern look, perfect for contemporary bathroom designs.
-
Nylon rope: Lightweight and flexible, nylon rope is an affordable choice that is easy to work with and offers good resistance to moisture.
-
Braided cotton rope: With its soft texture and natural appearance, braided cotton rope adds a touch of elegance to any bathroom décor.
-
Rubber chain: If you’re looking for a non-slip option, rubber chains are a great choice as they provide a firm grip on the stopper.
To ensure a secure attachment, make sure to tighten any screws or clasps, and double-check that the chain or rope is securely fastened to the stopper.
With the chain or rope properly attached, you can now move on to the next step: testing the stopper’s functionality.
Test the Stopper
Now that the chain or rope is securely attached, it’s time to test the stopper’s functionality. Testing the durability and evaluating the water tightness are crucial steps to ensure that the bathtub stopper will effectively hold water. To assist you in understanding the testing process, I have prepared a table below:
| Test | Procedure |
|---|---|
| Durability | Apply pressure on the stopper to simulate regular usage. Check for any signs of bending or breaking. |
| Water Tightness | Fill the bathtub with water and let it sit for a few minutes. Observe if there are any leaks around the stopper area. |
Adjust and Secure the Stopper
To adjust and secure the stopper, simply twist the attached chain or rope until it’s tightly fastened. Here are some tips for maintaining a secure bathtub stopper:
-
Check for any debris: Clear out any hair, soap scum, or other debris that may be blocking the stopper mechanism. This will ensure smooth operation and a secure fit.
-
Inspect the chain or rope: Make sure the chain or rope is in good condition, without any knots or fraying. If necessary, replace it to ensure a strong and reliable connection.
-
Tighten the stopper: Use a pair of pliers to securely tighten the stopper mechanism. This will prevent it from becoming loose and potentially causing water leaks.
-
Test the stopper: Fill the bathtub with water and check for any leaks. If the stopper is properly adjusted and secured, it should hold the water without any problems.
Conclusion
As I hold the newly crafted bathtub stopper in my hands, I can’t help but feel a sense of accomplishment. This simple object represents more than just a functional tool; it symbolizes my ability to create, to problem-solve, and to take control of my surroundings.
With its perfectly measured dimensions and secure attachment, this stopper is now ready to fulfill its purpose and bring joy to my bathing experience.
Now, as I immerse myself in the soothing water, I am reminded of the power within me to transform the ordinary into something extraordinary.