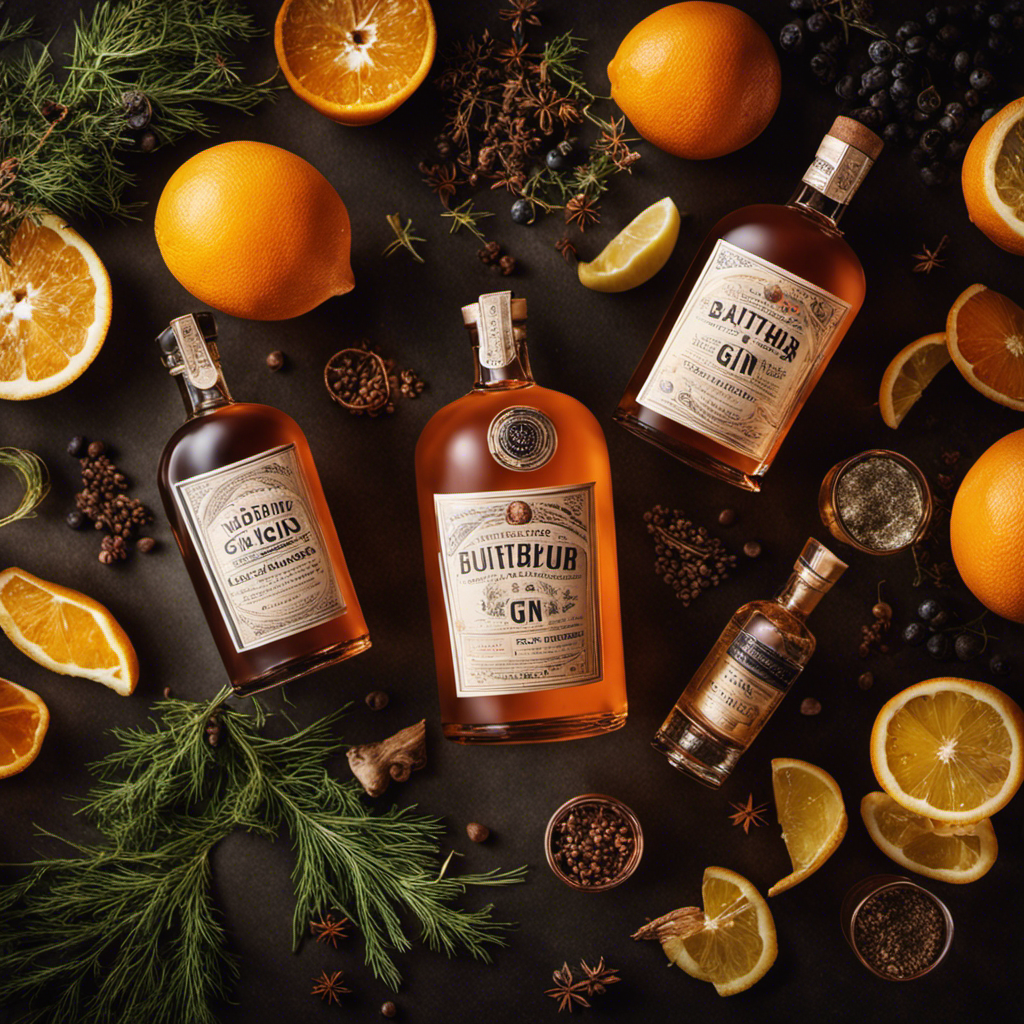
Have you ever wondered what it would be like to step back in time and experience the illicit world of Prohibition? Well, today I’m going to take you on a journey back to those roaring 1920s, where speakeasies thrived and bathtub gin flowed freely.
In this article, I’ll share with you my secrets for crafting your very own bathtub gin, from the history behind it to the step-by-step process of distillation. So, grab your shaker and let’s dive into the world of homemade spirits!
Key Takeaways
- Bathtub gin originated during the Prohibition era in the United States as a result of the ban on alcoholic beverages.
- Traditional ingredients for making bathtub gin include juniper berries, coriander seeds, angelica root, and citrus peels, but alternative ingredients can be used.
- Understanding the boiling point of alcohol and having the necessary distillation equipment are crucial for successful distillation.
- Safety precautions should be followed during the distillation process, and finding the best botanical combinations and infusion techniques are important for flavor enhancement.
History of Bathtub Gin
The history of bathtub gin can be traced back to the Prohibition era in the United States. During this time, the production, sale, and distribution of alcoholic beverages were banned, leading to the rise of homemade spirits. Gin, a popular spirit, was no exception.
People began making their own gin in their bathtubs due to limited access to legal sources. The term ‘bathtub gin’ originated from the makeshift distillation processes that took place in people’s homes. These homemade spirits were often made using cheap grain alcohol and flavored with juniper berries and other botanicals to mimic the taste of traditional gin.
Despite its illicit nature, bathtub gin became a symbol of defiance and creativity during the Prohibition era, highlighting people’s determination to enjoy their favorite spirits despite the restrictions imposed by the government.
Equipment and Ingredients Needed
You’ll need a few key items and ingredients to whip up some homemade gin in your bathtub. Don’t worry, it’s easier than it sounds! Here’s what you’ll need:
-
Equipment Cleaning: Before you start, make sure your bathtub and the equipment you’ll be using are thoroughly cleaned. You don’t want any unwanted flavors or contaminants in your gin.
-
Ingredients: The traditional ingredients for making gin include juniper berries, coriander seeds, angelica root, and citrus peels. However, you can get creative and experiment with alternative ingredients such as lavender, rosemary, or even exotic spices.
-
Distilling Equipment: To make bathtub gin, you’ll need a still or a makeshift distillation setup. This can be as simple as a large pot, a condenser, and a collection jar. Just make sure everything is secure and safe to use.
With these items and ingredients in hand, you’re ready to embark on your homemade gin-making adventure in the comfort of your own bathroom. Cheers!
Step-by-Step Distillation Process
When it comes to distillation, understanding the boiling point of alcohol is crucial. Different types of alcohol have different boiling points, so knowing the specific temperature at which your desired alcohol will evaporate is essential for successful distillation.
In addition to knowing the boiling points, having the necessary equipment is vital for the distillation process. From a still to a condenser, each piece plays a crucial role in separating the alcohol from impurities.
Boiling Point of Alcohol
To measure the boiling point of alcohol, start by placing your thermometer into the liquid and heating it gradually. As the temperature rises, observe the following phenomena:
-
Alcohol Evaporation: As the liquid heats up, you will notice the alcohol evaporating. This occurs because alcohol has a lower boiling point than water, allowing it to change from a liquid to a gas.
-
Alcohol Concentration: The boiling point can also give you an idea of the alcohol concentration in the mixture. The higher the boiling point, the lower the alcohol content, as alcohol evaporates more readily than water.
-
Boiling Point Range: Different types of alcohol have different boiling points. Ethanol, for example, boils at around 78.4°C (173°F). By observing the boiling point range, you can determine the type of alcohol present.
Understanding the boiling point of alcohol is crucial in the distillation process.
Now, let’s explore the essential equipment needed for successful distillation.
Essential Equipment for Distillation
To successfully distill alcohol, you’ll need essential equipment such as a still, condenser, and collection vessel. These tools are crucial for the distillation process, allowing you to separate the alcohol from other substances. Distillation techniques vary depending on the desired outcome, whether it’s making spirits, essential oils, or even water purification. Home distilling methods have become increasingly popular, as enthusiasts explore the art of creating their own alcoholic beverages.
Here, I’ve compiled a table to highlight the essential equipment needed for distillation:
| Equipment | Function |
|---|---|
| Still | Heats the liquid mixture to create vapor |
| Condenser | Cools the vapor back into a liquid form |
| Collection Vessel | Collects the distilled liquid for further use |
| Thermometer | Monitors the temperature during distillation |
| Hydrometer | Measures the alcohol content of the distilled liquid |
Safety Precautions When Distilling
It’s crucial to take proper safety precautions when distilling alcohol to ensure a successful and secure process. Distillation involves handling volatile chemicals and can pose potential risks if not done carefully. Here are three important safety precautions to keep in mind:
-
Use protective gear: When handling chemicals, it’s essential to wear personal protective equipment such as gloves, goggles, and a lab coat. This will protect your skin and eyes from any potential splashes or spills.
-
Work in a well-ventilated area: Distilling alcohol produces vapors that can be harmful if inhaled in large quantities. Make sure to work in a well-ventilated space or use a fume hood to remove any potentially toxic fumes.
-
Handle chemicals with care: Always read and follow the instructions on the labels of the chemicals you’re using. Use the proper tools and techniques to handle and transfer chemicals, and never mix incompatible substances.
By following these safety precautions, you can minimize the risks associated with distillation and ensure a safe and successful process.
Stay safe and happy distilling!
Tips for Infusing Botanicals
When it comes to infusing botanicals, there are a few key points to keep in mind.
First, finding the best botanical combinations is essential for creating a well-balanced and flavorful infusion. I’ll be discussing some popular combinations and their unique characteristics.
Second, the infusing time recommendations can greatly affect the intensity and complexity of the flavors. I’ll share some guidelines on how long to infuse different botanicals to achieve the desired results.
Finally, there are various flavor-enhancing infusion techniques that can take your botanical infusions to the next level. From maceration to sous vide, I’ll explore these techniques and their impact on the final product.
Best Botanical Combinations
One of the best botanical combinations for making bathtub gin is juniper berries and citrus peels. These two ingredients work together to create a complex and vibrant flavor profile that is perfect for homemade gin.
Here are three other botanical combinations that can take your bathtub gin to the next level:
-
Lavender and rosemary: This combination adds a touch of floral and herbal notes to your gin, giving it a unique and refreshing taste.
-
Cardamom and coriander: These warm and aromatic spices bring a rich and exotic flavor to your gin, making it perfect for sipping on a cold winter night.
-
Chamomile and lemon verbena: For a lighter and more delicate gin, try infusing it with chamomile and lemon verbena. This combination adds a subtle sweetness and a hint of citrus to your gin.
By experimenting with different botanical combinations, you can create your own signature bathtub gin that is sure to impress your friends.
Happy gin-making!
Infusing Time Recommendations
After carefully selecting the best botanical combinations for my bathtub gin, it’s important to consider the recommended infusion time to achieve the perfect flavor profile. The infusion time will vary depending on the botanicals used and personal preference. To give you an idea, I have compiled a table below with some commonly used botanicals and their recommended infusion times:
| Botanical | Recommended Infusion Time |
|---|---|
| Juniper Berries | 24-48 hours |
| Citrus Peel | 12-24 hours |
| Coriander Seeds | 12-24 hours |
| Angelica Root | 24-48 hours |
Keep in mind that these are just general guidelines and you can adjust the infusion time based on your taste preferences. Additionally, there are alternative infusion methods you can explore, such as cold infusion or using a sous-vide technique, which can yield different results.
Now that we have determined the recommended infusion time, let’s move on to the next section about flavor-enhancing infusion techniques.
Flavor-Enhancing Infusion Techniques
To enhance the flavor of your infusion, you can try different techniques. One method is muddling the botanicals or using a higher proof spirit. These techniques help extract maximum flavors and create unique profiles in your bathtub gin.
Here are three infusion techniques that can take your homemade gin to the next level:
-
Muddling: This technique involves gently crushing botanicals like juniper berries or citrus peels. It releases essential oils and flavors, intensifying the taste and creating a more aromatic gin.
-
Higher Proof Spirit: Using a higher proof spirit, like 100-proof vodka or grain alcohol, results in a stronger infusion. The higher alcohol content extracts more flavors from the botanicals, resulting in a bolder gin.
-
Double Infusion: For a more complex flavor profile, try a double infusion. Infuse the botanicals in one spirit, such as vodka, and then transfer the infused liquid to a different spirit, like gin. This adds additional layers of flavor to your gin.
Aging and Bottling Your Gin
When aging and bottling your gin, make sure you use airtight containers to preserve the flavors.
The aging process is crucial in developing the complex and smooth taste that gin enthusiasts crave. After infusing your gin with botanicals and letting it sit for the desired period, it’s time to bottle it up.
Bottling techniques play a significant role in maintaining the quality of your gin. Firstly, ensure that the bottles you use are made of high-quality glass to prevent any unwanted chemical reactions.
Secondly, clean and sanitize the bottles thoroughly to eliminate any contaminants that could affect the taste.
Lastly, seal the bottles tightly to prevent oxidation and ensure the flavors remain intact.
Enjoying and Serving Bathtub Gin
Once you’ve aged and bottled your gin, it’s time to relax and savor the delicious flavors. Here are some cocktail recipes and garnish ideas to elevate your bathtub gin experience:
-
Classic Gin and Tonic:
- Mix 2 oz of your homemade gin with tonic water.
- Add a squeeze of fresh lime juice.
- Garnish with a slice of lime or a sprig of rosemary.
-
Gin Martini:
- Combine 2 oz of gin with 1 oz of dry vermouth in a shaker.
- Shake with ice and strain into a chilled martini glass.
- Garnish with a twist of lemon peel or an olive.
-
Summer Gin Smash:
- Muddle fresh mint leaves and a few slices of cucumber in a glass.
- Add 2 oz of gin and a splash of simple syrup.
- Top with crushed ice and garnish with a sprig of mint.
With these cocktail recipes and garnish ideas, you can enjoy your bathtub gin in style. Cheers!
Conclusion
In conclusion, making bathtub gin is a fascinating process that allows you to become a true alchemist in the comfort of your own home. By following the step-by-step distillation process and infusing your gin with your favorite botanicals, you can create a unique and flavorful spirit.
Just like a master chef crafting a delectable dish, making bathtub gin is an art that will ignite your senses and transport you to a world of creativity, just like a painter with their brush on a blank canvas.
So, grab your equipment, gather your ingredients, and let your imagination run wild as you embark on this exciting gin-making adventure. Cheers!