I’ve always been amazed at the transformative power of simple DIY projects. And when it comes to reviving an old bathtub, the results can be truly astounding.
In just a few steps, you can take a worn-out, lackluster tub and make it look brand new again. From assessing the condition to repairing chips and cracks, and finally refinishing the surface, this article will guide you through the process of giving your bathtub a stunning makeover.
Get ready to be amazed by the difference a little TLC can make.
Key Takeaways
- Thoroughly assess the condition of your bathtub before refinishing.
- Create a natural cleaning solution using vinegar and baking soda to remove stains.
- Repair chips and cracks using a waterproof epoxy or acrylic repair kit.
- Apply a refinishing or reglazing product to give the surface a fresh look.
Assessing the Condition of Your Bathtub
Before you start any refinishing process, it’s important to assess the condition of your bathtub. As a professional with years of experience in bathtub refinishing, I know the importance of a thorough assessment.
When it comes to refinishing options, understanding the current state of your bathtub is crucial. A professional assessment will help you determine the extent of the damage, such as scratches, cracks, or discoloration. It will also identify any underlying issues that need to be addressed before refinishing, such as leaks or structural damage.
Cleaning and Removing Stains
To effectively clean and remove stains from your bathtub, start by using a mixture of vinegar and baking soda. This natural cleaning solution is effective in deep cleaning and restoring the shine of your bathtub.
Here are three steps to follow for optimal results:
-
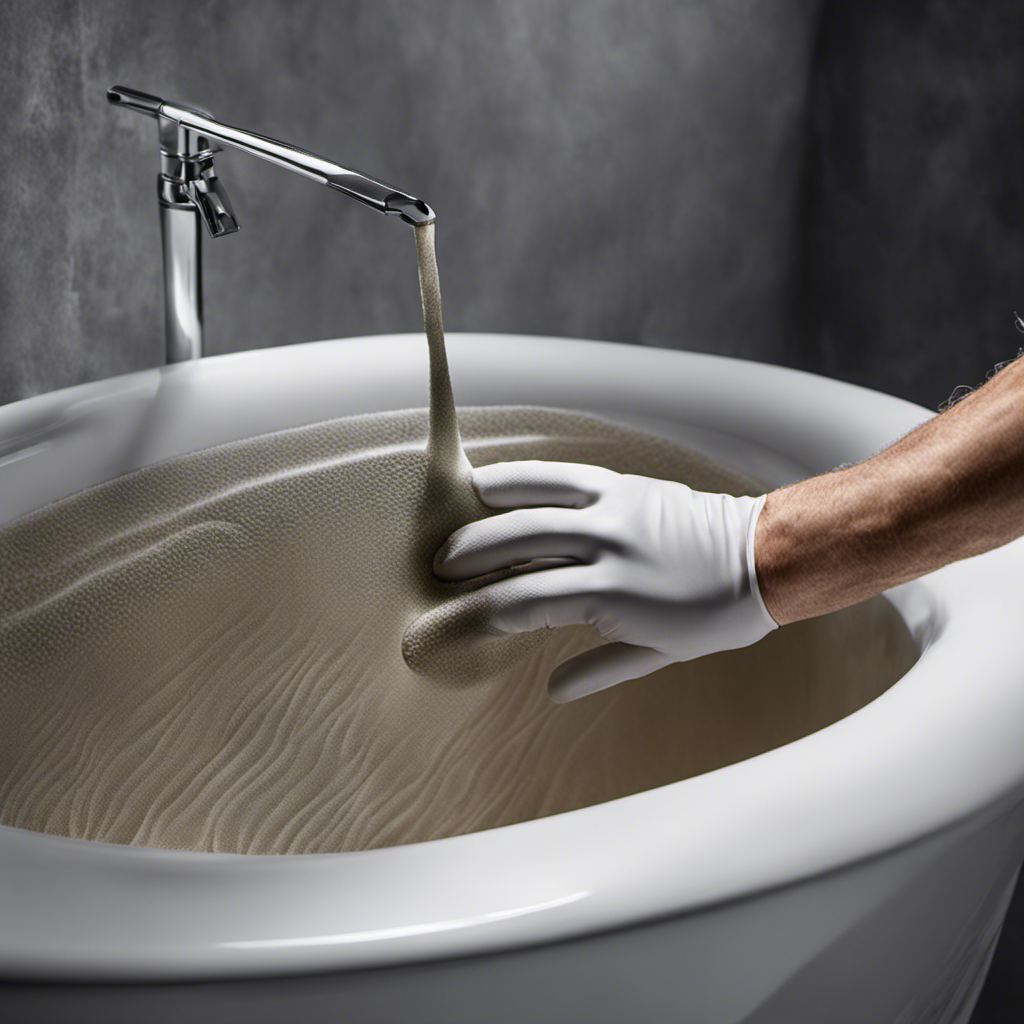
Begin by sprinkling baking soda all over the surface of the bathtub. Make sure to cover all the stained areas.
-
Next, pour vinegar over the baking soda. The mixture will start to bubble and fizz, which is a sign that it’s working to break down the stains.
-
Using a scrub brush or sponge, gently scrub the bathtub in circular motions to lift the stains. Pay extra attention to stubborn areas.
After you’ve finished scrubbing, rinse the bathtub thoroughly with warm water.
This simple yet powerful method will leave your bathtub looking fresh and stain-free.
Repairing Chips and Cracks
When repairing chips and cracks in your bathtub, you can use a waterproof epoxy or acrylic repair kit to effectively fill in the damaged areas. These kits usually come with everything you need, including the repair compound, applicator, and instructions.
To begin, clean and dry the damaged area thoroughly. Then, mix the repair compound according to the instructions provided. Apply the compound to the chip or crack, making sure to fill it in completely and smooth out the surface. Allow the compound to dry and cure as directed, usually for a few hours or overnight.
Once the repair is complete and the surface is smooth, you can move on to refinishing or reglazing the surface to achieve a fresh and new look.
Refinishing or Reglazing the Surface
Once the surface has dried and cured, you can apply a refinishing or reglazing product to give it a fresh, updated appearance. The reglazing process involves applying a special coating to the bathtub surface, which not only restores its original shine but also provides protection against future damage.
Here are three key things to consider when undergoing the reglazing process:
-
Preparation: Before applying the reglazing product, it is essential to thoroughly clean the bathtub and remove any existing coatings or residue.
-
Application: The reglazing product should be applied in thin, even layers, using a brush or roller. It is crucial to follow the manufacturer’s instructions and allow sufficient drying time between coats.
-
Professional services: While reglazing can be done as a DIY project, hiring a professional ensures a high-quality finish and reduces the risk of errors.
By following these steps and considering professional services, you can achieve a beautiful and long-lasting result for your bathtub.
Now, let’s move on to maintaining the newly restored bathtub.
Maintaining the Newly Restored Bathtub
To keep your newly restored bathtub in great condition, it’s important to follow a regular cleaning and maintenance routine.
After investing time and money into refinishing or reglazing the surface, you’ll want to ensure its longevity. Start by taking preventive measures to protect the bathtub from any potential damage. Place mats or non-slip stickers on the bottom to prevent scratches and slips. Avoid using abrasive cleaners or tools that can degrade the surface. Instead, stick to mild, non-abrasive cleaners and soft cloths for regular cleaning.
For long term maintenance, consider applying a protective coating every couple of years to maintain its shine and durability. Regularly inspect the surface for any signs of wear or damage, and address them promptly to avoid further issues.
With proper care, your newly restored bathtub will continue to look as good as new for years to come.
Frequently Asked Questions
What Are the Different Types of Bathtubs Available in the Market?
There are several types of bathtubs available in the market. They include acrylic, cast iron, fiberglass, and porcelain. Each material has its own pros and cons, so it’s important to consider factors like durability and maintenance when choosing a bathtub.
Can I Use Regular Household Cleaners to Clean My Bathtub?
Yes, you can use regular household cleaners to clean your bathtub. However, using natural cleaners is a better option. Here are some tips for removing stubborn stains and making your bathtub look new.
How Long Does the Bathtub Refinishing Process Typically Take?
The bathtub refinishing time frame can vary depending on the condition of the bathtub and the specific refinishing process. However, there are ways to speed up the process, such as using quick-drying products and hiring experienced professionals.
Are There Any DIY Methods to Repair Chips and Cracks in a Bathtub?
Yes, there are DIY bathtub repair methods available for fixing chips and cracks. These techniques can help restore the bathtub’s appearance and prevent further damage. I can share some detailed and experienced tips on how to do it.
Is It Possible to Change the Color of My Bathtub During the Refinishing Process?
Yes, it is possible to change the color of your bathtub during the refinishing process. However, it’s important to weigh the pros and cons of bathtub refinishing before making a decision.
Conclusion
In conclusion, reviving an old bathtub is no small feat, but it can be done with the right techniques and a little elbow grease.
First, assess the condition of the bathtub and determine the extent of the work that needs to be done.
Next, tackle any stains that may be present. There are various cleaning solutions and techniques that can be used to remove stubborn stains and restore the bathtub’s original shine.
After addressing the stains, it’s important to repair any chips or cracks in the bathtub. This can be done using epoxy or other suitable materials to ensure a smooth and even surface.
Once the surface is prepared, the next step is to refinish or reglaze the bathtub. This process involves applying a new coating to the surface to give it a fresh and new look.
Finally, it’s crucial to follow a proper maintenance routine to keep the newly restored bathtub in tip-top shape. Regular cleaning and avoiding abrasive materials will help preserve the finish and extend the lifespan of the bathtub.
So go ahead, give your old tub a facelift and enjoy the satisfaction of a bathroom transformation. With a little effort, you can turn back the clock on your tub and bring it into the 21st century.
