
As I stood in my own bathroom, staring at the worn-out bathtub, a thought struck me: why not make my own? With a little research and determination, I embarked on a journey to create the perfect bathtub.
In this step-by-step guide, I will share my knowledge on choosing the right materials, designing the bathtub, building the frame, installing the plumbing, and adding those finishing touches.
Get ready to roll up your sleeves and create a one-of-a-kind bathtub that suits your style and preferences.
Key Takeaways
- Choose materials for your bathtub based on durability and water resistance, such as acrylic, cast iron, or fiberglass.
- Consider the dimensions and shape of your bathtub to fit your bathroom space and style preferences, such as freestanding tubs, clawfoot tubs, built-in tubs, or soaking tubs.
- Build a sturdy frame for your bathtub using proper framing techniques, appropriate fasteners, and waterproofing methods.
- Install the plumbing for your bathtub by measuring and cutting pipes, securely connecting them using PVC primer and cement, and testing for leaks.

KINGSTON BRASS VTDE603122R 60-Inch Contemporary Alcove Acrylic Bathtub with Right Hand Drain and Overflow Holes, White
Acrylic construction with fiberglass and resin reinforcement, three wall alcove installation with tile flange and integral tub apron…
As an affiliate, we earn on qualifying purchases.
As an affiliate, we earn on qualifying purchases.
Choosing the Right Materials
When choosing the right materials for your bathtub, it’s important to consider durability and water resistance. Material selection considerations vary depending on your preferences and budget.
Some popular options include acrylic, cast iron, and fiberglass. Acrylic is lightweight, easy to clean, and comes in a variety of shapes and sizes. However, it can scratch easily and may require more maintenance over time.
Cast iron is known for its durability and heat retention, but it is heavy and may require additional support. Fiberglass is affordable and lightweight, but it may not be as durable as other materials.
Ultimately, the pros and cons of different bathtub materials should guide your decision-making process.
Now that we have discussed material selection, let’s move on to designing your bathtub.

WOODBRIDGE 67" Acrylic Freestanding Bathtub Contemporary Soaking Tub, White Acrylic (Matte Black Drain/Overflow), B0013-MB-Drain &O
Dimensions and specifications: Exterior dimension 67'' long x 31 1/2'' wide x 22 4/5'' deep, effective tub capacity…
As an affiliate, we earn on qualifying purchases.
As an affiliate, we earn on qualifying purchases.
Designing Your Bathtub
To design your tub, start by considering the dimensions and shape that best fit your bathroom space and style preferences. A custom bathtub allows you to create a unique and personalized bathing experience.
Here are some current bathtub design trends to inspire your project:
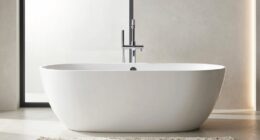
- Freestanding tubs: These tubs add a touch of elegance and sophistication to any bathroom.
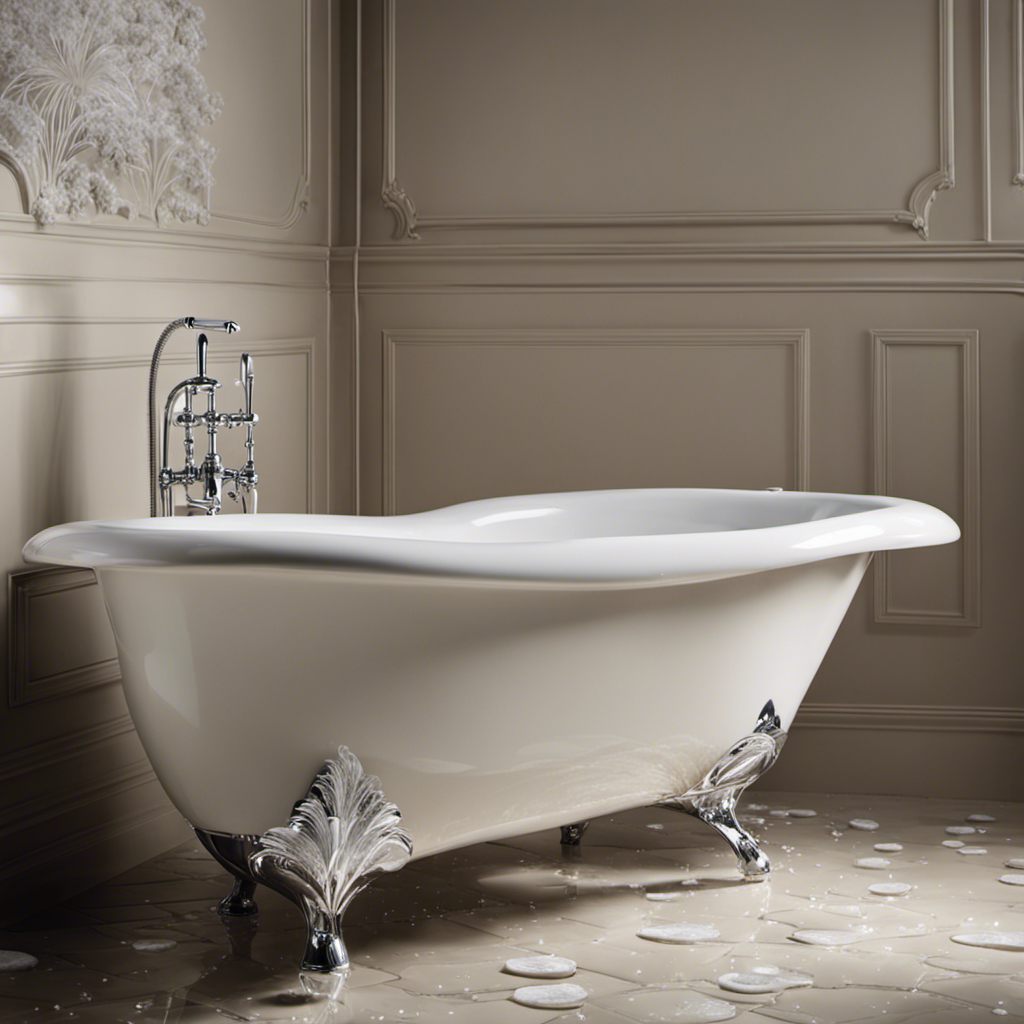
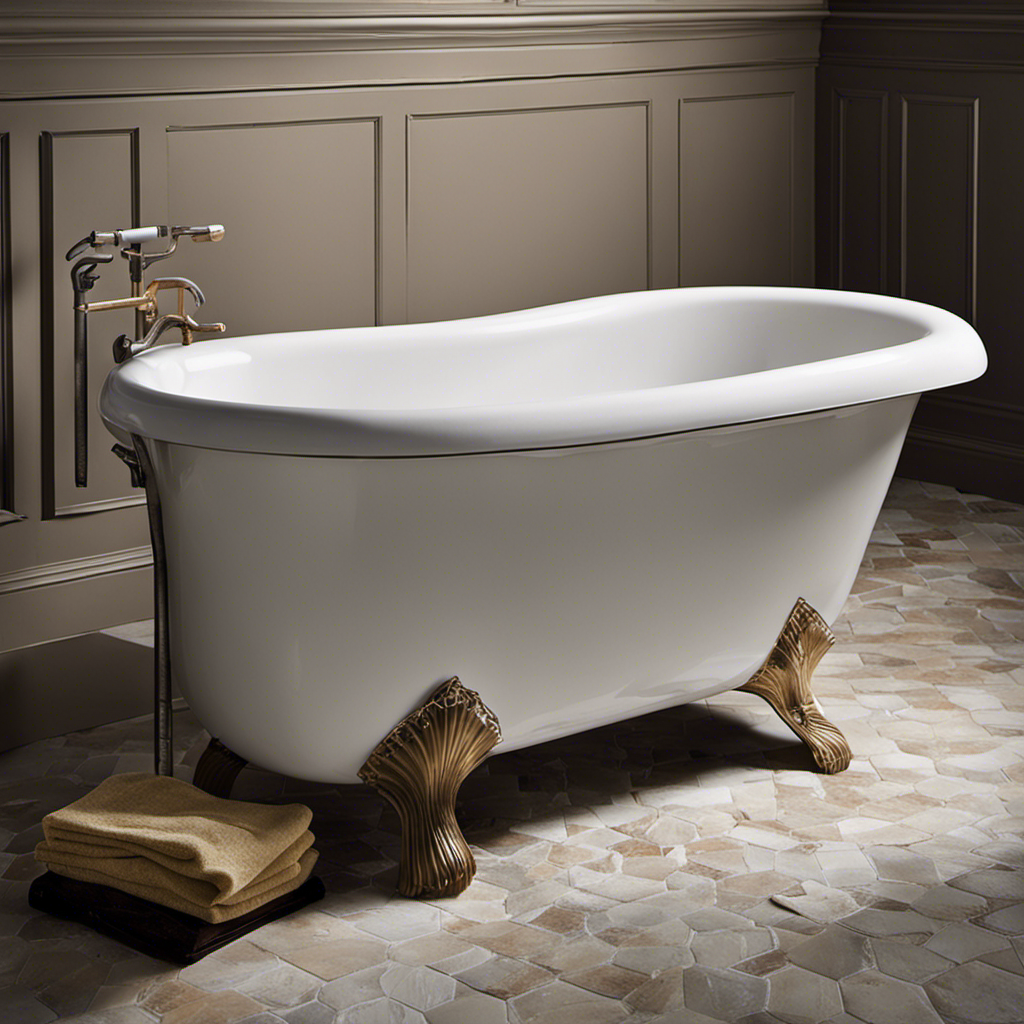
- Clawfoot tubs: A classic choice that adds vintage charm and character to your space.
- Built-in tubs: These tubs are seamlessly integrated into your bathroom design, creating a sleek and modern look.
- Soaking tubs: Perfect for relaxation, these deep tubs provide a luxurious bathing experience.
- Jetted tubs: For the ultimate spa-like experience, consider adding jets to your tub for a soothing massage.
With these design trends in mind, you can create a custom bathtub that not only fits your bathroom space but also reflects your personal style and enhances your bathing experience.
bathtub plumbing kit
As an affiliate, we earn on qualifying purchases.
As an affiliate, we earn on qualifying purchases.
Building the Frame
You can start building the frame by measuring and cutting the necessary pieces of lumber. The frame is an essential part of your bathtub construction as it provides support and stability. To ensure a sturdy frame, it is important to use proper framing techniques. This includes using appropriate fasteners such as screws or nails, as well as reinforcing corners with brackets or metal plates. Additionally, consider incorporating waterproofing methods into your frame construction. This can be achieved by using waterproof membranes or sealants on the lumber before assembly. By incorporating these techniques, you can create a durable and waterproof frame for your bathtub. Refer to the table below for a breakdown of the necessary lumber pieces and their dimensions:
| Piece | Quantity | Dimensions |
|---|---|---|
| Sides | 2 | 2x4x30 inches |
| Front and Back | 2 | 2x4x60 inches |
| Bottom | 1 | 2x4x28 inches |
| Supports | 4 | 2x4x12 inches |
| Braces | 2 | 2x4x12 inches |
bathtub frame building supplies
As an affiliate, we earn on qualifying purchases.
As an affiliate, we earn on qualifying purchases.
Installing the Plumbing
Installing the plumbing requires connecting the necessary pipes and fixtures to ensure proper water flow and drainage. To do this, follow these steps:
- Start by measuring and cutting the pipes to the desired length, making sure to account for any bends or angles.
- Use PVC primer and cement to securely connect the pipes together. Apply the primer to both the inside of the fitting and the outside of the pipe, then apply the cement and push the pieces together.
Seal the joints using plumber’s tape or pipe sealant to prevent any leaks.
- Connect the pipes to the fixtures, such as the bathtub faucet and drain, using the appropriate fittings and connectors.
- Test the system for any leaks by running water through the pipes and checking for any drips or puddles.
Finishing Touches
Once the plumbing is installed, it’s time to add the finishing touches to complete the bathtub project. Adding decorative elements is an essential step to enhance the overall aesthetic appeal of your bathtub. You can choose from a wide range of options, such as decorative tiles, mosaic patterns, or even a custom-designed bathtub surround. These elements not only add beauty but also provide a personal touch to your creation.
Sealing and waterproofing techniques are crucial to ensure the longevity and functionality of your bathtub. To seal the bathtub, you can use a high-quality silicone caulk around the edges and seams. It creates a watertight seal, preventing any leakage. Additionally, applying a waterproofing membrane to the walls surrounding the bathtub is essential to protect against moisture damage.
Conclusion
In conclusion, creating your own bathtub can be a rewarding and fulfilling project. By carefully selecting the right materials, designing a suitable layout, constructing a sturdy frame, and installing plumbing efficiently, you can create a customized bathtub that meets your preferences and needs.
Remember, the devil is in the details, so pay close attention to the finishing touches to ensure a polished final product.
So why wait? Dive into this adventure and make a splash with your very own homemade bathtub!