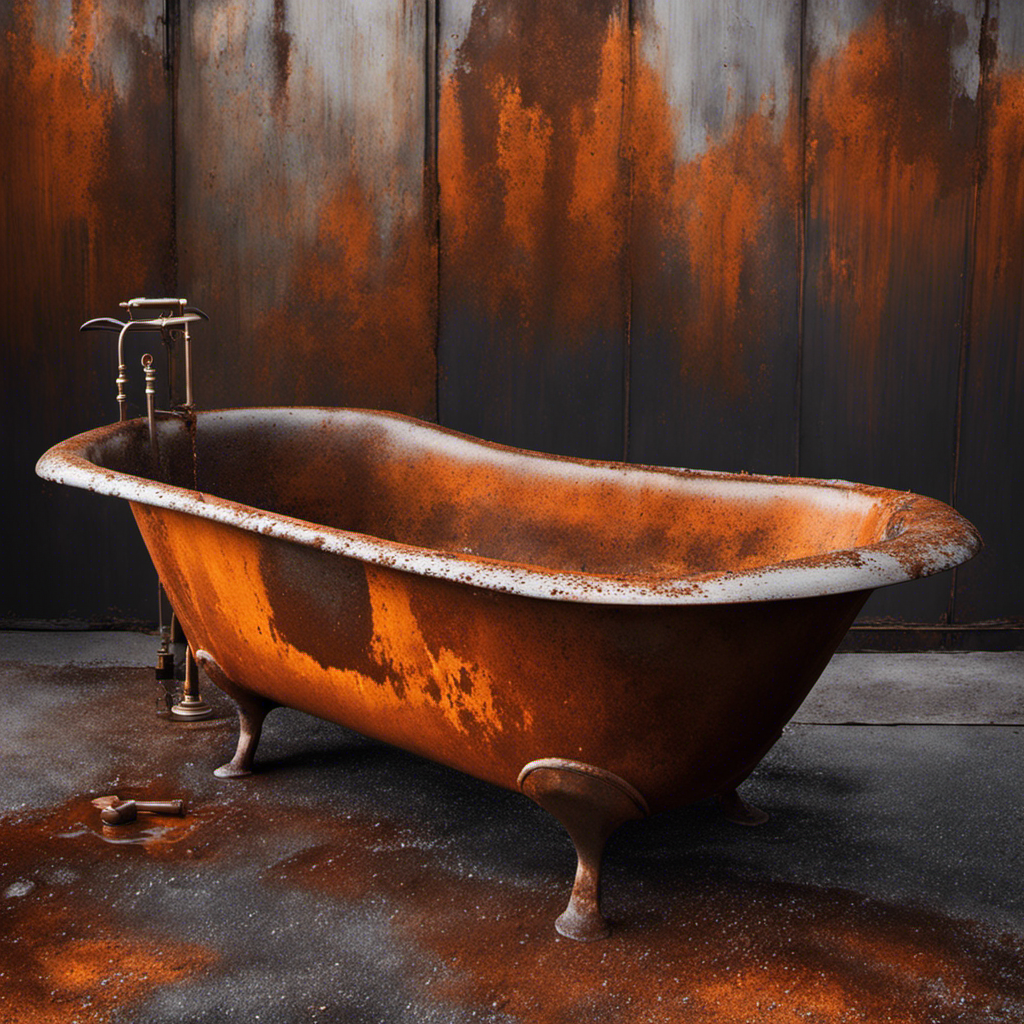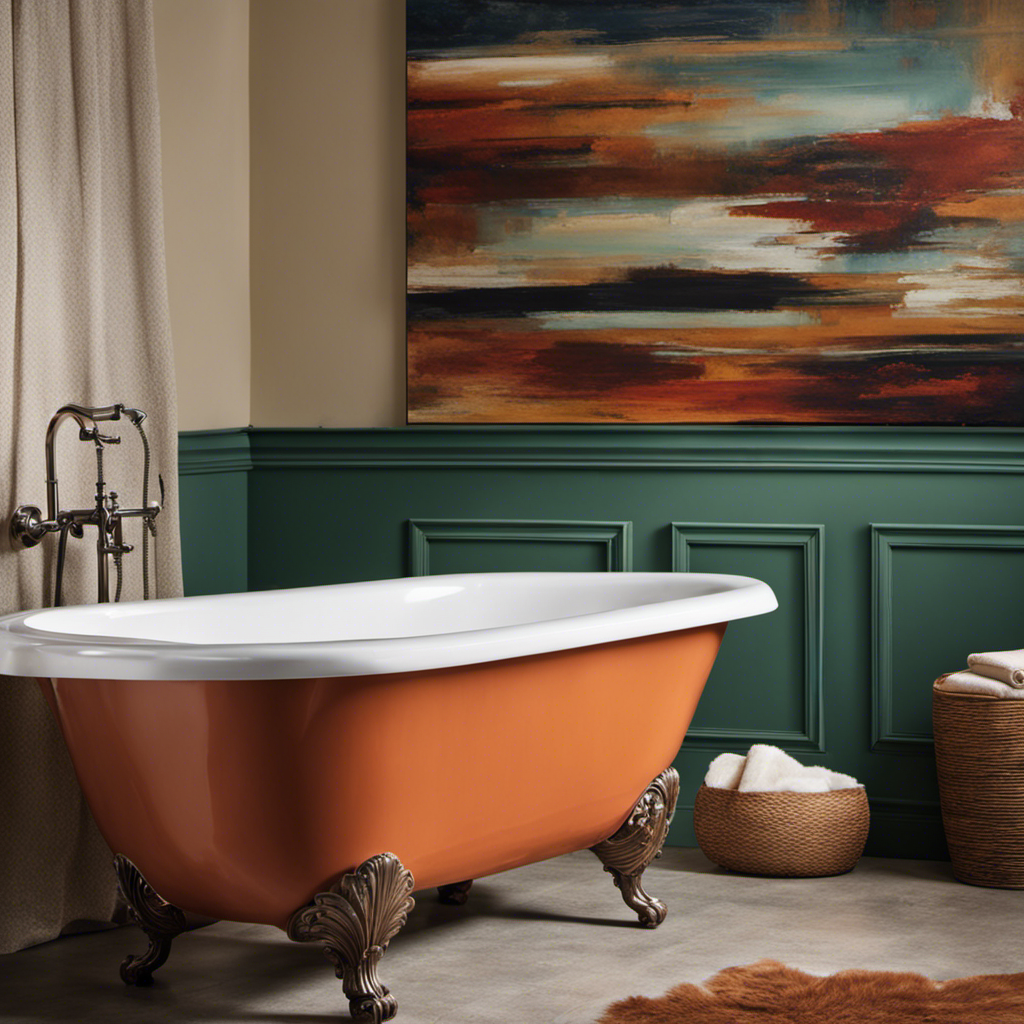
I’ve always dreamed of having a luxurious, spa-like bathtub in my home. But, alas, my budget didn’t allow for a brand new one. That’s when I discovered the magic of painting a bathtub.
In this article, I’ll guide you through the step-by-step process of transforming your old, worn-out tub into a stunning centerpiece. With a few simple supplies and a little elbow grease, you can achieve a beautiful, professional-looking finish that will make your bathtub feel brand new.
Key Takeaways
- Properly preparing the bathtub surface is crucial for a successful paint job.
- Applying multiple thin coats of primer and paint will ensure better adhesion and prevent drips.
- Allow sufficient drying time between each coat and follow the manufacturer’s instructions.
- Regularly clean and maintain the painted bathtub using mild, non-abrasive cleaners and avoiding harsh chemicals or abrasive tools.

Rust-Oleum 384165 Tub And Tile Refinishing 2-Part Kit, 32 oz, Gloss White
Prepare and paint surface the same day with a tough, with tub and tile’s 2-part epoxy acrylic formula…
As an affiliate, we earn on qualifying purchases.
As an affiliate, we earn on qualifying purchases.
Gathering the Necessary Supplies
You’ll need to gather all the necessary supplies before you can start painting the bathtub. Bathtub preparation is crucial for achieving a smooth and long-lasting finish.
The first step is to ensure the surface is clean and free from any dirt, grime, or soap residue. To do this, you’ll need a mild detergent or a specialized bathtub cleaner, a sponge or soft cloth, and a bucket of warm water.
Start by wetting the surface and then apply the cleaner, scrubbing gently in circular motions. Rinse thoroughly with clean water and dry the surface completely. This step is essential to remove any contaminants that could interfere with the adhesion of the paint.
Once the surface is clean, you can move on to the next step of bathtub preparation.
bathtub paint and primer
As an affiliate, we earn on qualifying purchases.
As an affiliate, we earn on qualifying purchases.
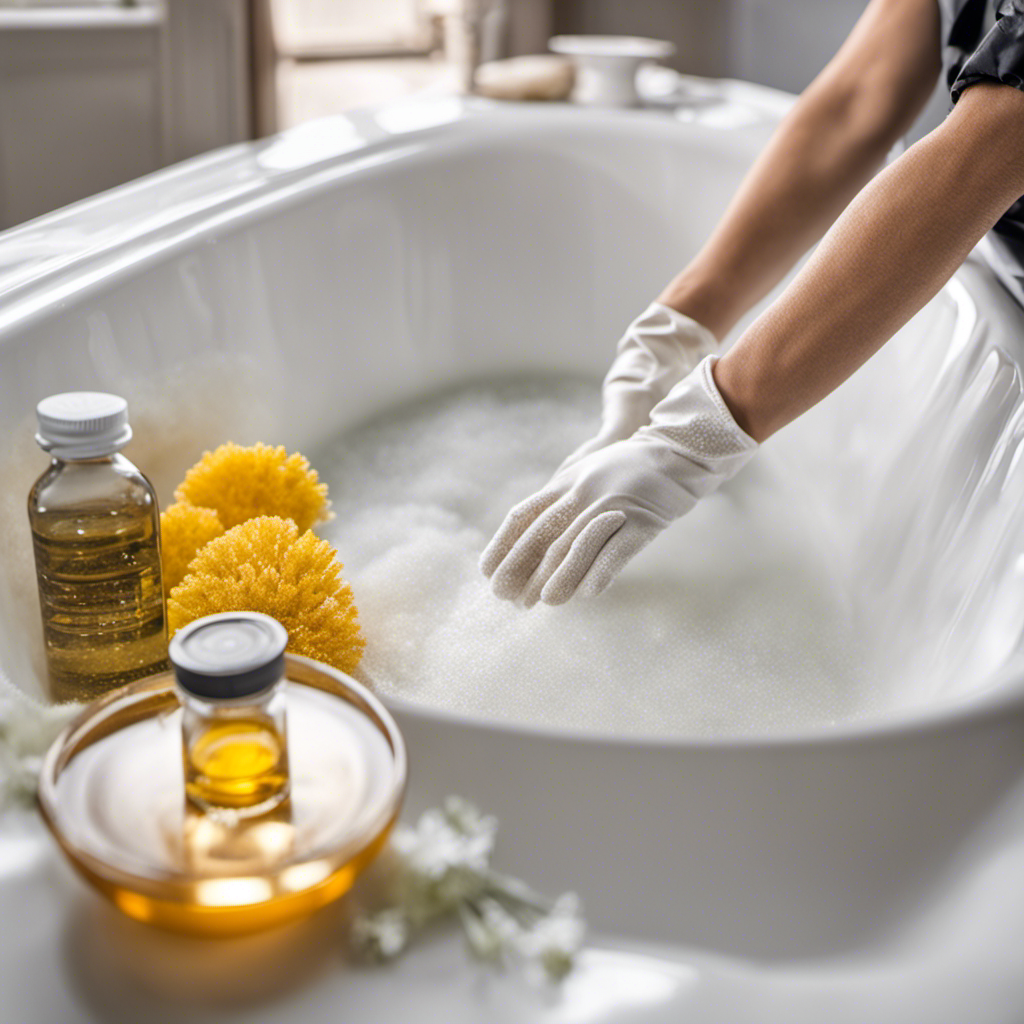
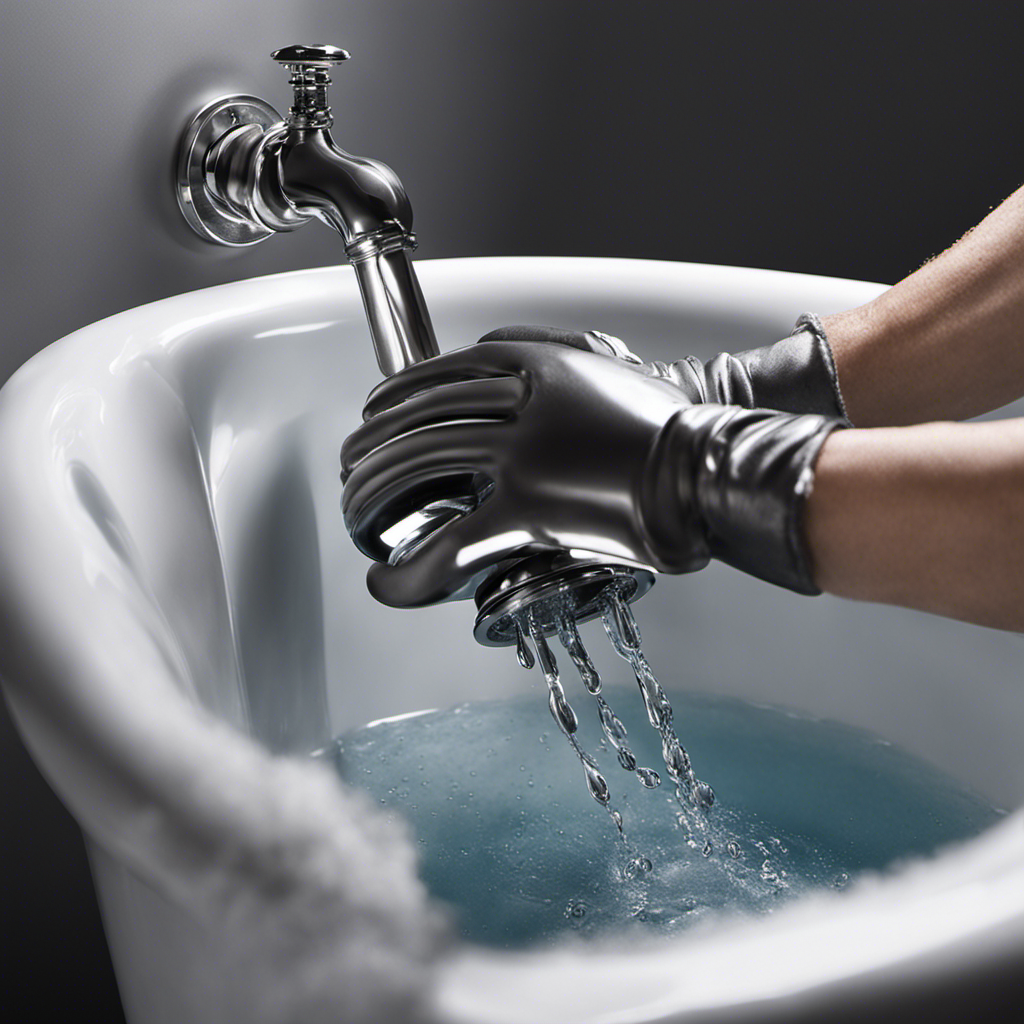
Preparing the Bathtub Surface
Before starting, make sure the surface is clean and dry, so that the paint adheres properly. Cleaning the bathtub is an essential step in preparing the surface for painting. Here are some surface preparation techniques that will help you achieve the best results:
-
Remove any residue: Use a bathtub cleaner or a mixture of warm water and mild detergent to clean the surface. Scrub the bathtub thoroughly to remove any dirt, soap scum, or grime.
-
Rinse the bathtub: After cleaning, rinse the bathtub with clean water to remove any remaining cleaning solution. Make sure to remove all traces of soap or detergent.
-
Dry the surface: Use a clean towel or allow the bathtub to air dry completely. Moisture can prevent the paint from adhering properly, so it is crucial to ensure the surface is completely dry.
-
Sand the surface: Gently sand the bathtub using fine-grit sandpaper. This will help remove any rough patches and create a slightly rough texture, allowing the paint to bond better.
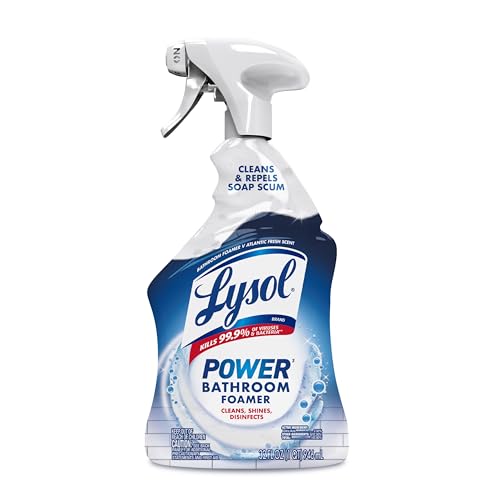
Lysol Power Foaming Bathroom Cleaner, Multipurpose Cleaner for Showers, Bathtubs, Sinks, Disinfectant Spray Kills 99.9% of Germs, Zero Bleach Cleaning Spray, 32 Oz.
BATHROOM SPRAY: Add the power of Lysol to your bathroom cleaning supplies with our Power Bathroom Foamer; eliminates…
As an affiliate, we earn on qualifying purchases.
As an affiliate, we earn on qualifying purchases.
Applying the Primer
Once the surface is dry, it’s time to apply the primer to prepare for painting. Before starting, make sure you have properly prepared the bathtub surface by cleaning and sanding it.
The primer is an essential step as it helps the paint adhere better and ensures a smooth, long-lasting finish. To apply the primer, start by ensuring proper ventilation in the area. Open windows or use fans to circulate fresh air. This will help to minimize the fumes and odors from the primer.
Next, use a brush or roller to apply a thin and even coat of primer onto the surface. Make sure to cover all areas, including corners and edges.
Allow the primer to dry completely before proceeding with the painting process.
fine grit sandpaper for tubs
As an affiliate, we earn on qualifying purchases.
As an affiliate, we earn on qualifying purchases.
Choosing and Applying the Paint
To achieve the desired finish, it is important to carefully select the right type of paint for your project and apply it evenly onto the prepared surface. When choosing the right color, consider the overall aesthetic of your bathroom and the mood you want to create.
Here are some proper paint application techniques to ensure a professional result:
-
Clean the surface thoroughly: Remove any dirt, grease, or old paint from the bathtub before applying the new paint. This will help the paint adhere properly.
-
Use a high-quality brush or roller: Invest in good quality tools to ensure smooth and even application of the paint. A brush or roller with the right nap will help achieve the desired texture.
-
Apply multiple thin coats: Instead of applying a thick coat, it is better to apply multiple thin coats. This will help prevent drips and ensure better adhesion.
-
Allow sufficient drying time: Follow the manufacturer’s instructions regarding drying time between coats. Patience is key to achieving a durable and long-lasting finish.
Curing and Drying the Paint
Make sure you allow sufficient drying time between each coat of paint for a durable and long-lasting finish on your bathroom walls. The curing process is crucial to achieving a professional-looking result. Proper drying techniques ensure that the paint adheres well and doesn’t peel or chip over time. Here are some tips for effectively curing and drying your painted walls:
| Drying Techniques | Time Required |
|---|---|
| Use a fan or open windows | 2-4 hours per coat |
| Keep the room well-ventilated | 24 hours before use |
| Avoid touching the surface | 7-10 days for full cure |
| Apply the final coat | 24-48 hours before use |
During the curing process, it’s important to be patient and allow each coat of paint to thoroughly dry before applying the next one. This will ensure a smooth and professional finish that will withstand daily wear and tear. By following these drying techniques, you can achieve a long-lasting and beautiful result for your bathroom walls.
Maintaining and Extending the Lifespan of the Painted Bathtub
Proper maintenance and regular cleaning are essential for extending the lifespan of your newly painted bathtub. Here are some tips to help you keep your bathtub looking fresh and vibrant for years to come:
-
Use non-abrasive cleaners: Avoid harsh chemicals or scrub brushes that can damage the paint. Instead, opt for mild, non-abrasive cleaners specifically designed for painted surfaces.
-
Avoid abrasive tools: When cleaning your bathtub, steer clear of abrasive tools like steel wool or rough sponges. These can scratch the painted surface and compromise its durability.
-
Wipe dry after use: After each use, take a few moments to wipe down the bathtub with a soft cloth or towel. This will help prevent soap scum and water stains from building up and damaging the paint.
-
Regular maintenance: Schedule regular maintenance checks to ensure that the paint is still intact and there are no signs of chipping or peeling. Catching any issues early on will allow for prompt repairs and help prolong the lifespan of your painted bathtub.
Frequently Asked Questions
How Long Does the Paint Typically Last on a Painted Bathtub?
Typically, the paint on a painted bathtub lasts for several years with proper maintenance. To maintain the painted surface, it’s important to follow cleaning instructions and avoid using abrasive cleaners. Choosing the right paint for a bathtub is crucial for long-lasting results.
Can I Paint Over an Existing Painted Bathtub Surface?
Yes, you can paint over an existing painted bathtub surface. However, it is important to properly prepare the surface and choose the right paint. For fiberglass bathtubs, epoxy or acrylic-based paints are recommended for durability and water resistance.
Is It Safe to Use the Painted Bathtub Immediately After It Has Been Painted?
As for the safety of using a freshly painted bathtub right away, it’s best to wait for the recommended drying time. This ensures that the paint has fully cured and adhered to the surface. Additionally, following proper maintenance tips will help prolong the bathtub’s condition.
Can I Use Regular Household Paint for Painting a Bathtub?
Using regular household paint for painting a bathtub is not recommended. It is necessary to use acrylic paint specifically designed for bathtub painting. Additionally, sanding the bathtub surface before painting is important for proper adhesion.
What Should I Do if the Painted Bathtub Surface Starts to Peel or Chip?
If my painted bathtub surface starts to peel or chip, I would first repair the peeling paint by sanding and smoothing the affected area. To prevent future paint chipping, I would ensure proper surface preparation and use a high-quality bathtub paint.
Conclusion
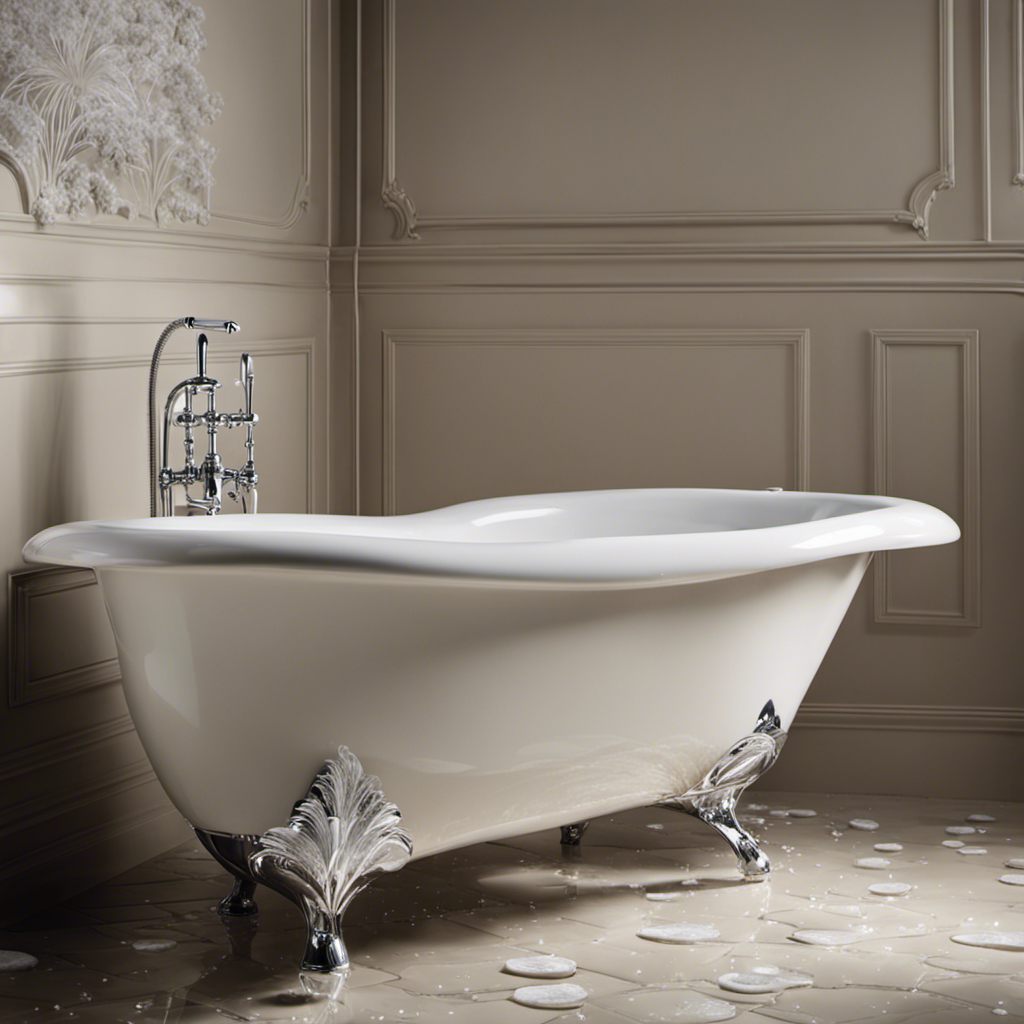
In conclusion, painting a bathtub can be a cost-effective way to update and rejuvenate your bathroom. By following the steps outlined in this article, you can achieve a professional-looking finish that will last for years to come.
Remember to gather the necessary supplies, properly prepare the bathtub surface, apply the primer and paint, and allow for proper curing and drying time.
By maintaining and extending the lifespan of your painted bathtub, you can enjoy a fresh and stylish bathroom for a fraction of the cost of a replacement.
Don’t let a worn-out bathtub dampen your bathroom’s appeal – unleash your creativity and give it a new lease on life!