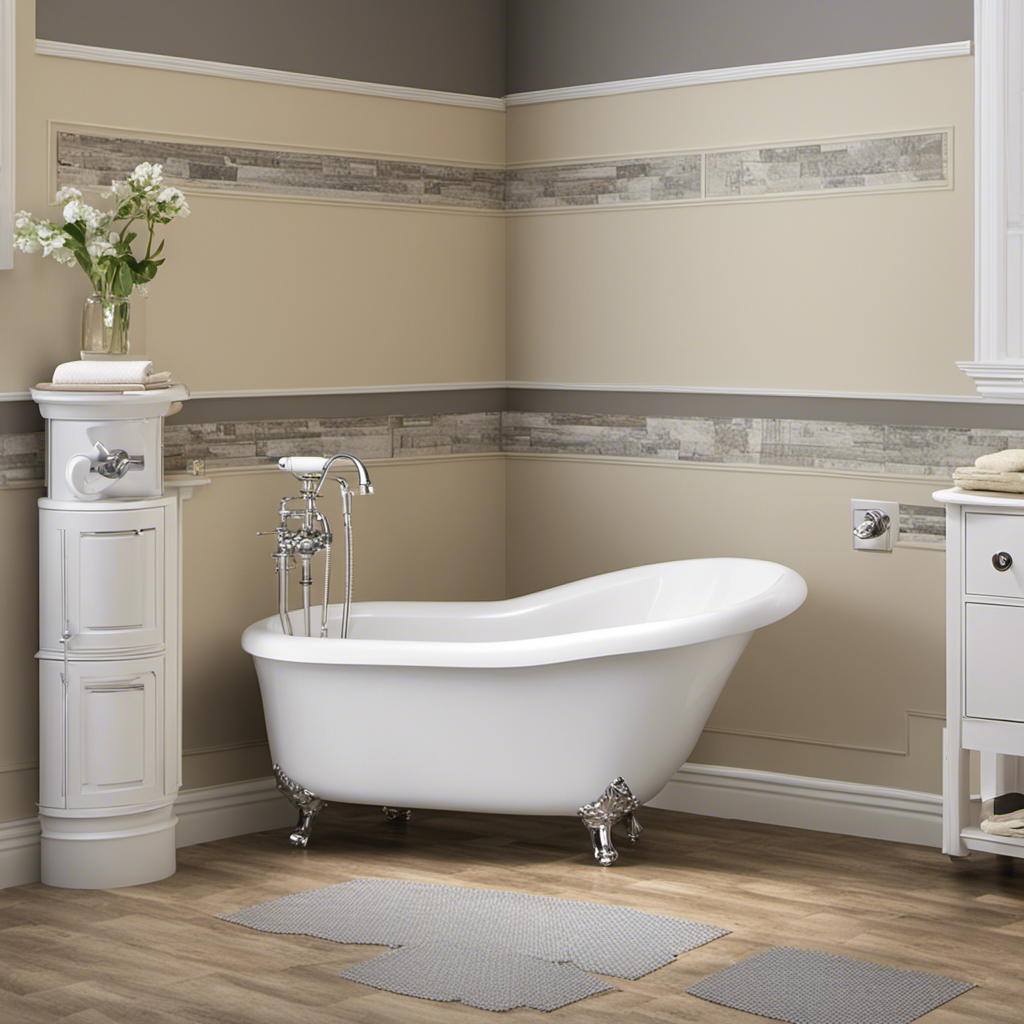
Are you tired of looking at your old, worn-out bathtub that no longer matches your bathroom decor? Did you know that you can easily give it a fresh new look by painting it white?
In fact, painting a bathtub white is a popular DIY project that can completely transform the appearance of your bathroom. In this article, we will guide you through the step-by-step process of preparing the surface, choosing the right paint and supplies, and applying the paint to achieve a beautiful, white bathtub that will make your bathroom shine.
Key Takeaways
- Thoroughly clean the bathtub surface before painting.
- Choose a paint specifically designed for use in bathrooms or on tub surfaces.
- Properly clean and sand the bathtub to create a rough texture for better paint adhesion.
- Apply a high-quality primer and a durable, high-gloss acrylic paint as the base coat.
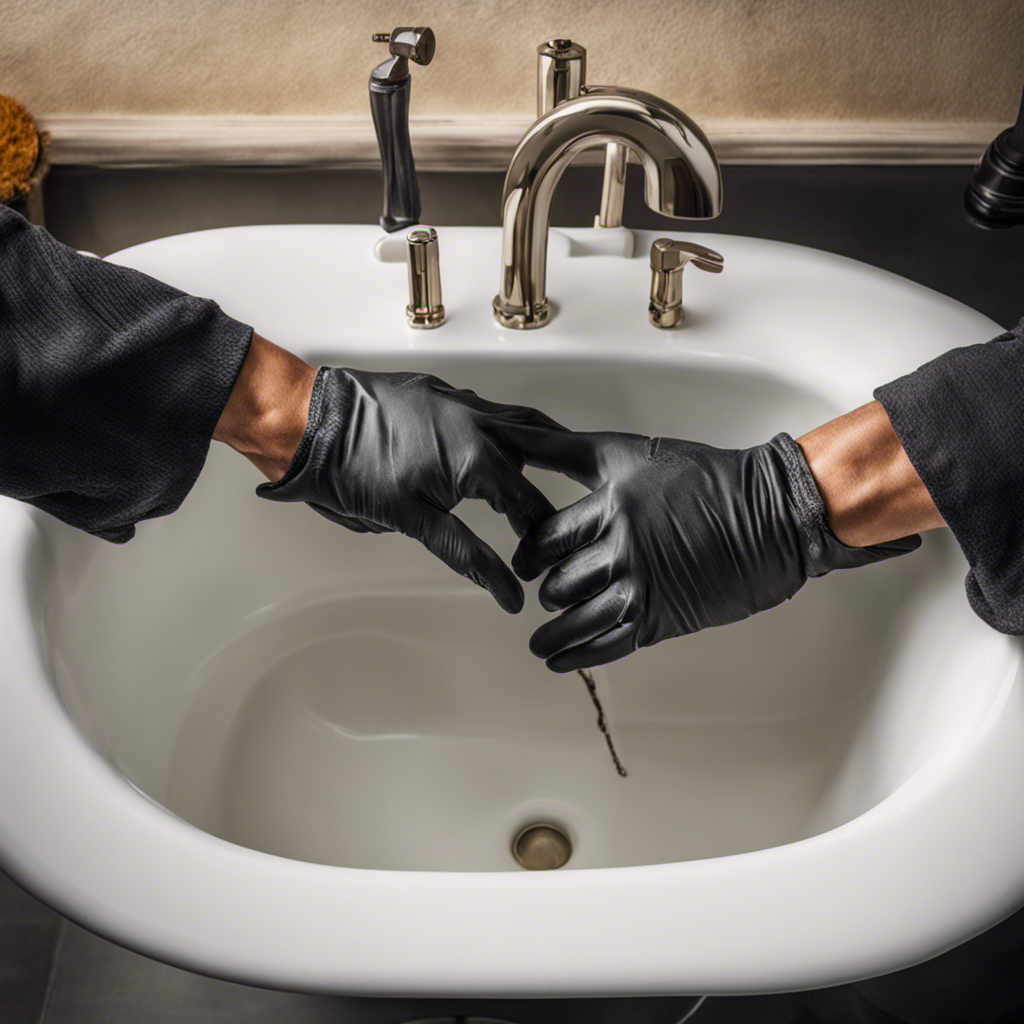
Preparing the Bathtub Surface
Now, you’ll want to start by thoroughly cleaning the bathtub surface before you can begin painting it white.
Proper preparation is essential for a successful bathtub refinishing or reglazing project. To clean the surface, you’ll need to remove any soap scum, dirt, or grime that may have accumulated over time. Start by using a mild detergent or bathtub cleaner and a non-abrasive sponge to scrub the entire surface. Make sure to pay extra attention to any areas with stubborn stains.
After cleaning, rinse the bathtub thoroughly with water to remove any residue. Once the surface is clean and dry, you’ll be ready to move on to the next step of the painting process.
Choosing the Right Paint and Supplies
Before you start, make sure you have all the necessary supplies and the right type of paint.
When it comes to choosing the right paint colors for your bathtub, it’s important to consider a few factors. Firstly, opt for a paint that is specifically designed for use in bathrooms or on tub surfaces. These paints are formulated to withstand moisture and provide long-lasting results.
Secondly, select a color that complements your bathroom decor and personal style. Whites and neutrals are popular choices for a clean and timeless look.
Now, let’s talk about tips for a smooth and even application. Start by thoroughly cleaning the bathtub surface and removing any old paint or residue. Use a high-quality brush or roller to apply the paint in thin, even coats, following the manufacturer’s instructions. This will help prevent drips and ensure a professional-looking finish.
Once you have finished painting, allow the bathtub to dry completely before moving on to the next step: cleaning and sanding.
Cleaning and Sanding the Bathtub
To get started on cleaning and sanding your bathtub, make sure you gather all the necessary cleaning supplies and sandpaper. Here are four important steps to follow for effective cleaning and sanding:
-
Clean the surface: Begin by removing any dirt, grime, or soap scum from the bathtub using a mild cleaner and a sponge or soft cloth. Make sure to thoroughly rinse the tub afterward to remove any residue.
-
Remove old finishes: If your bathtub has any old paint or coatings, use a chemical paint stripper or a heat gun to carefully remove them. Follow the manufacturer’s instructions and take appropriate safety precautions.
-
Sand the surface: Once the bathtub is clean and free of any old finishes, use fine-grit sandpaper to lightly sand the surface. This will create a rough texture for better paint adhesion. Be sure to sand evenly and remove any dust or debris afterward.
-
Prepare the tub for painting: After sanding, wipe down the bathtub with a damp cloth to remove any remaining dust. Allow the tub to dry completely before moving on to the next step in the painting process.
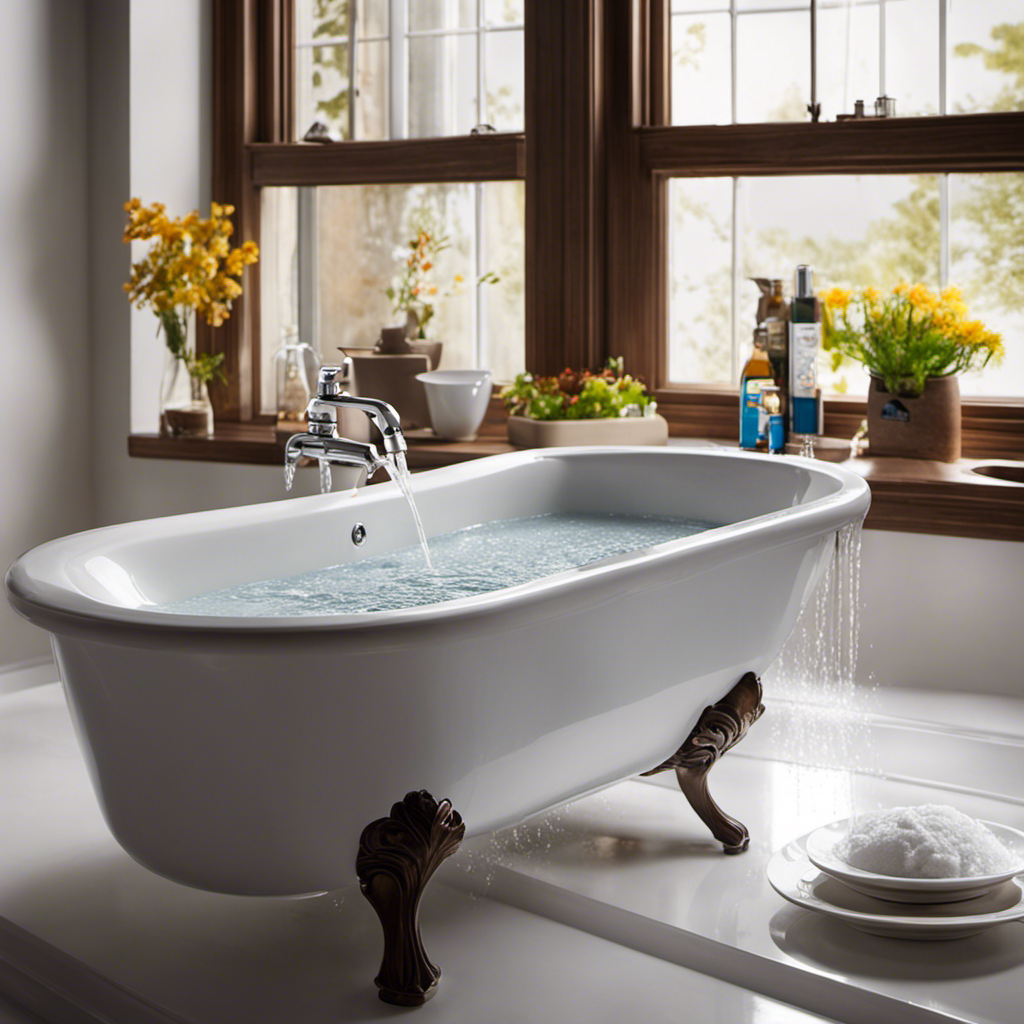
Applying the Primer and Base Coat
After sanding and cleaning the surface, it’s time to apply the primer and base coat to ensure a smooth and long-lasting finish.
Prepping the surface properly is crucial for the success of your bathtub painting project. Begin by wiping down the sanded surface with a damp cloth to remove any dust or debris.
Next, apply a high-quality primer specifically designed for use on bathtubs. The primer will create a strong bond between the surface and the top coat, ensuring better adhesion and durability. Follow the manufacturer’s instructions regarding the drying time for the primer.
Once the primer has dried, it’s time to apply the base coat. Choose a durable, high-gloss acrylic paint formulated for use on bathtubs. Apply the base coat evenly using a roller or brush, and allow it to dry completely before applying additional coats if necessary.
Remember to follow the recommended drying time for each coat to achieve the best results.
Finishing and Sealing the Painted Bathtub
Once the final coat of paint has dried, it’s important to seal the painted bathtub with a clear, waterproof sealant to protect the finish and ensure its longevity. Here are four key points to consider when finishing and sealing your painted bathtub:
-
Long term durability: Applying a sealant to your painted bathtub helps to enhance its durability and protect it from daily wear and tear. It creates a barrier that prevents water, chemicals, and stains from penetrating the paint, extending the lifespan of your bathtub.
-
Professional vs. DIY: Hiring a professional to paint and seal your bathtub ensures a high-quality finish and expert application of the sealant. However, undertaking the task yourself can save you money. Consider your skill level, time constraints, and desired results before making a decision.
-
Choosing the right sealant: Selecting a clear, waterproof sealant specifically designed for painted surfaces is crucial. Look for a product that is resistant to moisture, chemicals, and UV rays. Follow the manufacturer’s instructions for application and drying time.
-
Maintenance and reapplication: Over time, the sealant may wear off due to regular use. It’s important to periodically check the condition of the sealant and reapply as necessary to maintain its protective properties and ensure the long-term durability of your painted bathtub.
Frequently Asked Questions
How Long Does It Take for the Painted Bathtub to Fully Dry and Cure?
To fully dry and cure a painted bathtub, it typically takes about 24-48 hours. During this time, make sure the area is well-ventilated and avoid using the tub to ensure the paint properly sets.
Can I Paint Over a Bathtub That Has Been Previously Painted?
Yes, you can use epoxy paint for painting a bathtub. However, there are potential risks when painting over a previously painted bathtub such as peeling or chipping. Proper preparation and priming are crucial to ensure a successful outcome.
Is It Necessary to Remove the Bathtub Fixtures Before Painting?
Before diving into the painting process, you might be wondering if removing the bathtub fixtures is necessary. Well, let me tell you, it is absolutely essential! This step ensures a smooth and professional finish. Don’t skip it!
Can I Use Regular Household Paint for Painting a Bathtub?
You can’t use regular household paint for painting a bathtub. There are toxicity concerns and the paint won’t adhere properly. Look for suitable bathtub paints that are specifically designed for this purpose.
What Is the Recommended Maintenance for a Painted Bathtub?
To maintain a painted bathtub, use recommended cleaning products and regularly clean it. Repaint the bathtub as needed, depending on factors like usage and wear.
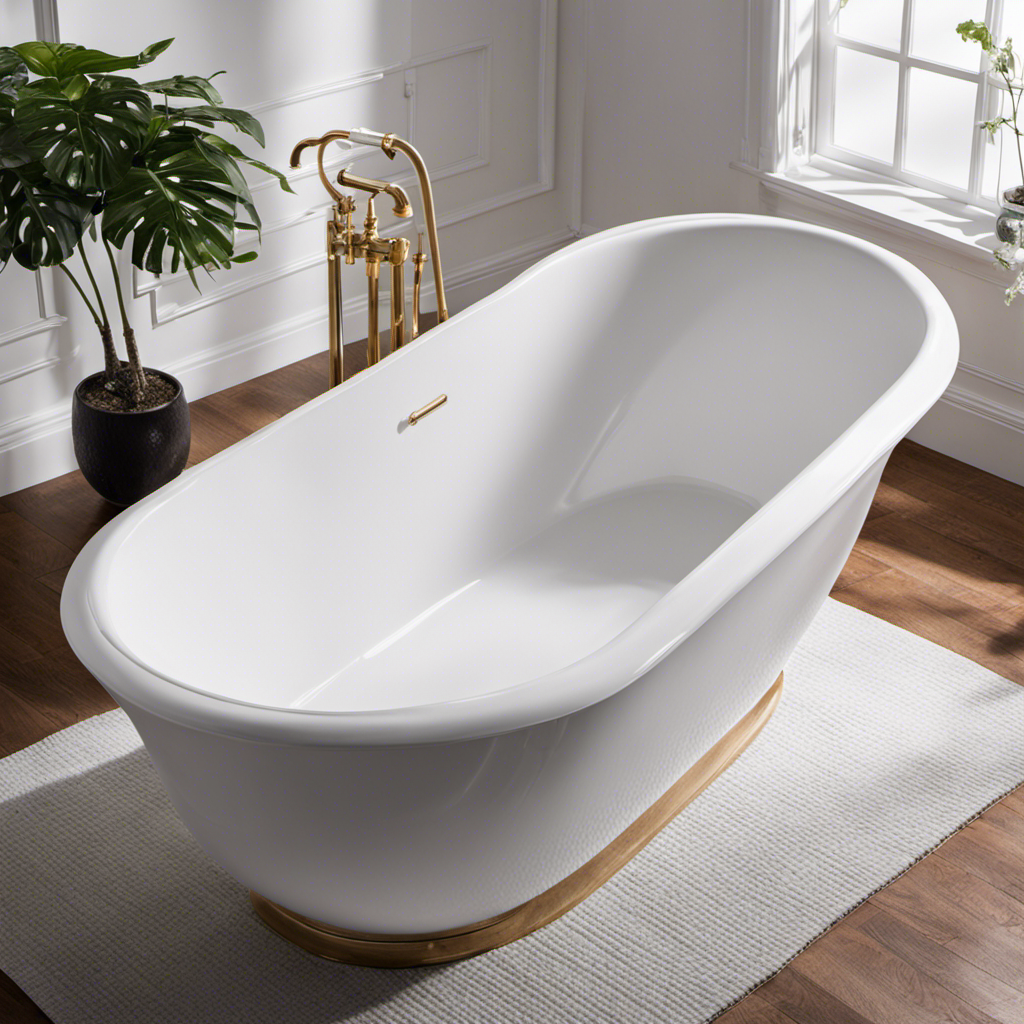
Conclusion
Congratulations! You’ve successfully transformed your bathtub into a beautiful white oasis. By following the steps outlined in this article, you’ve learned how to:
- Prepare the surface
- Choose the right paint and supplies
- Clean and sand the bathtub
- Apply the primer and base coat
- Finish and seal the painted bathtub
Remember, painting a bathtub may seem like a daunting task, but with a little patience and the right techniques, you can turn your old, worn-out bathtub into a stunning centerpiece that will make you feel like you’re bathing in luxury.
So go ahead, dive in and enjoy your newly painted bathtub!

Liam’s journey with us started as a consumer. Having faced challenges while setting up his own modern bathroom, he delved deep into research.
Recognizing his knack for simplifying complex information and his authentic writing style, we were thrilled to welcome him aboard. Liam’s articles often merge practicality with style, ensuring readers find the perfect fit for their homes. Liam is an avid hiker off-duty and often jokes about finding the best “natural toilets” Mother Earth has to offer.