
Are you tired of looking at that worn-out, dingy fiberglass bathtub in your bathroom? Well, get ready to transform it into a gleaming masterpiece!
In this step-by-step guide, we’ll show you exactly how to paint your fiberglass bathtub like a pro. From preparing the surface to choosing the right type of paint, we’ve got you covered.
Get ready to take your bathroom from drab to fab in no time. Don’t wait any longer, let’s dive in and bring new life to your old bathtub!
Key Takeaways
- Thoroughly clean and prepare the bathtub surface before painting, including using a non-abrasive cleaner, rinsing and drying, roughening the surface with sandpaper, and wiping away any dust.
- Clean, sand, and repair any fiberglass areas, including using a tack cloth to remove dust, applying fiberglass cleaner and scrubbing the surface, rinsing and drying, sanding the surface, and applying epoxy resin to cracks or chips.
- Apply a high-quality primer designed for fiberglass surfaces, following the manufacturer’s instructions for drying time between coats, and applying multiple thin coats for better coverage and adhesion.
- Choose the right type of paint, such as epoxy or acrylic-based paint, in a color that complements your bathroom decor, and follow the manufacturer’s instructions for application and drying time. Apply a clear acrylic sealer for added protection and prevent chipping, fading, and peeling.
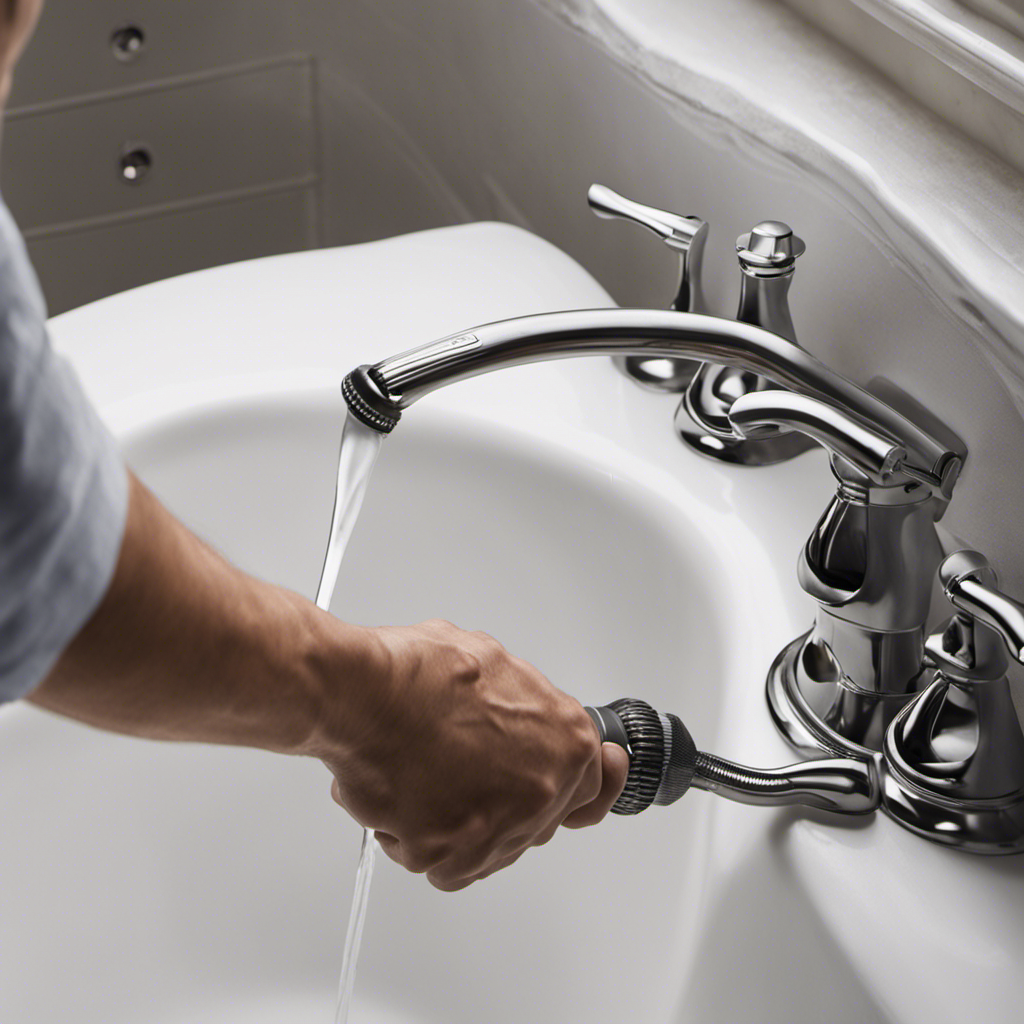
fiberglass bathtub paint kit
As an affiliate, we earn on qualifying purchases.
As an affiliate, we earn on qualifying purchases.
Preparing the Bathtub Surface
Before you begin, make sure to thoroughly clean and dry the bathtub surface. This is an important step in bathtub refinishing as it ensures that the paint adheres properly and gives a smooth finish.
Start by removing any dirt, grime, or soap scum using a non-abrasive cleaner. Rinse the bathtub thoroughly and then dry it completely using a clean cloth.
Next, use a fine-grit sandpaper to roughen up the surface of the bathtub. This helps the paint to adhere better. After sanding, wipe away any dust using a tack cloth.
Lastly, tape off any areas that you do not want to paint, such as faucets or fixtures.
Following these preparation steps will ensure that your bathtub refinishing project goes smoothly and gives you professional-looking results.
epoxy bathtub repair kit
As an affiliate, we earn on qualifying purchases.
As an affiliate, we earn on qualifying purchases.
Cleaning and Sanding the Fiberglass
After you’ve thoroughly cleaned and sanded, it’s important to ensure the surface is smooth before moving on to the next step. To achieve a smooth surface, follow these steps:
- Use a tack cloth to remove any dust or debris from the surface.
- Apply a thin layer of fiberglass cleaner to the entire surface, using a clean cloth or sponge.
- Gently scrub the surface in a circular motion to remove any stains or dirt.
- Rinse the surface thoroughly with water and allow it to dry completely.
Once dry, use a fine-grit sandpaper to lightly sand the surface, ensuring an even texture. Wipe away any sanding dust with a tack cloth.
bathtub primer for fiberglass
As an affiliate, we earn on qualifying purchases.
As an affiliate, we earn on qualifying purchases.
Repairing Any Damaged Areas
To fix any damaged areas on the surface, start by applying a layer of epoxy resin using a small brush or roller. This will help repair any cracks or chips in the fiberglass. Make sure to follow the manufacturer’s instructions for mixing and applying the epoxy resin.
Once the resin has dried, sand it down until it is smooth and level with the rest of the surface. After repairing any damaged areas, you can proceed with the re-painting techniques.
Choose a color that complements your bathroom decor and select a high-quality acrylic enamel paint specifically designed for use on fiberglass surfaces. Apply the paint using a brush or roller, making sure to apply even coats and allowing each coat to dry before applying the next. This will ensure a smooth and durable finish.
waterproof acrylic sealer for tubs
As an affiliate, we earn on qualifying purchases.
As an affiliate, we earn on qualifying purchases.
Applying Primer to the Bathtub
You’ll want to apply a layer of primer to prepare the surface for painting. Primer application techniques are important to ensure a smooth and long-lasting finish on your fiberglass bathtub.
Here’s how you can do it:
-
Clean the surface: Start by cleaning the bathtub thoroughly to remove any dirt, grease, or soap residue. Use a mild detergent and scrub gently with a sponge or soft brush. Rinse with clean water and let it dry completely.
-
Choose the best primer: Look for a high-quality primer specifically designed for use on fiberglass surfaces. Some recommended brands include Rust-Oleum, Zinsser, and Kilz. These primers provide excellent adhesion and durability.
-
Apply the primer: Use a high-quality paintbrush or roller to apply the primer evenly on the bathtub surface. Follow the manufacturer’s instructions for drying time between coats. Apply multiple thin coats for better coverage and adhesion.
Using the right primer and applying it correctly will ensure a professional-looking, long-lasting paint job on your fiberglass bathtub.
Choosing the Right Type of Paint
If you want a durable and waterproof finish, consider using an epoxy or acrylic-based paint for your project. These types of paint are specifically designed to adhere to surfaces like fiberglass and provide long-lasting protection. When choosing the right paint for your fiberglass bathtub, there are a few factors to consider. First, think about the color you want. Most epoxy and acrylic-based paints come in a range of colors, allowing you to customize the look of your bathtub. Additionally, consider the painting technique you plan to use. Some paints are better suited for brush application, while others work well with spray guns. Finally, check the product label for any specific instructions or recommendations from the manufacturer.
| Factor | Consideration |
|---|---|
| Color | Choose a color that matches your bathroom décor |
| Painting Technique | Determine whether you’ll use a brush or spray gun |
| Product Instructions | Check the label for specific recommendations from the manufacturer |
Applying the First Coat of Paint
Now that you’ve chosen the right type of paint for your project, it’s time to dive into the application process.
Applying a primer before painting is crucial for achieving a smooth and long-lasting finish. Start by preparing the surface. Then, choose the appropriate primer and apply it using the recommended technique. Allow ample drying time before moving on to the next step, ensuring that your paint adheres properly.
Primer Application Techniques
Before applying the primer, it’s important to properly clean and dry the fiberglass bathtub. This ensures that the primer adheres well and provides a smooth, even surface for the paint.
Here are some primer application techniques to follow:
- Start by stirring the primer thoroughly to ensure it is well mixed.
- Using a paintbrush or roller, apply a thin, even coat of primer to the entire surface of the bathtub.
- Allow the primer to dry completely before applying additional coats or proceeding with painting.
Common mistakes to avoid during primer application include applying too thick of a coat, which can lead to drips and uneven coverage, and not allowing enough drying time between coats. It’s important to read and follow the manufacturer’s instructions for the specific primer you are using.
Drying Time Considerations
To ensure a successful application, make sure you allow enough drying time between coats of primer on the fiberglass surface. This step is crucial in accelerating drying and preventing cracking.
After applying the first coat of primer, wait for it to dry completely. The drying time will vary depending on the primer you use, but it usually takes around 2 to 4 hours. You can use a fan or open windows to help speed up the drying process.
Once the first coat is dry, lightly sand the surface with fine-grit sandpaper to remove any imperfections. Then, apply the second coat of primer, making sure to follow the manufacturer’s instructions for drying time.
Again, allow the second coat to dry completely before moving on to the next step. Taking the time to allow each coat of primer to dry thoroughly will ensure a smooth and long-lasting finish on your fiberglass bathtub.
Choosing the Right Paint
It’s important to select the appropriate type of paint for your project in order to achieve the desired results. When choosing paint colors for your project, consider the following options:
- Bold and vibrant colors can add energy and personality to a space, evoking feelings of excitement and creativity.
- Soft and neutral tones can create a calming and peaceful atmosphere, promoting relaxation and tranquility.
- Pastel shades can bring a sense of playfulness and whimsy, inspiring a light-hearted and cheerful mood.
In addition to choosing the right color, you also need to consider the paint finish options. Matte finishes provide a smooth and velvety look, while satin finishes offer a subtle sheen that is easy to clean. If you want a more reflective finish, consider using a semi-gloss or high-gloss paint.
Sanding and Preparing for the Second Coat
Once you’ve finished sanding, apply a second coat of paint to the fiberglass bathtub. Sanding is an essential step in achieving a smooth finish for your bathtub. Start by using a fine-grit sandpaper to gently sand the entire surface of the tub. This will remove any rough areas or imperfections. Make sure to sand in a circular motion to ensure even coverage. Once you’re done sanding, wipe down the tub with a damp cloth to remove any dust or debris. Now, it’s time to apply the second coat of paint. Using a paintbrush or roller, apply the paint in smooth, even strokes, following the manufacturer’s instructions for drying time between coats. Remember, a second coat will help to enhance the durability and longevity of your bathtub’s new finish.
| Step | Description |
|---|---|
| 1. | Sand the entire surface of the tub using a fine-grit sandpaper. |
| 2. | Wipe down the tub with a damp cloth to remove any dust or debris. |
| 3. | Apply the second coat of paint using a paintbrush or roller, following the manufacturer’s instructions for drying time between coats. |
Applying the Final Coat of Paint
When applying the final coat, make sure you follow the manufacturer’s instructions for drying time between coats. This is crucial to ensure proper adhesion and prevent peeling.
Here are some drying techniques to help you achieve a smooth and durable finish:
- Allow the first coat to dry completely before applying the final coat.
- Use a fan or open windows to promote air circulation and speed up the drying process.
- Avoid touching or placing any objects on the freshly painted surface to prevent smudging or indentations.
Following these techniques will help the paint dry evenly and reduce the risk of peeling.
Once the final coat is applied and dried, you can move on to the next step: curing and drying the paint.
Curing and Drying the Paint
When it comes to drying time for paint, it’s important to understand how long you should wait before moving on to the next step. The drying time can vary depending on factors such as the type of paint you’re using and the temperature and humidity in the room.
To ensure the best results, it’s crucial to follow the manufacturer’s instructions and allow the paint to dry completely before attempting any additional steps.
Additionally, there are several curing methods you can employ to speed up the drying process, including using fans or heaters, increasing ventilation, or using a dehumidifier.
Drying Time for Paint
To ensure proper drying time for the paint on your fiberglass bathtub, you should avoid using the bathtub for at least 48 hours. Accelerating the drying process may lead to poor results and damage the finish. Proper ventilation is crucial during this time to allow the paint to dry evenly and prevent any unpleasant odors.
Here are three reasons why proper drying time is important:
- Allowing the paint to fully dry ensures a durable and long-lasting finish.
- Rushing the drying process may result in smudges, streaks, or a patchy appearance.
- Adequate drying time allows the paint to cure properly, enhancing its resistance to water and chemicals.
Once the paint has dried, you can move on to the next step of the process: curing. Curing is essential to achieving a strong and resilient finish on your fiberglass bathtub.
Best Curing Methods
For best results, make sure you follow these steps to properly cure your newly painted surface. Curing is an essential part of the painting process as it allows the paint to fully bond and harden, ensuring a durable and long-lasting finish.
To achieve the best curing techniques and speed up the curing time, consider the following steps:
-
Allow Sufficient Drying Time: Before starting the curing process, ensure that the paint has dried completely. This typically takes around 24 hours, but it may vary depending on the type of paint and environmental conditions.
-
Maintain Proper Ventilation: Adequate airflow is crucial for the curing process. Open windows or use fans to facilitate air circulation, which helps the paint cure faster.
-
Apply Heat: Applying heat can significantly speed up the curing time. You can use a heat gun or a hairdryer on low heat to gently warm the painted surface. However, be cautious not to overheat the paint, as it can cause damage.
Sealing and Protecting the Painted Surface
After you’ve painted the fiberglass bathtub, it’s important to seal and protect the painted surface to ensure its longevity. Applying a protective coating will help to prevent chipping, fading, and peeling, keeping your bathtub looking fresh and vibrant for years to come.
Here are some maintenance tips to help you properly seal and protect your painted bathtub:
- Apply a clear acrylic sealer to create a barrier between the paint and water.
- Use a soft cloth to gently buff the surface after applying the sealer to ensure an even and smooth finish.
- Allow the sealer to dry completely before using the bathtub again.
By following these steps, you can help protect your painted bathtub from everyday wear and tear and maintain its beautiful appearance.
Now let’s move on to the next section about maintaining and cleaning the painted bathtub.
Maintaining and Cleaning the Painted Bathtub
When it comes to maintaining and cleaning your painted bathtub, it is important to consider the long-term durability of the paint. The paint should be able to withstand regular cleaning and scrubbing without fading or peeling.
To achieve this, it’s recommended to use gentle cleaning products specifically designed for painted surfaces, as harsh chemicals can damage the paint.
Long-Term Durability of Paint
To ensure long-term durability of your paint job, you’ll want to thoroughly clean and prime the fiberglass bathtub before applying the paint. This will help the paint adhere properly and prevent it from peeling or chipping over time. Here’s a step-by-step guide to help you achieve a long-lasting finish:
-
Clean the bathtub: Use a mild detergent and warm water to remove any dirt, grease, or soap scum from the bathtub surface. Rinse thoroughly and allow it to dry completely.
-
Prime the surface: Apply a high-quality bonding primer that is specifically designed for fiberglass surfaces. This will create a strong base for the paint and improve its adhesion.
-
Apply the paint: Choose a paint that is specifically formulated for use on fiberglass surfaces. Apply thin, even coats of paint using a brush or roller, allowing each coat to dry completely before applying the next one.
Recommended Cleaning Products
Using a mild detergent and warm water is recommended to clean and remove any dirt, grease, or soap scum from the surface of your fiberglass bathtub.
However, when choosing cleaning products, it is important to consider eco-friendly options that are safe for both you and the environment.
Instead of using harsh chemicals, you can opt for alternative cleaning methods that are just as effective.
One eco-friendly option is to create a paste using baking soda and water. This paste can be applied to the surface of the bathtub and gently scrubbed with a soft sponge or brush.
Another alternative is to use vinegar, which is a natural disinfectant. Simply mix equal parts vinegar and water, spray it onto the surface, and wipe it clean.
These eco-friendly cleaning methods will not only keep your fiberglass bathtub looking clean and fresh, but also help protect the planet.
Frequently Asked Questions
Can I Paint a Fiberglass Bathtub Without Sanding It?
Yes, you can paint a fiberglass bathtub without sanding it. However, it is important to consider the alternative bathtub refinishing methods and the pros and cons of painting without sanding.
What Kind of Primer Should I Use on a Fiberglass Bathtub?
For painting a fiberglass bathtub, you’ll need a high-quality acrylic latex paint specifically designed for bathroom fixtures. Before painting, make sure to clean the surface thoroughly and apply a primer suitable for fiberglass.
How Long Does the Paint Need to Cure Before I Can Use the Bathtub Again?
To properly clean a painted fiberglass bathtub, it’s important to let the paint cure for at least 48 hours before using it again. This allows the paint to fully dry and harden, preventing any damage or smudging. Common mistakes to avoid when painting a fiberglass bathtub include rushing the curing process and using the bathtub before the paint has fully set.
Can I Use Regular Household Cleaners on a Painted Fiberglass Bathtub?
Using abrasive cleaners on a painted fiberglass bathtub can cause damage to the paint finish. It is not recommended to use bleach or harsh chemicals, as they can strip away the paint and leave the bathtub vulnerable to further damage.
How Often Do I Need to Reseal the Painted Surface of My Fiberglass Bathtub?
To maintain the painted surface of your fiberglass bathtub, it is recommended to reseal it every 1-2 years. Applying a clear coat over the painted surface can provide extra protection and extend its lifespan.
Conclusion
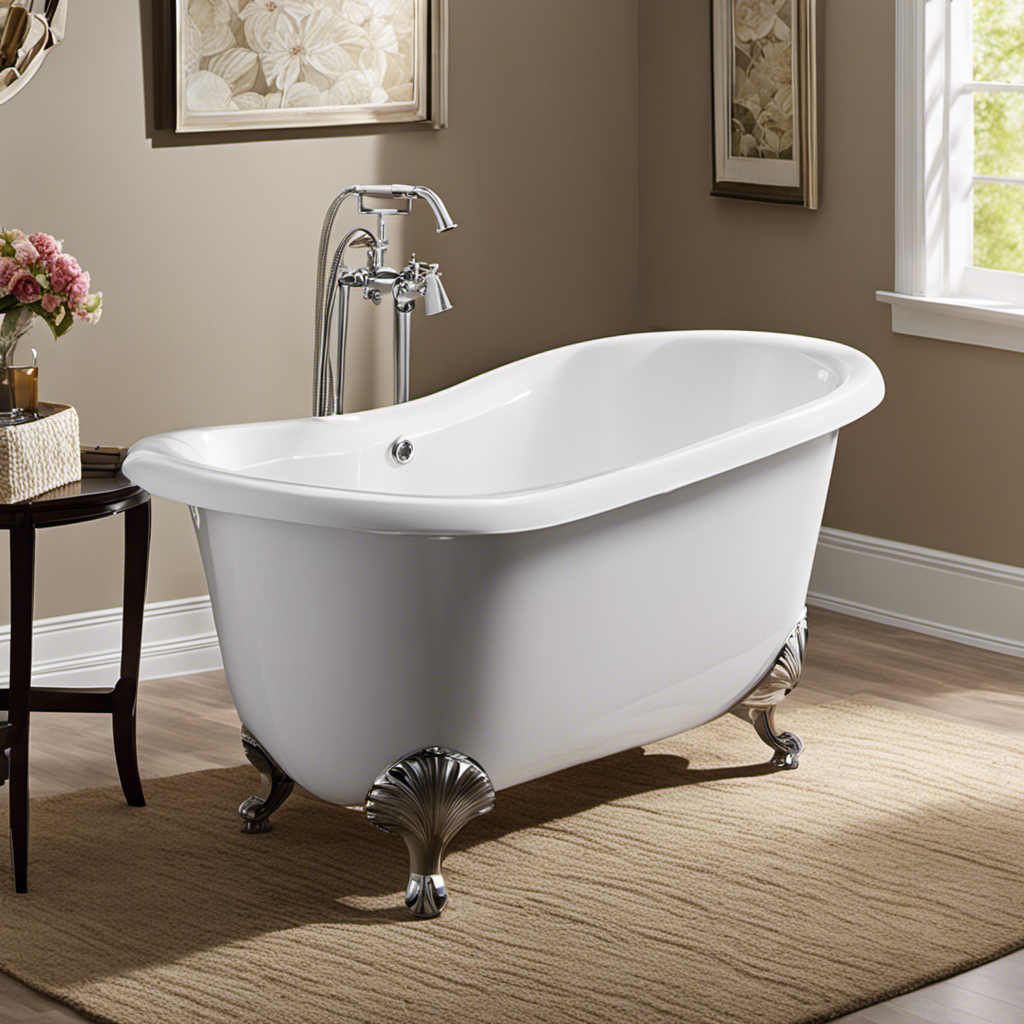
In conclusion, painting a fiberglass bathtub is a time-consuming process. However, with careful preparation and attention to detail, you can achieve a beautiful and durable finish. By following the steps outlined in this article, you can transform your old, worn-out bathtub into a fresh and vibrant centerpiece for your bathroom.
Remember to choose the right type of paint and properly seal and protect the finished surface to ensure its longevity. So go ahead, grab your paintbrush, and give your bathtub a much-needed makeover!
Remember, with a little patience and effort, you can transform your bathtub from drab to fab!