Hey there!
Have you ever looked at your worn-out plastic bathtub and wished you could give it a fresh, new look?
Well, I’ve got just the solution for you. In this article, I’m going to show you how to paint your plastic bathtub like a pro.
Think of me as your personal guide, taking you step by step through the process of transforming your bathtub into a stunning masterpiece.
So grab your paintbrush and let’s dive in!
Key Takeaways
- Clean the bathtub surface thoroughly before painting
- Use a high-quality acrylic enamel paint designed for plastic surfaces
- Properly clean and sand the bathtub to ensure a smooth surface
- Choose the right cleaner and cleaning methods that are safe for plastic surfaces

Cement Mixer, Handheld Electric Concrete Mixer, Portable Mortar Mixer with 6 Adjustable Speed, 110V Mud Mixer Machine Drill Tool for Paint Mortar Fodder Mixing Drywall Grout Plaster (Red)
【Powerful Copper Motor】This Electric Concrete Mixer equipped 2100W/110V copper motor, Handheld Mud Mixer offers a more efficient and...
As an affiliate, we earn on qualifying purchases.
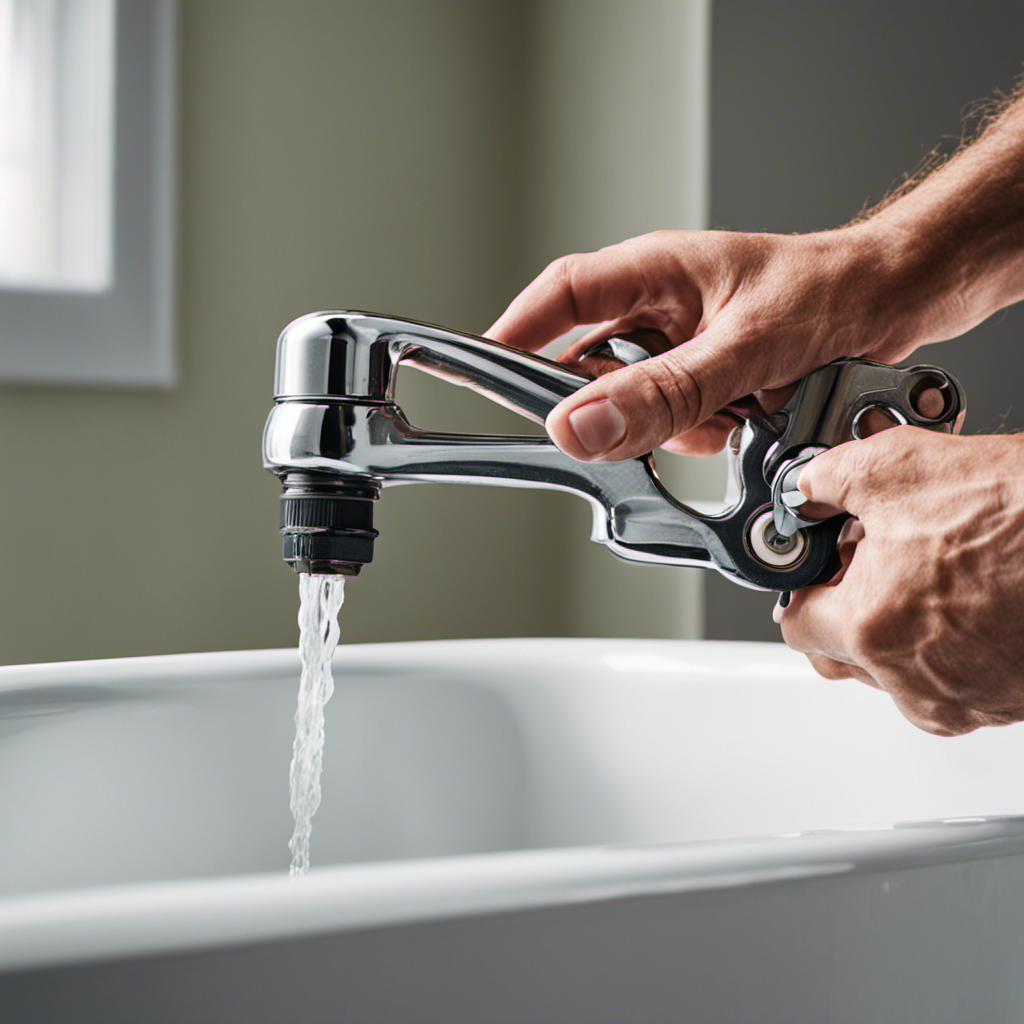
Preparing the Bathtub Surface
Now it’s time to start preparing your bathtub surface by thoroughly cleaning it with a mild cleanser. This step is crucial for ensuring a successful bathtub refinishing or restoration project.
To begin, gather your cleaning supplies, including a mild cleanser, sponge, and warm water. Start by removing any loose dirt or debris from the surface of the bathtub.
Then, apply the mild cleanser to the sponge and scrub the entire surface of the bathtub, paying special attention to any stains or discoloration. Rinse the bathtub thoroughly with warm water to remove any residue from the cleanser. This will ensure a clean and smooth surface for the paint to adhere to.
With the bathtub surface clean and prepped, you are now ready to move on to the next step of choosing the right paint and supplies.

MAXXT Mixer 13A Single Paddle Concrete Mortar Mixer, 5/8" Keyed Chuck, Soft Start, Come w/100mm Large Spiral Mixing Paddle
SOFT Start & Constant Speed Technology: This mixer enables a slow startup to prevent splashes and extend the...
As an affiliate, we earn on qualifying purchases.
Choosing the Right Paint and Supplies
When deciding on the correct paint and supplies, it’s important to consider the type of surface you are working with. For painting a plastic bathtub, there are a few key factors to keep in mind. Here are some tips to help you choose the right paint and supplies:
-
Painting Techniques:
-
Use a high-quality acrylic enamel paint specifically designed for plastic surfaces.
-
Apply the paint in thin and even coats to achieve a smooth finish.
-
Color Options:
-
Opt for lighter colors to make the bathtub appear more spacious and airy.
-
Consider using a color that complements the overall bathroom decor.
By following these painting techniques and considering the right color options, you can transform your plastic bathtub into a focal point of your bathroom.
Now, let’s move on to the next step: cleaning and sanding the bathtub.

MAXXT Mixer 12A Single Paddle Concrete/Mortar Mixer, 5/8" Keyed Chuck,Soft Start,Come w/100mm Large Spiral Mixing Paddle
SOFT Start Technology: The mixer incorporates a soft start feature, gradually powering up to prevent splashes, extend the...
As an affiliate, we earn on qualifying purchases.
Cleaning and Sanding the Bathtub
When it comes to cleaning and sanding a bathtub, there are a few key points to keep in mind.
First, it’s important to choose the right cleaner for the job. Look for a cleaner that is specifically designed for use on bathtubs and is safe for the surface material.
Next, proper sanding techniques are crucial for achieving a smooth and even surface. Use a fine-grit sandpaper and sand in a circular motion, being careful not to apply too much pressure.
Lastly, if you’re dealing with stubborn stains that won’t come off with regular cleaning, there are specialized stain removers available that can help. Follow the instructions on the product carefully and test it in a small, inconspicuous area of the tub first to ensure compatibility with the surface material.
Choosing the Right Cleaner
To choose the right cleaner for a plastic bathtub, it’s important to consider the material and any specific cleaning instructions provided by the manufacturer. Plastic bathtubs require gentle cleaning agents that won’t damage or discolor the surface.
Here are some key points to keep in mind when selecting a cleaner:
-
Best Cleaning Products:
-
Mild dish soap: A solution of warm water and a few drops of dish soap can effectively clean dirt and grime without causing any harm.
-
Vinegar and water: This natural cleaning solution is great for removing soap scum and mineral deposits from the bathtub surface.
-
Alternative Cleaning Methods:
-
Baking soda paste: Mixing baking soda with water creates a non-abrasive paste that can help remove tough stains.
-
Hydrogen peroxide: Diluted hydrogen peroxide can be used to tackle stubborn mold and mildew.
Proper Sanding Techniques
Using a fine-grit sandpaper will help smooth out any rough patches on the surface of the plastic.
When it comes to sanding plastic, it’s important to use the right tools and techniques to ensure a smooth and professional finish. Start by choosing a sanding tool that is specifically designed for plastic surfaces, such as a sanding block or a sanding sponge. These tools provide even pressure and allow for controlled sanding.
Begin by lightly sanding the surface in a circular motion, applying gentle pressure. Be careful not to sand too aggressively, as this can damage the plastic. As you sand, periodically check the surface for any rough patches or imperfections. Continue sanding until the surface feels smooth to the touch.
Remember to clean the plastic thoroughly after sanding to remove any dust or debris before painting.
Removing Stubborn Stains
Now that we’ve discussed proper sanding techniques for preparing a plastic bathtub for painting, it’s time to tackle the next step: removing stubborn stains.
This can be a common issue when dealing with older bathtubs, but fortunately, there are simple solutions using household cleaners that can help you achieve a clean surface before painting. Here are a few effective methods:
-
Baking Soda and Vinegar:
-
Create a paste using equal parts baking soda and white vinegar.
-
Apply the paste to the stained areas and let it sit for about 15 minutes.
-
Scrub the stains using a non-abrasive sponge or brush and rinse thoroughly.
-
Hydrogen Peroxide:
-
Dilute hydrogen peroxide with water in a 1:1 ratio.
-
Apply the solution to the stains and let it sit for 10-15 minutes.
-
Scrub the stains gently and rinse well.
These household cleaning remedies should help you remove tough stains from your plastic bathtub, leaving it ready for the next step in the painting process.

IMAYCC Cement Mixer 2100W, Portable Concrete Mixer, 110V Handheld Mud Mixer for Motar,Paint, Grout, Plaster, Thinset,Fodder Stirring Tool
【Powerful Motor】This Cement mixer equiped 2100 Watt motor with 270-900 RPM, Suitable for mixing oil paint, cement, fodder,...
As an affiliate, we earn on qualifying purchases.
Applying Primer to the Bathtub
Before applying primer to the bathtub, make sure to thoroughly clean the surface. This step is crucial in ensuring proper adhesion of the primer to the plastic material.
When it comes to bathtubs, there are various materials available, such as acrylic, fiberglass, and porcelain. Each material requires specific cleaning methods and primers, so it’s important to identify the type of bathtub you have beforehand.
Additionally, safety precautions should be taken when applying the primer. Make sure to wear protective gloves and a mask to avoid any potential skin irritation or inhalation of fumes. Ventilate the area properly to minimize exposure to the primer’s strong odor.
Taking these precautions will help create a smooth and long-lasting base for the paint.
Now, let’s move on to applying the base coat of paint.
Applying the Base Coat of Paint
When it comes to applying the base coat of paint on a bathtub, there are a couple of key points to keep in mind.
First, understanding the drying time for the base coat is crucial to ensure a smooth and durable finish. Different paint brands may have varying drying times, so it’s important to choose a brand that dries within a reasonable amount of time.
Additionally, selecting a recommended paint brand can make a significant difference in the overall quality and longevity of the paint job. It’s always a good idea to do some research and choose a reputable brand that is known for its durability and resistance to moisture.
Drying Time for Base Coat
To speed up the drying time for the base coat, you can use a hairdryer on low heat. This will help ensure that the paint dries evenly and quickly. However, it’s important to be cautious when using a hairdryer as excessive heat can cause the paint to bubble or peel.
Here are some other drying methods you can try:
-
Allow the base coat to air dry: This method takes the longest time, but it allows for natural drying without the risk of heat damage.
-
Use a fan or open windows: Increasing air circulation can help speed up the drying process.
-
Apply thin coats: Thicker coats of paint will take longer to dry, so applying thin and even layers will help reduce drying time.
Recommended Paint Brands
Now that we’ve discussed the drying time for the base coat, let’s move on to the next important aspect of painting a plastic bathtub: recommended paint brands.
When choosing a paint brand for your bathtub, it’s crucial to consider both durability and color options. Some popular paint brands known for their durability include Rust-Oleum, Krylon, and Homax. These brands offer specially formulated paints that adhere well to plastic surfaces and provide long-lasting results.
Additionally, they come in a variety of colors, allowing you to customize your bathtub according to your personal style and preference. It’s important to note that durability can vary depending on factors like surface preparation and proper application techniques. Therefore, it is recommended to follow the manufacturer’s instructions carefully to ensure the best results.
Adding Decorative Designs or Patterns
You can easily add decorative designs or patterns to your plastic bathtub using stencils and spray paint. This is a great way to personalize your bathroom and add a unique touch to your bathtub.
Here are some tips to help you get started with your decorative techniques:
-
Choose the right stencil design: Look for stencils that suit your personal style and the overall theme of your bathroom. Floral patterns, geometric shapes, or even abstract designs can work well.
-
Select the right colors: Consider the color scheme of your bathroom and choose paint colors that complement it. You can opt for bold and vibrant colors for a statement look or go for subtle and muted tones for a more understated design.
Applying a Protective Top Coat
Once you’ve finished applying your decorative designs or patterns, it’s important to seal them with a protective top coat.
This step is crucial as it provides several benefits for your painted plastic bathtub.
Firstly, a protective top coat acts as a barrier, shielding your designs from scratches, fading, and daily wear and tear. It ensures the longevity of your artwork, keeping it vibrant and intact for years to come.
Secondly, the top coat provides an added layer of waterproofing, preventing water damage and stains on your bathtub’s surface. This is especially important in areas prone to high moisture levels, such as bathrooms.
While there are alternative methods for bathtub protection, such as using non-slip mats or liners, a protective top coat offers a comprehensive solution, offering both aesthetic appeal and long-lasting protection.
Conclusion
After following these steps to paint a plastic bathtub, you’ll be amazed at the transformation.
The bathtub surface is prepared meticulously, ensuring a smooth and even application of paint. With the right paint and supplies, the bathtub is cleaned and sanded, creating a perfect canvas for the project.
Applying the primer and base coat of paint gives the bathtub a fresh and vibrant look. Finally, adding decorative designs or patterns and a protective top coat adds a touch of elegance.
Your bathtub will go from dull to dazzling, making it the centerpiece of your bathroom.