So, you’re tired of the outdated color of your acrylic bathtub and want to give it a fresh new look? Well, you’ve come to the right place!
In this article, I’ll guide you step by step on how to paint your acrylic bathtub, transforming it into a stunning centerpiece of your bathroom. With the right tools, a little bit of patience, and some creativity, you’ll be amazed at the incredible results you can achieve.
Let’s dive right in, shall we?
Key Takeaways
- Thoroughly clean and dry the bathtub surface before painting.
- Select paints specifically designed for surfaces exposed to water and moisture.
- Use a high-quality brush or roller to apply the paint in smooth, even strokes.
- Apply multiple thin coats rather than one thick coat for a professional finish.

NuWallpaper Mirei Peel and Stick Wallpaper, Grey, Removable Wallpaper, Renter-Friendly, 20.5 in x 18 ft
- Design: Modern floral with Eastern influence
- Application: Peel and stick for easy installation
- Removability: Removable without residue
As an affiliate, we earn on qualifying purchases.
Preparing the Bathtub Surface
Before you start painting, make sure you’ve thoroughly cleaned and dried the bathtub surface. This is crucial to ensure proper adhesion of the paint and a smooth finish.
To clean the surface, you can use mild cleaning products that are specifically designed for bathtubs. These products will help remove any dirt, grime, or soap scum that may be present.
Once the surface is clean, you can proceed with sanding techniques to create a rough texture for better paint adherence. Use sandpaper with a fine grit, like 220 or 320, and gently sand the surface in circular motions. This will help remove any glossy finish and provide a suitable surface for the paint to adhere to.
Remember to wipe away any dust or debris before proceeding to the next step.
Choosing the Right Paint and Tools
To get started, you’ll need to make sure you have the right type of paint and tools for the job. When choosing suitable colors for your acrylic bathtub, it’s important to select ones that are specifically designed for use on surfaces that are exposed to water and moisture. Look for paints labeled as "bath and tub paint" or "acrylic enamel paint." These paints are formulated to withstand the constant exposure to water and provide a durable finish.
In addition to the right paint, you’ll need a few essential tools for a smooth application. Here are the best techniques for achieving a professional-looking finish:
| Tools | Description |
|---|---|
| Paintbrush | Use a high-quality synthetic bristle brush for smooth and even application. |
| Roller | A short-nap roller is ideal for covering larger areas quickly. |
| Sandpaper | Choose sandpaper with a fine grit (around 220) to lightly sand the surface for better paint adhesion. |
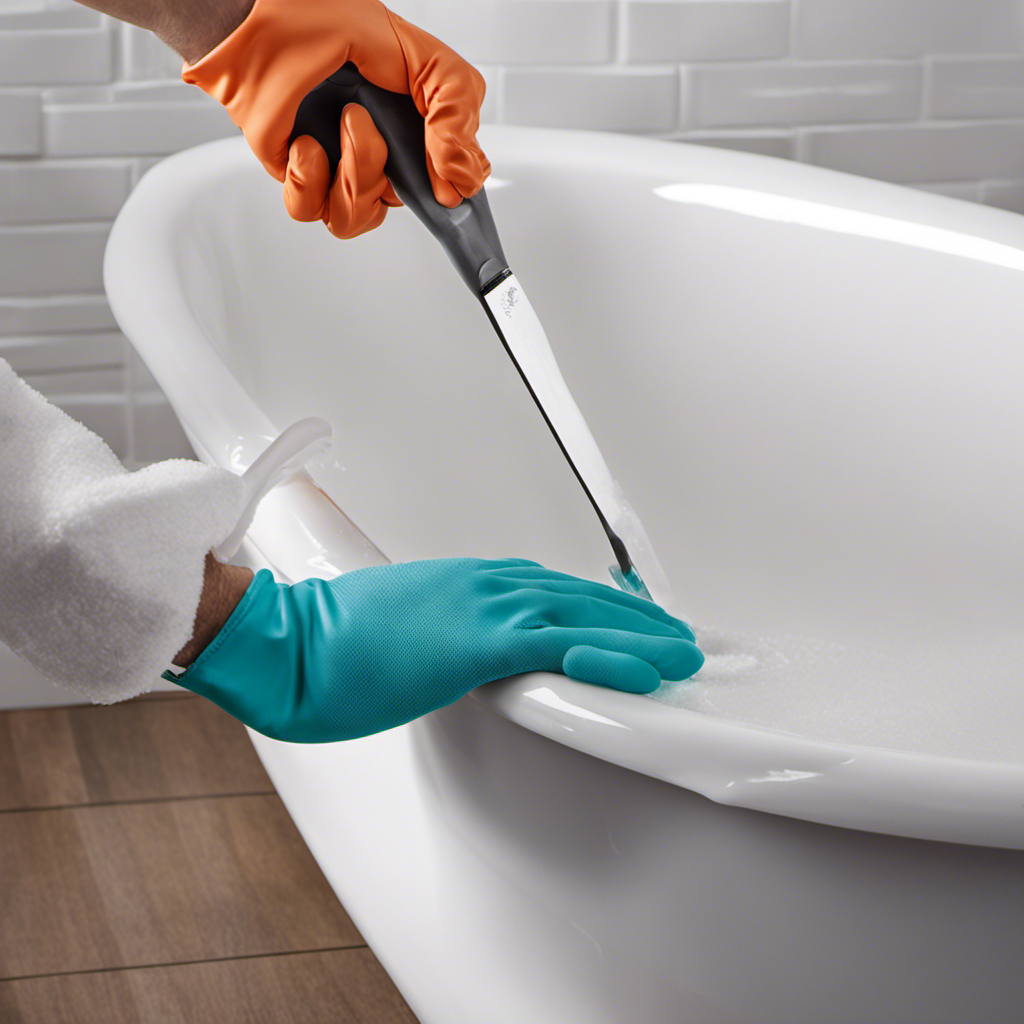
Cleaning and Sanding the Bathtub
Now, it’s time to clean and sand your tub to prepare it for painting.
First, start by removing old caulk and repairing any cracks in your bathtub. Use a caulk removal tool to carefully scrape away the old caulk and ensure a clean surface for painting.
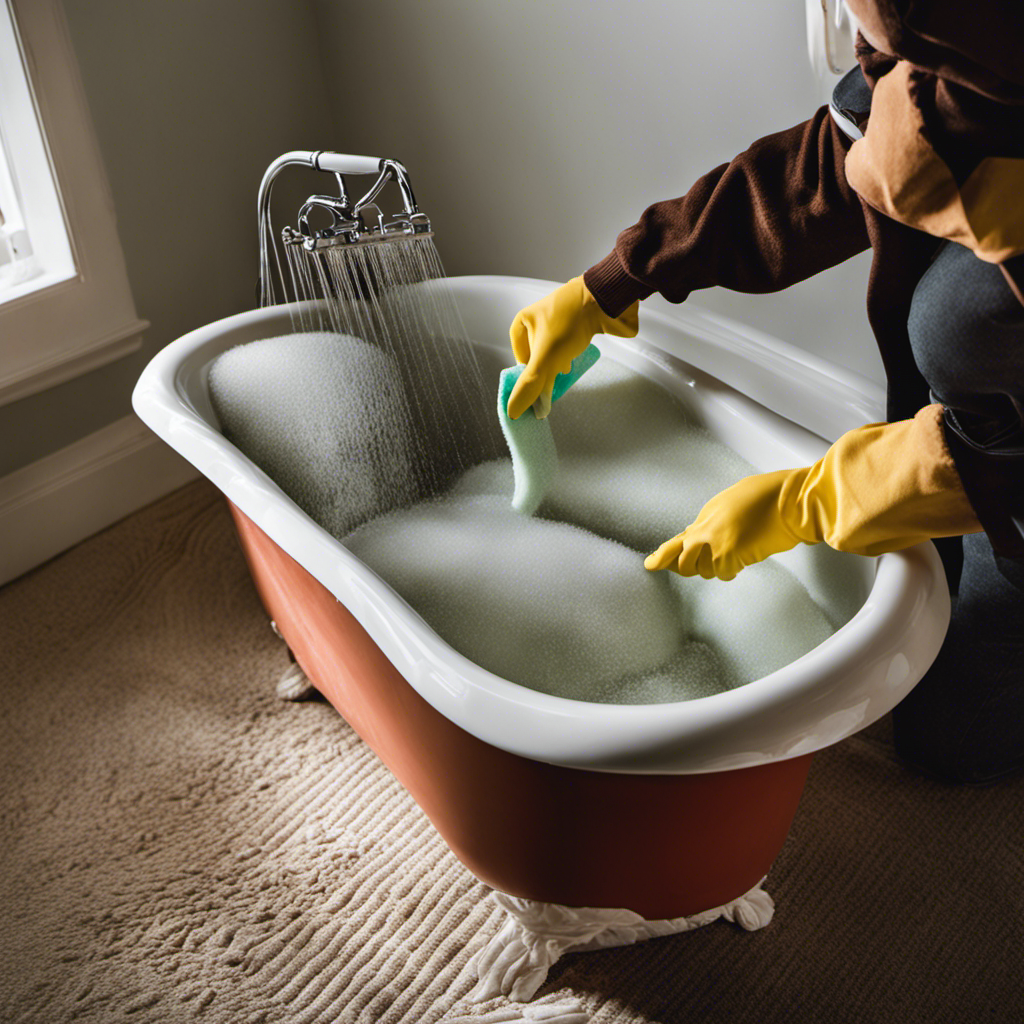
Next, tackle any soap scum buildup by using a degreaser. Apply the degreaser to a sponge or cloth and scrub the entire surface of the tub, paying special attention to areas with heavy buildup. Rinse thoroughly with water to remove any residue.
After cleaning, it’s important to sand the bathtub to create a smooth surface for the paint to adhere to. Use a fine-grit sandpaper and gently sand the entire tub, focusing on any rough or uneven areas.
Once you have completed these steps, your bathtub is now ready for painting.
Applying the Primer
Once you’ve cleaned and sanded, it’s time to apply the primer to ensure a smooth and even surface for the final coat. Properly applying the primer is crucial for a successful bathtub painting project. Here are some tips for achieving a smooth primer application:
-
Clean and Dry Surface: Before applying the primer, make sure the bathtub is clean and completely dry. Any dirt or moisture can affect the adhesion of the primer.
-
Use a High-Quality Primer: Choose a primer specifically designed for acrylic surfaces. This will ensure better adhesion and durability.
-
Even and Thin Coats: Apply the primer in thin, even coats using a high-quality brush or roller. Avoid applying too much primer at once to prevent drips and uneven drying.
-
Allow Proper Drying Time: Follow the manufacturer’s instructions for drying time between coats. This will ensure proper adhesion and prevent lifting or peeling.
Here are some common mistakes to avoid when applying primer to an acrylic bathtub:
| Mistake | Solution |
|---|---|
| Applying primer too thickly | Apply thin, even coats to prevent drips and uneven drying. |
| Not allowing proper drying time | Follow the manufacturer’s instructions for drying time between coats. |
| Using a low-quality primer | Choose a high-quality primer specifically designed for acrylic surfaces. |
| Not cleaning and drying the surface properly | Ensure the bathtub is clean and completely dry before applying the primer. |
Painting the Acrylic Bathtub
Make sure you clean and dry the surface properly before applying the primer. Once the primer has dried, it’s time to paint your acrylic bathtub.
Start by choosing the color that best suits your style and preferences. There are various color options available for bathtub refinishing, ranging from classic white to more adventurous shades like blue or gray.
Before you begin painting, make sure to stir the paint thoroughly to ensure an even consistency. Use a high-quality brush or roller to apply the paint in smooth, even strokes.
It’s important to apply multiple thin coats rather than one thick coat to achieve a professional finish. Allow each coat to dry completely before applying the next one. Remember to follow the manufacturer’s instructions regarding drying times and curing periods.
With proper preparation and attention to detail, you can transform your acrylic bathtub into a beautiful focal point of your bathroom.
Conclusion
In conclusion, transforming your acrylic bathtub with a fresh coat of paint is a simple and cost-effective way to revitalize your bathroom.
By properly preparing the surface, selecting the appropriate paint and tools, and following the step-by-step process of cleaning, sanding, priming, and painting, you can achieve a stunning result.
Remember, patience is key, so take your time and enjoy the process.
With a little effort and creativity, you can turn your outdated bathtub into a beautiful masterpiece that will leave you feeling relaxed and rejuvenated.
Happy painting!