I’ve always believed that a fresh coat of paint can work wonders in transforming a space. And if you’re looking to breathe new life into your bathtub, then you’ve come to the right place.
In this step-by-step guide, I’ll show you how to paint your bathtub like a pro. We’ll cover everything from preparing the surface to choosing the right paint, and even curing and finishing the final result.
So grab your paintbrush and let’s get started on this exciting DIY project!
Key Takeaways
- Scrub the bathtub surface using a mild abrasive cleaner to remove dirt and grime.
- Choose the right paint for your bathtub based on factors like durability and moisture resistance.
- Properly clean and prepare the surface before painting and apply multiple thin coats for better adhesion and durability.
- Allow the final coat of paint to dry completely before using the bathtub and consider applying a clear coat sealer for added protection.
Preparing the Bathtub Surface
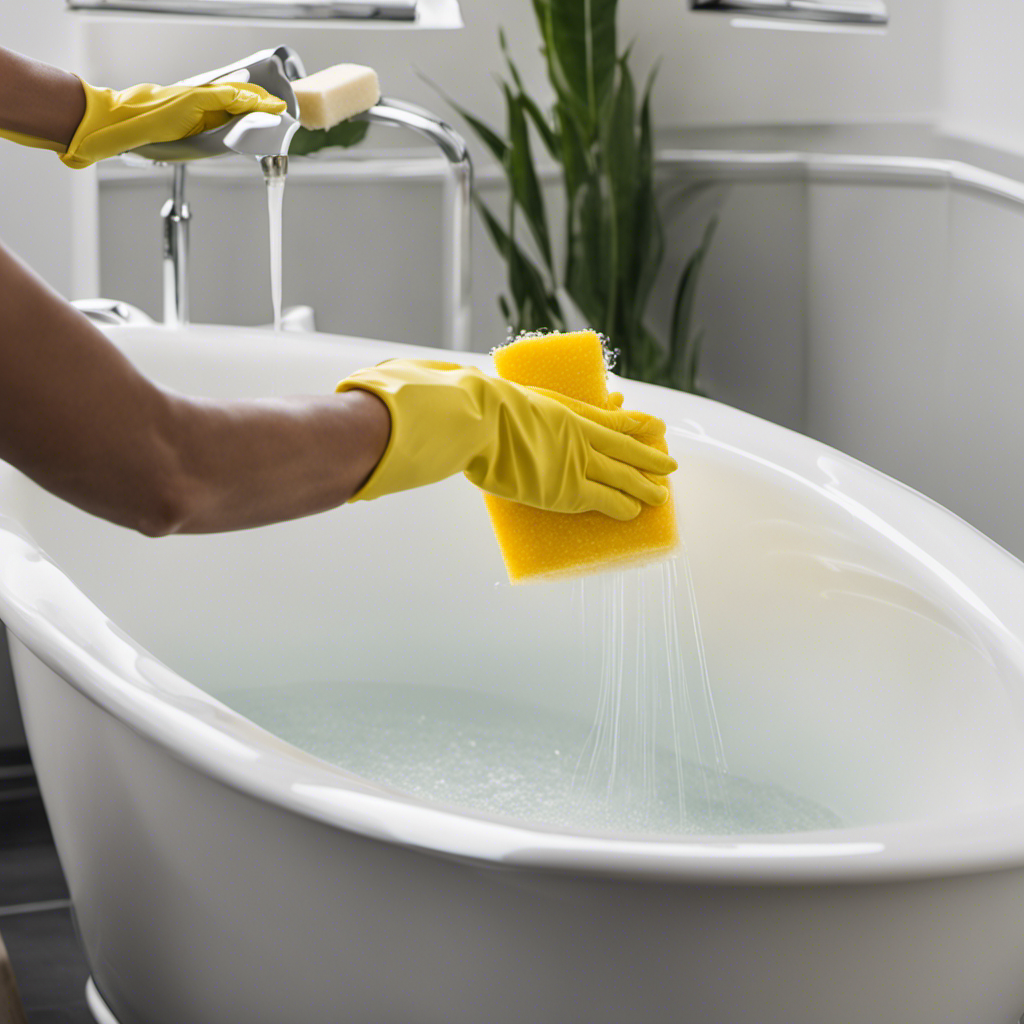
First, you’ll need to scrub the bathtub surface using a mild abrasive cleaner to remove any dirt or grime. This is an important step in the bathtub refinishing process as it ensures a clean and smooth surface for the paint to adhere to. Make sure to wear protective gloves and goggles while scrubbing.
After cleaning, rinse the bathtub thoroughly and allow it to dry completely. Once the surface is dry, you can start applying the paint. There are professional bathtub painting techniques that you can follow to achieve the best results. These techniques involve using specialized brushes or sprayers to evenly apply the paint onto the bathtub surface.
By following these steps, you can prepare your bathtub for painting and achieve a professional-looking finish.
Now, let’s move on to choosing the right paint for your bathtub.
Choosing the Right Paint for Your Bathtub
To ensure you choose the right paint for your bathtub, it’s important to consider factors like durability and moisture resistance. Here are some types of bathtub paint and their pros and cons:
-
Epoxy paint: Provides excellent durability and moisture resistance. However, it can be challenging to apply and requires proper ventilation during application.
-
Acrylic paint: Offers good durability and moisture resistance. It is easier to apply compared to epoxy paint and dries quickly. However, it may not be as durable as epoxy paint.
-
Enamel paint: Provides a smooth and glossy finish. It is relatively easy to apply and offers decent durability. However, it may not be as moisture resistant as epoxy or acrylic paint.
-
Two-part polyurethane paint: Offers excellent durability and moisture resistance. It provides a high-gloss finish and is resistant to chemicals. However, it can be more expensive and requires careful mixing before application.
Tips for ensuring a long-lasting bathtub paint job:
-
Properly clean and prepare the surface before painting.
-
Follow the manufacturer’s instructions for application and drying times.
-
Apply multiple thin coats rather than one thick coat for better adhesion and durability.
-
Use a high-quality brush or roller to achieve a smooth finish.
Cleaning and Sanding the Bathtub
Before starting the painting process, it’s important to thoroughly clean and sand the surface of your bathtub. This step is crucial for achieving a smooth and long-lasting finish.
To begin, gather the necessary supplies, including a cleaner specifically designed for bathtubs, a scrub brush, sandpaper, and safety goggles. Start by removing any old caulk around the edges of your bathtub using a caulk removal tool. This will ensure a clean surface for the refinishing process.
Next, clean the bathtub thoroughly using the bathtub cleaner and scrub brush, paying extra attention to any stains or soap scum buildup. Rinse the bathtub with water to remove any residue. Once the surface is dry, use sandpaper to lightly sand the entire surface of the bathtub. This will create a rough texture that will help the new paint adhere better. Remember to wear safety goggles to protect your eyes from any debris.
After sanding, wipe down the bathtub again to remove any dust or particles. Now your bathtub is ready for the next step in the refinishing process.
Applying the Primer and Paint
Now that you’ve finished preparing the surface, it’s time to apply the primer and paint to your bathtub. This is where the magic happens and your bathtub gets a fresh new look.
Here are some tips for achieving a smooth finish and choosing a color that complements your bathroom decor:
- Start by applying a high-quality primer specifically designed for bathroom surfaces. This will ensure better adhesion and durability.
- Use a brush or roller to apply the primer evenly. Make sure to follow the manufacturer’s instructions for drying time.
Once the primer is dry, it’s time to choose your paint color. Consider the overall color scheme of your bathroom and select a color that complements it.
- Apply the paint in thin, even coats, allowing each coat to dry completely before applying the next. This will help prevent drips and ensure a smooth, professional-looking finish.
Curing and Finishing the Painted Bathtub
Once the final coat of paint is dry, give your newly painted bathtub a few days to cure before using it. This will ensure that the paint adheres properly and provides a durable finish. During this curing period, it’s important to avoid any contact with water or harsh chemicals.
To enhance the appearance and longevity of your painted bathtub, you can employ certain finishing techniques. One popular option is to apply a clear coat sealer on top of the paint. This will add an extra layer of protection and make it easier to clean the surface.
In addition to finishing techniques, regular maintenance is key to preserving the quality of your painted bathtub. Here are some maintenance tips to keep in mind:
- Avoid using abrasive cleaners or scrubbing tools that can damage the paint.
- Clean the surface regularly with a mild, non-abrasive cleaner and a soft cloth.
- If any chips or scratches occur, touch them up promptly to prevent further damage.
Conclusion
Well, there you have it folks! Painting your bathtub may seem like a simple DIY project, but trust me, it’s anything but.
From the tedious prep work to the careful application of paint, it’s a journey that will leave you questioning your sanity.
But hey, who needs a pristine, glossy bathtub anyway? Embrace the charming chipped paint, the peeling edges, and the occasional stray brushstroke.
It’s all part of the rustic, vintage aesthetic that only a truly DIY bathtub can bring.
Happy painting!


