
Let me guide you through the process of patching a hole in your bathtub.
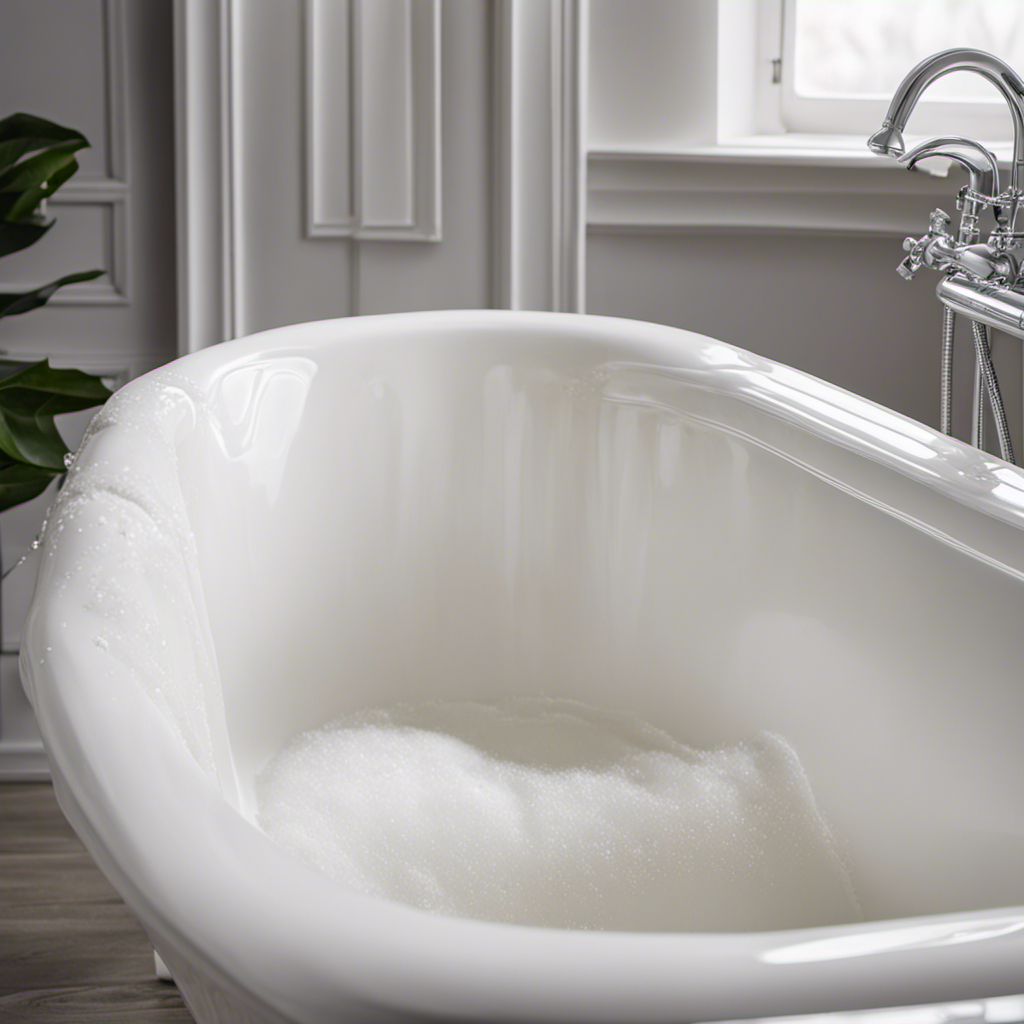
Picture this: you step into your bathroom, ready to relax in the soothing waters, only to find an unsightly hole staring back at you. Fear not, for with the right materials and techniques, you can restore your bathtub to its former glory.
In this article, I’ll walk you through the steps to assess the damage, gather the necessary materials, and apply the patching compound.
Get ready to say goodbye to that hole and hello to a beautifully repaired bathtub.
Key Takeaways
- Assess the size, location, and extent of the hole in the bathtub before choosing a repair method.
- Gather the necessary materials, including epoxy filler, sandpaper, and a putty knife, for the repair.
- Prepare the surface by cleaning it thoroughly and using the appropriate tools for surface preparation.
- Apply and shape the patching compound evenly, allowing it to dry completely before sanding any imperfections.

Tub Repair Kit White, Tub Chip and Bathtub Repair Kit for Enamel, Fiberglass, Acrylic, Porcelain, Patch and Repairs Chips, Crack, Scratches, Rust, Holes on Tubs, Toilet, Sink, Shower, Tray in Bathroom
- Instantly Restores Glossy White Finish: Covers chips, cracks, and scratches seamlessly
- Strong, Durable Coverage: Resists scratches, rust, and high temperatures
- Waterproof, Stain-Resistant Finish: Prevents yellowing and stains over time
As an affiliate, we earn on qualifying purchases.
As an affiliate, we earn on qualifying purchases.
Assessing the Damage
Before you can start patching the hole in your bathtub, you’ll need to assess the extent of the damage. This step is crucial in determining the appropriate course of action. Evaluating options is essential, as different types of damage may require different repair methods.
Begin by inspecting the size and location of the hole. Is it a small chip or a larger crack? Is it near the drain or closer to the edge of the tub?
Next, examine the material of the bathtub. Is it porcelain, acrylic, or fiberglass? This information will help you choose the right patching material.
If you are unsure or if the damage seems extensive, seeking professional help is recommended. A professional can provide a thorough evaluation and offer expert advice on the best repair solution for your specific bathtub.
Gathering the Necessary Materials
Once you’ve got all the materials ready, it’s time to start fixing that pesky bathtub. Here are the three key items you’ll need for this repair:
-
Epoxy filler: This substance is specifically designed for filling cracks in bathtubs. It’s a durable and waterproof solution that will ensure a long-lasting repair.
-
Sandpaper: Before applying the filler, you’ll need to prepare the surface by sanding down the area around the crack. This will create a rough texture that allows the filler to adhere better.
-
Putty knife: To apply the epoxy filler, you’ll need a putty knife. This tool will help you spread the filler evenly over the crack, ensuring a smooth finish.
Preparing the Surface
Before moving on to patching the hole in the bathtub, it’s crucial to properly prepare the damaged area.
This involves cleaning the area to remove any dirt, grime, or residue that may interfere with the patching process.
Additionally, choosing the right tools for the job is essential to ensure a successful repair.
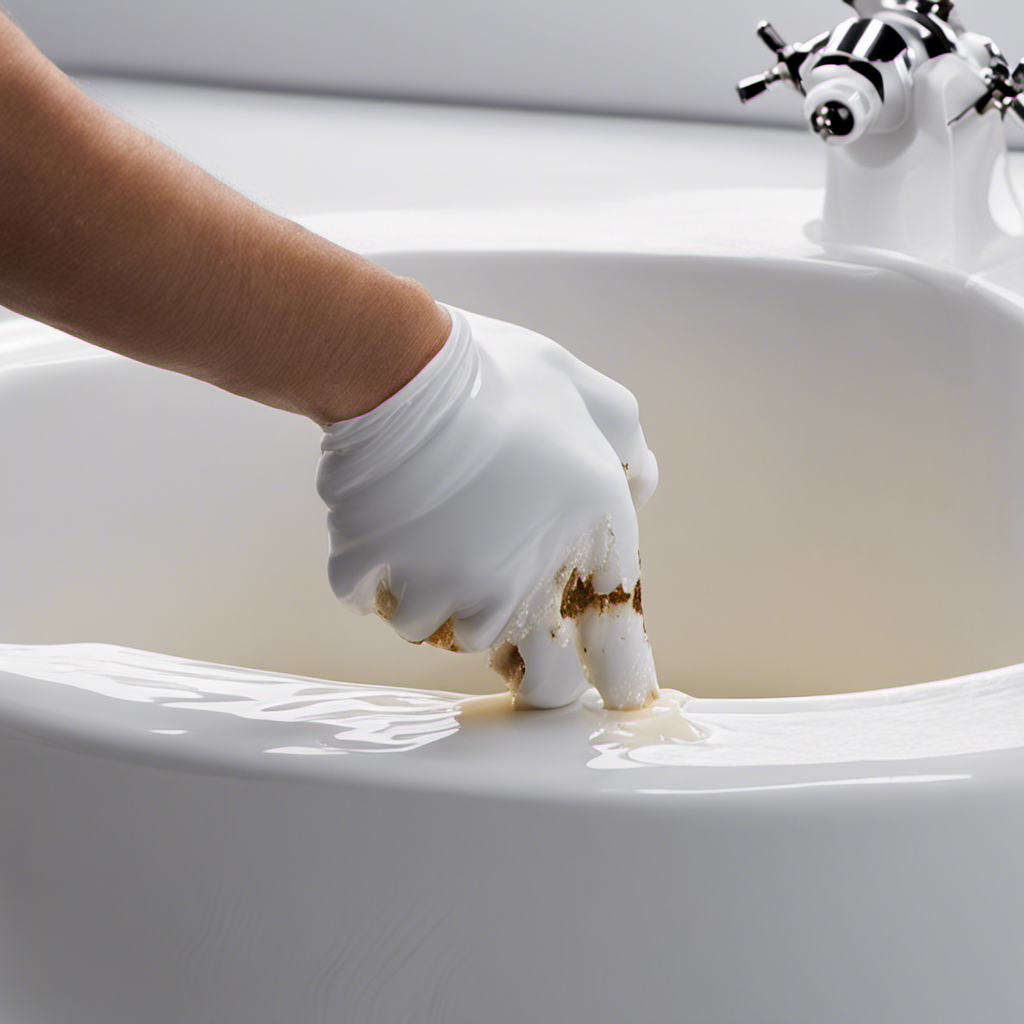
Cleaning the Damaged Area
To clean the damaged area, you’ll need a sponge and some mild detergent. Cleaning the damaged area is an essential step in preparing it for repair. Here are three cleaning techniques you can use to ensure a successful DIY repair:
-
Start by wetting the sponge with water and squeezing out any excess. This will prevent the sponge from becoming too saturated and dripping onto the surrounding area.
-
Apply a small amount of mild detergent to the sponge and gently scrub the damaged area. Be sure to remove any dirt, grime, or residue that may be present. This will help the patch adhere properly and ensure a smooth finish.
-
Rinse the sponge thoroughly to remove any soap residue. Then, use the sponge to wipe down the entire surface, not just the damaged area. This will ensure a clean and uniform appearance once the repair is complete.
Choosing the Right Tools
Make sure you have the right tools for the job, such as a putty knife, sandpaper, and a paintbrush.
When patching a hole in a bathtub, it is crucial to choose the right products to ensure a successful repair.
Firstly, select a patching compound that is specifically designed for use on bathtubs. These compounds are formulated to withstand water exposure and provide long-lasting durability.
Additionally, consider safety precautions during the patching process. It is important to wear gloves and protective eyewear to protect yourself from any potential harm. Also, make sure to work in a well-ventilated area to avoid inhaling any fumes.
By choosing the right products and following safety precautions, you can effectively patch a hole in your bathtub.
Now, let’s move on to applying the patching compound to complete the repair.
Applying the Patching Compound
Once you’ve mixed the patching compound, you can apply it to the hole in the bathtub. Here are three key steps to follow when applying the patching compound:
-
Clean the area around the hole thoroughly. Use a mild detergent and a sponge to remove any dirt, grime, or soap scum. Rinse the area with water and allow it to dry completely before proceeding.
-
Apply the patching compound using a putty knife or a trowel. Start by spreading a thin layer of the compound over the hole, making sure to cover it completely. Use the knife or trowel to smooth out the compound, ensuring that it is flush with the surface of the bathtub.
-
Allow the patching compound to dry according to the manufacturer’s instructions. Once it is completely dry, you can sand down any rough edges or imperfections using fine-grit sandpaper. This will help to create a smooth and seamless surface.
Smoothing and Shaping the Patch
Now that the patching compound has been applied to the hole in the bathtub, the next step is to smooth and shape it for a seamless finish. Shaping techniques are essential to ensure the patch blends in with the surrounding surface.
However, there can be some challenges when it comes to patching a hole in a bathtub. One challenge is achieving a smooth and even surface. This can be difficult due to the different textures and contours of the bathtub. To overcome this, I recommend using a sandpaper or sanding block to gently sand down any rough edges or high spots. This will help create a smooth surface that seamlessly blends with the rest of the bathtub.
Another challenge is matching the color and finish of the patch to the rest of the bathtub. To address this, you may need to use a bathtub refinishing kit or consult a professional to ensure a perfect color match.
Allowing the Patch to Cure
After applying the patching compound, it’s important to give it enough time to cure completely. The curing time will depend on the specific product you are using, so be sure to read the manufacturer’s instructions for the recommended duration.
Here are three important things to keep in mind during the curing process:
-
Avoid using the bathtub: While the patch is curing, it’s crucial to avoid using the bathtub. Any weight or pressure on the patch can disrupt the curing process and compromise the integrity of the repair.
-
Provide adequate ventilation: Proper ventilation is essential for the curing process. Make sure the bathroom is well-ventilated to allow the patching compound to dry properly. Open windows or use a fan to circulate air and speed up the curing time.
-
Consider alternative solutions: If you’re in a hurry or don’t have enough time for the patch to cure completely, consider using alternative solutions like bathtub repair kits or hiring a professional to ensure a quick and durable fix.
Finishing Touches and Maintenance Tips
To ensure the longevity of your bathtub and prevent future damage, it’s crucial to implement proper maintenance techniques.
This discussion will cover key points on preventing future bathtub damage and recommended cleaning products.
Preventing Future Bathtub Damage
If you want to avoid future bathtub damage, make sure to use a non-abrasive cleaner and avoid using harsh chemicals. It’s important to take proper care of your bathtub to ensure its long-term maintenance.
Here are three common causes of bathtub damage and how to prevent them:
-
Scratches: Avoid using abrasive materials or scrub brushes that can scratch the surface of your bathtub. Instead, use a soft cloth or sponge to clean and wipe down the tub gently.
-
Stains: Regularly clean your bathtub to prevent stains from building up. Use a non-abrasive cleaner that is specifically designed for bathtubs and follow the manufacturer’s instructions for best results.
-
Cracks: Avoid dropping heavy objects or applying excessive pressure to your bathtub, as this can cause cracks. If you notice any cracks, it’s important to address them promptly to prevent further damage. Consult a professional for repair options.
Recommended Cleaning Products
Using a non-abrasive cleaner is recommended to keep your bathtub clean and in good condition. When it comes to cleaning your bathtub, it is important to use the right techniques and solutions to avoid damaging the surface. Harsh chemicals and abrasive cleaners can scratch the tub’s finish and cause further damage.
Instead, opt for gentle, non-abrasive cleaners specifically designed for bathtubs. These cleaners effectively remove dirt, soap scum, and stains without causing any harm. Alternatively, you can try natural cleaning solutions such as vinegar and baking soda, which are effective and environmentally friendly.
Regular cleaning with recommended techniques and products will help maintain the cleanliness and longevity of your bathtub, ensuring it stays in good condition for years to come.
Conclusion
In conclusion, patching a hole in a bathtub is a manageable task that can be accomplished with the right materials and techniques. By assessing the damage, gathering the necessary materials, and preparing the surface, you can begin the process. Once the surface is ready, applying the patching compound and smoothing and shaping it are the next steps. After that, allowing the patch to cure is crucial. Finally, adding finishing touches will complete the restoration process.
For example, John, a homeowner from Philadelphia, successfully patched a hole in his bathtub using these steps and was able to enjoy a relaxing bath once again. It is important to remember to follow proper maintenance tips to ensure the longevity of your patch.