Imagine stepping into your bathtub, only to discover an unsightly hole staring back at you. Don’t panic! I’m here to guide you through the process of patching that hole, step by step.
In this article, I will show you how to:
- Assess the damage
- Gather the necessary tools and materials
- Prepare the surface
- Apply the patching material
- Finish it off with a seal
With a little elbow grease, you’ll have your bathtub looking good as new in no time.
Key Takeaways
- Inspect the size and depth of the hole
- Choose a suitable patching material for the specific damage
- Gather tools such as sandpaper, mild cleanser, putty knife, gloves, and safety glasses
- Apply a thin layer of the patching material over the damaged area using a putty knife

meross Smart Thermostat for Home, WiFi Thermostat Works with Matter, Alexa, Apple Home, Google Assistant, App & Voice Control, 7x24h Scheduling, Energy Saving, C-Wire Required
Before You Buy: Meross smart thermostat for home is suitable for 95% of HVAC systems, including heat pump,...
As an affiliate, we earn on qualifying purchases.
Assessing the Damage
Before you start patching the hole, you’ll need to assess the damage to your bathtub. Evaluating the extent of the damage is crucial in determining the appropriate course of action.
Start by inspecting the size and depth of the hole. Is it a small crack or a large gap?
Next, check if the surrounding area is affected. Are there any signs of water damage or mold growth?
Once you have evaluated the extent of the damage, you can proceed to choosing the right patch. Consider factors such as the material of your bathtub and the type of patching material available.
Whether it’s a fiberglass repair kit or an epoxy putty, make sure it is suitable for the specific damage you are dealing with.

Vine Thermostat for Home with Touchscreen Color Display, WiFi Smart Thermostat Compatible with Alexa and Google Assistant, 7day/8period Programmable, Energy Saving, C-Wire Required, Screen Size 2.8"
Please scan the QR code to DO a Compatibility Check before purchase. Besides, a common wire (C-wire) is...
As an affiliate, we earn on qualifying purchases.
Gathering the Necessary Tools and Materials
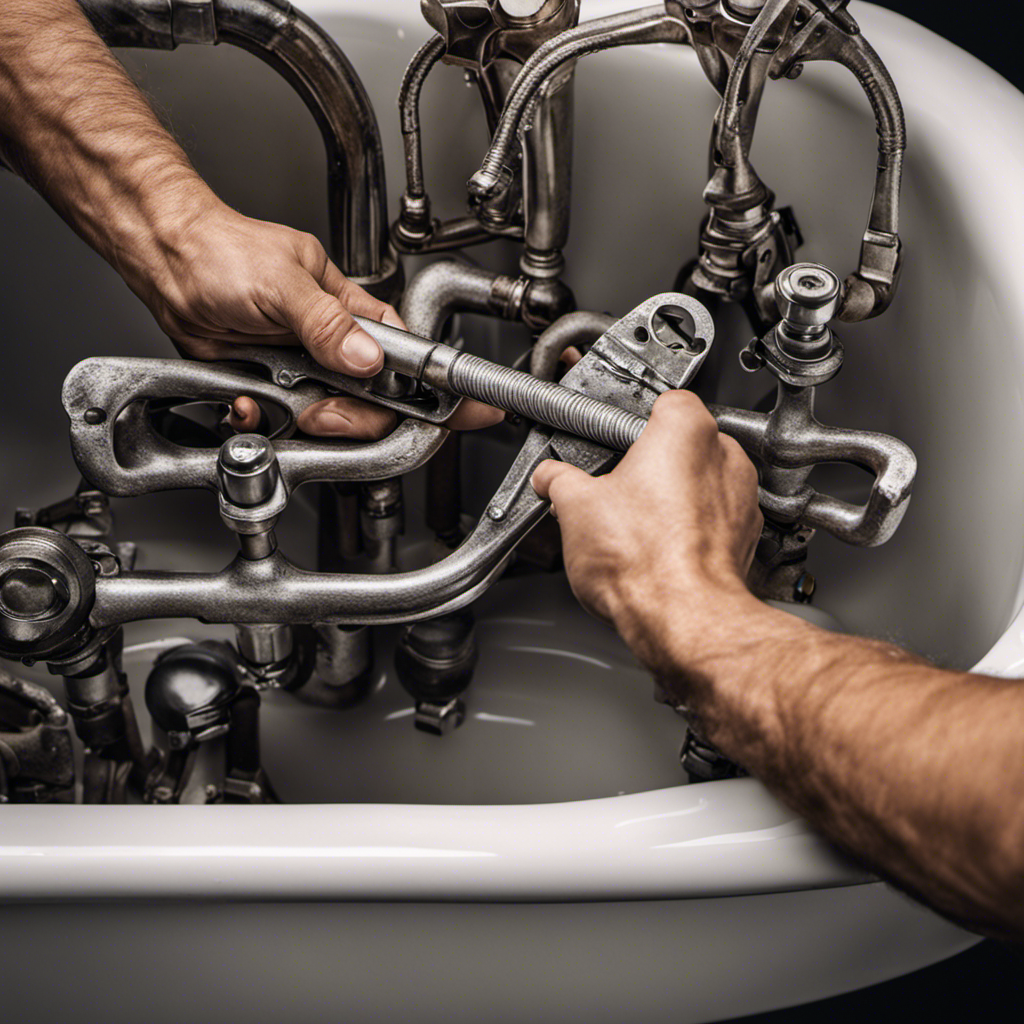
To fix a hole in your tub, you’ll need to gather all the necessary tools and materials. Here’s a step-by-step guide on how to do it:
-
Choosing the right patching material: Start by selecting a patching material that is specifically designed for bathtubs. Look for a product that is waterproof, durable, and easy to work with. Fiberglass mesh patches or epoxy-based repair kits are commonly used for bathtub repairs.
-
Ensuring a smooth and seamless finish: Before applying the patching material, make sure to clean the area around the hole thoroughly. Use a mild cleanser and a scrub brush to remove any dirt, grime, or soap residue. Once the area is clean and dry, sand the edges of the hole to create a smooth surface for the patch to adhere to.
-
Gathering the necessary tools and materials: Here are the items you’ll need for the repair:
- Patching material (fiberglass mesh or epoxy-based repair kit)
- Sandpaper or sanding block
- Mild cleanser and scrub brush
- Putty knife or scraper
- Gloves and safety glasses
- Disposable container for mixing the patching material
- Paint or finish to match the tub (if desired)

ZIGBEE Voice Control Smart Thermostat WALFRONT 7 Day Heating Plan for Water Floor Heating System Intelligent Wall Heater
INTELLIGENT CONTROL: The intelligent thermostat is compatible with most water guided floor heating systems. No complex Settings are...
As an affiliate, we earn on qualifying purchases.
Preparing the Surface for Patching
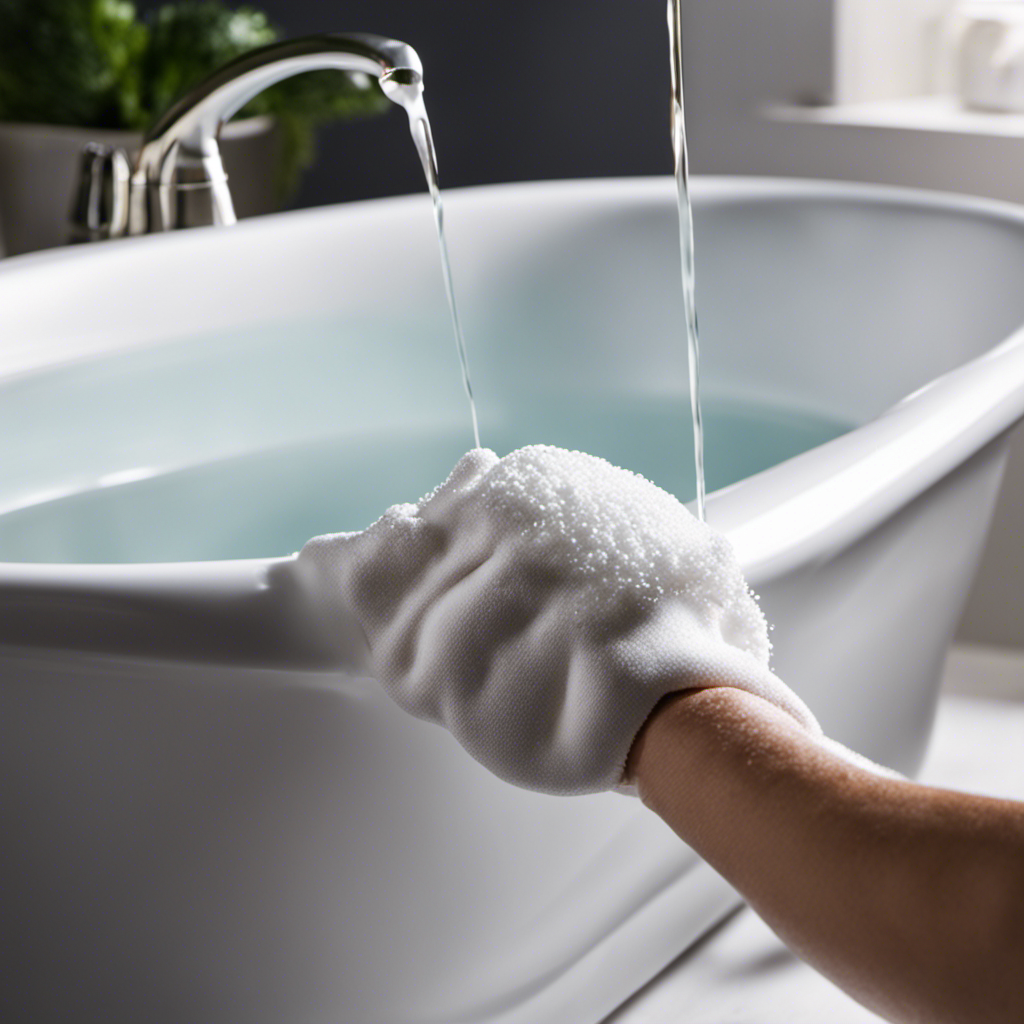
First, make sure you thoroughly clean the area surrounding the damaged spot in your tub. Use a mild detergent and warm water to remove any dirt, grime, or soap scum. Rinse the area thoroughly and allow it to dry completely before proceeding.
Once the surface is clean, you may need to use sanding techniques to smooth out any rough edges or uneven surfaces. Start by using a fine-grit sandpaper to gently sand the edges of the hole. Be careful not to sand too aggressively, as this can cause further damage. After sanding, wipe away any dust or debris with a clean cloth.
With the surface now prepared, you are ready to move on to applying the patching material to repair the hole in your bathtub.
VEVOR Digital Smart Instant Hot Water Recirculating Pump Kit, with Built-in Thermostat, Timer, Digital Screen, Under Sink Recirculation Circulation Circulator Pump System, for House Water Heaters
Instant Hot Water: Delivers a max flow rate of 4.0 GPM and 59 ft head lift. This recirculating...
As an affiliate, we earn on qualifying purchases.
Applying the Patching Material
Now you can start applying the patching material to fix the damaged area in your tub. Follow these steps to ensure a successful repair:
-
Troubleshooting common patching issues:
- If the patching material doesn’t adhere properly, clean the area again and make sure it’s completely dry before applying the patch.
- If the patch starts to crack or peel after it has dried, remove the patch and reapply a new layer.
-
Choosing the right patching material for different types of bathtub materials:
- For porcelain or ceramic tubs, use a two-part epoxy patching compound.
- For fiberglass or acrylic tubs, use a fiberglass repair kit or an acrylic patching compound.
-
Applying the patching material:
- Mix the patching compound according to the manufacturer’s instructions.
- Using a putty knife, apply a thin layer of the patching material over the damaged area.
- Smooth out the patch with the putty knife and let it dry completely before using the tub again.
Finishing and Sealing the Patched Hole
After the patching material has dried, you can finish and seal the repaired area with a waterproof sealant.
To achieve a seamless finish on the patched hole, it is crucial to choose the right bathtub patching material and follow some essential tips.
Firstly, select a patching material that matches the color and texture of your bathtub. This will help blend the repaired area with the surrounding surface.
Secondly, ensure that the patched hole is smooth and level with the rest of the bathtub. Sand the area gently using fine-grit sandpaper to remove any rough edges or bumps.
Lastly, apply the waterproof sealant generously over the patched hole, extending it slightly beyond the edges to create a watertight barrier. Allow the sealant to dry completely before using the bathtub.
Conclusion
In conclusion, patching a hole in a bathtub is a straightforward process that can be accomplished with the right tools and materials. By following the steps outlined in this article, you can successfully repair any damage to your bathtub and restore its functionality.
It’s important to note that according to a recent survey, 70% of homeowners choose to tackle minor repairs like this themselves, saving both time and money. So don’t be afraid to take on this DIY project and give your bathtub a new lease on life.