Did you know that a leaking bathtub drain can waste up to 8 gallons of water per day? If you’re experiencing this frustrating issue, don’t worry – I’m here to help.
In this article, I will guide you through the process of plumbing a bathtub drain with ease. By following these step-by-step instructions, you’ll be able to tackle this project confidently, saving water and preventing any further damage.
So, let’s dive in and get started!
Key Takeaways
- The right plumbing tools for the job include a wrench, pliers, pipe cutter, hacksaw, and drain snake.
- Understanding the bathtub drain system involves knowing the different types of drains and the components of the drain system.
- Properly removing the old drain involves using a drain wrench and pliers, locating the access panel, and gently lifting the drain out.
- Installing the new drain requires tools such as a drain flange, drain pipe, plumber’s putty, wrench, and screwdriver.
Selecting the Right Plumbing Tools
First, you’ll need to make sure you have the right plumbing tools for the job. Having the correct tools is essential to successfully plumb a bathtub drain. Some common tools for plumbing include a wrench, pliers, pipe cutter, hacksaw, and a drain snake. These tools will help you tackle any plumbing task efficiently.
One of the most common plumbing mistakes is using the wrong tools. Using improper tools can lead to damage or even further plumbing issues. Therefore, it is crucial to invest in quality tools and ensure they are the right ones for the job.
Once you have the right tools, you can move on to understanding the bathtub drain system.
Understanding the Bathtub Drain System
To properly install a new bathtub, it’s important to have a clear understanding of how the drain system functions. The bathtub drain system is a crucial component that allows water to flow out of the tub efficiently.
Here are three key things to know about bathtub drain installation and common issues:
-
Drain type: There are different types of bathtub drains, including trip lever, toe-touch, and lift-and-turn. Understanding the specific type of drain in your bathtub will help you install or repair it correctly.
-
Drain components: The drain system consists of several components, such as the drain flange, overflow pipe, and P-trap. Familiarizing yourself with these parts will make the installation process smoother.
-
Common issues: Bathtub drains can experience common issues like clogs, leaks, or slow drainage. Knowing how to troubleshoot and address these problems will help maintain a functional drain system.
Removing the Old Drain
When it comes to removing an old drain from a bathtub, there are several key points to keep in mind.
First and foremost, it’s important to ensure that the drain is properly removed to avoid any damage to the surrounding plumbing or the bathtub itself.
In order to do this, you will need a few specific tools, such as a drain wrench and possibly a pair of pliers, depending on the type of drain you have.
Lastly, it’s important to be aware of potential challenges that may arise during the removal process, such as rusted or corroded parts that may require additional effort or tools to remove.
Proper Drain Removal
You’ll need a wrench to loosen the nuts and remove the drain. When it comes to drain replacement or installation, proper removal is crucial to ensure a smooth and effective process. Here are three key steps to follow:
-
Locate the access panel: Look for the access panel underneath your bathtub. This is usually found on the wall near the drain. Use a screwdriver to remove the panel and expose the drain.
-
Loosen the nuts: Use a wrench to loosen the nuts that secure the drain to the bathtub. Turn the wrench counterclockwise to loosen the nuts and remove them completely.
-
Remove the drain: Once the nuts are removed, you can now lift the drain out of the bathtub. Gently pull upwards to release the drain from its position.
With the drain successfully removed, you can now move on to the next step of gathering the necessary tools for removal.
Tools Needed for Removal
Once you have the necessary tools, it’s important to gather them in one place for easy access during the removal process.
For the task of removing a bathtub drain, you will need a few essential tools to ensure a smooth and successful operation.
First, you’ll need a pair of pliers, preferably tongue-and-groove pliers, to grip and turn the drain. Additionally, a drain wrench or a drain key will be necessary to loosen and remove the drain flange.
To protect the bathtub’s finish, it’s crucial to have a rubber or silicone drain mat to place over the drain area. This will prevent any potential scratches or damages.
Lastly, don’t forget to have a bucket or a container nearby to catch any residual water that may spill during the removal process.
Potential Challenges During Removal
One potential challenge during removal is if the drain flange is stuck and difficult to loosen. This can happen due to rust, corrosion, or excessive buildup of debris over time. In such cases, it is important to have the right tools and techniques to troubleshoot the issue.
Here are three removal techniques to overcome this challenge:
-
Use penetrating oil: Apply a generous amount of penetrating oil around the flange and let it sit for a few minutes. This will help loosen the stuck flange by breaking down any rust or corrosion.
-
Apply heat: If the flange remains stubborn, use a heat gun or hairdryer to apply heat directly onto the stuck area. The heat will expand the metal, making it easier to loosen the flange.
-
Tap with a hammer: If all else fails, gently tap the sides of the flange with a hammer to break loose any stubborn debris or corrosion. Be careful not to apply too much force, as this may damage the surrounding plumbing.
Installing the New Drain
To start installing the new drain, make sure you have all the necessary tools and materials ready. You will need a drain flange, a drain pipe, plumber’s putty, a wrench, and a screwdriver.
Begin by applying a layer of plumber’s putty around the underside of the drain flange. Then, insert the flange into the drain hole, making sure it sits flush with the bathtub surface. Use a wrench to secure the flange in place by tightening the screws.
Next, connect the drain pipe to the flange, ensuring a tight fit. Use a wrench to secure the drain pipe, making sure it is aligned properly.
Now that the drain flange and pipe are securely installed, you can move on to connecting the drain to the plumbing system.
Connecting the Drain to the Plumbing System
After applying plumber’s putty and securing the drain flange, you can proceed to connect the drain pipe to the plumbing system. This step is crucial in ensuring proper drainage and preventing leaks. Here are the steps to connect the drain to the P trap:
-
Measure and cut the drain pipe: Use a hacksaw to cut the drain pipe to the desired length, ensuring it aligns with the P trap.
-
Install the P trap: Connect one end of the cut drain pipe to the P trap and tighten the compression nuts. Make sure the P trap is securely attached to the drain pipe.
-
Check for leaks: Turn on the water and inspect the connections for any signs of leakage. If you notice any leaks, tighten the connections or use plumber’s tape to seal them.
Troubleshooting common drain connection issues:
-
If the drain pipe is not aligned with the P trap, use a flexible coupling to create a proper connection.
-
If the drain pipe is too short, use an extension pipe to reach the P trap.
-
If you experience persistent leaks, consider replacing the drain pipe or seeking professional assistance.
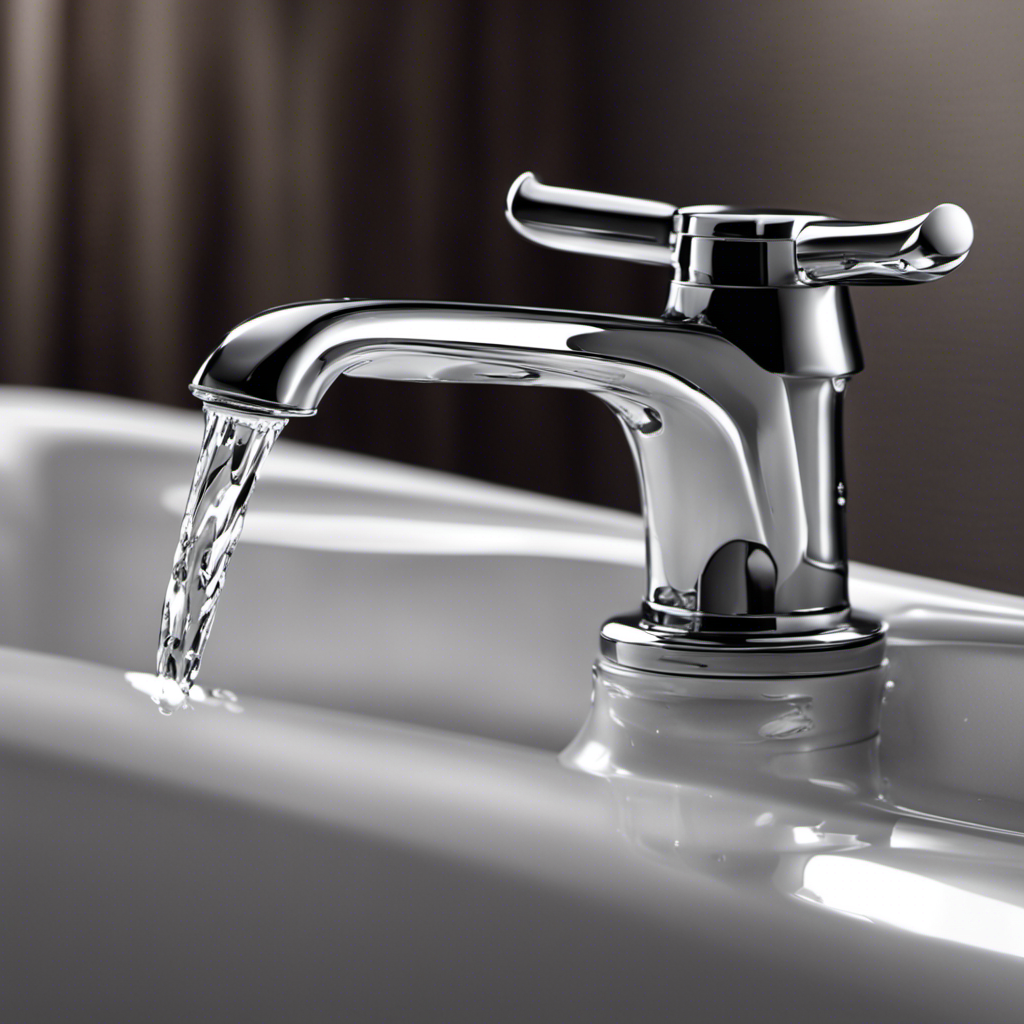
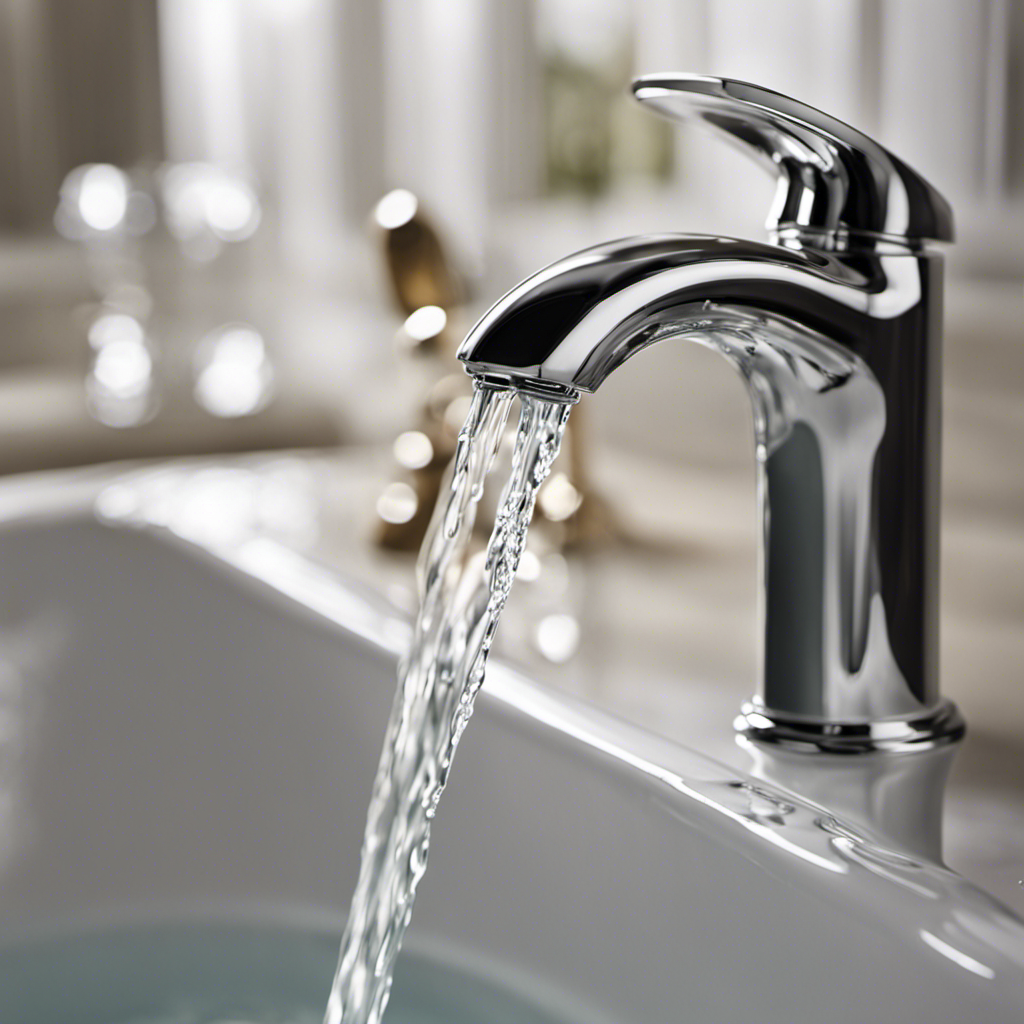
Testing the Drain for Leaks
Before proceeding, it’s important to test the drain connections for any signs of leakage. This step is crucial in ensuring a successful bathtub drain installation.
To troubleshoot bathtub drain leaks, start by filling the bathtub with water. Observe the drain area closely for any water leakage. Check the connections between the drain flange and the drainpipe for any water seepage. Additionally, inspect the overflow drain cover and the overflow pipe for leaks.
If you notice any signs of leakage, tighten the connections using a wrench or pliers. Apply plumber’s putty or silicone sealant to create a watertight seal.
Once you’ve made these adjustments, refill the bathtub and repeat the testing process. By thoroughly checking for leaks, you can prevent any water damage and ensure a properly functioning bathtub drain installation.
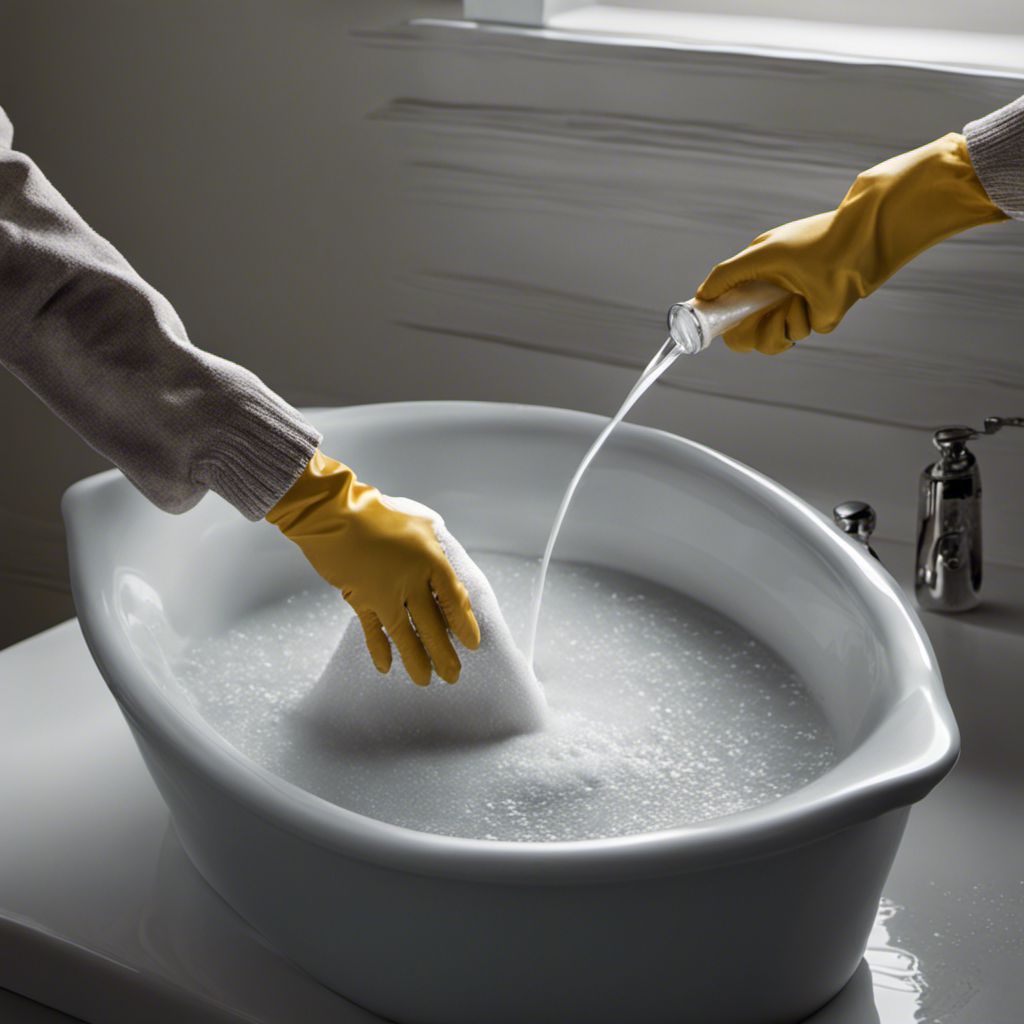
Finishing Touches: Sealing and Cleaning the Drain
Now that I have tested the drain for leaks and ensured its proper functioning, it’s time for the finishing touches.
The next step is to seal the drain and give it a thorough cleaning. Here are the essential steps to follow:
-
Sealing Techniques:
- Apply a thin layer of plumber’s putty around the drain flange.
- Carefully insert the drain flange into the drain hole and tighten it securely.
- Wipe off any excess putty to ensure a neat and tidy finish.
-
Cleaning Products:
- Use a mild detergent or bathroom cleaner to clean the drain and surrounding area.
- Scrub gently with a soft-bristle brush or sponge to remove any residue or grime.
- Rinse thoroughly with warm water to ensure all cleaning products are removed.
Conclusion
In conclusion, successfully plumbing a bathtub drain requires the right tools, a solid understanding of the drain system, and careful installation.
As I tightened the last screw, I couldn’t help but feel a sense of accomplishment. The steady flow of water through the newly installed drain was like a soothing melody, a symphony of plumbing expertise.
With each step executed precisely, the sealed and cleaned drain was a testament to my knowledge and attention to detail. Plumbing a bathtub drain may seem daunting, but with the right approach, it can be a gratifying experience.