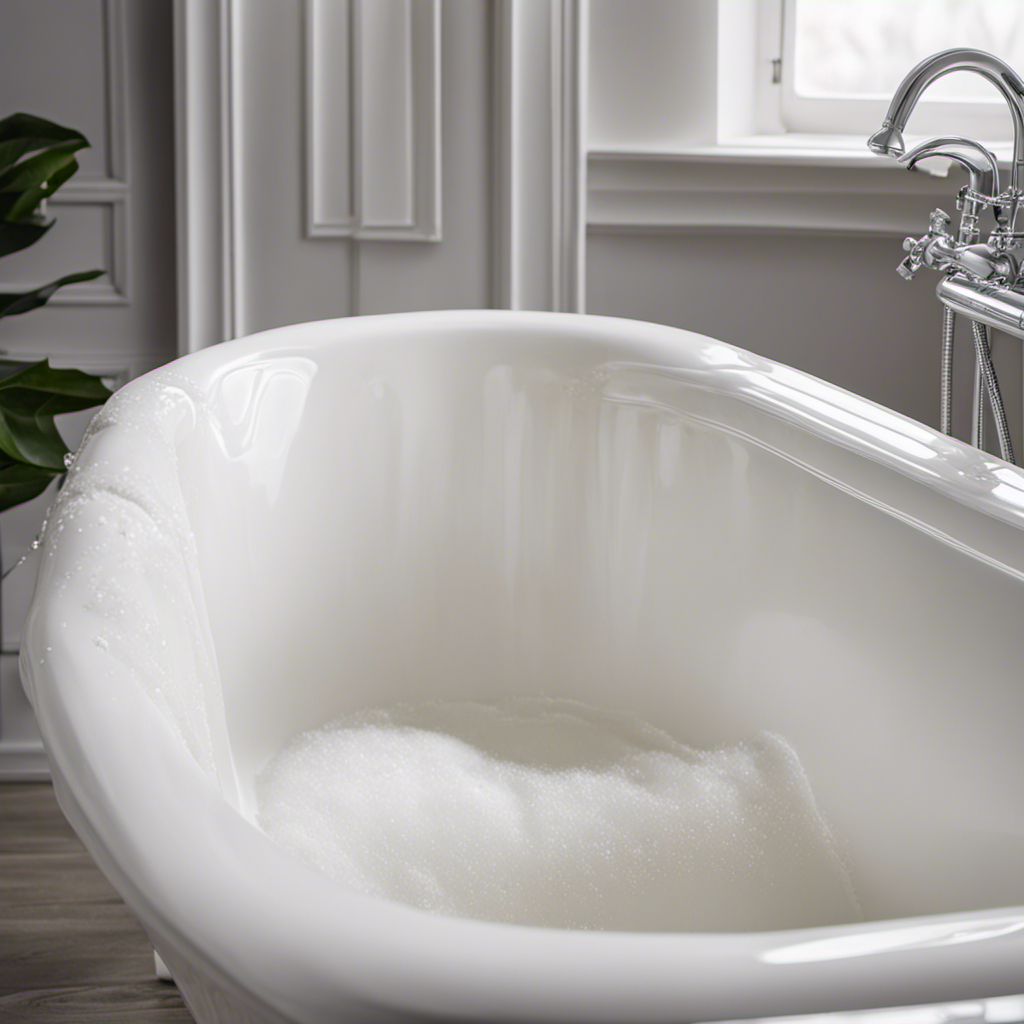

Did you know that a bathtub that is not properly sealed with caulk can lead to water damage and costly repairs?
In this article, I will guide you through the step-by-step process of how to put caulk around your bathtub to prevent any leaks or damage.
By following these simple instructions and using the right caulk, you can ensure that your bathtub remains watertight and in excellent condition for years to come.
Let’s get started!
Key Takeaways
- The bathtub surface should be properly prepared by removing old caulk and cleaning it thoroughly.
- When choosing caulk, consider factors such as durability and flexibility, and the available types include silicone, acrylic, and hybrid.
- To remove and replace caulk, use a caulk removal tool or utility knife, clean the area, and apply new caulk using a caulk gun.
- When applying caulk, make sure to cut the tip of the caulk tube at a 45-degree angle, apply a thin and even bead of caulk along the joint, and smooth it using a caulk smoothing tool or finger.

GE Advanced Silicone Caulk for Kitchen & Bathroom, White, 2.8 fl oz Tube, 1 Pack – 100% Waterproof Silicone Sealant, 5X Stronger Adhesion, Shrink & Crack Proof
- Waterproof Sealant: Provides 100% waterproof protection
- Flexible and Durable: Remains flexible to adapt to surfaces
- Fast Water Resistance: Becomes water-resistant in 30 minutes
As an affiliate, we earn on qualifying purchases.
As an affiliate, we earn on qualifying purchases.
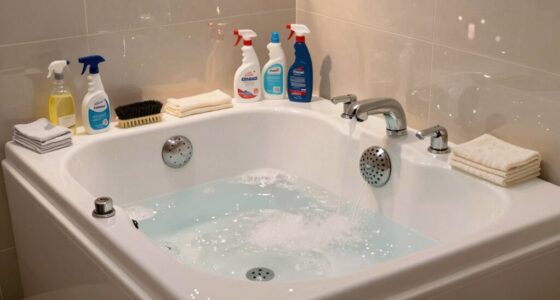
Preparing the Bathtub Surface
Before beginning, make sure you’ve cleaned the bathtub surface thoroughly. Start by removing any old caulk that may be present. Old caulk can prevent the new caulk from adhering properly, so it’s important to remove it completely. To do this, use a caulk remover tool or a utility knife to carefully scrape away the old caulk. Make sure to remove all traces of the old caulk, including any residue that may be left behind.
Once the old caulk is removed, clean the bathtub surface using a mild detergent and warm water. Scrub the surface gently with a sponge or brush to remove any dirt or grime that may be present. Rinse the surface thoroughly and dry it completely before moving on to the next step.
Choosing the Right Caulk
When choosing the right caulk for your bathtub, it’s important to consider factors such as durability and flexibility. Here are some key points to keep in mind:
- Different types of caulk available:
- Silicone caulk: Offers excellent water resistance and flexibility, making it ideal for bathtubs.
- Acrylic caulk: More affordable than silicone, but may not be as durable in wet environments.
- Hybrid caulk: Combines the benefits of silicone and acrylic, providing good adhesion and flexibility.
Caulk removal and replacement:
- Use a caulk removal tool or a utility knife to carefully remove the old caulk.
- Clean the area thoroughly with a mildew cleaner and let it dry completely.
- Apply the new caulk in a smooth, continuous line, using a caulk gun.
- Smooth the caulk with a caulk smoothing tool or your finger, ensuring it adheres properly.
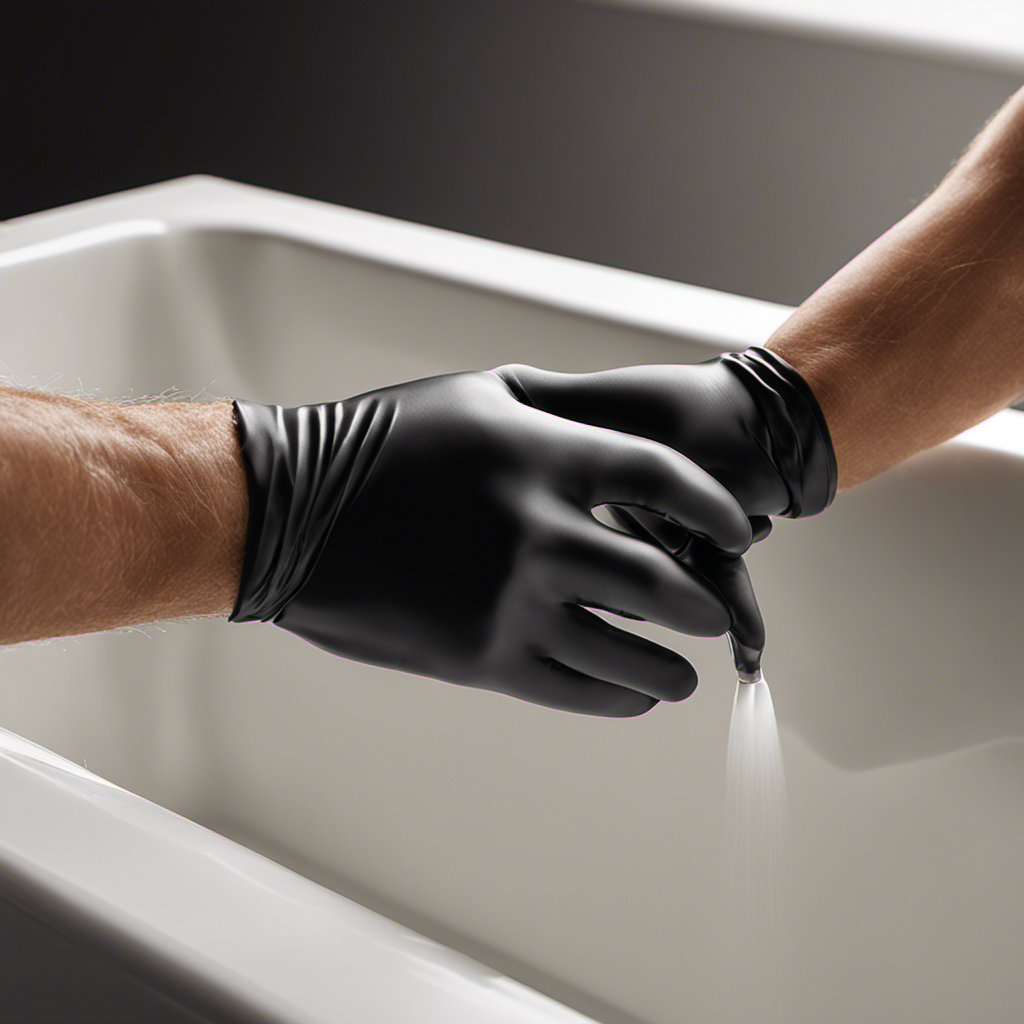
Applying the Caulk
To achieve a smooth finish, it’s important to use a caulk smoothing tool or your finger when applying the caulk. Here are some tips for achieving a smooth caulk application and common mistakes to avoid.
Start by cleaning the area thoroughly and removing any old caulk. Cut the tip of the caulk tube at a 45-degree angle and load it into a caulk gun. Apply a thin, even bead of caulk along the joint, making sure to fill any gaps.
Use a caulk smoothing tool or your finger to smooth the caulk, pressing it into the joint for a seamless finish. Avoid applying too much caulk, as it can be difficult to smooth and may not adhere properly. Also, avoid stopping and starting in the middle of a joint, as this can create visible lines.
Smoothing and Finishing the Caulk
You’ll want to make sure the caulk is completely dry before using the area. Once the caulk has dried, it’s time to smooth and finish it for a professional look. Here are some common mistakes to avoid and tools and techniques to achieve a polished finish:
-
Common mistakes while smoothing caulk:
-
Applying too much pressure, which can cause the caulk to spread unevenly or even crack.
-
Using a finger to smooth the caulk, which can leave behind fingerprints and an uneven surface.
-
Rushing the process, not allowing enough time for the caulk to set properly.
-
Tools and techniques for achieving a professional finish:
-
Use a caulk smoothing tool or a putty knife to gently smooth the caulk along the joint.
-
Wet your finger or the tool with soapy water to prevent sticking and help create a smooth surface.
-
Remove any excess caulk with a damp cloth or sponge for a clean and neat appearance.
Drying and Maintaining the Caulk
To ensure the caulk around your bathtub remains in good condition, it’s important to properly dry and maintain it. After applying the caulk, you should allow it to dry completely before using the bathtub. The drying time can vary depending on the type of caulk used, so it’s best to refer to the manufacturer’s instructions. During this drying period, it’s crucial to prevent any moisture from coming into contact with the caulk. This can be achieved by avoiding showers or baths and keeping the bathroom well-ventilated. Additionally, regular maintenance is necessary to prevent mold growth. Wiping down the caulk with a mild detergent and water solution can help remove any dirt or grime and keep the area clean and mold-free.
| Step | Action |
|---|---|
| 1 | Allow caulk to dry completely according to manufacturer’s instructions |
| 2 | Avoid showers or baths during the drying period |
| 3 | Keep the bathroom well-ventilated to prevent moisture buildup |
| 4 | Regularly clean the caulk with a mild detergent and water solution |
| 5 | Inspect the caulk periodically and reapply if necessary |
Conclusion
And there you have it, folks! The final step in this caulk-tastic journey of bathtub perfection.
As the caulk dries, remember that just like the bond between two souls, it needs time to strengthen and solidify.
Treat it with care, for it is the guardian of your bathtub’s watertight seal.
And as you maintain this caulked masterpiece, let it serve as a reminder that even the smallest details can make a world of difference.
So go forth, my friends, and conquer the world of caulk with confidence and finesse!