
As someone who has tackled the task of caulking around a bathtub, I can assure you that it’s a crucial step to ensure a watertight seal and prevent any potential damage.
In this guide, I’ll walk you through the process, from selecting the right caulk to smoothing and finishing the application.
With a little know-how and the right tools, you’ll be able to confidently maintain and repair the caulk in your bathtub, keeping it in top shape for years to come.
So, let’s dive in and get started!
Key Takeaways
- Select caulk based on factors such as flexibility and moisture resistance.
- Completely remove old caulk to ensure a clean surface.
- Thoroughly clean the bathtub surface before applying caulk.
- Apply a thin, even bead of caulk along the edges and smooth it for a professional finish.
Selecting the Right Caulk for Your Bathtub
When selecting the right caulk for your bathtub, it’s important to consider factors such as flexibility and moisture resistance.
The first step in caulking your bathtub is to remove the old caulk completely. Use a caulk removal tool or a putty knife to carefully scrape away the old caulk. This ensures a clean surface for the new caulk to adhere to. It’s crucial to remove all traces of old caulk to prevent any mold growth or water leakage.
Once the old caulk is removed, you can proceed to prepare the bathtub surface for caulking.
Preparing the Bathtub Surface for Caulking
Before you start, make sure to thoroughly clean the surface of the bathtub. Cleaning the bathtub surface is an essential step in preparing it for caulking. Here are some key tips to follow:
- Gather all the necessary cleaning supplies, such as a bathtub cleaner, scrub brush, and gloves.
- Remove any loose debris, such as hair or soap scum, from the surface of the bathtub.
- Apply the bathtub cleaner to the surface and let it sit for a few minutes to break down any grime or stains.
- Use a scrub brush to scrub the surface in circular motions, paying extra attention to any stubborn areas.
- Rinse the bathtub thoroughly with clean water to remove any residue from the cleaner.
By following these steps, you can ensure that the bathtub surface is clean and ready for caulking.
Additionally, it’s important to remove any old caulk before applying new caulk to ensure a proper seal.
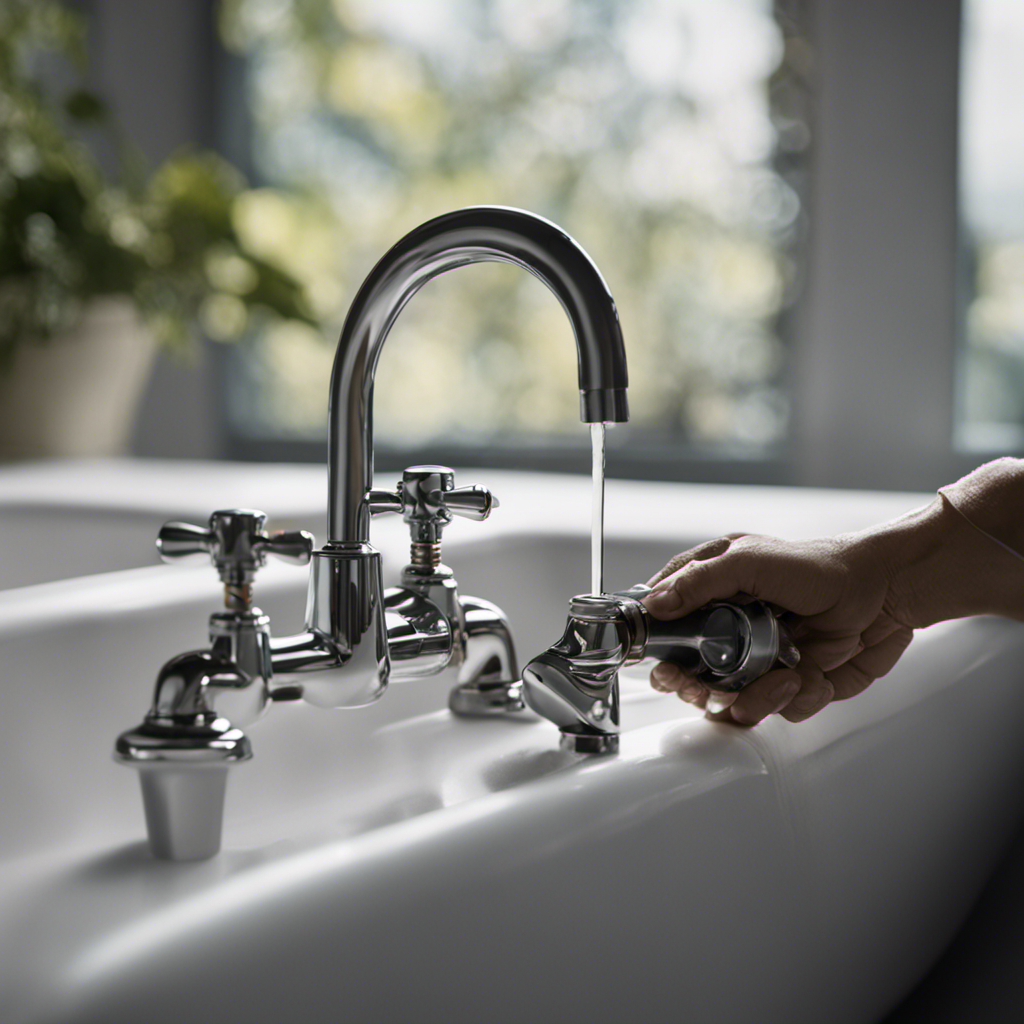
Applying Caulk Around the Edges of the Bathtub
To ensure a proper seal, start by applying caulk to the edges of your bathtub using a caulk gun. Before applying new caulk, it is important to remove any old caulk to ensure a clean and effective seal. Use a utility knife or a caulk removal tool to carefully scrape away the old caulk.
Next, clean the surface thoroughly to remove any dirt or debris that may prevent the new caulk from adhering properly. Once the surface is clean and dry, load the caulk gun with the caulk of your choice. Apply a thin, even bead of caulk along the edges of the bathtub, making sure to fill any gaps or cracks. This will prevent water damage and ensure a watertight seal.
Smooth the caulk with your finger or a caulk smoothing tool for a professional finish. Allow the caulk to dry completely before using the bathtub.
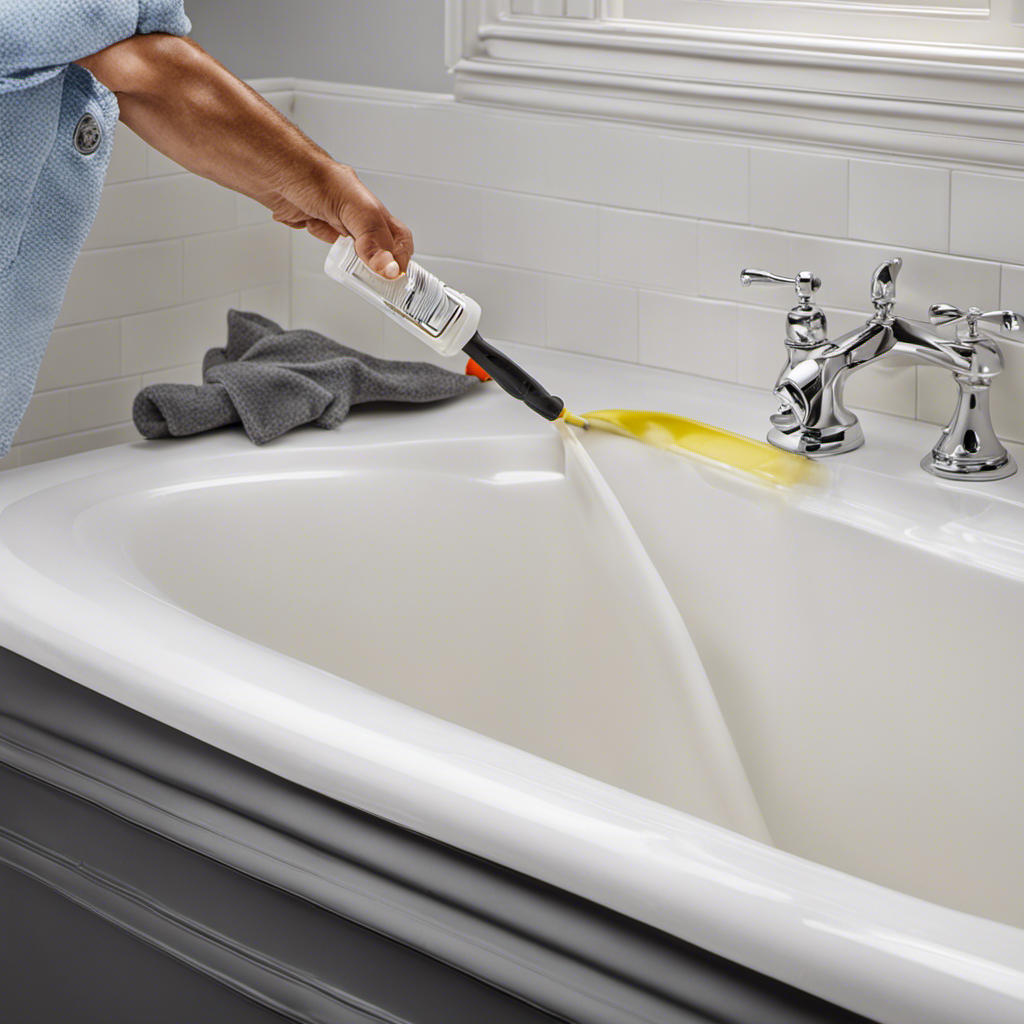
Smoothing and Finishing the Caulk Application
After applying the caulk, use your finger or a caulk smoothing tool to smooth and finish the edges for a polished look. To ensure a professional finish, here are some finishing techniques to keep in mind:
- Hold the caulk smoothing tool at a 45-degree angle and apply gentle pressure to smooth the caulk along the edges.
- Wipe off any excess caulk with a damp cloth to avoid smearing it on the bathtub or tiles.
- Use a caulk finishing tool with different edge sizes to achieve the desired finish.
- Avoid over-smoothing the caulk, as it can cause it to become thin and lose its effectiveness.
- Allow the caulk to cure for at least 24 hours before using the bathtub.
Maintaining and Repairing Caulk in Your Bathtub
Now, let’s discuss how you can properly maintain and repair the caulk in your bathtub to prevent any water damage or leaks. Maintaining the caulk in your bathtub is essential to preventing mold growth and maintaining a watertight seal. Over time, caulk can deteriorate and become discolored, making it less effective at keeping water out. To keep your caulk in good condition, regularly inspect it for any signs of wear or damage. If you notice any cracks or gaps, it’s important to remove the old caulk and replace it with a fresh application. This will ensure a tight seal and prevent any water from seeping into the surrounding areas. To help you understand the importance of maintaining the caulk in your bathtub, here is a table highlighting the potential consequences of neglecting this task:
| Neglected Caulk Maintenance | Consequences |
|---|---|
| Mold growth | Health issues, unpleasant odor, and aesthetic problems |
| Water damage | Structural damage, rot, and costly repairs |
| Leaks | Water damage, mold growth, and additional repair expenses |
As you can see, neglecting the maintenance and repair of caulk in your bathtub can lead to serious consequences. By regularly inspecting and replacing old caulk, you can prevent mold growth, water damage, and leaks, ensuring the longevity and functionality of your bathtub.
Frequently Asked Questions
How Long Does Caulk Typically Last in a Bathtub Before It Needs to Be Replaced?
Caulk typically lasts around 5-10 years in a bathtub before needing replacement. Different types of caulk have pros and cons, so it’s important to choose the right one. Properly preparing the bathtub surface ensures a long-lasting seal.
Can I Use the Same Caulk for Both the Bathtub and the Shower?
I wouldn’t recommend using acrylic caulk instead of silicone for the bathtub and shower. Silicone caulk is more durable and waterproof, ensuring a longer-lasting seal. The main difference lies in their performance and longevity.
Is It Necessary to Remove the Old Caulk Before Applying a New Layer?
Yes, it is necessary to remove the old caulk before replacing it with a new layer. This ensures better adhesion and prevents any water or moisture from seeping through, extending the lifespan of the caulking.
Can I Use Silicone Caulk on a Fiberglass Bathtub?
Using silicone caulk on a fiberglass bathtub has its pros and cons. It provides a strong waterproof seal, but can be difficult to remove. Alternatives like acrylic or latex caulk may be easier to work with.
How Long Should I Wait Before Using the Bathtub After Applying Caulk?
I typically wait about 24 hours before using the bathtub after applying caulk. This allows the caulk to properly cure and ensures its durability. It’s important to follow manufacturer’s instructions for specific waiting times.
Conclusion
In conclusion, properly caulking your bathtub is essential for maintaining a watertight seal and preventing leaks. By selecting the right caulk, preparing the surface, and applying it carefully, you can ensure a professional and long-lasting finish.
Just like a sturdy ship sailing through rough waters, a well-caulked bathtub stands strong against the forces of moisture and time.
So, take the necessary steps to protect your bathtub and enjoy a peaceful and leak-free bathing experience.

Mateo’s flair for writing is matched only by his keen eye for design. As an interior designer turned writer, Mateo brings a unique perspective. He blends aesthetics with functionality in every piece he pens, providing readers with beautifully crafted content that’s also supremely useful.
Mateo loves exploring the latest bathroom tech trends and is our expert on smart toilets. When he’s not writing or designing, Mateo can be found sketching ideas for his next big project at local coffee shops.