Are you tired of staring at that grimy, moldy caulk in your bathtub? Well, fear not! In this article, we will guide you through the process of re-caulking your bathtub, giving it a fresh and clean look.
From preparing the surface to applying the new caulk, we’ll provide you with step-by-step instructions to ensure a professional and long-lasting result.
Say goodbye to unsightly caulk and hello to a pristine bathtub!
Key Takeaways
- Choose silicone-based caulk designed for bathrooms
- Ensure surface is completely dry before applying new caulk
- Remove all traces of old caulk
- Regularly inspect caulk for wear or damage
Preparing the Bathtub Surface
First, make sure you’ve completely removed the old caulk from the bathtub surface. This step is crucial to ensure a proper bond with the new caulk.
To start, choose the right caulk product for your bathtub. Look for a silicone-based caulk that is specifically designed for bathroom use. This type of caulk is waterproof, flexible, and resistant to mold and mildew.
Once you have the right caulk, properly prep the surface before caulking. Thoroughly clean the area with a mild detergent to remove any dirt, soap scum, or residue. Dry the surface completely before applying the new caulk. This will ensure that the caulk adheres properly and creates a tight seal.
With the old caulk removed and the surface prepped, you are now ready to move on to the next step of removing the old caulk.
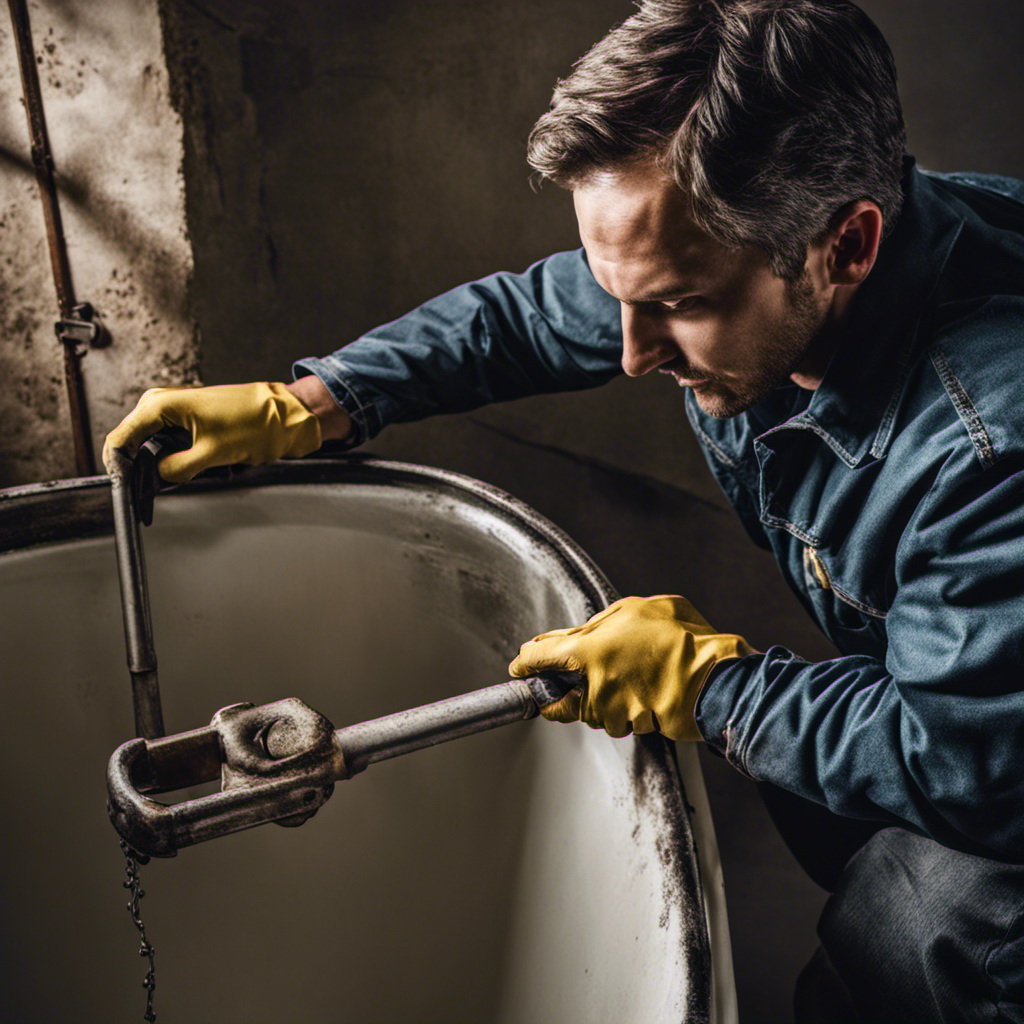
Removing the Old Caulk
To begin, you’ll need a putty knife or a caulk removal tool to scrape away the old caulk. This step is crucial in preparing the bathtub surface for re-caulking.
Here are some safety precautions and tools needed to remove the old caulk effectively:
- Safety goggles: Protect your eyes from any debris or caulk particles.
- Gloves: Prevent your hands from coming into direct contact with any chemicals or sharp edges.
- Mask: Shield yourself from inhaling any dust or fumes.
- Drop cloth: Lay it down to catch any falling caulk or debris, making cleanup easier.
Using the putty knife or caulk removal tool, carefully scrape away the old caulk, taking care not to damage the bathtub surface. Ensure you remove all traces of old caulk before proceeding to the next step.
Cleaning and Drying the Area
Before applying new caulk, it’s important to thoroughly clean and dry the area. This step is crucial for ensuring a proper adhesion and longevity of the new caulk.
Start by removing any old caulk using a caulk remover. This will help to get rid of any remnants and create a clean surface for the new caulk.
Next, clean the area with a mildew and mold remover to prevent the growth of these unsightly and potentially harmful substances in the future.
Make sure to dry the area completely before proceeding with the re-caulking process. This will help to prevent moisture from getting trapped underneath the caulk and causing damage or mold growth.
Taking these steps will ensure a successful re-caulking job and a long-lasting, mold-free bathroom.
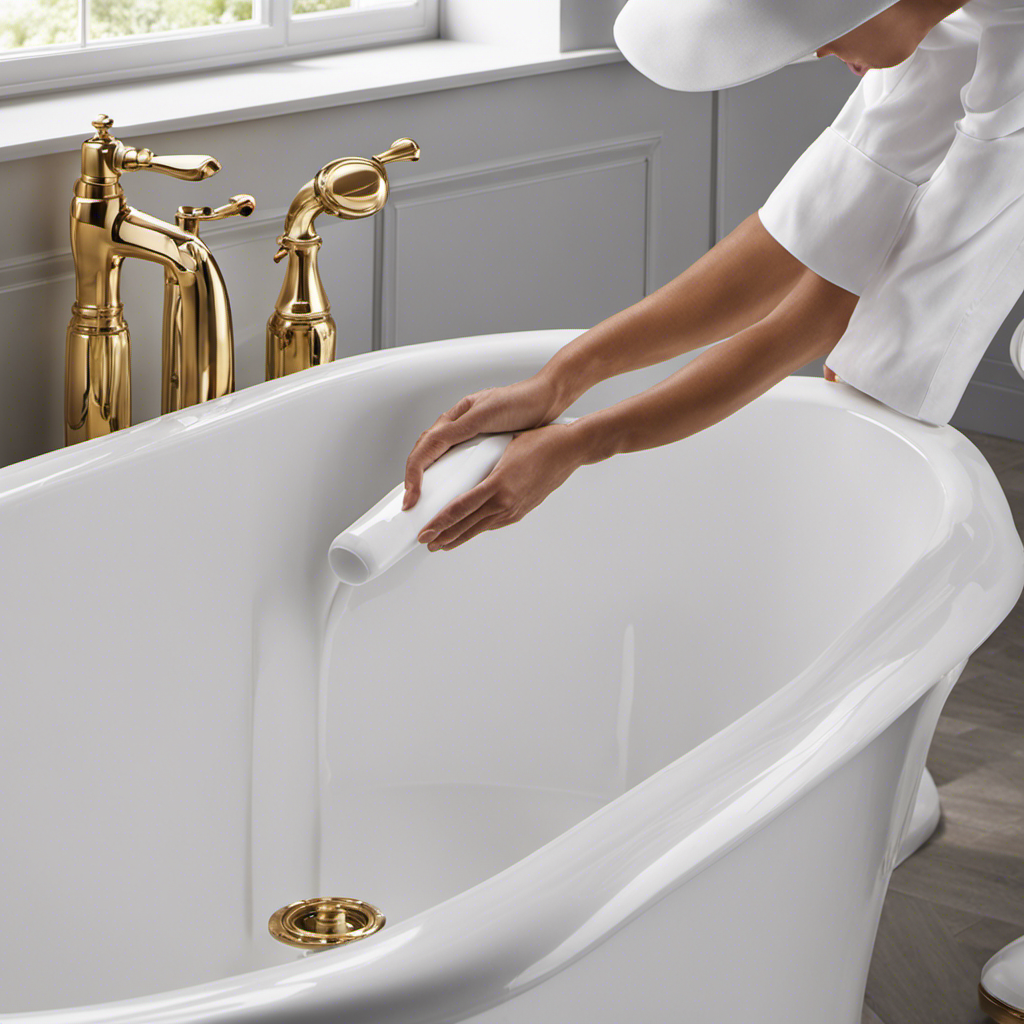
Applying the New Caulk
Once the area is clean and dry, it’s time to apply the new caulk. Here are some proper caulk application techniques to ensure a successful re-caulking job for your bathtub:
- Start by cutting the tip of the caulk tube at a 45-degree angle. This will create a small opening for a precise application.
- Hold the caulk gun at a 45-degree angle and apply steady pressure to the trigger as you move along the joint. Keep a consistent speed to maintain an even bead of caulk.
- Use a caulk smoothing tool or your finger to smooth out the caulk and create a neat finish. Make sure to wet your finger with water or a soapy solution to prevent the caulk from sticking.
Allow the caulk to dry for the recommended amount of time before using the bathtub again.
Choosing the right caulk for your bathtub is also crucial. Look for a waterproof silicone caulk that is specifically made for bathrooms. It should be mold and mildew resistant, and able to withstand moisture and frequent cleaning.
Finishing and Maintaining the Caulk
Make sure you regularly inspect the caulk for any signs of wear or damage, such as cracks or gaps.
Maintaining caulk longevity is crucial to prevent water leakage and maintain a clean and hygienic bathroom.
To troubleshoot caulk issues, start by cleaning the area thoroughly and removing any old caulk residue. Then, apply a new layer of caulk, ensuring it is smooth and evenly applied. Allow the caulk to dry completely before using the bathtub.
Additionally, avoid using abrasive cleaners or scrub brushes on the caulk, as this can cause damage.
It is also recommended to avoid excessive exposure to water, as prolonged moisture can weaken the caulk.
Frequently Asked Questions
How Long Does Caulk Typically Last Before It Needs to Be Replaced?
Caulk typically lasts around 5-10 years before needing to be replaced. Signs of caulk deterioration include cracking, peeling, or discolored caulk. Regular inspection and maintenance can help extend the lifespan of caulk.
Can I Use Any Type of Caulk for My Bathtub, or Is There a Specific Type I Should Use?
When re-caulking a bathtub, it’s important to use the right type of caulk. Different types have pros and cons. Consider factors like durability, flexibility, and resistance to water. Caulk application techniques and tips are also crucial.
Is It Necessary to Remove All of the Old Caulk Before Applying the New Caulk?
Yes, it is necessary to remove all of the old caulk before applying the new caulk. By doing so, you ensure a clean and proper surface for the new caulk to adhere to.
How Long Should I Wait After Applying the New Caulk Before Using the Bathtub?
You should wait at least 24 hours after applying the new caulk before using the bathtub. This allows the caulk to fully cure and ensures a strong, waterproof seal. Don’t rush it!
What Is the Best Way to Remove Stubborn Mold or Mildew From the Caulk?
To remove stubborn mold or mildew from caulk, try using a mixture of bleach and water or a commercial mold and mildew remover. Scrub the affected area with a brush, then rinse thoroughly. To prevent future growth, keep the area well-ventilated and dry.
Conclusion
In conclusion, re-caulking your bathtub is a simple and essential task that can prevent water damage and keep your bathroom looking pristine. By following the steps outlined in this article, you can easily remove old caulk, clean the area, and apply new caulk with precision.
Remember to maintain the caulk regularly for long-lasting results. So, why wait? Take the plunge and give your bathtub a makeover that will leave you feeling like you’re bathing in a luxurious spa.

Mateo’s flair for writing is matched only by his keen eye for design. As an interior designer turned writer, Mateo brings a unique perspective. He blends aesthetics with functionality in every piece he pens, providing readers with beautifully crafted content that’s also supremely useful.
Mateo loves exploring the latest bathroom tech trends and is our expert on smart toilets. When he’s not writing or designing, Mateo can be found sketching ideas for his next big project at local coffee shops.