Are you tired of that grimy, old caulk ruining the look of your bathtub? Well, fear not! We’ve got the solution for you.
In this handy guide, we will show you how to re-caulk your bathtub, step-by-step. Say goodbye to those unsightly cracks and hello to a fresh and clean tub.
So grab your caulking gun and get ready to transform your bathroom into a sanctuary of cleanliness and serenity.
Let’s dive in!
Key Takeaways
- Removing old caulk is essential before re-caulking a bathtub
- Proper cleaning of the bathtub surface is important for effective caulking
- Choosing the right cleaner and caulk for the bathtub material is crucial
- Taking preventative measures can help prevent future build-up and maintain the bathtub’s condition

Saker Silicone Caulking Tool 3-in-1 Grout Removal Tool and Sealant Finishing Scraper with Stainless Steelhead, Caulk Remover and Seam Repair Kit for Bathroom, Kitchen, Floor, Window and Sink Joints
【Tips】Here's a quick tip for achieving that smooth, one-handed gliding sensation with your grout tool: consider loosening the…
As an affiliate, we earn on qualifying purchases.
As an affiliate, we earn on qualifying purchases.
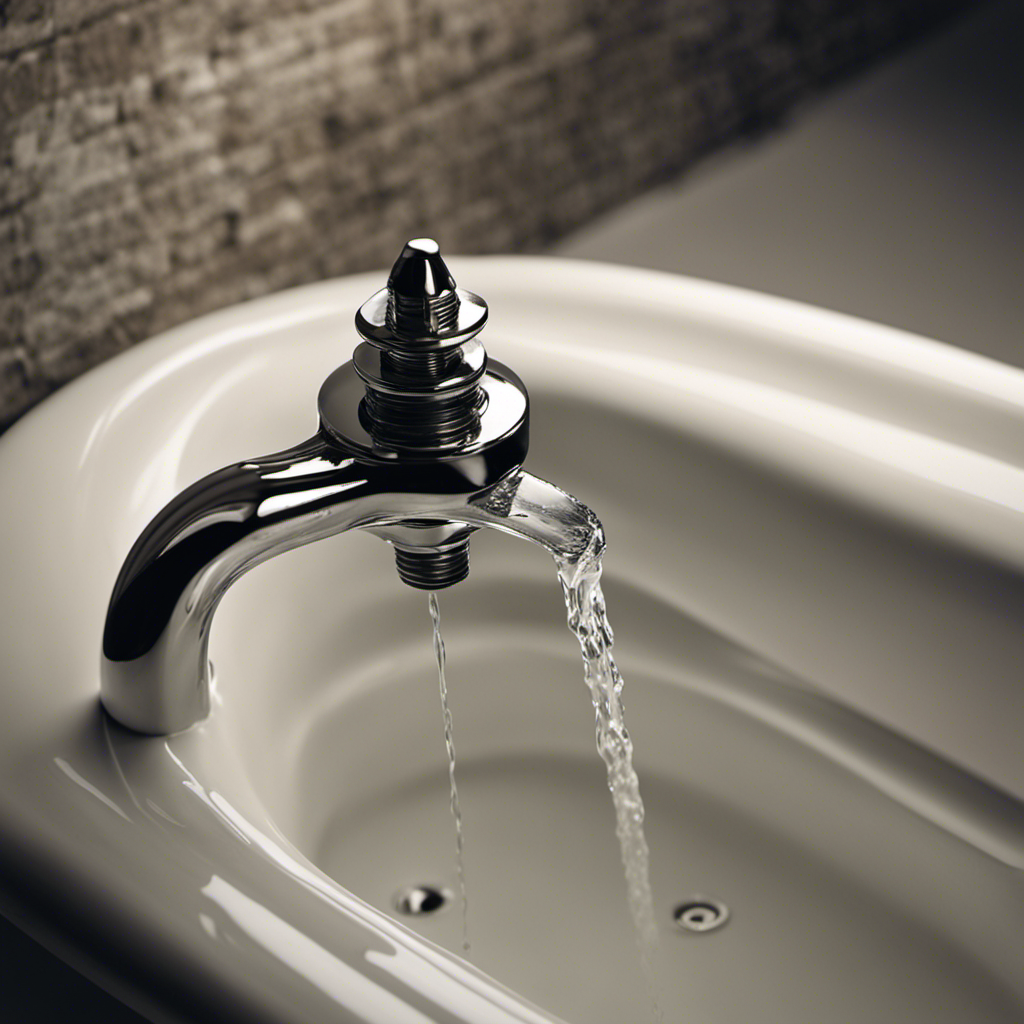
Preparing the Bathtub Surface
Before you begin re-caulking, make sure the bathtub surface is clean and dry. Proper bathtub surface preparation is crucial for a successful caulking job. Here are some steps to follow:
-
Remove old caulk: Use a utility knife or a caulk removal tool to carefully scrape off any existing caulk. Make sure to remove all traces of the old caulk to ensure a clean surface.
-
Clean the surface: Thoroughly clean the bathtub surface using a mild detergent or a bathroom cleaner. Scrub off any dirt, grime, or soap residue. Rinse well and dry the surface completely.
-
Remove moisture: Use a hairdryer or a fan to dry any lingering moisture on the surface. Moisture can prevent the new caulk from adhering properly.
Common mistakes in bathtub surface preparation include not completely removing old caulk, not cleaning the surface thoroughly, and not drying the surface properly. Avoid these mistakes to ensure a smooth and long-lasting caulking job.

Caulk Gun Kit Smooths No-drip Silicone Caulking Gun and Caulking Tools, Sealant Tools Grout Scraper For Kitchen Bathroom Sink Joint,With Gift Box Works 10OZ Tubes blue
Leikius caulk gun kit, a premium set designed for professionals and DIY user. Each caulking tool in our…
As an affiliate, we earn on qualifying purchases.
As an affiliate, we earn on qualifying purchases.
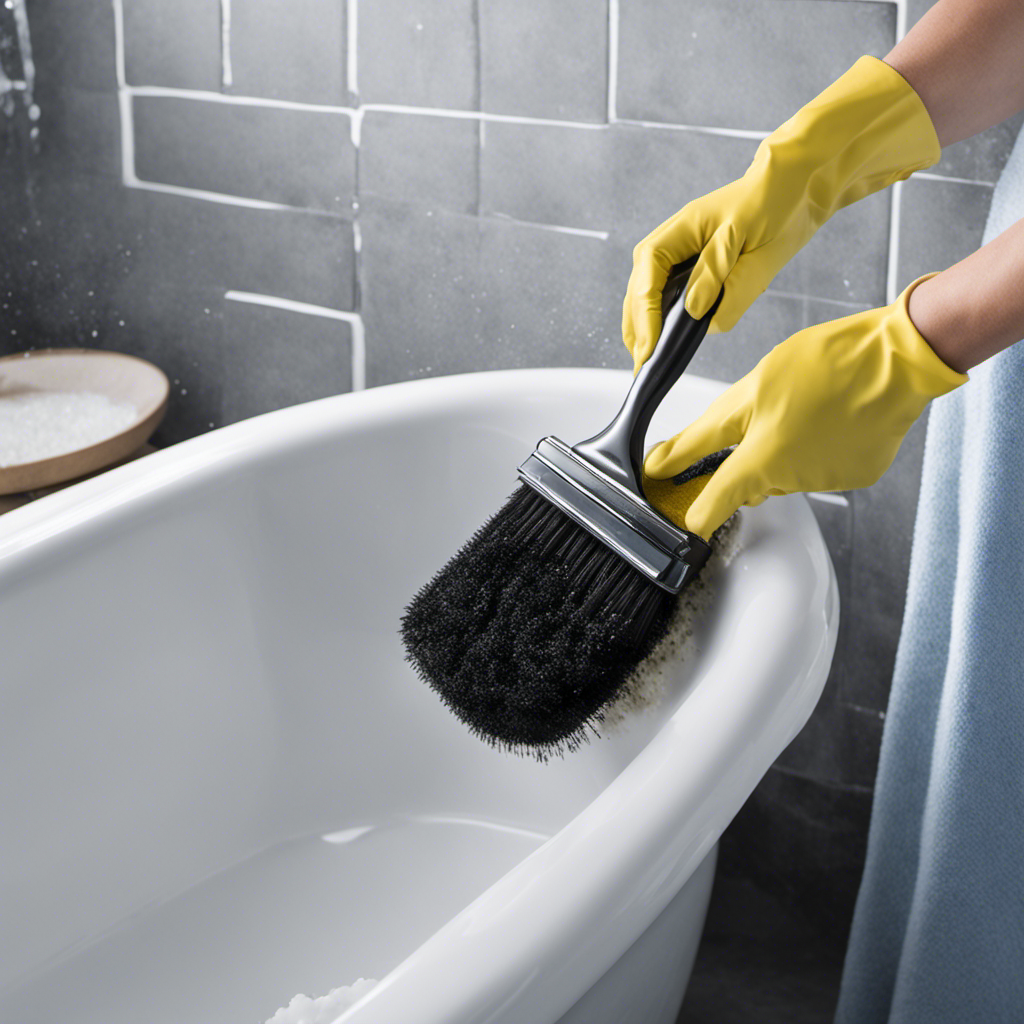
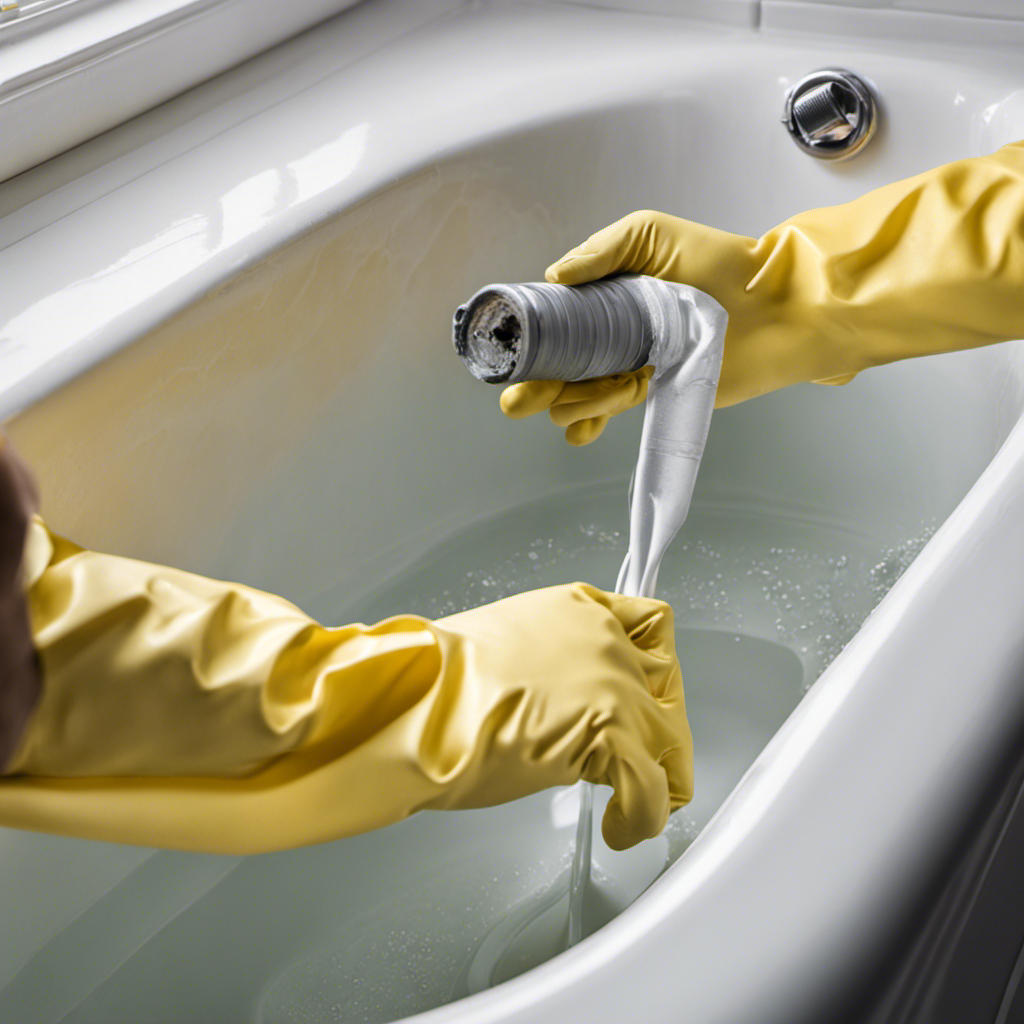
Removing Old Caulk
To properly remove old caulk from your bathtub, you’ll need a few key tools. First, gather a caulk removal tool, such as a caulk scraper or caulk remover. These tools are specifically designed to make the removal process easier and more efficient.
Next, you’ll need a utility knife to carefully cut through any stubborn caulk that may be difficult to remove with the scraper alone.
Proper Caulk Removal
You’ll need to start by using a putty knife to carefully scrape away the old caulk from the edges of your bathtub. Here are some proper caulk removal techniques to help you get the job done effectively:
- Begin by holding the putty knife at a slight angle and gently scrape the caulk away from the surface.
- Be cautious not to scratch or damage the bathtub or surrounding tiles.
- Use short, controlled strokes to ensure the caulk comes off in clean strips.
- If any stubborn residue remains, you can use a caulk remover solvent or rubbing alcohol to dissolve it.
Tools for Removing Caulk
When removing old caulk, it’s important to have the right tools on hand. However, if you don’t have any tools available, there are alternative methods for caulk removal.
One method is to use a utility knife or a razor blade to carefully cut away the caulk. Make sure to be cautious and avoid scratching the surface of the bathtub.
Another option is to use a hairdryer to heat up the caulk. This will soften it and make it easier to remove. Simply apply heat to the caulk for a few minutes and then use a putty knife or your fingers to peel it away.
These alternative methods can be effective in removing caulk without the need for specialized tools. Once the caulk is removed, it’s time to move on to cleaning the bathtub.

GE Advanced Silicone Caulk for Kitchen & Bathroom, White, 2.8 fl oz Tube, 1 Pack – 100% Waterproof Silicone Sealant, 5X Stronger Adhesion, Shrink & Crack Proof
100% Silicone Caulk Protection: This silicone caulk white provides ultimate waterproof protection, ensuring a reliable seal against water…
As an affiliate, we earn on qualifying purchases.
As an affiliate, we earn on qualifying purchases.
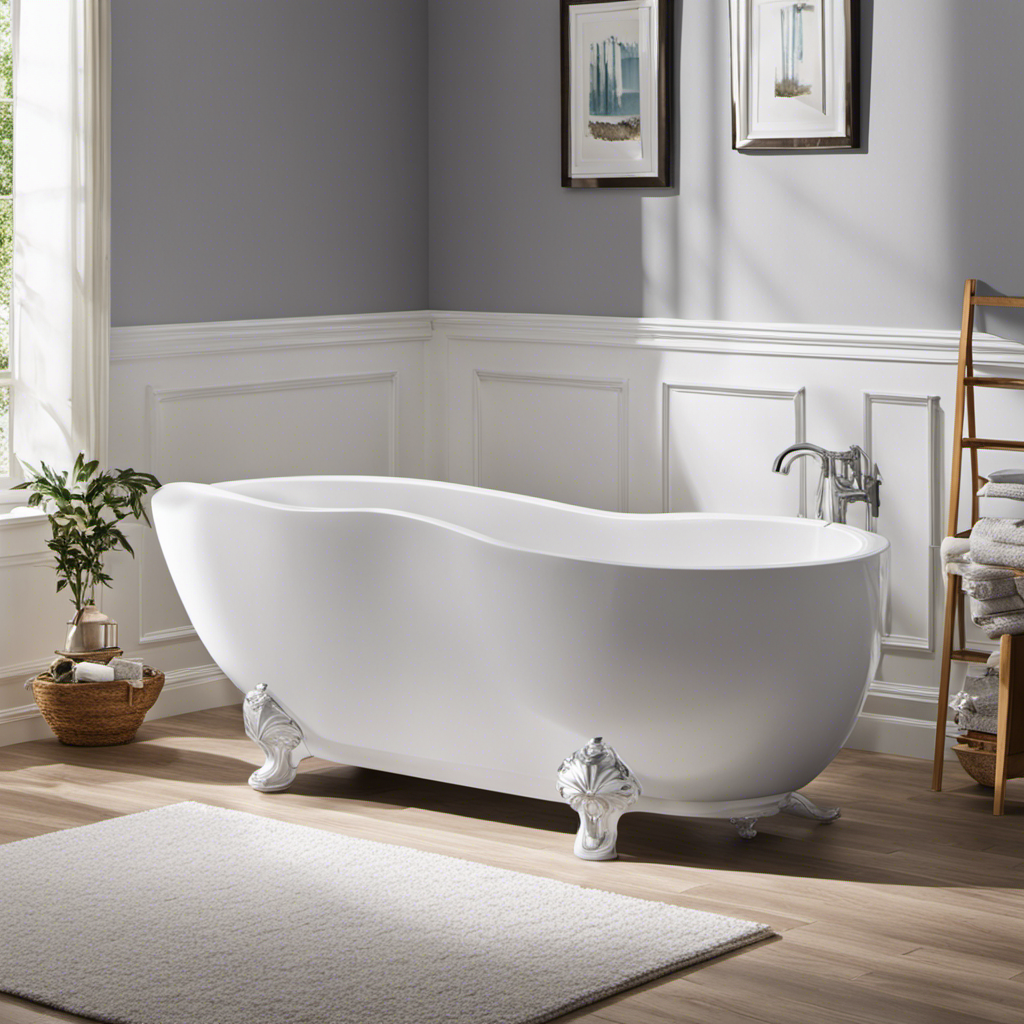
Cleaning the Bathtub
When it comes to cleaning your bathtub, there are a few key points to keep in mind.
First, you’ll need to remove any old caulk that may be present. This step is crucial in order to ensure a clean and smooth surface for the next steps.
Once the old caulk is removed, it’s important to choose the right cleaner for your bathtub material. Different materials require different cleaning agents, so make sure to do your research or consult a professional.
Lastly, to prevent future build-up, it’s essential to establish a regular cleaning routine and use preventative measures such as a daily shower spray or a bath mat to minimize soap scum and mildew growth.
Removing Old Caulk
First, grab a utility knife and carefully score along the edges of the old caulk to loosen it.
Here are some caulk removal techniques to help you with your bathroom renovation:
-
Use a caulk removal tool to scrape away the old caulk. This tool has a flat edge that can easily slide under the caulk and remove it without damaging the surface.
-
Apply a caulk remover gel or liquid to soften the caulk before removing it. This will make the caulk easier to scrape away.
-
Use a heat gun or hairdryer to heat the caulk. The heat will soften the caulk, making it easier to remove with a scraper.
-
Apply vinegar or a commercial caulk remover solution to the caulk and let it sit for a few hours. This will help dissolve the caulk, making it easier to remove.
Choosing the Right Cleaner
Now that you’ve successfully removed the old caulk from your bathtub, it’s time to choose the right cleaner to prepare the surface for recaulking. There are many cleaning products available, but it’s important to select the best one for the job. You can either opt for commercial cleaners or go for natural cleaning options.
To help you make the right choice, here’s a table comparing the two options:
| Commercial Cleaners | Natural Cleaning Options |
|---|---|
| Strong chemicals that effectively remove dirt and grime | Environmentally friendly and non-toxic |
| Available in various forms such as sprays, gels, or foams | Made from common household ingredients like vinegar, baking soda, or lemon juice |
| Can be more expensive | Cost-effective and budget-friendly |
| May have a strong odor | Typically have a pleasant scent or no scent at all |
Consider your preferences, budget, and any sensitivities or allergies you may have when selecting the best cleaning product for your bathtub.
Preventing Future Build-Up
To prevent future build-up, it’s important to regularly clean and maintain the surface of your tub. By taking these simple steps, you can ensure that your tub stays mold-free and in good condition for the long term:
-
Use a non-abrasive cleaner: Choose a cleaner specifically designed for tubs and showers. Avoid abrasive cleaners that can damage the surface of your tub.
-
Scrub regularly: Use a soft-bristled brush or sponge to scrub the tub’s surface at least once a week. This will help remove any soap scum or dirt that can lead to mold growth.
-
Dry thoroughly: After each use, wipe down the tub with a clean towel or squeegee to remove any remaining moisture. This will help prevent mold from forming.
-
Apply a mold-resistant sealant: Consider applying a mold-resistant sealant to the grout lines and caulk around your tub. This will provide an extra layer of protection against mold growth.

White Silicone Caulk Set-12oz Waterproof Silicone sealant,5 in 1 Caulk Tool with Caulk Remover Tool & Caulk Finishing Tool,Silicone Caulking Tool Kit of Bathroom Caulk, Shower Caulk, Bathtub Caulk
【All-Purpose Silicone Caulk】 This caulk is made of silicone with a smooth and uniform texture that does not…
As an affiliate, we earn on qualifying purchases.
As an affiliate, we earn on qualifying purchases.
Choosing the Right Caulk
When choosing the right caulk for your bathtub, it’s important to consider the type of material your bathtub is made of. There are different caulk types available, such as silicone, acrylic latex, and hybrid caulk.
Silicone caulk is a popular choice because it is durable and flexible, making it ideal for areas that experience a lot of movement.
Acrylic latex caulk is easy to apply and clean up, but it may not last as long as silicone.
Hybrid caulk combines the best features of silicone and acrylic latex, providing excellent adhesion and flexibility.
Additionally, consider the caulk colors available to match your bathtub or tile color.
Now that you’ve chosen the right caulk, let’s move on to applying the new caulk.
Applying New Caulk
After you’ve chosen the right caulk for your bathtub, it’s important to properly prepare the surface before applying it. Here’s how to apply new caulk in four simple steps:
-
Begin by cleaning the area thoroughly. Remove any old caulk, dirt, or grime using a caulk remover tool or a scraper. Wipe the surface clean with a damp cloth.
-
Next, choose the caulk color that matches your bathtub or bathroom tiles. This will ensure a seamless and visually appealing finish.
-
Load the caulk into a caulk gun and cut the tip at a 45-degree angle. Apply the caulk evenly along the joint or gap, making sure to fill it completely.
-
Use a caulk smoothing tool or a damp finger to smooth and shape the caulk. This will create a neat and professional-looking finish.
Once you have applied the caulk, you can move on to the next step of smoothing and shaping it for a perfect result.
Smoothing and Shaping the Caulk
Once you’ve applied the caulk, use a smoothing tool or your finger to shape it for a professional-looking finish.
Smoothing techniques are crucial to ensure that the caulk adheres properly and creates a watertight seal.
Start by gently running the smoothing tool or your finger along the caulk line, applying even pressure. This will help to fill any gaps or uneven spots and create a smooth, uniform surface.
Be sure to remove any excess caulk as you go along, wiping it away with a damp cloth. If you’re using your finger, keep it slightly damp to prevent sticking.
Experiment with different caulk shaping methods, such as using a wet fingertip or a rounded tool, to find the technique that works best for you.
Once you’ve smoothed and shaped the caulk, it’s time to let it dry and cure for the best results.
Drying and Curing the Caulk
Once you have smoothed and shaped the caulk, it’s time to let it dry and cure. The drying and curing process is important to ensure a strong and long-lasting seal in your bathtub.
Here are the steps to properly dry and cure the caulk:
-
Read the manufacturer’s instructions: Different caulk types have different curing times, so make sure to follow the instructions provided.
-
Allow sufficient curing time: Most caulk types require at least 24 hours to fully cure. During this time, avoid touching or disturbing the caulk.
-
Maintain proper ventilation: Good airflow helps the caulk dry and cure faster. Open windows or use fans to improve air circulation in the bathroom.
-
Test the caulk before use: Once the curing time has passed, lightly touch the caulk to ensure it is firm and fully cured before using the bathtub again.
Finishing Touches and Maintenance Tips
To ensure a polished finish and keep your tub in good condition, remember to regularly clean and inspect the caulk. Maintenance techniques are essential to prolong the lifespan of your caulk and avoid common mistakes. Here are some steps you can follow to maintain your caulk effectively:
| Maintenance Techniques | Avoiding Common Mistakes |
|---|---|
| Clean the caulk regularly | Avoid using harsh chemicals |
| Inspect for cracks or gaps | Don’t apply new caulk over old caulk |
| Remove any mold or mildew | Avoid excessive scrubbing |
| Reapply caulk as needed | Don’t forget to let the caulk dry |
Regularly cleaning the caulk with a mild cleaner and soft brush will prevent dirt and grime buildup. Inspect for any cracks or gaps and repair them promptly to prevent water leakage. Removing any mold or mildew using a mixture of bleach and water will keep your caulk looking fresh. Reapply caulk as needed to maintain a watertight seal. Remember to let the caulk dry completely before using the bathtub again. By following these maintenance techniques and avoiding common mistakes, your caulk will stay in optimal condition for a long time.
Frequently Asked Questions
Can I Use a Hairdryer to Speed up the Drying Process of the New Caulk?
Yes, you can use a hairdryer to speed up the drying process of the new caulk. It is an effective alternative to air drying and can help ensure a quicker and more efficient caulk application.
What Type of Caulk Should I Choose if My Bathtub Is Made of Acrylic?
When choosing caulk for your acrylic bathtub, opt for a silicone-based caulk. It provides flexibility and durability, preventing cracks. Apply it smoothly by following these tips: clean the surface, use a caulk gun, and smooth it with a wet finger.
Can I Use a Razor Blade to Remove the Old Caulk?
Yes, you can use a razor blade to remove the old caulk from your bathtub. However, it is important to prioritize safety and use caution. There are alternative methods for caulk removal as well.
How Often Do I Need to Re-Caulk My Bathtub?
Typically, caulk in a bathtub lasts around 5-10 years. Signs that it needs to be re-caulked include cracks, mold, or water leakage. Re-caulking involves removing old caulk, cleaning, and applying new caulk.
Is It Necessary to Wear Gloves While Applying the New Caulk?
It is necessary to wear gloves while applying the new caulk to protect your skin from the potentially harmful effects of the caulk. Gloves provide a barrier and ensure your safety during the process.
Conclusion
In conclusion, re-caulking your bathtub is a simple yet essential task that can greatly improve the appearance and functionality of your bathroom. By following the step-by-step guide outlined above, you can ensure that your bathtub remains watertight and free from mold or mildew.
Remember the old saying, ‘A stitch in time saves nine.’ Taking the time to re-caulk your bathtub now will save you from potential costly repairs in the future. So grab your caulking gun and get to work, your bathtub will thank you!