
Hey there!
Ever walked into your bathroom and been hit with that musty, moldy smell? Yeah, not the most pleasant experience. Well, fear not, because I’ve got just the solution for you.
In this article, I’m going to share my tried and tested method for re-caulking a moldy bathtub. I’ll guide you through assessing the extent of the mold damage, removing the old caulk, cleaning and prepping the bathtub surface, and applying new caulk.
Trust me, with a little know-how and some elbow grease, you’ll have a sparkling, mold-free bathtub in no time.
Let’s get started!
Key Takeaways
- Mold can release spores that cause respiratory issues and allergies, so it is important to address mold damage promptly.
- Wear protective gear like gloves and a mask when dealing with mold to minimize exposure.
- Proper ventilation, such as opening windows and using fans, can prevent mold from spreading and maintain a healthy bathroom.
- To re-caulk a moldy bathtub, remove the old caulk using a utility knife and caulk removal tool, clean and prepare the surface, and apply the new caulk using a caulk gun.

Gorilla 100% Silicone Waterproof Caulk, All‑Purpose Sealant, Mold & Mildew Resistant, Flexible Seal, White, 10 oz Cartridge (Pack of 1)
Indoor/Outdoor 100% Waterproof Caulk – Durable, long-lasting white silicone sealant for indoor and outdoor use; ideal for showers,…
As an affiliate, we earn on qualifying purchases.
As an affiliate, we earn on qualifying purchases.
Assessing the Extent of the Mold Damage
Before you start re-caulking, it’s important to assess the extent of the mold damage. As an experienced individual in dealing with moldy bathtubs, I understand the potential health risks associated with mold exposure.
Mold can release spores that can cause respiratory issues and allergies, so it’s crucial to address the problem promptly. When assessing the mold damage, I always make sure to wear protective gear, such as gloves and a mask, to minimize my own exposure.
Additionally, proper ventilation is key to prevent the mold from spreading further and to maintain a healthy bathroom environment. By opening windows and using fans, you can improve air circulation and reduce moisture, which creates the perfect conditions for mold growth.
Now that we understand the importance of assessing the mold damage, let’s move on to the next step: removing the old caulk.

ALLWAY CT31 3-in-1 Caulk Tool for Removal and Application
Multifunction 3-in-1 Caulk Tool: Comfortable soft-grip and made from strong engineering plastic
As an affiliate, we earn on qualifying purchases.
As an affiliate, we earn on qualifying purchases.
Removing the Old Caulk
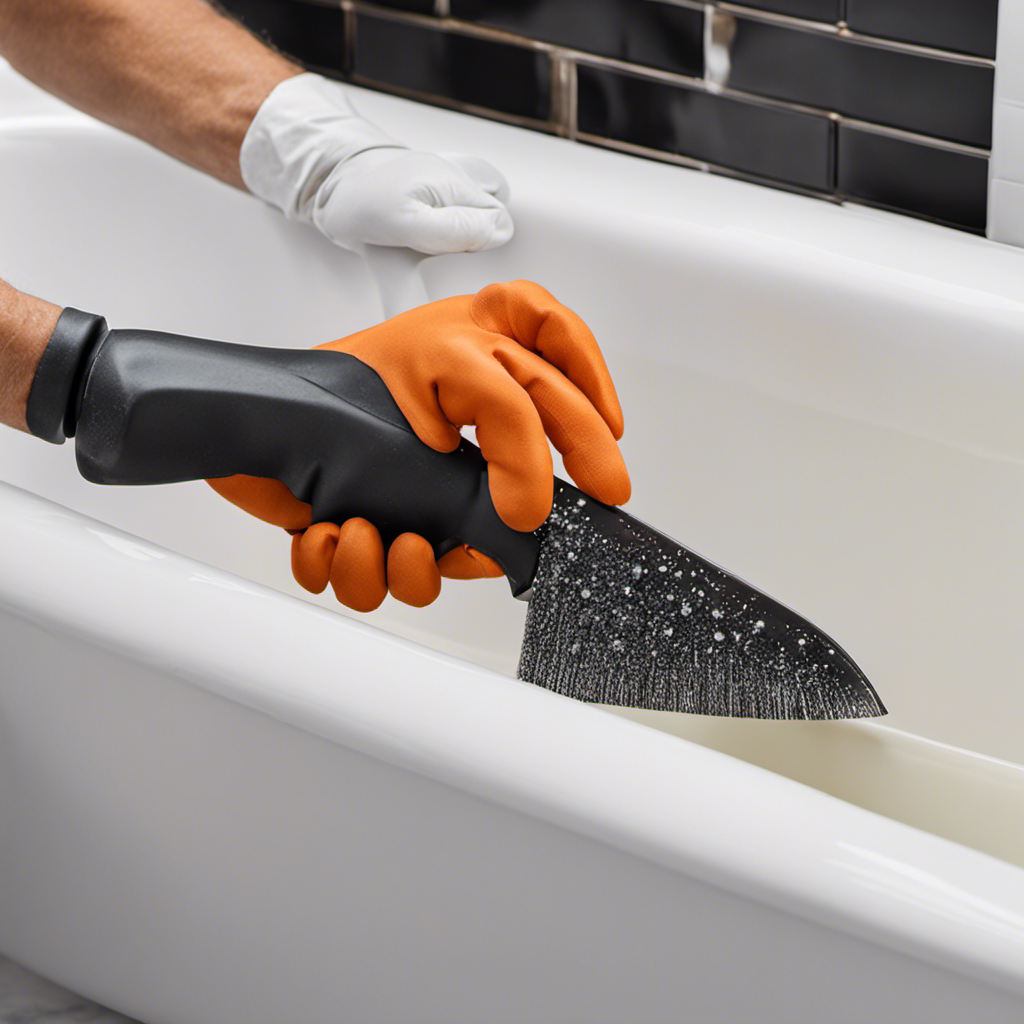
To start, you’ll want to take a utility knife and carefully slice along the edges of the existing caulk. This will help loosen the caulk and make it easier to remove. Once you’ve done that, you can use a caulk removal tool or a putty knife to scrape away the old caulk. Be sure to remove all of it to ensure a clean surface for the new caulk to adhere to.
Before you can apply the new caulk, it’s important to repair any cracks or damage in the bathtub. Use a patching compound to fill in any holes or gaps in the surface. Allow it to dry completely before moving on to the next step.
Now it’s time to choose the right caulk for your bathtub. There are a few factors to consider, such as the type of material your bathtub is made of and whether it’s a high-moisture area. Look for a caulk that is specifically designed for bathroom use and is mold and mildew resistant.
Once you have the right caulk, it’s time to apply it. Use a caulk gun to carefully squeeze a thin, even line of caulk along the edges of your bathtub. Smooth it out using a caulk smoothing tool or your finger. Allow the caulk to dry completely before using your bathtub again.
| Pros | Cons | Recommended Products |
|---|---|---|
| Mold and mildew resistant | Limited color options | Silicone caulk |
| Easy to apply | Longer drying time | Acrylic caulk |
| Durable | Hard to remove | Polyurethane caulk |
utility knife for caulking removal
As an affiliate, we earn on qualifying purchases.
As an affiliate, we earn on qualifying purchases.
Cleaning and Preparing the Bathtub Surface
Once you’ve finished removing the old caulk, it’s important to clean and prepare the surface of the bathtub. This step ensures that the new caulk adheres properly and provides a long-lasting seal.
Here are some essential cleaning techniques and caulk removal methods to follow:
- Start by thoroughly cleaning the surface with a mild detergent and warm water. This will remove any dirt, grime, or soap scum that may be present.
- Use a scrub brush or sponge to gently scrub the surface, paying special attention to the areas where the old caulk was removed.
- Rinse the surface thoroughly with clean water to remove any residue from the cleaning solution.
mold and mildew resistant caulk for bathrooms
As an affiliate, we earn on qualifying purchases.
As an affiliate, we earn on qualifying purchases.
Applying New Caulk
Make sure you’re wearing gloves and have a caulk gun ready before starting the process of applying new caulk.
Choosing the right caulk is crucial for a successful re-caulking job. There are different types of caulk available, such as silicone, acrylic, and latex. Consider the specific requirements of your bathtub, such as water resistance and flexibility, when making your choice.
Once you have the right caulk, follow these tips for a smooth application:
-
Prepare the surface by removing the old caulk and cleaning the area thoroughly.
-
Cut the tip of the caulk tube at a 45-degree angle.
-
Apply a thin and even bead of caulk along the joint, using steady pressure on the caulk gun.
-
Smooth the caulk with a caulk smoothing tool or your fingertip dipped in water.
Proper Maintenance to Prevent Future Mold Growth
Proper maintenance is essential in preventing future mold growth. Regularly cleaning and ventilating the bathroom can help keep it clean and dry. Mold thrives in damp and poorly ventilated areas, so taking proactive steps is crucial. Here are some effective cleaning products and long-term mold prevention strategies that I have found helpful:
- Use a bleach-based cleaner or a mixture of vinegar and water to kill existing mold and prevent regrowth.
- Clean bathroom surfaces regularly, especially areas prone to moisture buildup like shower curtains, grout lines, and around the bathtub.
- Invest in a good quality bathroom fan or dehumidifier to improve ventilation and reduce humidity levels, discouraging mold growth.
Conclusion
In conclusion, re-caulking a moldy bathtub is not only necessary for maintaining a clean and healthy bathroom, but also for preventing future mold growth.
By assessing the extent of the mold damage, removing the old caulk, cleaning and preparing the bathtub surface, and applying new caulk, you can effectively restore your bathtub to its former glory.
Remember, proper maintenance is key in keeping mold at bay. So, don’t let moldy caulk dampen your bathing experience, take action and enjoy a mold-free bathtub once again.