Hey there!
Have you ever noticed water seeping through the edges of your bathtub? It can be quite frustrating, right?
Well, fear not, because I’ve got just the solution for you. In this article, I’m going to show you how to recaulk your bathtub using a step-by-step video guide.
With just a few simple tools and materials, you’ll be able to remove the old caulk, prepare the surface, and apply new caulk like a pro.
Get ready to say goodbye to those pesky leaks and hello to a perfectly sealed bathtub!
Key Takeaways
- Regular recaulking prevents water damage and maintains a clean bathroom.
- Recaulking seals gaps and cracks, preventing costly repairs.
- It prevents the accumulation of mold and mildew in the corners and edges.
- Applying a caulk specifically designed for bathrooms and mold-resistant ensures a perfectly sealed bathtub.
Top picks for "recaulk bathtub video"
Open Amazon search results for this keyword.
As an affiliate, we earn on qualifying purchases.
The Importance of Recaulking a Bathtub
It’s crucial to recaulk your bathtub regularly to prevent water damage and maintain a clean and hygienic bathroom. The benefits of recaulking are numerous.
First, it helps to seal any gaps or cracks in the caulk, preventing water from seeping into the walls or floors, which can lead to costly repairs.
Additionally, recaulking keeps your bathroom looking fresh and clean, as it prevents the accumulation of mold and mildew in the corners and edges of the bathtub.
To ensure a successful recaulking project, here are a few tips:
- Start by removing the old caulk using a caulk remover tool or a putty knife.
- Clean the surface thoroughly.
- Make sure to choose a high-quality caulk that is suitable for bathrooms.
Remember to allow the caulk to dry completely before using the bathtub again.
Tools and Materials Needed for Bathtub Recaulking
To recaulk your bathtub, you’ll need a caulking gun, silicone caulk, a utility knife, a scraper, and a clean cloth.
When it comes to choosing the best caulk brands for bathtub recaulking, there are a few options to consider. Some popular brands include DAP, GE, and 3M. These brands are known for their high-quality silicone caulk that is specifically designed for bathroom use.
Now, let’s talk about achieving a professional-looking finish. Before you start, make sure to thoroughly clean the area and remove any old caulk using a scraper or utility knife.
Apply the new caulk using a caulking gun, making sure to maintain even pressure and a steady hand. Smooth out the caulk with a clean cloth or your finger for a seamless finish. Remember, practice makes perfect, so don’t be discouraged if it takes a few tries to get it right.
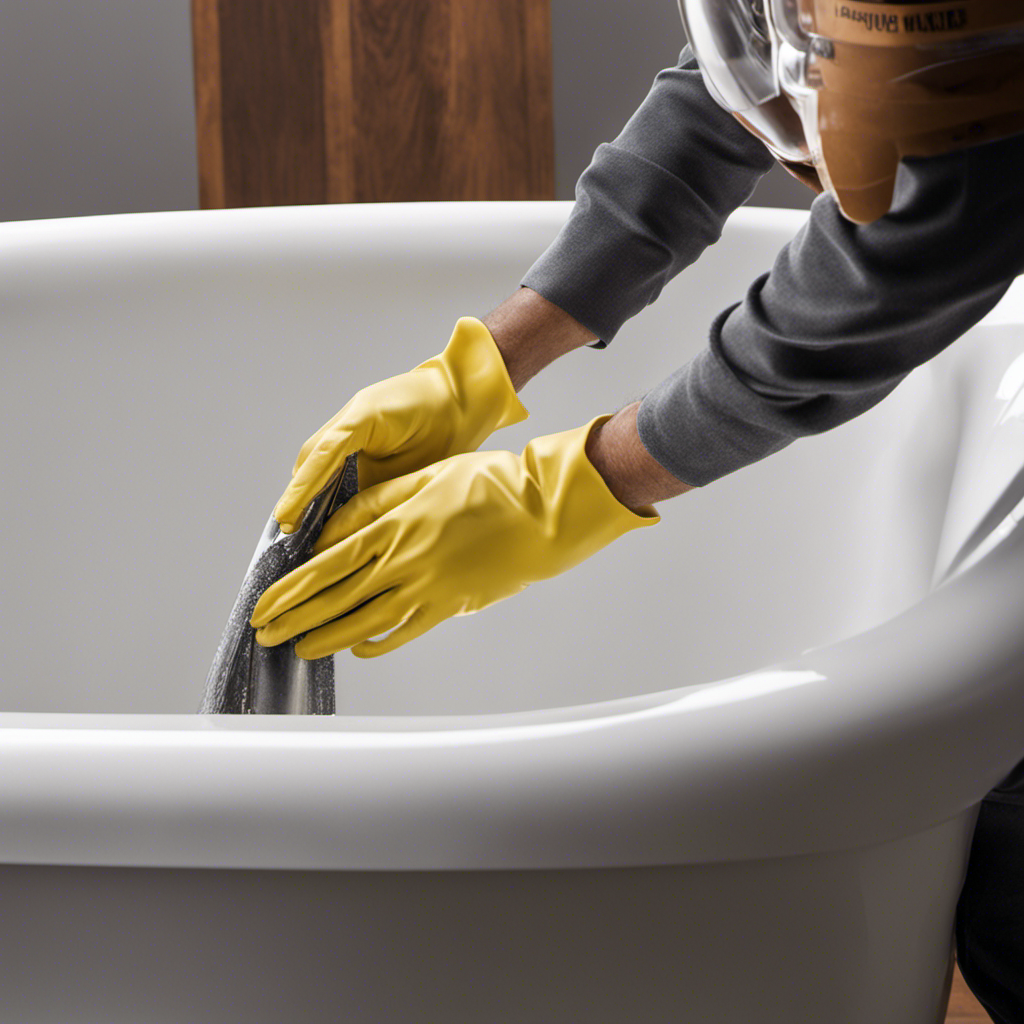
Step-by-Step Guide to Remove Old Caulk
Before you start removing old caulk, gather the necessary tools such as a scraper, utility knife, and clean cloth.
Here are some important steps to follow when removing old caulk from your bathtub:
- Use a scraper to gently lift the caulk from the surface. Be careful not to damage the surrounding tiles or bathtub.
- If there is any residue left after scraping, use a utility knife to carefully remove it. Make sure to work slowly and avoid scratching the surface.
- After removing the caulk and residue, clean the area with a clean cloth and mild soap to ensure a smooth surface for recaulking.
- When choosing a caulk type for your bathtub, consider factors such as durability, flexibility, and resistance to water and mold.
Now that you have successfully removed the old caulk, let’s move on to preparing the bathtub surface for recaulking.
How to Prepare the Bathtub Surface for Recaulking
Now that you’ve finished removing the old caulk, start by thoroughly cleaning the bathtub surface with a mild soap and clean cloth. This step is crucial in preparing the bathtub for recaulking. Cleaning the surface ensures that there are no remnants of the old caulk or any other debris that could interfere with the adhesion of the new caulk.
Begin by wetting the clean cloth with water and adding a small amount of mild soap. Gently scrub the entire bathtub surface, making sure to pay attention to areas where the old caulk was removed. Rinse the bathtub thoroughly with water to remove any soap residue.
Once the surface is clean and dry, it is now ready for the next step of recaulking.
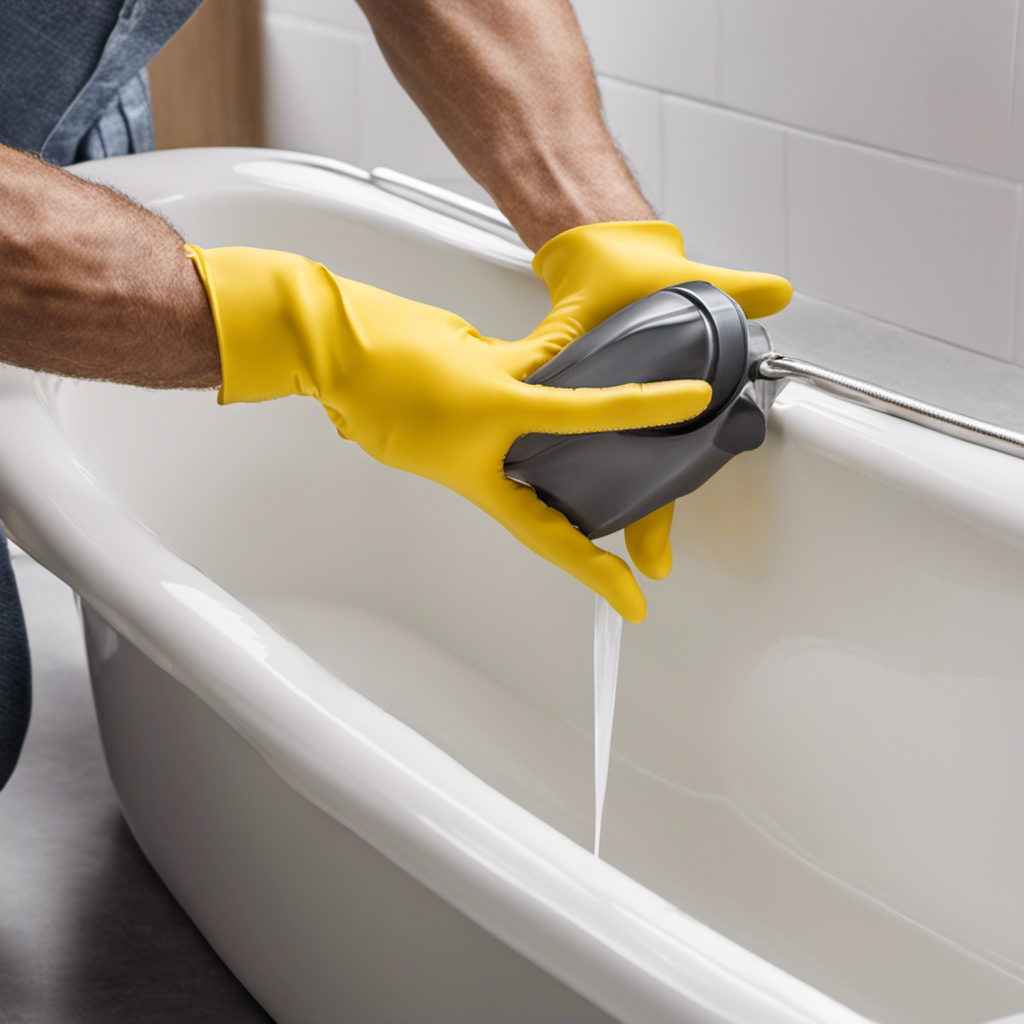
Applying New Caulk and Finishing Touches for a Perfectly Sealed Bathtub
Once the surface is clean and dry, you can start applying the new caulk for a perfectly sealed bathtub. Before you begin, it’s important to know the common mistakes to avoid when recaulking a bathtub.
Here are some tips for achieving a professional-looking caulk job:
-
Use the right caulk: Make sure to choose a caulk that is specifically designed for use in bathrooms and is mold-resistant.
-
Prepare the caulk gun: Cut the tip of the caulk tube at a 45-degree angle to create a small opening for precise application.
-
Apply a smooth bead: Hold the caulk gun at a 45-degree angle and apply a consistent and even bead of caulk along the joint.
-
Smooth the caulk: Use a caulk smoothing tool or your finger dipped in water to smooth the caulk and remove any excess.
Conclusion
After following these simple steps, recaulking a bathtub has never been easier.
By removing old caulk and properly preparing the surface, you can ensure a perfectly sealed bathtub that will last for years to come.
Don’t let a leaky bathtub ruin your day; take action and recaulk today!
Remember, a well-sealed bathtub is like a fortress, protecting your bathroom from the invading forces of water damage.
So grab your caulking gun and go forth, sealing your tub with confidence and skill!