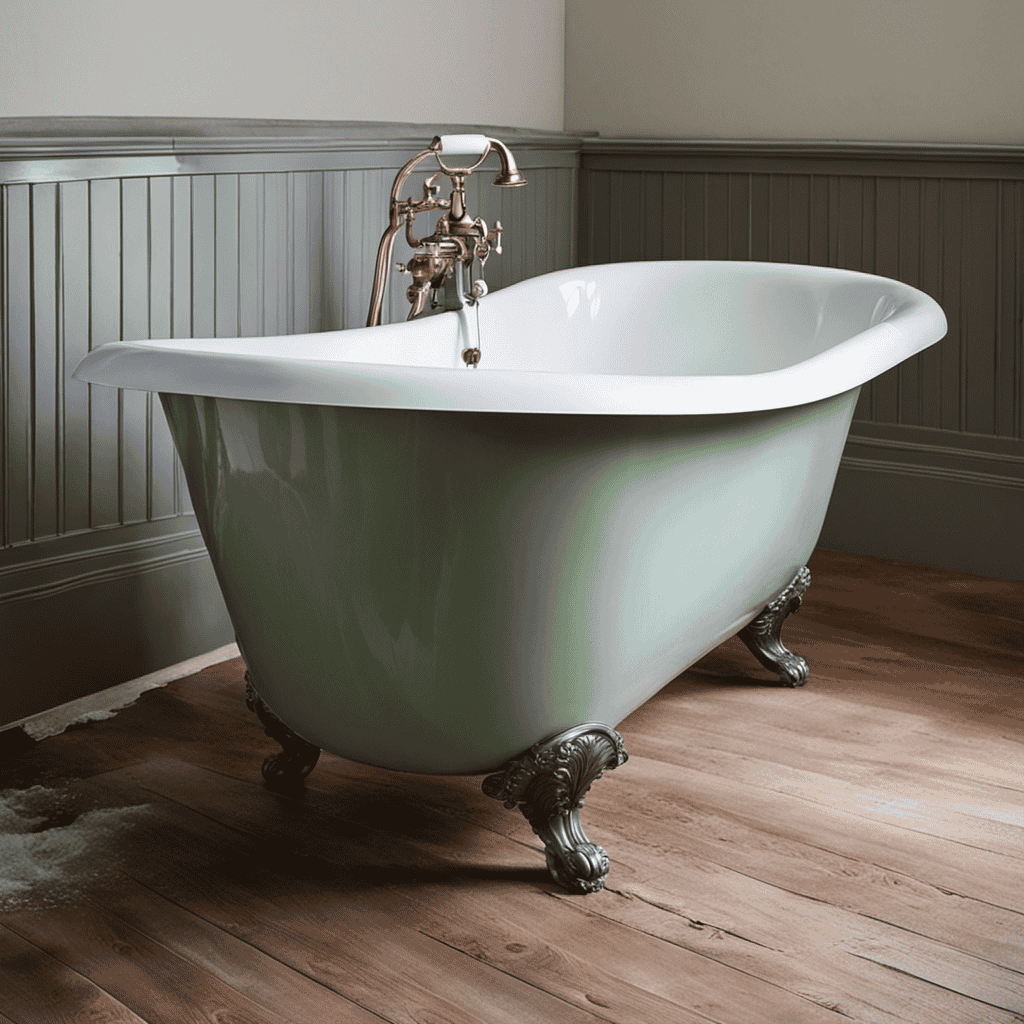
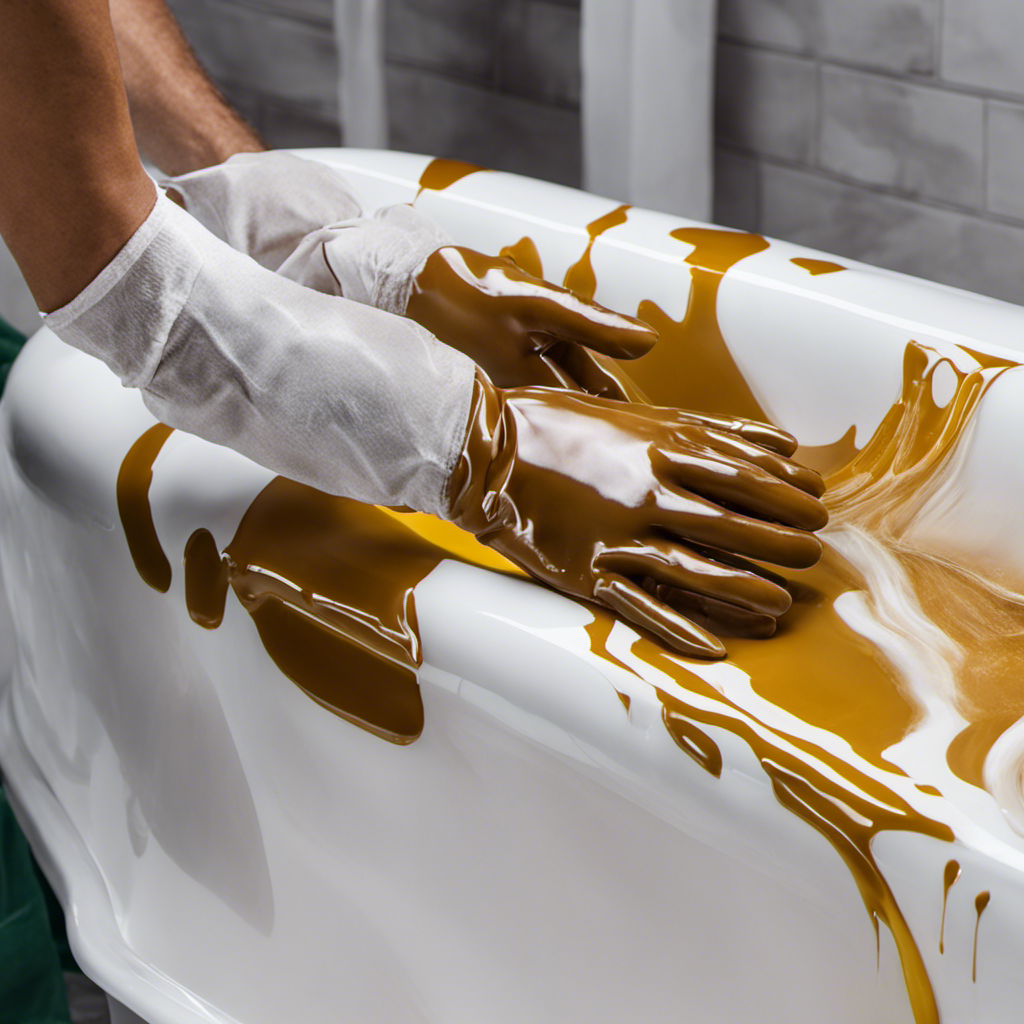
So, you’ve got a worn-out, dull cast iron bathtub that’s seen better days. Don’t worry, I’ve got just the solution for you.
In this article, I’m going to show you how to refinish that old bathtub and bring it back to life. With a few essential tools and materials, a little bit of elbow grease, and some patience, you’ll have a beautifully restored bathtub that will make your bathroom shine.
Let’s dive in and get started!
Key Takeaways
- Choose a high-quality bathtub refinishing kit that includes a primer, topcoat, and other supplies.
- Thoroughly clean the bathtub and remove any old paint or coatings.
- Apply thin, even coats of primer and topcoat, allowing for proper drying time between coats.
- Follow the recommended curing time and use gentle, non-abrasive cleaners to maintain the refinished bathtub.
Gathering the Necessary Tools and Materials
You’ll need to gather all the tools and materials required for refinishing your cast iron bathtub. Choosing the right refinishing products is crucial to achieving a professional and long-lasting result.
Firstly, you’ll need a high-quality bathtub refinishing kit, which typically includes a primer, topcoat, and other necessary supplies. Make sure to read the instructions carefully and follow them precisely.
As for removing old paint or coatings, there are a few tips to keep in mind. Start by cleaning the bathtub thoroughly with a strong detergent and scrub brush to remove any dirt or grime. Then, use a paint stripper or chemical remover specifically designed for cast iron surfaces. Apply the remover following the manufacturer’s instructions and use a scraper to gently remove the old paint or coatings.
Preparing the Bathtub Surface for Refinishing
Before applying any products, it’s important to thoroughly clean the surface of the bathtub. The cleaning process is crucial to ensure proper adhesion of the refinishing materials.
Start by removing any old paint or coatings on the bathtub. You can use a paint stripper or a chemical paint remover to do this. Apply the product according to the manufacturer’s instructions and let it sit for the recommended time. Then, use a scraper or a putty knife to gently scrape off the old paint. Be careful not to damage the surface of the bathtub.
Once all the old paint is removed, clean the bathtub with a mild abrasive cleaner and a sponge or a soft cloth. This will help remove any dirt, grime, or soap scum. After cleaning, rinse the surface thoroughly with water and allow it to dry completely.
Now, you’re ready to move on to the next step: applying the primer coat.
Applying the Primer Coat
Once the surface is completely dry, it’s time to apply the primer coat. Choosing the right primer is crucial for achieving a smooth and durable finish on your cast iron bathtub. Look for a high-quality primer specifically designed for use on metal surfaces. This will ensure proper adhesion and long-lasting results.
When it comes to application techniques, it’s important to follow the manufacturer’s instructions carefully. Here are some general guidelines to keep in mind:
- Clean the surface: Remove any dust, dirt, or grease from the bathtub before applying the primer.
- Use a brush or roller: Select a brush or roller that is suitable for the type of primer you’re using.
- Apply thin, even coats: Start from one end of the tub and work your way to the other, applying thin, even coats of primer.
- Allow proper drying time: Follow the recommended drying time before applying additional coats or starting the refinishing process.
Applying the Top Coat and Finishing Touches
To achieve a smooth and polished finish, it’s important to carefully apply the top coat and add the finishing touches.
When it comes to choosing the right color for your refinished bathtub, consider the overall aesthetic of your bathroom and your personal preferences. Opt for a color that complements the rest of your bathroom decor.
Now, let’s talk about tips for a smooth application of the top coat. First, make sure the bathtub is clean and dry before you start. Use a high-quality brush or roller to apply the top coat evenly and smoothly. Work in small sections, overlapping each stroke for a seamless finish. Take your time and avoid rushing the process.
Once the top coat is applied, add the finishing touches, such as sanding any imperfections and buffing the surface for a glossy shine.
Now, let’s move on to properly curing and maintaining the refinished bathtub.
Properly Curing and Maintaining the Refinished Bathtub
To properly cure and maintain your newly refinished bathtub, it’s important to follow the recommended curing time and avoid using any abrasive cleaners. This will ensure the longevity of the new finish and prevent any damage.
Here are three essential tips for caring for your refinished bathtub and preventing damage to the new finish:
-
Allow sufficient curing time: After the bathtub has been refinished, it is crucial to let it cure for the recommended time period. This will allow the new finish to fully harden and adhere properly to the surface.
-
Use gentle, non-abrasive cleaners: To clean your refinished bathtub, opt for mild, non-abrasive cleaners. Abrasive scrubbers or harsh chemicals can scratch or dull the finish, compromising its appearance and durability.
-
Avoid using suction cup mats or adhesive decals: While these accessories may seem convenient, they can cause the new finish to peel or chip. Instead, use a non-slip bath mat with suction cups on the outside of the tub.
Conclusion
In conclusion, refinishing a cast iron bathtub can be a rewarding and cost-effective project. By following the steps outlined in this article, you can transform your old and worn bathtub into a beautiful centerpiece in your bathroom.
Just like a caterpillar emerges from its cocoon as a vibrant butterfly, your bathtub can undergo a similar transformation, bringing new life and beauty to your space.
So gather your tools, roll up your sleeves, and get ready to create a stunning masterpiece that will bring joy and satisfaction for years to come.


