Imagine stepping into a sparkling, rejuvenated bathtub that looks as good as new. In this article, I’ll guide you through the process of reglazing a bathtub, transforming it from worn and dull to fresh and beautiful.
As a bathroom renovation specialist, I understand the importance of providing detailed and accurate information. I’ll explain each step, from preparing the surface to applying the reglazing solution, all while using clear language and avoiding unnecessary jargon.
Get ready to give your bathtub the makeover it deserves.
Key Takeaways
- Thoroughly clean the bathtub surface using a non-abrasive cleaner and a soft sponge or cloth.
- Properly prepare the surface by sanding, smoothing out chips, and applying primer for better adhesion.
- Choose the right chemicals for removing the old finish based on safety and environmental considerations.
- Utilize effective cleaning methods such as baking soda and hydrogen peroxide, mild dish soap and warm water, or vinegar and water to clean the bathtub surface.

Rust-Oleum 384165 Tub And Tile Refinishing 2-Part Kit, 32 oz, Gloss White
Prepare and paint surface the same day with a tough, with tub and tile’s 2-part epoxy acrylic formula…
As an affiliate, we earn on qualifying purchases.
As an affiliate, we earn on qualifying purchases.
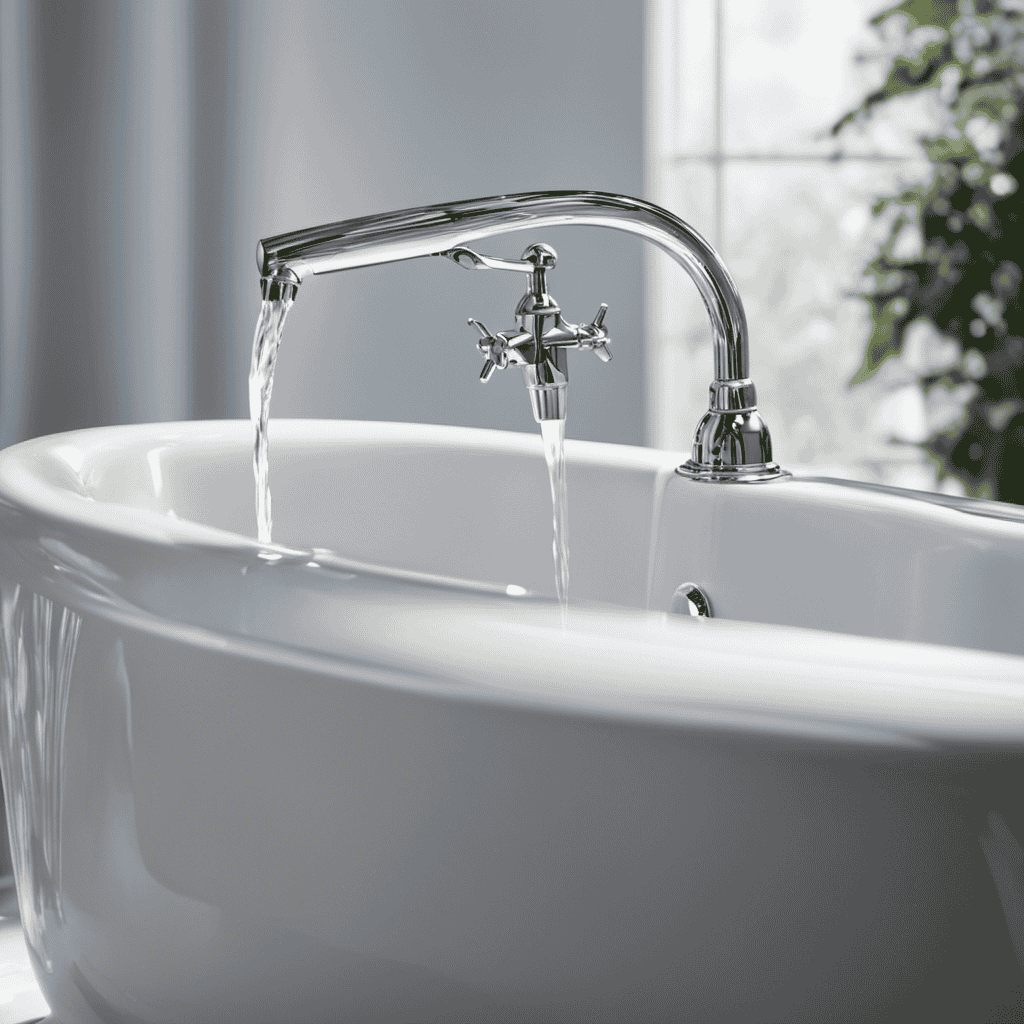
Preparing the Bathtub Surface
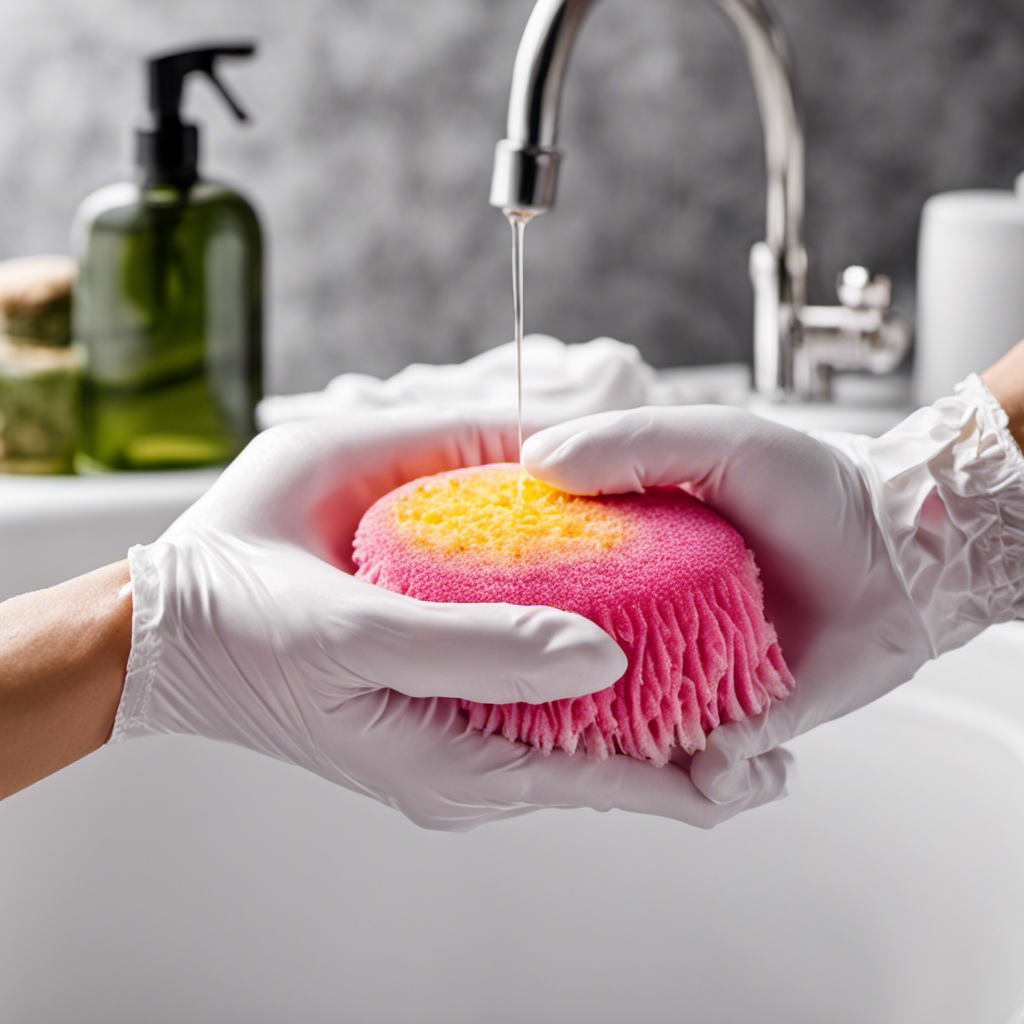
Now, you’ll need to start by thoroughly cleaning the bathtub surface before you can begin the reglazing process. Proper surface cleaning is crucial to ensure that the reglazing material adheres properly and provides a smooth and durable finish.
Begin by removing any debris, soap scum, or residue using a non-abrasive cleaner and a soft sponge or cloth. Make sure to rinse the bathtub thoroughly with clean water to remove any cleaning product residue.
After cleaning, it’s important to address any chips, cracks, or rough areas on the surface. Use a sandpaper or abrasive pad to gently smooth out these imperfections.
Once the bathtub is clean and smooth, you can move on to the priming techniques, which will help the reglazing material adhere better and ensure a long-lasting finish.
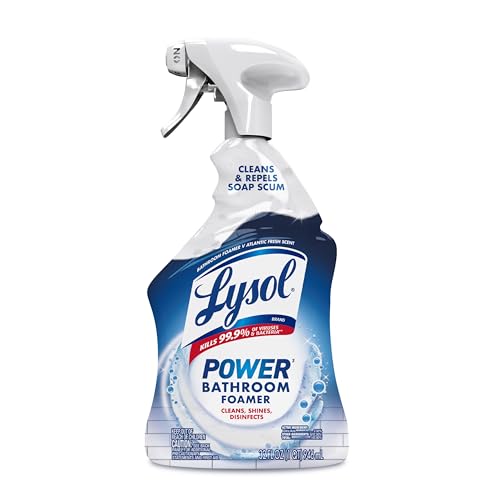
Lysol Power Foaming Bathroom Cleaner, Multipurpose Cleaner for Showers, Bathtubs, Sinks, Disinfectant Spray Kills 99.9% of Germs, Zero Bleach Cleaning Spray, 32 Oz.
BATHROOM SPRAY: Add the power of Lysol to your bathroom cleaning supplies with our Power Bathroom Foamer; eliminates…
As an affiliate, we earn on qualifying purchases.
As an affiliate, we earn on qualifying purchases.
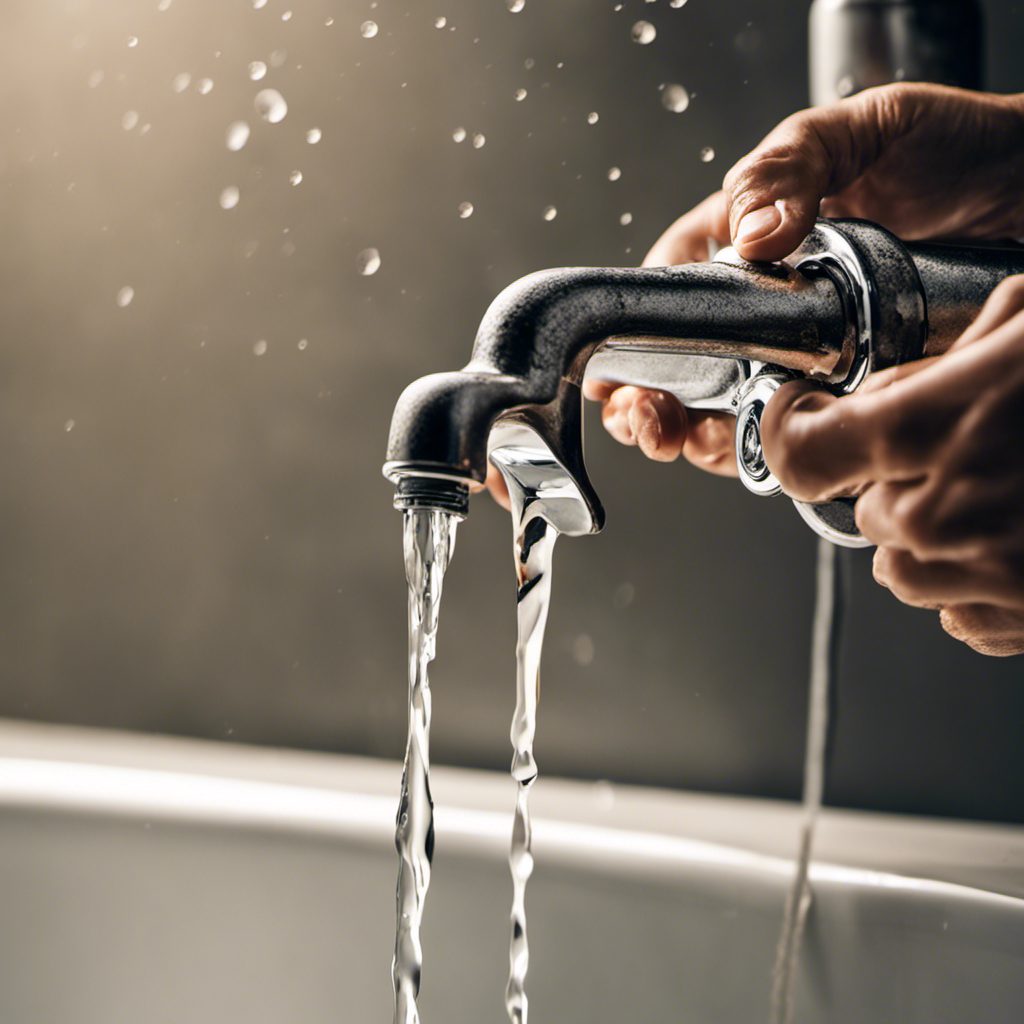
Cleaning and Removing Old Finish
When it comes to reglazing a bathtub, proper surface preparation is essential. There are various techniques that can be used to prepare the bathtub surface, such as sanding, etching, or using a chemical deglosser.
Additionally, it’s important to use the right chemicals for removing the old finish, as different types of finishes require different products.
Lastly, the best cleaning methods include using a non-abrasive cleaner and scrubbing the surface thoroughly to remove any dirt, grime, or soap scum before applying the new finish.
Surface Preparation Techniques
Before starting the reglazing process, it’s important to properly prepare the surface of the bathtub.
Surface preparation techniques are crucial for ensuring a successful reglazing project.
First, thoroughly clean the bathtub using a mild abrasive cleaner and scrubbing brush to remove any dirt, grime, or soap scum. Rinse the surface thoroughly and allow it to dry completely.
Next, use fine-grit sandpaper to lightly sand the entire bathtub to create a rough surface for the new finish to adhere to. Be sure to wear a dust mask and protective eyewear to prevent inhalation of dust particles.
After sanding, wipe down the bathtub with a tack cloth to remove any dust residue.
Lastly, apply painter’s tape to protect any areas you don’t want to be reglazed, such as the surrounding tiles or fixtures.
Following these surface preparation techniques will help to ensure a smooth and long-lasting reglazing finish.
Chemicals for Removing Finish
It’s essential to choose the right chemicals for removing the old finish from the bathtub surface. When reglazing a bathtub, it’s important to prioritize chemical safety precautions and consider eco-friendly alternatives. Here are some commonly used chemicals for removing the old finish and their eco-friendly alternatives:
| Chemicals | Eco-Friendly Alternatives | Safety Precautions |
|---|---|---|
| Paint stripper | Soy-based paint stripper | Wear gloves and eye protection, work in a well-ventilated area |
| Acid etching solution | Citric acid or vinegar | Avoid direct contact with skin or eyes, use in a well-ventilated area |
| Abrasive cleaners | Baking soda or hydrogen peroxide | Avoid inhalation and skin contact, use gloves and goggles |
Best Cleaning Methods
The best way to clean the bathtub surface is by using a mixture of baking soda and hydrogen peroxide. This combination is effective in removing dirt, grime, and soap scum without damaging the bathtub’s finish.
Here are some other cleaning methods that professionals recommend for maintaining a clean and shiny bathtub:
- Use a mild dish soap and warm water to scrub the surface gently.
- For stubborn stains, make a paste using baking soda and water, apply it to the stain, and let it sit for a few minutes before scrubbing.
- Vinegar is also a great natural cleaner. Mix equal parts vinegar and water, spray it onto the surface, and wipe it clean.
- Avoid abrasive cleaners or scrub brushes that can scratch the surface.
While these cleaning methods work well for regular maintenance, it’s important to note that for deep stains or damaged finishes, professional reglazing services may be required. These experts have the knowledge and tools to restore your bathtub to its original shine, using the best cleaning products and techniques.

4 Pack Hand Sanding Sponge Set -120 220 320 400 Grit- Coarse Medium Fine Grit Sanding Block, Sander Sponges for Wood-Working Drywall Metal, Washable and Reusable Sponge for Rust Removal Polishing
Assorted Grit Sanding Blocks – This set includes 4 sponge sanding blocks (4 x 2.6 x 0.7 inches)…
As an affiliate, we earn on qualifying purchases.
As an affiliate, we earn on qualifying purchases.
Repairing Any Damaged Areas
When reglazing a bathtub, it is important to address any cracks and chips in the surface before proceeding. To fill these damaged areas, start by cleaning them thoroughly and then apply an epoxy filler specifically designed for bathtub repairs. Allow the filler to dry completely before moving on to the next step.
Additionally, sanding rough surfaces is crucial for achieving a smooth and even finish. Use a fine-grit sandpaper or a sanding block to gently sand the entire bathtub surface, focusing on any areas that feel rough or uneven. This will create a clean and smooth surface for the reglazing process.
Filling Cracks and Chips
To fill the cracks and chips in your bathtub, you’ll need to start by cleaning the damaged areas with a mild detergent. This will ensure that the surface is free from dirt, grime, and any other substances that could affect the adhesion of the filler material.
Once the area is clean and dry, you can proceed with filling the cracks and chips. Here are some important steps to follow:
- Apply a bathtub filler or epoxy resin to the damaged areas.
- Smooth out the filler material using a putty knife or sandpaper.
- Allow the filler to dry completely before proceeding to the next step.
- Sand the filled areas to create a smooth and even surface.
Filling cracks and chips is an essential part of bathtub refinishing techniques. By properly addressing these imperfections, you can ensure a high-quality and long-lasting reglazing result.
Now that the cracks and chips have been filled, let’s move on to sanding rough surfaces.
Sanding Rough Surfaces
After filling any cracks or chips in the bathtub, the next step in reglazing is to sand the rough surfaces to create a smooth and even finish. Proper sanding techniques and selecting the right sandpaper are essential for achieving a professional-looking result.
When sanding the bathtub, it is important to use a fine-grit sandpaper, such as 220 or 320 grit, to avoid damaging the surface. Start by wetting the bathtub with water and then gently sand the rough areas in a circular motion. Be sure to remove any loose debris or old paint before proceeding.
To help you better understand the sanding process, here is a table summarizing the key points:
| Step | Sanding Technique | Sandpaper Grit |
|---|---|---|
| 1 | Wet sanding | 220 or 320 |
| 2 | Circular motion | |
| 3 | Remove debris |
Remember to take your time and be thorough when sanding the bathtub. This will ensure a smooth and flawless surface for the reglazing process.

Tub Cast Roll On Bathtub Refinishing Kit by Ekopel – Primer + Top Coat Included – DIY Bathtub & Tile Reglazing Kit for Porcelain, Fiberglass & Cast Iron – Bright White Gloss, Low Odor, Made in USA (Standard Tub)
TUB CAST ROLL ON – PREP IS THE PROJECT – Tub Cast Roll On delivers best results when…
As an affiliate, we earn on qualifying purchases.
As an affiliate, we earn on qualifying purchases.
Applying Masking Tape and Drop Cloths
Make sure you’ve got your masking tape and drop cloths ready to protect the surrounding areas before you begin reglazing the bathtub. This step is crucial in preventing any accidental spills or splatters that could damage your bathroom fixtures or flooring.
Here are some tips for beginners to ensure a successful reglazing process:
- Start by thoroughly cleaning the bathtub surface to remove any dirt, grime, or soap scum. This will help the new glaze adhere better.
- Apply masking tape along the edges of the bathtub to create clean lines and prevent any overspray onto surrounding areas.
- Lay drop cloths or plastic sheets on the floor and other nearby surfaces to catch any drips or spills during the reglazing process.
- Use a high-quality masking tape that is specifically designed for painting or refinishing applications to ensure it adheres well and doesn’t leave any residue behind.
Common mistakes to avoid include rushing through the preparation process and not properly securing the drop cloths, which can result in messy clean-up or damage to the surrounding areas. Taking the time to properly apply masking tape and lay drop cloths will make the reglazing process smoother and protect your bathroom from any unnecessary damage.
Mixing and Preparing the Reglazing Solution
Now that you’ve thoroughly cleaned the bathtub surface, it’s time to mix and prepare the reglazing solution.
To ensure a successful reglazing process, it is crucial to follow the correct mixing techniques.
First, gather all the necessary materials, including the reglazing solution, catalyst, and a clean mixing container.
Carefully read the instructions provided by the manufacturer to determine the correct ratio of solution to catalyst.
Pour the required amount of reglazing solution into the container, followed by the catalyst.
Use a stir stick or mixing paddle to blend the two components together thoroughly.
Common mistakes to avoid during this step include using inaccurate measurements or failing to mix the solution properly, resulting in an uneven finish.
Take your time and ensure the solution is mixed evenly to achieve the best possible outcome.
Applying the Reglazing Solution to the Bathtub
Once the reglazing solution has been prepared, it’s crucial to apply it evenly across the surface for best results. Here are some tips for a successful reglazing application:
- Start at one end of the bathtub and work your way towards the other end, ensuring that the solution is spread evenly.
- Use a high-quality brush or roller to apply the reglazing solution, making sure to cover all areas, including corners and edges.
- Apply the solution in thin, even coats to prevent drips and bubbles from forming.
- Allow each coat to dry completely before applying the next one, following the manufacturer’s instructions for drying times.
By following these tips, you can achieve a smooth and professional finish when reglazing your bathtub.
Once the reglazing process is complete, it’s important to move on to the next step: curing and drying the reglazed bathtub.
Curing and Drying the Reglazed Bathtub
After applying the reglazing solution, it’s important to allow the bathtub to cure and dry completely for optimal results.
Caring for a reglazed bathtub involves taking certain precautions to prevent future damage. Once the reglazing process is complete, it is recommended to avoid using harsh chemicals or abrasive cleaners on the surface. Instead, use a non-abrasive cleaner and a soft sponge or cloth to clean the bathtub.
Regular cleaning and maintenance will help to keep the reglazed surface looking new for years to come. Additionally, it is important to avoid placing heavy objects or sharp items on the surface to prevent any scratches or chips.
By following these care instructions, you can ensure the longevity of your reglazed bathtub and enjoy its renewed appearance.
Now, let’s move on to the next step of the process, which involves removing the masking tape and cleanup.
Removing Masking Tape and Cleanup
To remove the masking tape and complete the cleanup, make sure to gently peel off the tape from the edges and use a damp cloth to wipe away any residue. Cleaning techniques are crucial in ensuring a successful reglazing process.
After removing the tape, it’s important to thoroughly clean the bathtub to remove any dust or debris. Here are some post reglazing care tips:
- Use non-abrasive cleaners: Avoid harsh chemicals or abrasive cleaners that can damage the reglazed surface.
- Regular cleaning: Clean the reglazed bathtub regularly using mild soap and water to maintain its shine and durability.
- Avoid abrasive tools: Do not use abrasive scrub brushes or scouring pads, as they can scratch the reglazed surface.
- Handle with care: Be cautious with heavy objects or sharp tools that can cause chips or scratches on the reglazed bathtub.
Following these cleaning techniques and post reglazing care tips will help keep your bathtub looking great for years to come.
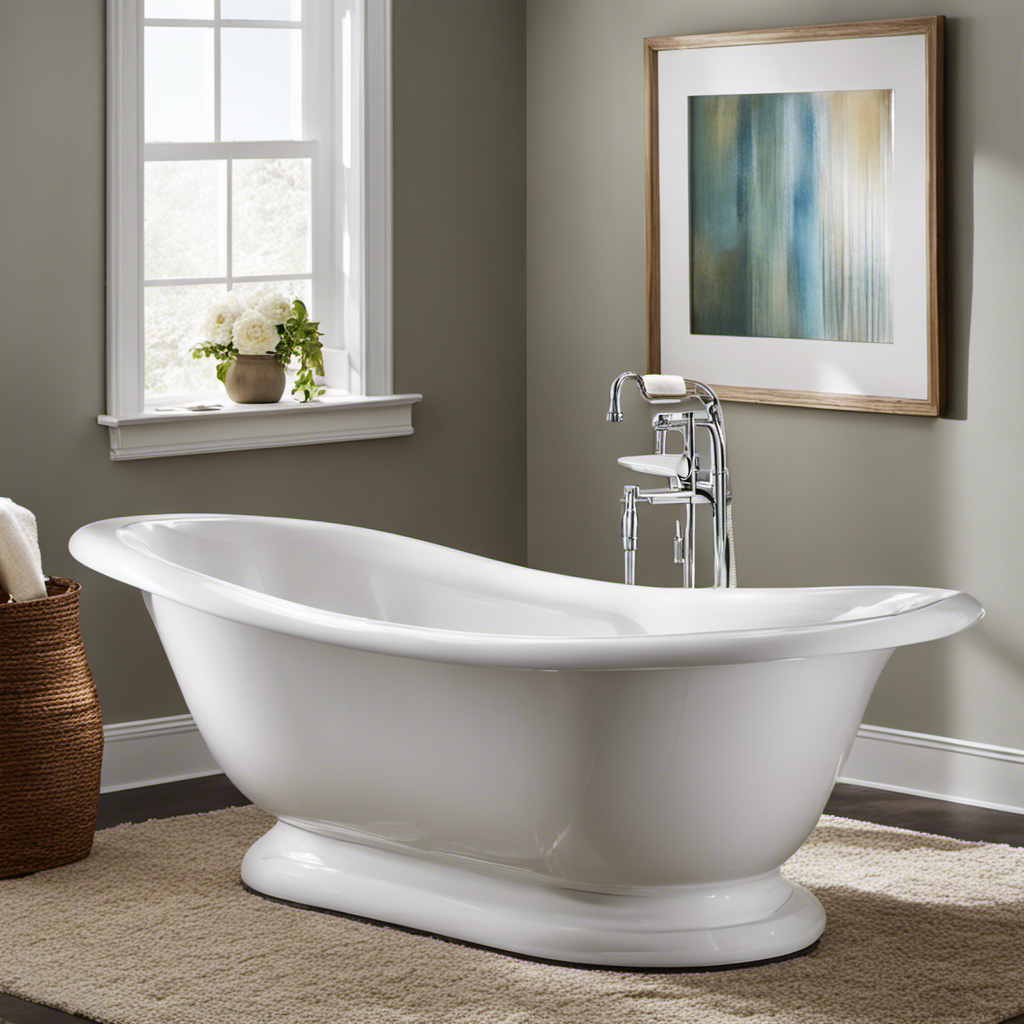
Maintaining and Caring for a Reglazed Bathtub
You should regularly clean your newly refinished tub using mild soap and water to maintain its shine and durability. Bathtub maintenance is essential to prevent reglazing damage and keep your tub looking its best.
After reglazing, it is important to avoid using harsh chemicals or abrasive cleaners, as they can strip away the glaze and damage the surface. Instead, opt for gentle cleaning solutions that won’t harm the finish.
Regularly wipe down the tub after each use to remove any soap scum or residue. For tougher stains, you can use a non-abrasive cleaner and a soft sponge or cloth. Avoid using scrub brushes or abrasive pads, as they can scratch the surface.
Frequently Asked Questions
How Long Does It Take for the Reglazing Solution to Dry Completely?
The drying time of the reglazing solution can vary depending on several factors. Factors such as temperature, humidity, and ventilation can affect the drying time. It typically takes around 24-48 hours for the reglazing solution to dry completely.
Can I Use the Bathtub Immediately After Reglazing?
Yes, you can use the bathtub immediately after reglazing. The benefits of reglazing a bathtub immediately include a fresh, clean surface and the ability to use your bathroom without any waiting time.
What Type of Cleaning Products Should I Use on a Reglazed Bathtub?
When it comes to cleaning a reglazed bathtub, it’s important to use gentle, non-abrasive cleaning products. Avoid harsh chemicals or abrasive scrubbers that can damage the reglazing. Regular maintenance is key to preserving the finish.
Is It Possible to Reglaze a Bathtub With Significant Damage or Cracks?
Yes, it is possible to reglaze a bathtub with significant damage or cracks. However, it is important to consider other bathtub repair options as well. Reglazing has its pros and cons that should be weighed carefully.
How Long Does a Reglazed Bathtub Typically Last Before It Needs to Be Redone?
A reglazed bathtub typically lasts around 10-15 years before it needs to be redone. The lifespan can vary depending on factors such as usage, maintenance, and the quality of the reglazing job.
Conclusion
After following the step-by-step process of reglazing a bathtub, you can enjoy a fresh and revitalized look for your bathroom.
However, some may argue that hiring a professional is a better option. While it is true that professionals have the expertise and equipment to ensure a flawless finish, reglazing your bathtub yourself can be a cost-effective solution if you are willing to put in the time and effort.
By carefully following the instructions and taking your time, you can achieve impressive results and save money in the process.