Imagine stepping into a gleaming oasis of relaxation every time you enter your bathroom. With just a little effort and the right materials, you can transform your bathtub into a stunning focal point.
In this guide, I will show you how to reglaze your bathtub step-by-step, using easy-to-follow instructions and simple tools. Say goodbye to dull and worn surfaces, and say hello to a bathtub that sparkles like new.
Let’s dive in and make your bathtub shine again!
Key Takeaways
- It is important to thoroughly clean and prepare the bathtub surface before reglazing, including removing loose caulk or grout, using a strong cleaner or degreaser, rinsing with warm water, and lightly sanding the surface.
- Gather all necessary materials and tools, such as a bathtub reglazing kit, safety goggles, respirator mask, rubber gloves, drop cloths, paintbrushes, sandpaper, paint scraper, masking tape, and paint roller.
- Use effective stain removal techniques, such as vinegar and baking soda, regularly clean and dry the bathtub after each use, and choose the right cleaners specifically designed for bathtubs.
- Prevent future grime buildup by regularly cleaning the bathtub with a mild detergent and warm water, paying attention to corners and drain areas, using a bathtub mat, and following manufacturer’s cleaning instructions based on the type of material your bathtub is made of.

Tub & Tile Touch Up Gloss White Paint Kit
- Fast Surface Preparation: Prepare and paint in one day
- Durable Epoxy Formula: Resists moisture and corrosion
- Easy Mixing Instructions: Mix parts A and B thoroughly
As an affiliate, we earn on qualifying purchases.
As an affiliate, we earn on qualifying purchases.
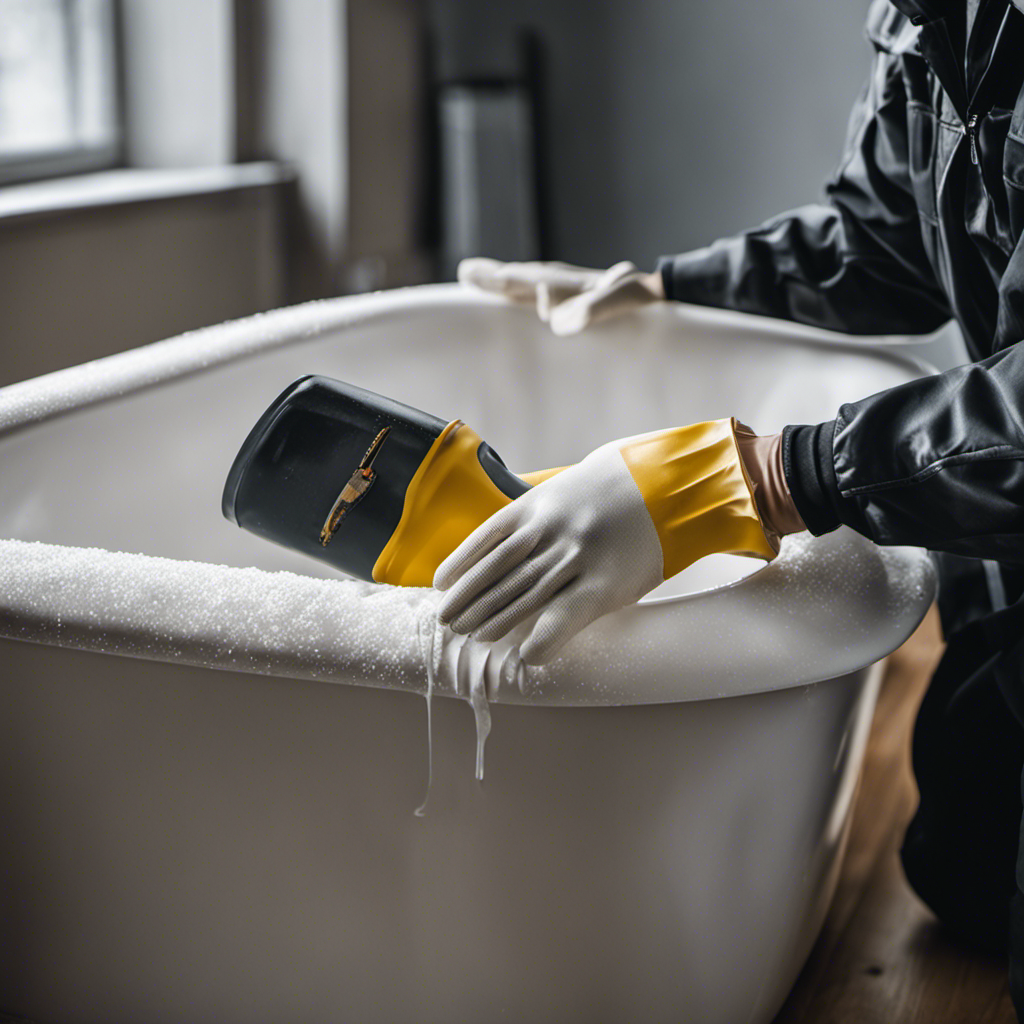
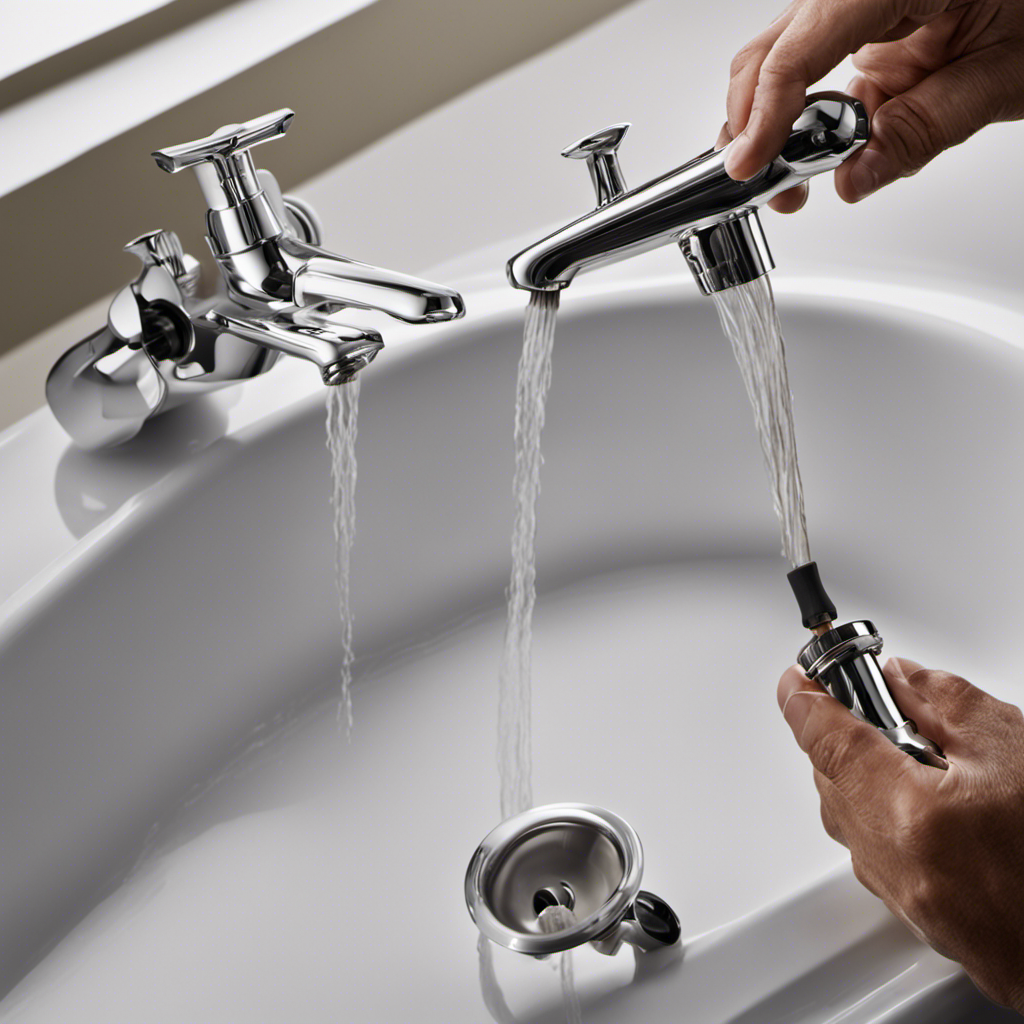
Preparing the Bathtub Surface
Before starting the reglazing process, it’s important to thoroughly clean the bathtub surface. Proper bathtub surface preparation is crucial for achieving a smooth and long-lasting finish. Here’s a step-by-step guide on how to prepare your bathtub surface for reglazing.
-
Remove any loose caulk or grout using a scraper or putty knife. This will ensure that the surface is clean and free from any debris.
-
Next, use a strong cleaner or degreaser to remove any soap scum, oils, or dirt. Scrub the surface with a non-abrasive sponge or brush, paying special attention to the areas around the drain and faucet.
-
Rinse the bathtub thoroughly with warm water to remove any residue from the cleaner. Make sure to remove all traces of the cleaning solution to prevent any interference with the reglazing process.
-
Once the bathtub surface is clean and dry, lightly sand it with fine-grit sandpaper. This will help create a rough surface that the new coating can adhere to.
Gathering the Necessary Materials and Tools
Make sure you have all the materials and tools you need for the bathtub reglazing process. Choosing the right materials is essential to achieve a successful reglazing job. Here is a list of the necessary items:
| Materials | Tools |
|---|---|
| Bathtub reglazing kit | Safety goggles |
| Respirator mask | Rubber gloves |
| Drop cloths | Paintbrushes |
| Sandpaper | Paint scraper |
| Masking tape | Paint roller |
It’s important to prioritize safety precautions during the process. Wear safety goggles and a respirator mask to protect your eyes and lungs from harmful fumes. Rubber gloves will shield your hands from chemicals. Lay down drop cloths to protect your bathroom floor. Use sandpaper and a paint scraper to remove any loose paint or debris from the bathtub surface. Apply masking tape around the edges to avoid getting paint on surrounding areas. Finally, use paintbrushes and a paint roller to evenly apply the reglazing solution onto the bathtub surface. Remember to follow the instructions provided with the reglazing kit for the best results.
Cleaning the Bathtub
When it comes to keeping my bathtub clean, there are three key points I always keep in mind: stain removal techniques, preventing future grime buildup, and choosing the right cleaners.
First, I tackle any stubborn stains by using effective techniques such as scrubbing with baking soda and vinegar or using a bleach solution.
Next, I make sure to regularly clean and dry the bathtub after each use to prevent any grime from accumulating.
Lastly, I am careful to choose the right cleaners that are specifically designed for bathtubs to ensure they are safe and effective in removing dirt and grime.
Stain Removal Techniques
To remove stains from the bathtub, you can try using a mixture of vinegar and baking soda. This is one of the most effective stain removal hacks and a popular DIY bathtub cleaner.
Here’s a step-by-step guide on how to use this method:
- Mix equal parts of vinegar and baking soda to create a paste.
- Apply the paste directly to the stained areas of the bathtub.
- Let it sit for about 15-20 minutes to allow the mixture to work on the stains.
- Scrub the stained areas using a sponge or a soft brush.
- Rinse the bathtub thoroughly with water.
This simple and affordable method can help remove various types of stains, including soap scum, hard water stains, and grime. It’s a great alternative to harsh chemicals and can leave your bathtub looking clean and fresh. Give it a try and see the difference!
Preventing Future Grime Buildup
One way you can prevent future grime buildup in your bathtub is by regularly cleaning it with a mild detergent and warm water. Start by filling the tub with warm water and adding a small amount of mild detergent. Use a soft cloth or sponge to scrub the entire surface of the tub, paying extra attention to areas prone to grime buildup, such as the corners and drain. Rinse the tub thoroughly with warm water to remove any residue.
Additionally, using a bathtub mat can help prevent grime buildup by providing a barrier between your feet and the tub surface. This mat can be easily removed and cleaned separately. By incorporating regular cleaning and using a bathtub mat, you can significantly reduce grime buildup in your bathtub and maintain a clean and hygienic bathing environment.
When it comes to choosing the right cleaners for your bathtub, there are a few factors to consider.
Choosing the Right Cleaners
If you want to choose the right cleaners for your bathtub, start by considering factors like the type of material it is made of and any specific cleaning instructions provided by the manufacturer. Different materials, such as porcelain, acrylic, or fiberglass, may require specific cleaning methods to avoid damage.
For porcelain tubs, mild abrasive cleaners can be used, but avoid using harsh chemicals that may scratch the surface. Acrylic and fiberglass tubs are more susceptible to scratches, so it’s best to use non-abrasive cleaners.
When choosing a cleaner, consider the pros and cons of different cleaning methods. Some cleaners may be more effective at removing tough stains, but they may also contain harsh chemicals that could be harmful to your health or the environment.
Transitioning into the next section about repairing any damaged areas, it’s important to note that regular cleaning can help prevent further damage and extend the lifespan of your bathtub.
Repairing Any Damaged Areas
Inspect your bathtub carefully for any damaged areas that need repairing before proceeding with the reglazing process.
Start by examining the surface of the bathtub for any chips or cracks. If you spot any, don’t worry, as they can be easily repaired.
To fix small chips, you will need to use a bathtub repair kit. These kits usually contain epoxy or filler materials that can be applied to the damaged area. Simply follow the instructions provided with the kit to properly repair the chips.
For larger cracks, you may need to use a bathtub crack repair kit, which typically includes a fiberglass patch and adhesive. Again, follow the instructions carefully to ensure a successful repair.
Applying the Primer
To ensure a proper bond, start by applying the primer to the surface of your tub. Primer application techniques are crucial in achieving a long-lasting and professional-looking result. Here are some steps to follow:
-
Clean the surface: Thoroughly clean your tub to remove any dirt, grime, or soap scum. Use a mild detergent and a scrub brush to ensure a clean surface for the primer.
-
Sand the surface: Lightly sand the tub with a fine-grit sandpaper to create a rough texture. This will help the primer adhere better to the tub.
-
Apply the primer: Using a brush or a roller, apply a thin and even coat of primer to the tub. Make sure to cover all areas, including the corners and edges.
-
Allow drying time: Follow the manufacturer’s instructions for drying time. Typically, it takes around 24 hours for the primer to dry completely.
-
Check for any mistakes: After the primer has dried, inspect the surface for any missed spots or uneven application. If necessary, apply a second coat of primer to ensure full coverage.
Common mistakes when applying primer include using too much product, not cleaning the surface properly, or rushing the drying process. Take your time and follow these steps carefully for a successful primer application.
Applying the Bathtub Reglazing Coating
When it comes to reglazing a bathtub, there are a few key points to keep in mind.
Firstly, it’s important to thoroughly clean and prepare the surface before applying the coating. This includes removing any old paint or residue, sanding down rough areas, and ensuring the bathtub is completely dry.
Secondly, when applying the coating, it’s best to use a brush or roller for an even and smooth application. Allow the coating to dry and cure according to the manufacturer’s instructions, typically around 24-48 hours.
Coating Application Techniques
You should start by prepping the bathtub surface before applying the new coating. This is an important step to ensure proper adhesion and a smooth finish.
To begin, thoroughly clean the bathtub using a mild detergent and scrub brush. Rinse the surface with water and allow it to dry completely. Once dry, use sandpaper or a sanding block to lightly roughen the surface. This will help the new coating adhere better. After sanding, wipe away any dust with a damp cloth.
Now, you are ready to apply the coating. Make sure to follow the manufacturer’s instructions regarding coating thickness and drying time. By properly prepping the surface, you will ensure a long-lasting and professional-looking result.
Transitioning into the next section, let’s now discuss the drying and curing process.
Drying and Curing Process
After preparing the surface, it’s important to understand the drying and curing process for the new coating. Proper drying techniques and ensuring proper curing are essential for a successful reglazing project. Here’s a step-by-step guide to help you through the process:
-
Allow the coating to dry: Depending on the type of coating you used, it may take anywhere from a few hours to a few days to dry completely. Follow the manufacturer’s instructions for the recommended drying time.
-
Avoid moisture: Keep the area well-ventilated and avoid any contact with water or moisture during the drying process. This will help prevent any damage or imperfections in the coating.
-
Allow for proper curing: Curing time is equally important as drying time. It is the process where the coating hardens and becomes durable. Typically, it takes around 24 to 48 hours for the coating to cure completely. Make sure to follow the recommended curing time before using the bathtub.
-
Handle with care: Once the coating has dried and cured, handle the bathtub with care. Avoid using abrasive cleaners or scrubbing too vigorously, as this can damage the newly reglazed surface.
Understanding the drying and curing process and following these steps will ensure a long-lasting and beautiful reglazed bathtub.
Now, let’s move on to some maintenance tips after reglazing.
Maintenance Tips After Reglazing
To maintain the newly coated surface, it’s important to follow some simple maintenance tips. By doing so, you can prevent discoloration and keep your bathtub’s glossy finish intact for a longer period of time.
Firstly, avoid using abrasive cleaners or scrub brushes that can damage the reglazed surface. Instead, opt for mild, non-abrasive cleaners and soft sponges or cloths for regular cleaning.
Secondly, avoid leaving standing water in the bathtub for extended periods as it can cause water spots and dull the glossy finish. Always wipe the surface dry after each use.
Lastly, be mindful of any potential chemical exposure such as hair dyes or nail polish removers, as these can stain or damage the reglazed surface.
Curing and Finishing the Reglazing Process
Once the bathtub reglazing process is complete, it’s important to let it cure and finish properly. Here are some essential finishing techniques and post reglazing care tips to ensure a long-lasting and beautiful bathtub:
-
Allow sufficient curing time: After reglazing, the bathtub needs time to cure and harden. Avoid using the bathtub for at least 48 hours to allow the coating to fully set.
-
Clean gently: Use mild, non-abrasive cleaners to clean the reglazed surface. Avoid harsh chemicals or abrasive scrubbing tools that can damage the finish.
-
Avoid sharp objects: Be cautious with sharp or pointed objects that may scratch the reglazed surface. Use rubber mats or non-slip stickers to prevent accidental slips and scratches.
-
Regular maintenance: To prolong the life of the reglazed bathtub, perform regular maintenance such as wiping down the surface after each use and avoiding prolonged exposure to hot water.
Conclusion
And there you have it, folks! Following these simple steps, you’ll transform your bathtub into a shining masterpiece that will leave your guests in awe.
The reglazing process may seem daunting, but fear not! With a little elbow grease and the right materials, you’ll achieve results that are out of this world.
Get ready to soak in luxury like never before. So go ahead, take the plunge and give your bathtub the makeover it deserves. You won’t believe the difference it will make!