
So you’ve decided it’s time to bid farewell to that old bathtub and welcome a sleek, modern shower into your bathroom oasis.
Well, fear not, my friend, because I’ve got just the guide for you. In this step-by-step article, I’ll walk you through the process of removing that tub and installing a stunning shower.
From assessing the space to gathering the necessary tools, we’ll cover it all.
So grab your tool belt and let’s get to work!
Key Takeaways
- Assess the bathroom space and evaluate if it can accommodate a shower enclosure.
- Consider the style, functionality, and compatibility of shower fixtures and materials.
- Properly disconnect and remove the bathtub, including fixtures and surrounding tiles.
- Prepare the shower installation area by clearing debris, measuring dimensions, and applying waterproofing techniques.

HAUTMEC Tub Drain Remover Wrench Tool Heavy Duty Aluminum Shower Bathtub Drain Removal Tool PL0030
The dual ended tub drain wrench fits most inner diameter 1 3/8" and 1 1/2" tub drain shoe,ideal…
As an affiliate, we earn on qualifying purchases.
As an affiliate, we earn on qualifying purchases.
Assessing the Bathroom Space
Now, you’ll want to take a look at the bathroom space to see if it can accommodate a shower. When assessing the bathroom space, it’s important to consider maximizing space and exploring alternative bathroom layouts.
Start by measuring the area where the bathtub currently sits. Take note of the dimensions and consider if it will be sufficient for a shower.
Next, evaluate the surrounding walls to determine if there is enough space to install a shower enclosure. Look for any obstacles such as windows or plumbing fixtures that may affect the layout.
Additionally, consider the location of the drain and water supply lines to ensure they are positioned appropriately for a shower installation.

From Plain To Beautiful In Hours 133-WT-SUB-KIT Subway Tub and Shower Wall Panels Surround, Gloss White, 96 Square Feet
100% Grout-Free & Watertight System: Eliminate the hassle of grout maintenance forever. Made from robust, non-porous PVC, this…
As an affiliate, we earn on qualifying purchases.
As an affiliate, we earn on qualifying purchases.
Gathering the Necessary Tools and Materials
First, gather all the necessary tools and materials. Consider the style and functionality of the shower fixtures that best suit your needs. Look for durable and easy-to-clean fixtures that are compatible with your plumbing system.
Next, waterproof the shower area to prevent water leakage. Use a waterproof membrane or waterproofing system to protect the surrounding walls and floors from moisture damage.
Once you have all the tools and materials, proceed to the next step of removing the bathtub.

Muzata Waterproofing Membrane for Shower 3.8x33feet (125 Sq Ft) 23.6 Mil Thick Uncoupling Polyethylene Fabric Tile Underlayment Waterproof Shower Membrane for Sauna Bathroom Kitchen M034
Fewer Seams, Faster Install: The waterproofing membrane measures 3.77 ft X 33 ft. The Total spread area is…
As an affiliate, we earn on qualifying purchases.
As an affiliate, we earn on qualifying purchases.
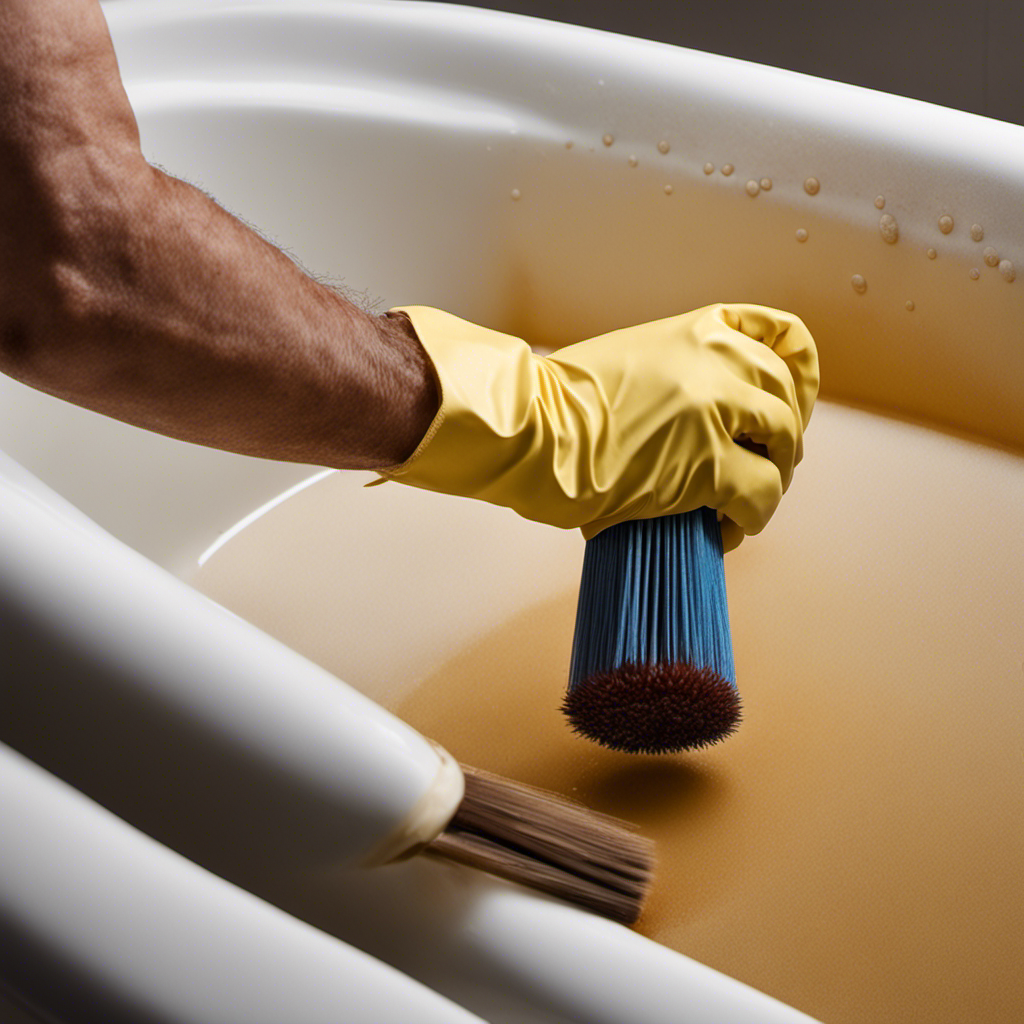
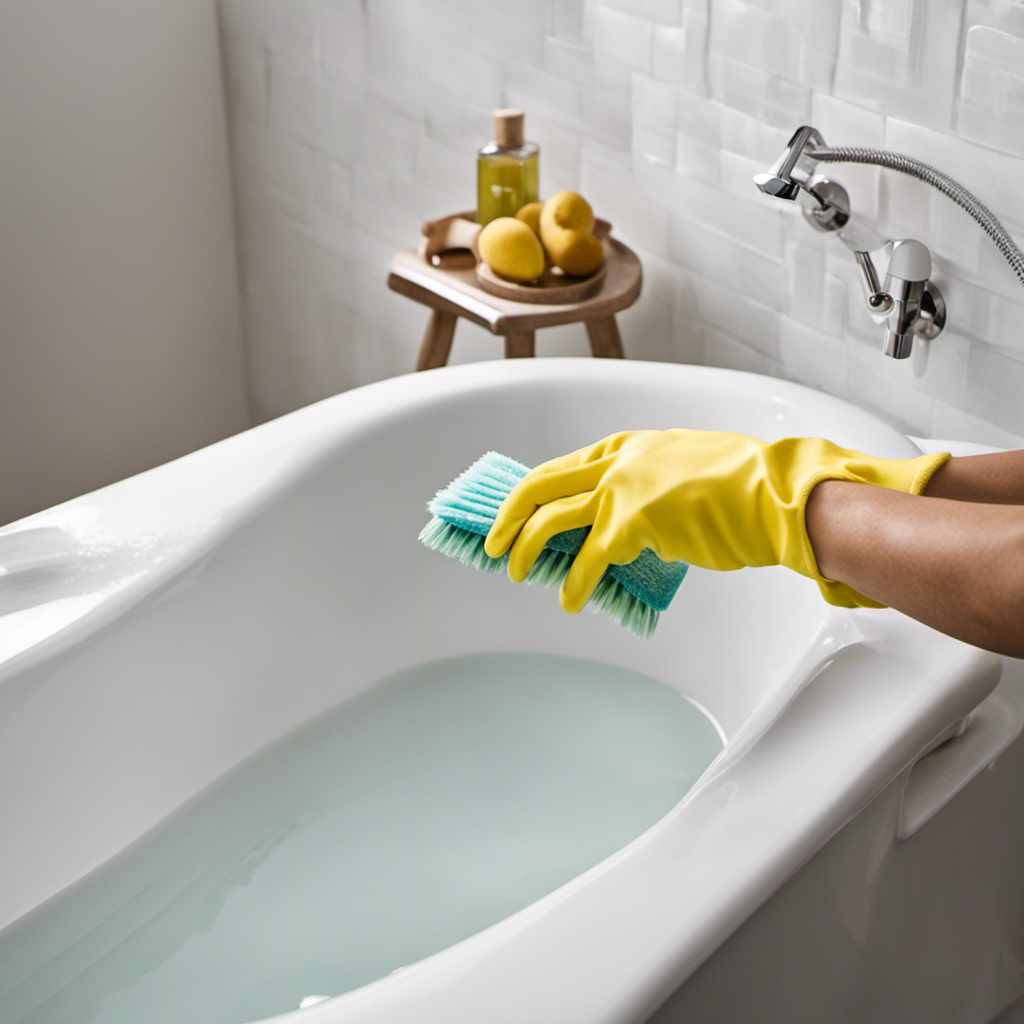
Removing the Bathtub
To get started, you’ll need to disconnect the water supply and drain pipes connected to the bathtub. This will ensure that there are no leaks or water damage during the removal process. Once the water supply and drain pipes are disconnected, you can begin removing the bathtub by following these steps:
- Remove any fixtures or accessories attached to the bathtub, such as faucets or showerheads.
- Carefully remove the tiles surrounding the bathtub, being mindful not to damage them. If there are any cracked tiles, now is a good time to replace them.
- Using a utility knife, cut along the caulk lines between the bathtub and the surrounding walls to loosen the seal.
- With the help of a friend or a dolly, carefully lift the bathtub and remove it from the installation area.

Black Shower Head And Faucet Set Complete With Valve Shower Fixtures With 6 Inch High Pressure Rain Shower Head Trim kit Regaderas Para bBaño Modernas
🚿Black Shower Head and Handle Set: Stainless steel 6" shower head and Single lever handle for ease of…
As an affiliate, we earn on qualifying purchases.
As an affiliate, we earn on qualifying purchases.
Preparing the Shower Installation Area
To prepare the shower installation area, it’s important to clear out any debris or leftover materials from removing the bathtub. Once the area is clear, the next step is to measure the dimensions of the space to ensure the shower unit will fit properly. This is crucial to avoid any issues during the installation process. After measuring, it’s time to focus on waterproofing techniques. This involves applying a waterproof membrane to the walls and floor of the shower area to prevent water leakage. Additionally, sealing the seams and corners with silicone caulk is essential for a watertight finish. By following these steps and taking the necessary precautions, you can ensure a successful shower installation that will be both functional and aesthetically pleasing.
| Step | Description |
|---|---|
| 1 | Clear out debris and leftover materials |
| 2 | Measure the dimensions of the shower area |
| 3 | Apply a waterproof membrane to the walls and floor |
| 4 | Seal the seams and corners with silicone caulk |
| 5 | Double-check for any potential leaks before proceeding |
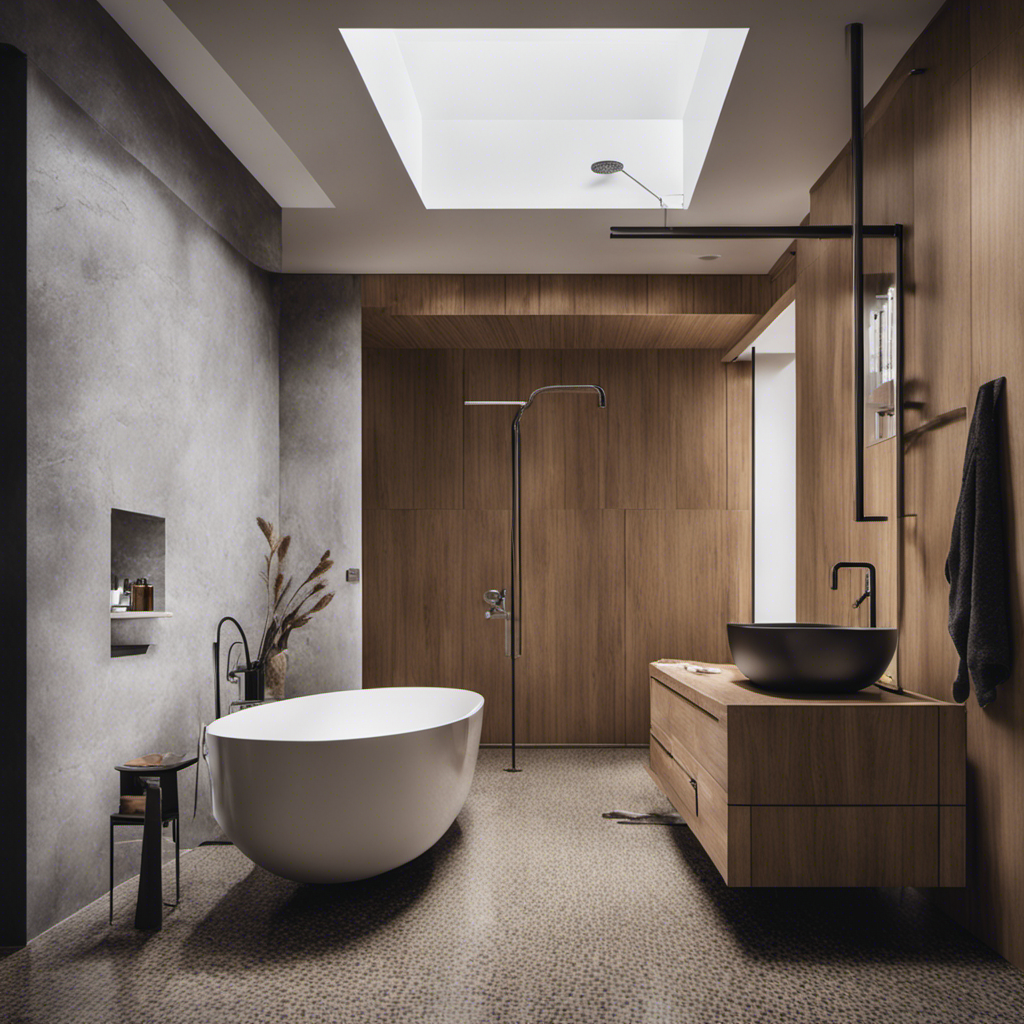
Installing the Shower Unit
Make sure you have all the necessary tools and equipment ready before beginning the installation process.
Here are the steps to install the shower unit:
-
Prepare the plumbing: Before installing the shower unit, you need to consider the plumbing connections. Ensure that the water supply lines and drain pipes are in the right position and ready to be connected to the shower unit.
-
Waterproofing techniques: To prevent water damage, it is important to apply waterproofing techniques. Use a waterproof membrane on the walls and floor of the shower area. Seal all joints and corners with waterproof sealant.
-
Set the shower base: Place the shower base in the designated area and check for levelness. Secure it in place using screws or adhesive, following the manufacturer’s instructions.
-
Install the shower walls: Attach the shower walls to the studs using screws or nails. Apply waterproof sealant along the edges to ensure a watertight seal.
Conclusion
As I step back and admire my newly installed shower, a sense of accomplishment washes over me.
Like a skilled craftsman sculpting a masterpiece, I carefully removed the old bathtub and transformed the bathroom space into a functional oasis.
With each step, I could feel the weight of the old, outdated design being lifted, replaced by the refreshing embrace of a modern shower unit.
The process may have been laborious, but the end result is a shower that is both practical and visually stunning.
It’s a transformation that will make every morning feel like a luxurious escape.