As I tackled the challenge of removing a stubborn bathtub drain, I discovered that with the right tools and a step-by-step approach, it’s a task within reach.
In this guide, I’ll walk you through the process of removing a bathtub drain, from preparing the area to reassembling the drain components.
With clear instructions and precise details, you’ll gain the confidence to take on this project and enjoy a smoothly functioning drain in no time.
So, let’s dive in and get started!
Key Takeaways
- Prepare the area by turning off the water supply, removing the drain trap, and disconnecting the overflow drain cover.
- Remove the stopper and overflow plate by unscrewing them counterclockwise and using penetrating oil for stubborn stoppers.
- Remove the drain flange and drain shoe by disconnecting the drain pipe, removing screws, and using a drain key or removal tool.
- Troubleshoot by inspecting for visible screws or bolts, using penetrating oil for stubborn connections, and checking for leaks or loose connections after installation.
Tools Needed
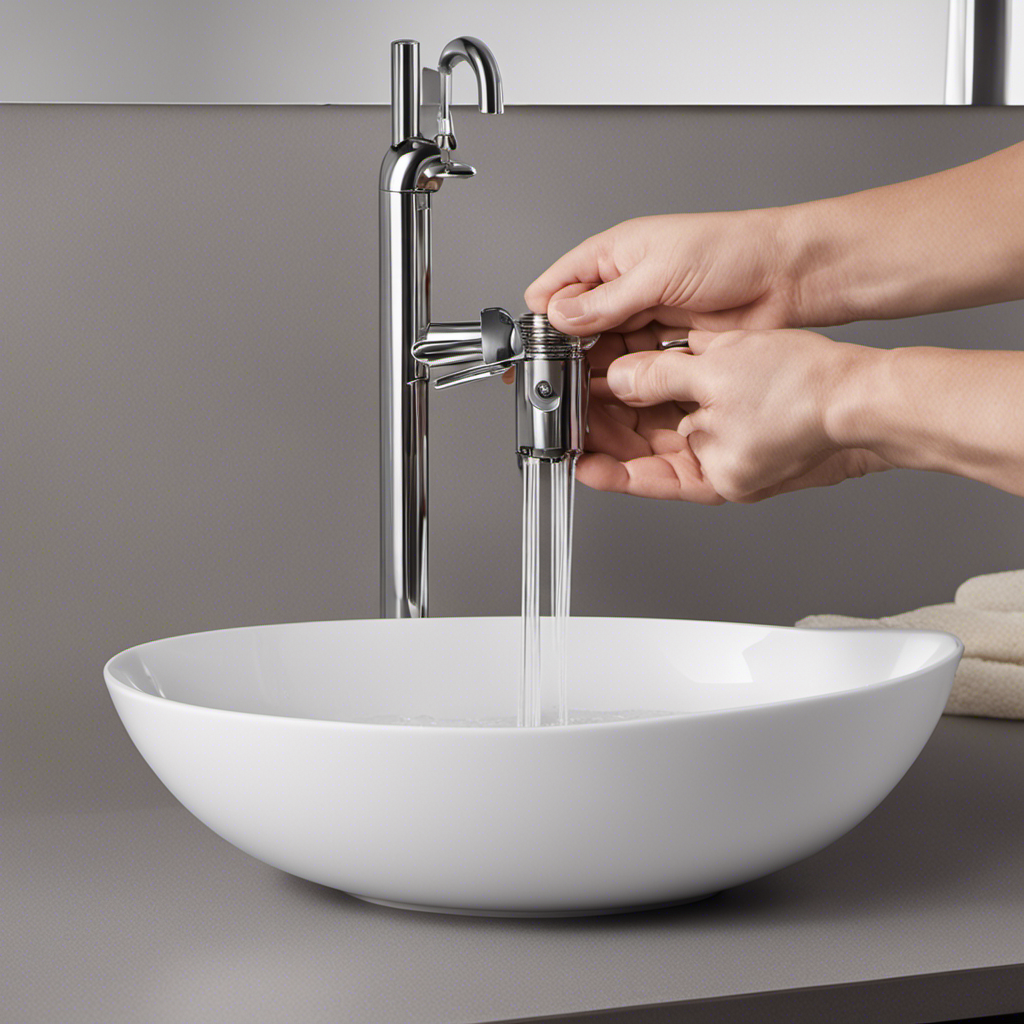
You’ll need a pair of pliers to remove the bathtub drain.
To start, ensure the water supply to the bathtub is turned off.
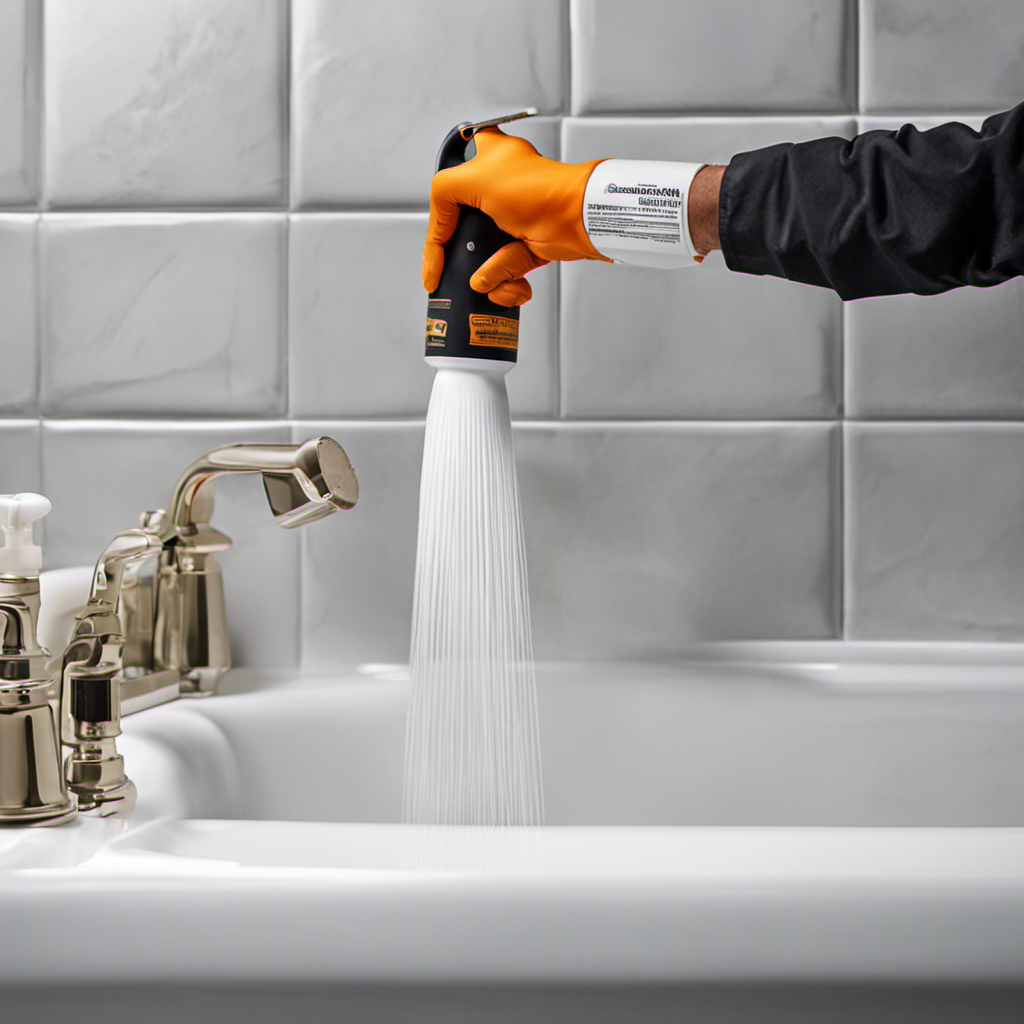
For removing stubborn stains, create a paste using baking soda and water, then apply it to the stained areas and let it sit for a few minutes before scrubbing with a brush.
Next, unscrew the drain cover using the pliers, turning it counterclockwise. Set the cover aside.
Using the pliers, grip the crosshairs in the center of the drain and turn it counterclockwise to loosen it.
Once it is loose, lift the drain up and out of the bathtub.
To unclog the drain, use a drain snake or a plunger to remove any blockage.
Remember to clean the drain thoroughly before reassembling it.
Preparing the Area
First, make sure to clear the area around the bathtub to create a safe and clutter-free workspace. This step is crucial to protect the surrounding area from any potential damage or accidents during the process.
Here are some important steps to follow:
-
Disconnecting the plumbing:
-
Turn off the water supply to the bathtub.
-
Use a wrench to loosen and remove the drain trap.
-
Disconnect the overflow drain cover.
-
Protecting the surrounding area:
-
Place a drop cloth or plastic sheet around the bathtub to catch any debris or water.
-
Use masking tape to cover any nearby surfaces, such as tiles or walls, to prevent scratches or damage.
Removing the Stopper
To remove the stopper, simply unscrew it counterclockwise using a pair of pliers or your hands. This process is fairly straightforward, but it’s important to have the right tools for removing the stopper.
Pliers are a great option because they provide a better grip, especially if the stopper is stuck or difficult to turn. However, if you don’t have pliers on hand, using your hands can also work, as long as you have a good grip and apply enough force.
Common issues with removing the stopper include rust or corrosion, which can make it challenging to unscrew. In such cases, applying some penetrating oil to the threads can help loosen the stopper and make it easier to remove.
Removing the Overflow Plate
Once you’ve successfully unscrewed the stopper, the next step in the process is removing the overflow plate.
To do this, follow these steps:
- Locate the screws securing the overflow plate to the bathtub wall.
- Use a screwdriver to carefully unscrew and remove the screws.
- Gently pull the overflow plate away from the wall, being mindful of any connected parts.
- Disconnect the overflow pipe from the bathtub drain by loosening the coupling nut.
- Troubleshoot common issues such as rusted screws or a stuck overflow plate by applying penetrating oil and using a wrench or pliers for extra leverage.
Removing the overflow plate is an important part of accessing the bathtub drain for maintenance or repairs. By following these steps and troubleshooting common issues, you can successfully remove the overflow plate and continue with the bathtub drain removal process.
Removing the Drain Flange
When it comes to removing the drain flange in a bathtub, there are different types of flanges that may be encountered.
The tools needed for the removal process will depend on the type of flange being dealt with.
In this discussion, I will outline the step-by-step process for removing the drain flange, including the types of flanges to look out for, the specific tools required, and the detailed instructions for a successful removal.
Types of Drain Flanges
There are different types of drain flanges used in bathtub drains. These flanges are crucial components that help seal the drain and prevent leaks. Here are five common types of drain flanges and their characteristics:
- Stainless steel flanges: These flanges are durable and resistant to corrosion, making them ideal for long-term use.
- Brass flanges: Known for their strength and reliability, brass flanges are commonly used in residential plumbing systems.
- PVC flanges: Lightweight and affordable, PVC flanges are often used in budget-friendly installations.
- Chrome flanges: These flanges have a sleek, shiny appearance that adds a touch of elegance to any bathtub.
- Cast iron flanges: Popular for their durability, cast iron flanges are commonly found in older homes.
These different drain materials come with their own unique advantages and disadvantages. However, regardless of the type of drain flange used, common drain problems such as clogs and leaks can still occur.
It is important to regularly inspect and maintain your bathtub drain to prevent these issues and ensure the proper functioning of your plumbing system.
Tools Needed for Removal
To successfully take apart your bathtub drain flange, you’ll need a few essential tools. First, you’ll need a pair of pliers to disconnect the pipe that connects the drain to the plumbing system. Next, you’ll need a screwdriver to remove the screws that hold the drain flange in place. Lastly, a drain key or a drain removal tool will be necessary to unscrew the drain flange from the bathtub. These tools are crucial for a smooth removal process and will ensure that you can easily access the drain and clean the area thoroughly. Remember to always turn off the water supply before starting the removal process to avoid any leaks or water damage.
| Tool | Purpose |
|---|---|
| Pliers | To disconnect the pipe |
| Screwdriver | To remove screws |
| Drain Key/Removal Tool | To unscrew the drain flange |
Step-By-Step Removal Process
First, use the pliers to disconnect the pipe that connects the drain to the plumbing system. This is an essential step in the disassembling method of removing a bathtub drain.
Once the pipe is disconnected, follow these troubleshooting tips for a smooth removal process:
- Inspect the drain for any visible screws or bolts that may be securing it in place.
- Apply penetrating oil to stubborn screws or bolts to loosen them.
- Use a drain key or drain extractor tool to grip and turn the drain counterclockwise.
- If the drain is still resistant, gently tap it with a rubber mallet to break any sealant or adhesive.
- Finally, lift and remove the drain from the bathtub, ensuring all debris and residue are cleaned from the area.
Disconnecting the Drain Pipe
Start by unscrewing the nut connecting the drain pipe to the bottom of the bathtub. This step is crucial in removing the drain pipe effectively. To ensure a smooth process, it’s important to understand common issues that may arise and how to troubleshoot them. Here’s a helpful table outlining potential problems and their solutions:
| Issue | Troubleshooting |
|---|---|
| Rusty nut | Apply penetrating oil and use a wrench for extra leverage. |
| Stubborn connection | Use a pipe wrench to grip the nut securely and turn counterclockwise with force. |
| Leaking drain | Check the washer and replace if damaged. Ensure a tight connection when reassembling. |
| Stripped threads | Use a drain extractor tool to carefully remove the damaged pipe. |
Removing the Drain Shoe
To successfully remove the drain shoe, it’s essential to have the proper tools at hand. A few of the tools required for this task include a drain wrench, pliers, and a screwdriver.
The step-by-step removal process involves loosening the screws, disconnecting the drain shoe from the drain pipe, and carefully removing it.
However, potential challenges may arise, such as stubborn screws or a corroded drain shoe. In such cases, applying lubricant or using a hacksaw to cut through the drain shoe can be effective solutions.
Proper Tools Required
You’ll need a few tools to properly remove a bathtub drain. Here are the essential tools you’ll need for the task:
-
Adjustable wrench: This tool will help you disconnect the pipes connected to the drain, allowing you to remove it easily.
-
Screwdriver: A screwdriver will come in handy when troubleshooting challenges such as removing screws or prying off stubborn parts.
-
Pliers: Pliers will help you grip and turn difficult-to-reach nuts or bolts.
-
Drain key: This specialized tool is designed specifically for removing bathtub drains and will make the process much easier.
-
Bucket: It’s important to have a bucket on hand to catch any water or debris that may come out during the removal process.
Now that you have the necessary tools, let’s move on to the step-by-step removal process.
Step-By-Step Removal Process
Once you’ve gathered the essential tools, begin by loosening the screws that secure the drain cover in place. Use a screwdriver or a drill with a screwdriver bit to carefully remove the screws. Set them aside in a safe place, as you will need them later.
Once the screws are removed, you can carefully lift the drain cover off the drain.
Next, locate the drain body, which is the part that connects to the pipe below. Insert a drain key or pliers into the drain body and turn counterclockwise to unscrew it from the pipe. If the drain body is difficult to remove, try using some penetrating oil to help loosen it.
Once the drain body is removed, you can clean out any debris that may have accumulated inside the drain. Use a wire brush or a drain snake to remove any clogs or blockages.
Finally, reassemble the drain by screwing the drain body back onto the pipe and replacing the drain cover. Make sure the screws are securely tightened.
If you encounter any issues during the removal process, such as stripped screws or a stubborn drain body, consult a professional plumber for further troubleshooting tips.
Potential Challenges and Solutions
If you’re experiencing difficulty with removing the drain body, consider using some penetrating oil to help loosen it. This can be especially helpful if the drain has been in place for a long time and has become stuck due to corrosion or buildup.
Here are some potential obstacles you may encounter when removing a bathtub drain, along with troubleshooting tips:
- Rust or corrosion: Apply penetrating oil and let it sit for a few hours before attempting to remove the drain.
- Tight seal: Use a drain wrench or pliers with a firm grip to apply more torque and loosen the drain.
- Stripped threads: Use a rubber band or a piece of cloth to create friction and get a better grip on the drain.
- Stubborn drain flange: Tap lightly around the edges of the flange with a rubber mallet to loosen it.
- Broken drain body: If the drain body is broken, you may need to use a drain extractor tool to remove it.
Once you’ve successfully removed the drain body, it’s important to clean the drain area thoroughly to ensure proper installation of a new drain.
Cleaning the Drain Area
To clean the drain area, simply use a mixture of baking soda and vinegar. This cleaning technique is an effective solution for unclogging drains and preventing future build-up.
Here’s a step-by-step guide on how to clean your drain using this method:
- Remove any visible debris or hair from the drain area.
- Pour half a cup of baking soda down the drain.
- Follow it up with half a cup of vinegar.
- Let the mixture sit for about 15 minutes to allow it to break down any clogs.
- Flush the drain with hot water to remove any remaining residue.
Using this cleaning technique regularly can help maintain a clean and clog-free drain. Remember to avoid using harsh chemicals as they can damage your pipes.
Installing a New Drain
When installing a new drain, you’ll need to make sure the pipes are properly aligned and securely connected. This ensures that water flows smoothly and prevents leaks. Here are some key steps to follow when installing a bathtub drain:
- Measure and mark the correct position for the drain.
- Remove the old drain cover by unscrewing it counterclockwise.
- Clean the drain area thoroughly to remove any debris or buildup.
- Apply plumber’s putty to the underside of the new drain cover before inserting it into the drain hole.
- Tighten the drain cover by turning it clockwise until it is securely in place.
By following these steps, you can ensure a successful installation of your bathtub drain.
Now, let’s move on to reassembling the drain components.
Reassembling the Drain Components
Now that the drain cover is securely in place, it’s time to reassemble the remaining components.
Reassembling the drain components can present some challenges, but with the proper tools and techniques, it can be done efficiently.
Start by applying plumber’s putty around the flange of the drain body. Insert the drain body into the drain opening, ensuring a snug fit.
Next, attach the drain shoe and tighten the screws using a screwdriver. Connect the overflow pipe to the drain shoe and secure it with a compression nut.
Finally, attach the drain stopper mechanism and test its functionality. Make sure all connections are tight and leak-free.
Reassembling the drain components correctly is crucial for the proper functioning of your bathtub drain.
Frequently Asked Questions
Can I Use Household Cleaners to Clean the Drain Area?
Yes, you can use household cleaners to clean the drain area. However, consider eco-friendly alternatives to avoid harsh chemicals. It’s important to follow the manufacturer’s instructions and ensure proper ventilation when using cleaning products.
How Do I Know if My Bathtub Drain Needs to Be Replaced?
If your bathtub drain is causing frequent clogs, slow draining, or emitting foul odors, it might be time to consider a replacement. When these signs persist, it’s best to call a professional plumber for assistance.
Can I Remove the Drain Flange Without Removing the Overflow Plate?
Yes, you can remove the drain flange without removing the overflow plate. Start by cleaning the drain area thoroughly. Then, use a drain key or pliers to unscrew the flange counterclockwise until it comes off.
What Should I Do if the Drain Shoe Is Stuck and Won’t Come Off?
If the drain shoe is stuck and won’t budge, I would suggest exploring alternative solutions like using lubricants or applying heat. However, if these methods fail, it may be wise to seek professional help.
Can I Reuse the Old Drain Components When Installing a New Drain?
Yes, you can reuse the old drain components when installing a new drain. However, it is important to note that there are alternative drain options available that may provide better performance and longevity.
Conclusion
In conclusion, removing a bathtub drain may seem like a daunting task, but with the right tools and step-by-step instructions, it can be easily accomplished.
By following the outlined steps, you can successfully remove and replace your bathtub drain, giving your bathroom a fresh and updated look.
Did you know that according to a recent survey, 65% of homeowners prefer to tackle home improvement tasks themselves? So why not join the DIY trend and give it a try?