I’ve been dealing with a stubborn bathtub drain flange for a while now, and let me tell you, it’s been quite a hassle. But fear not, because I’ve finally cracked the code on how to remove it!
In this article, I’ll walk you through the step-by-step process of removing a bathtub drain flange. With the right tools and a little bit of patience, you’ll have that pesky flange out in no time.
So, let’s dive in and get to work!
Key Takeaways
- Regular maintenance is important for proper drainage and to prevent clogs.
- Different methods may be needed to remove the drain stopper and flange, such as twisting, pulling, or using pliers or a drain key.
- Cleaning the drain area involves using a plunger, drain snake, or a mixture of baking soda and vinegar to remove clogs and buildup.
- When reinstalling the drain flange, it is important to align it properly, tighten it securely, and test for any leaks.

Keurig K-Mini Single Serve K-Cup Pod Coffee Maker, 6 to 12oz Brew size, with Cord Storage, Perfect for Small Spaces, Black
FITS ANYWHERE: Less than 5 inches wide, perfect for small spaces.
As an affiliate, we earn on qualifying purchases.
Tools and Materials Needed
You’ll need a screwdriver, pliers, and a drain removal tool to remove the bathtub drain flange. Before I dive into the process, let’s talk about the importance of bathtub drain maintenance.
Regular maintenance ensures proper drainage and prevents clogs, which can lead to costly repairs.
Now, let’s move on to bathtub drain installation. To remove the drain flange, start by unscrewing the screws holding the cover plate in place. Once the cover plate is removed, use pliers to grip the drain flange and turn it counterclockwise. If the flange is stubborn, a drain removal tool can be used for added leverage.
With the flange removed, you’re one step closer to preparing the bathtub for the next phase of the project.

My K-Cup® Reusable Coffee Filter
BREW WITH GROUND COFFEE: Brew a single cup using your own favorite ground coffee
As an affiliate, we earn on qualifying purchases.
Preparing the Bathtub
To get started, make sure the bathtub is completely empty and free of any standing water. Before beginning any bathtub maintenance or repair, it’s crucial to create a safe working environment.
Start by removing any items from the bathtub, such as soap dishes or shower caddies. Next, thoroughly clean the bathtub to remove any dirt or debris that may hinder the repair process. Use a mild cleanser and a non-abrasive sponge to scrub the surface. Pay close attention to the area around the drain, as it tends to accumulate grime.
Rinse the bathtub thoroughly and dry it completely. Once the bathtub is clean and dry, you can proceed to the next step of removing the drain stopper.

Stainless Steel Flat Beater for KitchenAid 4.5-5 Qt Tilt-Head Stand Mixers, Fits Classic, Classic Plus, Artisan Series, Heavy Duty Replacement for K45SS, KSM75, KSM150, Dishwasher Safe
🌟【Heavy-Duty Durability】Engineered for superior strength and longevity, this replacement paddle is built to handle heavy-duty mixing tasks. From...
As an affiliate, we earn on qualifying purchases.
Removing the Drain Stopper
Removing the drain stopper can sometimes be a challenging task, depending on the type of stopper and how it is installed. Some stoppers are designed to be easily removable, requiring just a simple twist or pull to release them from the drain.
However, others may be more difficult to remove, especially if they are old or have been installed improperly. In such cases, alternative removal methods, such as using pliers or a drain key, may be necessary to successfully remove the stopper without causing damage to the bathtub or the plumbing system.
Difficulty Level for Removal
It’s important to consider the difficulty level when attempting to remove a bathtub drain flange. The difficulty level can vary depending on factors such as the age of the flange, the type of material it is made of, and any previous attempts at removal.
To start the removal process, you will need a few essential tools. These include a pair of pliers, a drain key or wrench, and a screwdriver. The pliers will help you grip and turn the flange, while the drain key or wrench will assist in loosening it.
If you encounter difficulty with these traditional methods, there are alternative approaches to consider. One method involves using a drill to create holes in the flange, allowing for easier removal. Another option is to use a heat gun to soften any adhesive or caulking holding the flange in place.
Alternative Removal Methods
Using alternative methods, you can effectively eliminate the difficulty of removing a bathtub drain flange. There are several removal alternatives and quick techniques that can make this task easier for you.
One method is to use a drain key tool, which is specifically designed to remove drain flanges. This tool has a special shape that fits into the flange and allows you to turn it counterclockwise to loosen and remove it.
Another technique is to use a pair of pliers or channel locks to grip the flange and turn it in a counterclockwise direction. This method may require more force, but it can be effective if the flange is not too tightly secured.
Additionally, applying heat to the flange with a heat gun or hairdryer can help to loosen any adhesive or caulk that may be holding it in place.
KitchenAid Stand Mixer Attachment, Food Grinder KSMMGA, Metal Food Grinder
Connect to any household KitchenAid Stand Mixer power hub and use the power of the motor to run...
As an affiliate, we earn on qualifying purchases.
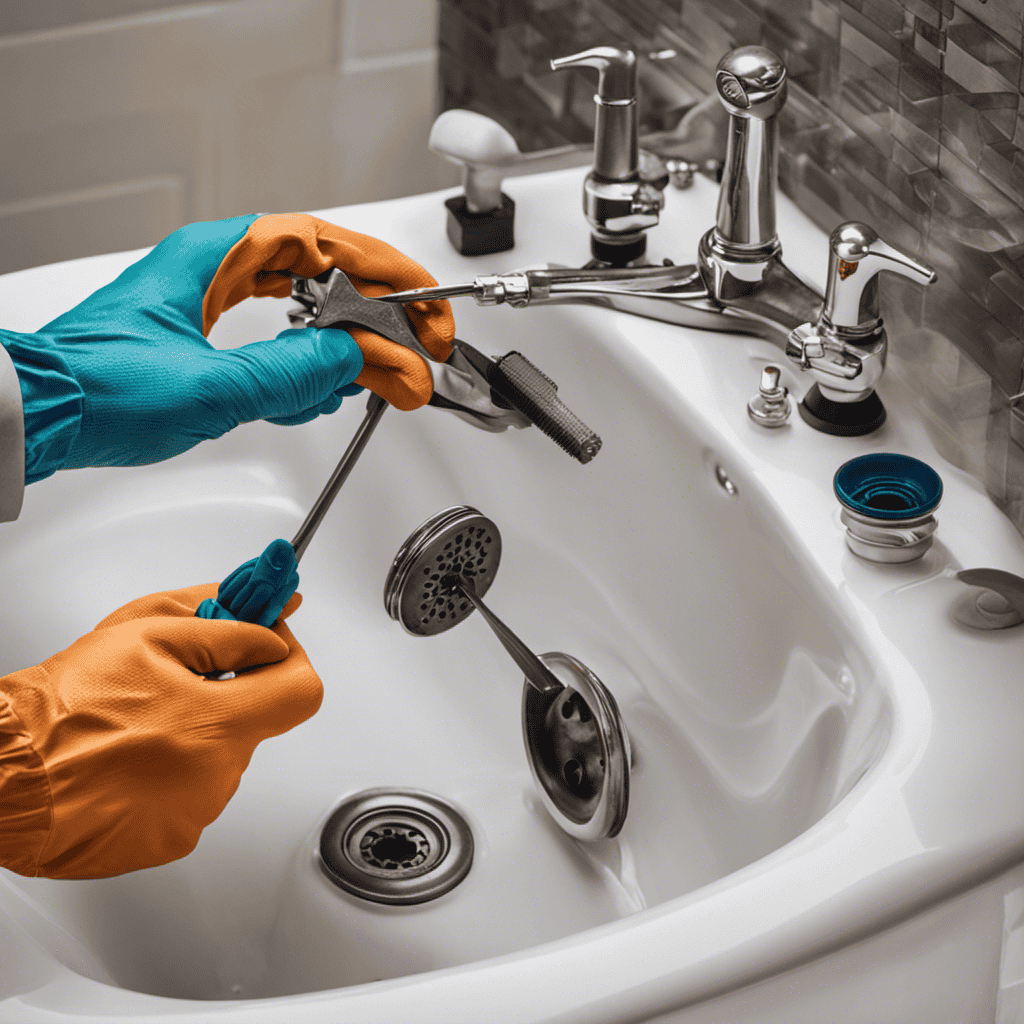
Loosening the Drain Flange
To remove the drain flange, you’ll need a few tools: a drain key, pliers, and a screwdriver.
The step-by-step loosening process involves:
- Insert the drain key into the drain flange.
- Turn the drain key counterclockwise to loosen the flange.
- Use pliers to grip the flange.
- Continue turning the flange counterclockwise until it is completely loosened.
- Finally, use a screwdriver to remove any screws that may be securing the flange in place.
Tools for Removing
You’ll need a pair of pliers to remove the bathtub drain flange. This tool is essential for the bathtub drain removal and repair process.
The pliers will provide the necessary grip and leverage to loosen and remove the flange. When choosing pliers, opt for a pair with long, sturdy handles and a wide jaw opening. This will ensure a secure grip on the flange without any slipping. Additionally, look for pliers with a slip-resistant grip to enhance your control and maneuverability.
Once you have the pliers ready, you can proceed to the step-by-step loosening process, which will guide you through the necessary actions to successfully remove the drain flange.
Step-By-Step Loosening Process
First, grip the pliers firmly around the edges of the metal piece.
To successfully remove a bathtub drain flange, it is crucial to use the correct loosening technique. Here are some common mistakes to avoid:
-
Applying too much force: Instead of forcefully yanking the flange, it is important to use controlled pressure to avoid damaging the surrounding area.
-
Using the wrong tool: Ensure you are using the appropriate tool, such as a drain wrench or drain key, to effectively grip and turn the flange.
-
Neglecting to lubricate: Applying a lubricant, such as WD-40 or penetrating oil, can significantly ease the loosening process by reducing friction between the flange and the drain pipe.
-
Forgetting to secure the drain: Before attempting to remove the flange, make sure to secure the drain pipe to prevent it from rotating along with the flange.
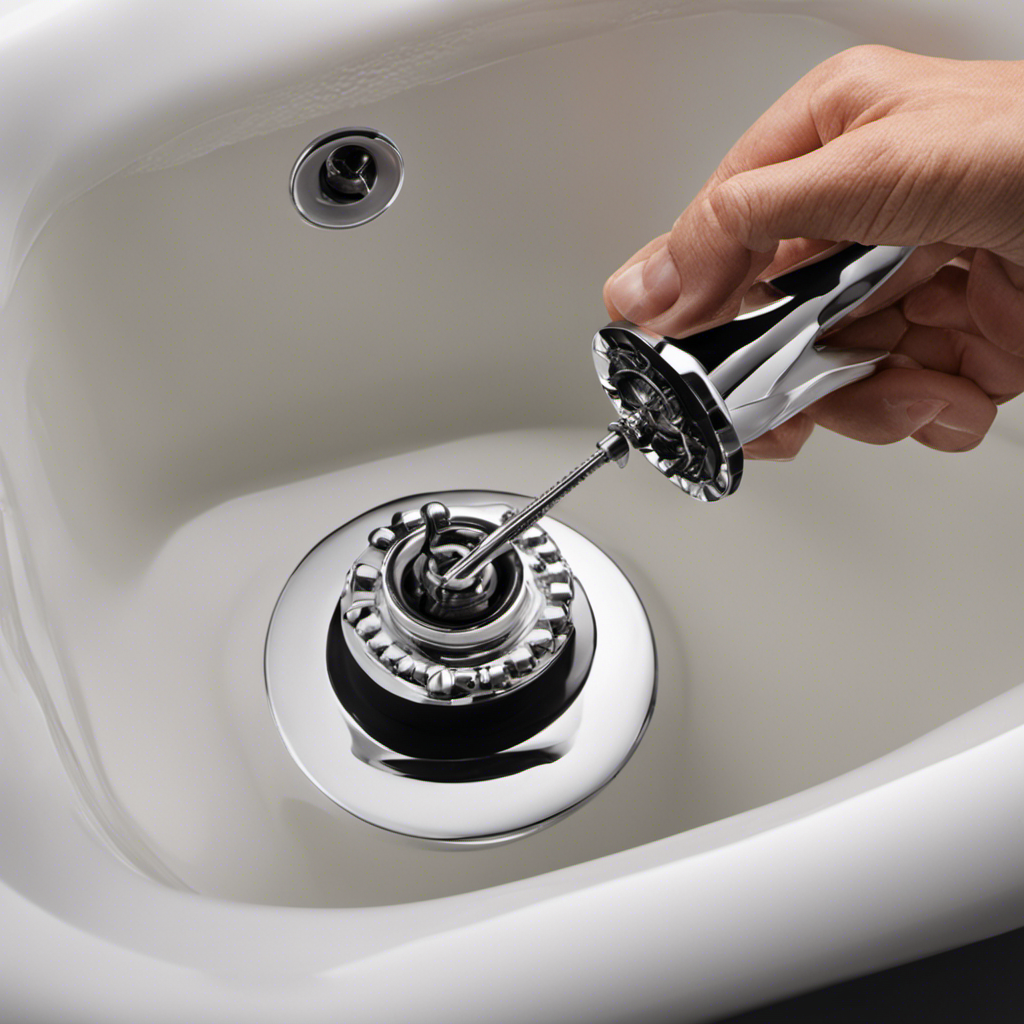
Removing the Drain Flange
Once you’ve loosened the screws, carefully lift the drain flange out of the bathtub.
Removing the drain flange requires a few techniques to ensure success. First, use a drain key or a drain wrench to grip the crossbars inside the flange. Turn counterclockwise to loosen it. If the flange is stubborn, you can try using a hammer and chisel to create notches for better grip. Another method is to use a pair of pliers, grasping the flange and turning it counterclockwise. Be cautious not to damage the tub surface.
Once the flange is loose, lift it straight up and out of the drain. Remember to be gentle, as excessive force can cause damage.
Now, with the drain flange removed, it’s time to move on to cleaning the drain area.
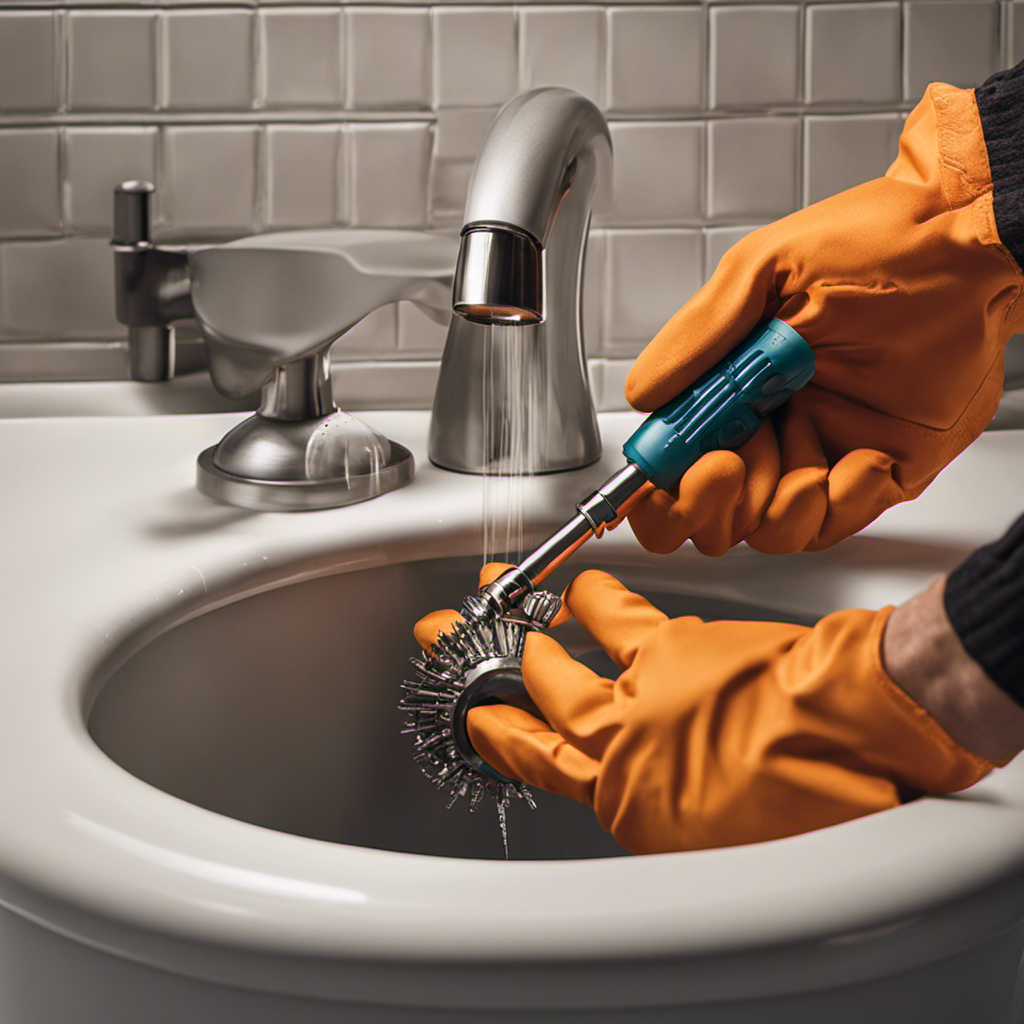
Cleaning the Drain Area
Now that the flange has been taken out, it’s time to clean the area around the drain. Cleaning the drain area is an essential step in maintaining a healthy and functional bathtub drain. Here are some cleaning techniques to help you tackle common drain problems:
-
Use a plunger to remove any clogs or blockages in the drain pipe. Apply firm pressure and alternate between quick plunges and slow pulls to dislodge the debris.
-
Mix equal parts baking soda and vinegar to create a natural cleaning solution. Pour it down the drain and let it sit for 15 minutes before flushing it with hot water. This will help eliminate odors and dissolve any built-up residue.
-
Use a drain snake to remove stubborn hair and debris that may be causing a blockage. Insert the snake into the drain and rotate it clockwise to catch and pull out the clog.
-
Regularly clean the drain stopper and overflow plate to prevent grime and soap scum buildup. Remove them and scrub with a mixture of dish soap and warm water.
Reinstalling the Drain Flange
To reinstall the drain flange, follow these steps:
-
Align the drain flange with the drain opening and use a wrench to tighten it securely in place. This is important to ensure a proper seal and prevent leaks.
-
When aligning the drain flange, make sure it sits flush with the bathtub surface and the holes line up with the screws.
-
Apply a bead of plumber’s putty around the edge of the drain opening to create a watertight seal.
-
Carefully lower the drain flange into the opening, ensuring that it fits snugly.
-
Once in position, use a wrench to tighten the screws clockwise until the flange is securely in place. Avoid overtightening, as this can damage the flange or the bathtub surface.
-
Finally, wipe away any excess putty and test for leaks by running water into the bathtub.
Conclusion
Removing a bathtub drain flange may seem like a daunting task, but with the right tools and a little patience, it can be done. By following the steps outlined in this article, you can successfully remove the drain flange and clean the drain area, ensuring a properly functioning bathtub.
So go ahead, dive into this project and unleash your inner plumbing superhero! Trust me, you’ll feel like you can conquer any plumbing challenge after conquering this one.