As I dive into the depths of bathtub repair, I find myself confronted with the challenge of removing a stubborn spigot. In this guide, I will share with you my tried and tested method to conquer this task with ease.
Armed with the necessary tools and a firm understanding of the process, we will shut off the water supply, dismantle the handle and trim plate, detach the spigot from the wall, and finally, clean and install a new spigot.
Let’s embark on this watery adventure together!
Key Takeaways
- Select the appropriate replacement spigot based on the type of bathtub spigot you currently have (compression, cartridge, or ball)
- Shut off the water supply by locating the water shut-off valves near the bathtub or in the basement and turning them clockwise
- Remove the handle and trim plate by gently prying off the handle and removing the screws or bolts holding the trim plate in place
- Detach the spigot from the wall by using an adjustable wrench to loosen the nuts connecting the water supply lines and using a pipe wrench to unscrew the spigot from the wall

LEIVI Electric Bidet Toilet Seat with Wireless Remote and Side Panel, Multiple Spray Modes, Adjustable Heated Seat, Warm Water and Air Dryer, Auto LED Nightlight, Elongated
User-Friendly & Feature-Rich - This electronic bidet toilet seat delivers a premium bathroom experience with user-friendly design. Features...
As an affiliate, we earn on qualifying purchases.
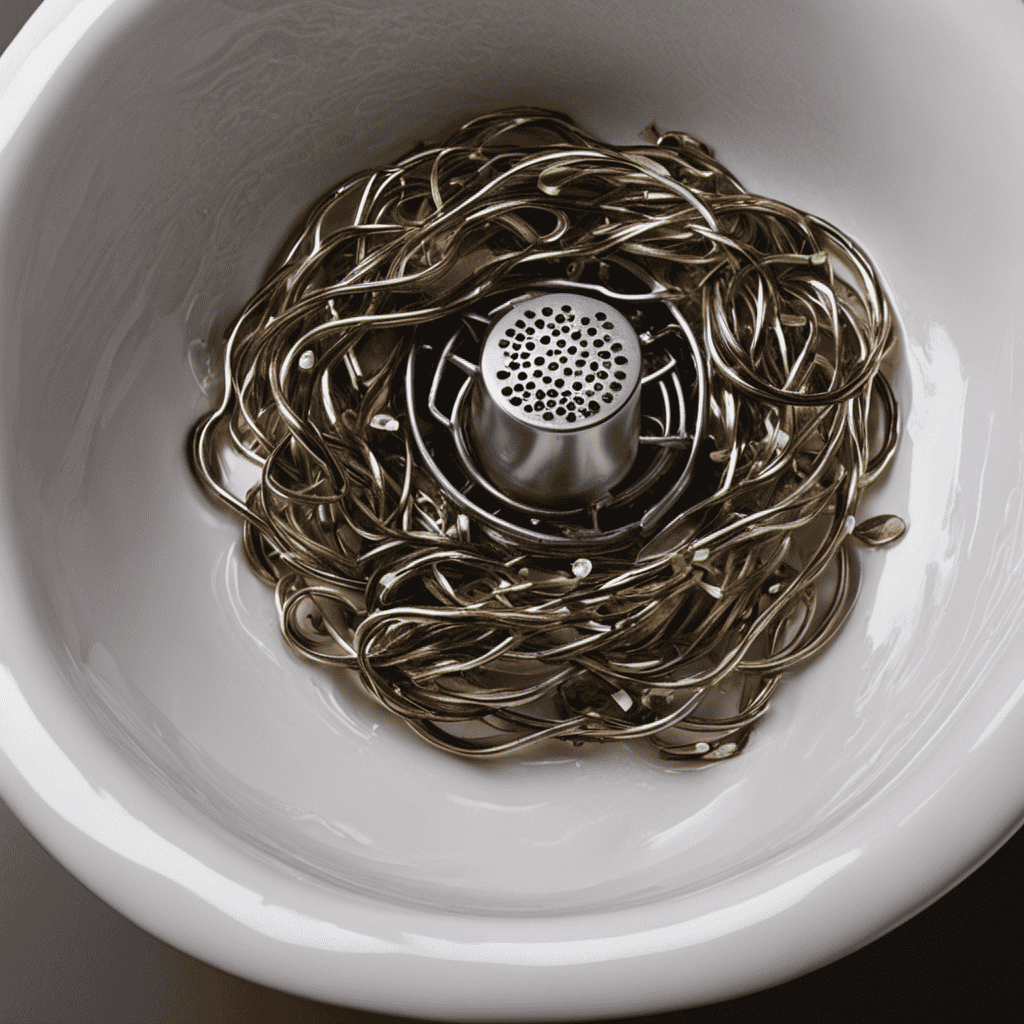
Gathering the Necessary Tools
First, you’ll need to gather all the necessary tools for removing the bathtub spigot. When selecting the right replacement spigot, it’s important to consider the type of bathtub spigot you currently have. There are three main types: compression, cartridge, and ball. Each type requires a different removal process, so understanding which type you have is crucial.
To remove the spigot, you will need a few tools, including an adjustable wrench, pliers, a screwdriver, and possibly a pipe wrench or Allen wrench depending on the type. Additionally, it’s a good idea to have some plumber’s tape on hand for sealing the new spigot.
Once you have gathered all the necessary tools, you can proceed to the next step of shutting off the water supply.
Kohler PureWash M300 Manual Elongated Bidet Toilet Seat, Chrome Handle, Quiet-Close Lid Prevents Slamming, Toilet Bidet, Easy Installation with Quick-Release Hinges, Self-Cleaning Wand
The manually operated handle on this non electric bidet requires no batteries or electrical power. The Quiet-Close� elongated...
As an affiliate, we earn on qualifying purchases.
Shutting off the Water Supply
To begin, you’ll want to locate the water shut-off valves in order to turn off the water supply to your bathtub. These valves are usually located near the bathtub or in the basement. Once you’ve found them, turn them clockwise to shut off the water flow.
It’s important to shut off the water supply before proceeding to avoid any potential leaks or damage. After shutting off the water, it’s a good idea to check for any leaks around the valves or pipes. Look for any signs of water dripping or moisture. If you notice any leaks, it’s important to address them before continuing with the removal process.
Now that you’ve shut off the water supply and checked for leaks, you’re ready to move on to the next step: removing the handle and trim plate.

Clirass Bidet Toilet Seat, Soft Close Elongated Toilet Seat, Button control Feminine/Posterior Wash Switch, Knob Control Water Pressure,White Bidet Seat Attachment with Brass inlet Easy Installation
Dual Nozzles Bidet Function: The elongated toilet seat can be chosen from feminine wash, rear wash and nozzles...
As an affiliate, we earn on qualifying purchases.
Removing the Handle and Trim Plate
Now that you’ve shut off the water supply, you’ll want to gently pry off the handle using a flathead screwdriver. Start by locating the small hole or slot on the handle. Insert the flathead screwdriver into the hole or slot and carefully pry the handle off. Be cautious not to apply too much force, as this may damage the handle or the surrounding area.
Once the handle is removed, you can access the trim plate. The trim plate is the decorative cover that surrounds the handle and provides a finished look to the spigot. Different types of trim plates exist for bathtub spigots, including round, square, and rectangular ones. To remove the trim plate, use a screwdriver or Allen wrench to loosen the screws or bolts holding it in place. Once the screws or bolts are loosened, you can easily lift off the trim plate.
Proper maintenance of bathtub spigot handles and trim plates is essential to ensure their longevity and functionality. Regularly inspect them for any signs of wear or damage, and promptly replace any worn-out parts.
CLEAR REAR Elongated Bidet Toilet Seat – Non Electric Attachment for Toilets, Easy to Install Self Cleaning, Rear & Feminine Wash Nozzles, Adjustable Water Sprayer, Eco Friendly Hygienic Upgrade
EASY, NON-ELECTRIC INSTALLATION IN MINUTES: Fits most standard elongated toilets with a bowl length of approximately 18-19.5 inches....
As an affiliate, we earn on qualifying purchases.
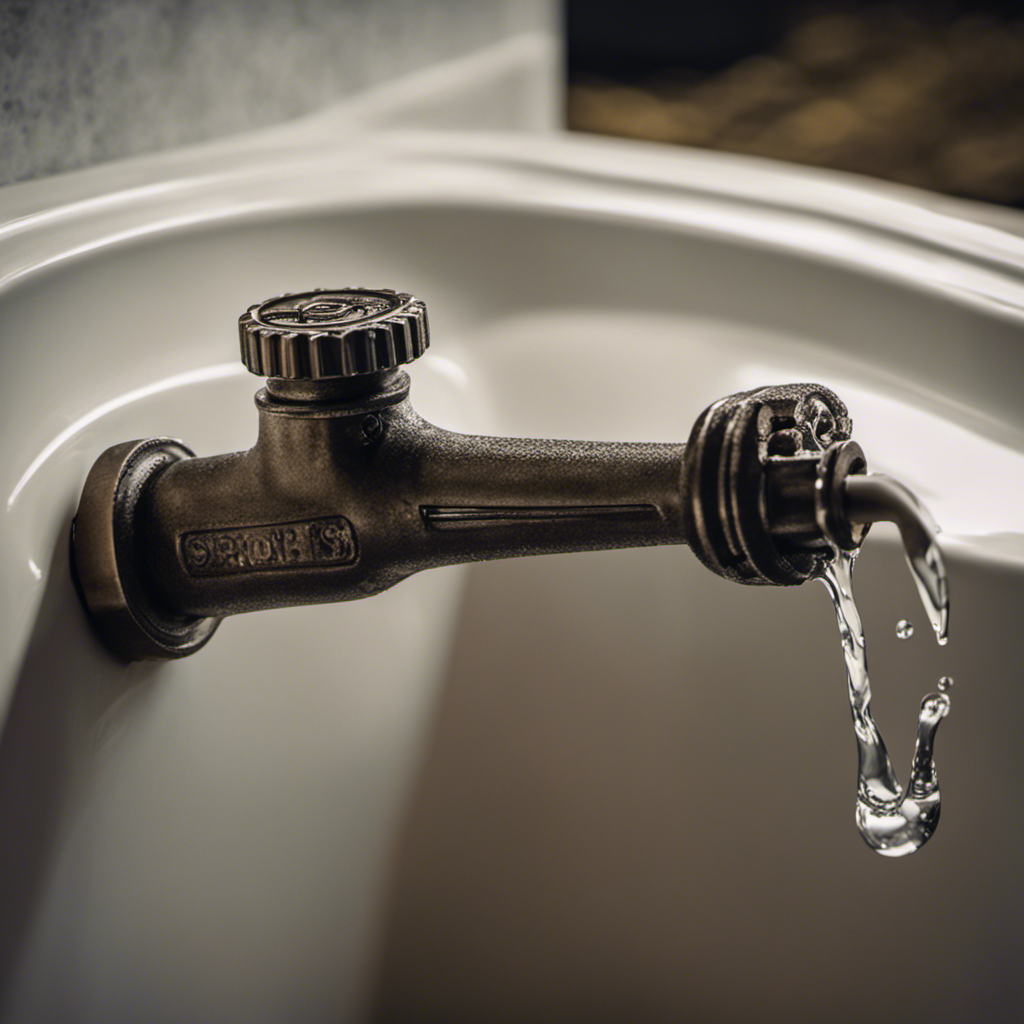
Detaching the Spigot From the Wall
After detaching the handle and trim plate, it’s time to disconnect the spigot from the wall. This step is crucial when repairing a leaking spigot or replacing it with a new one.
To do this, locate the water supply lines connected to the spigot and turn off the water supply. Use an adjustable wrench to loosen the nuts connecting the water supply lines to the spigot. Once the nuts are loosened, carefully remove the water supply lines.
Next, use a pipe wrench to unscrew the spigot from the wall. Different types of spigots may require different methods of detachment, so it’s important to consult the manufacturer’s instructions if available.
Once the spigot is disconnected, proceed to the next step of cleaning and installing the new spigot.
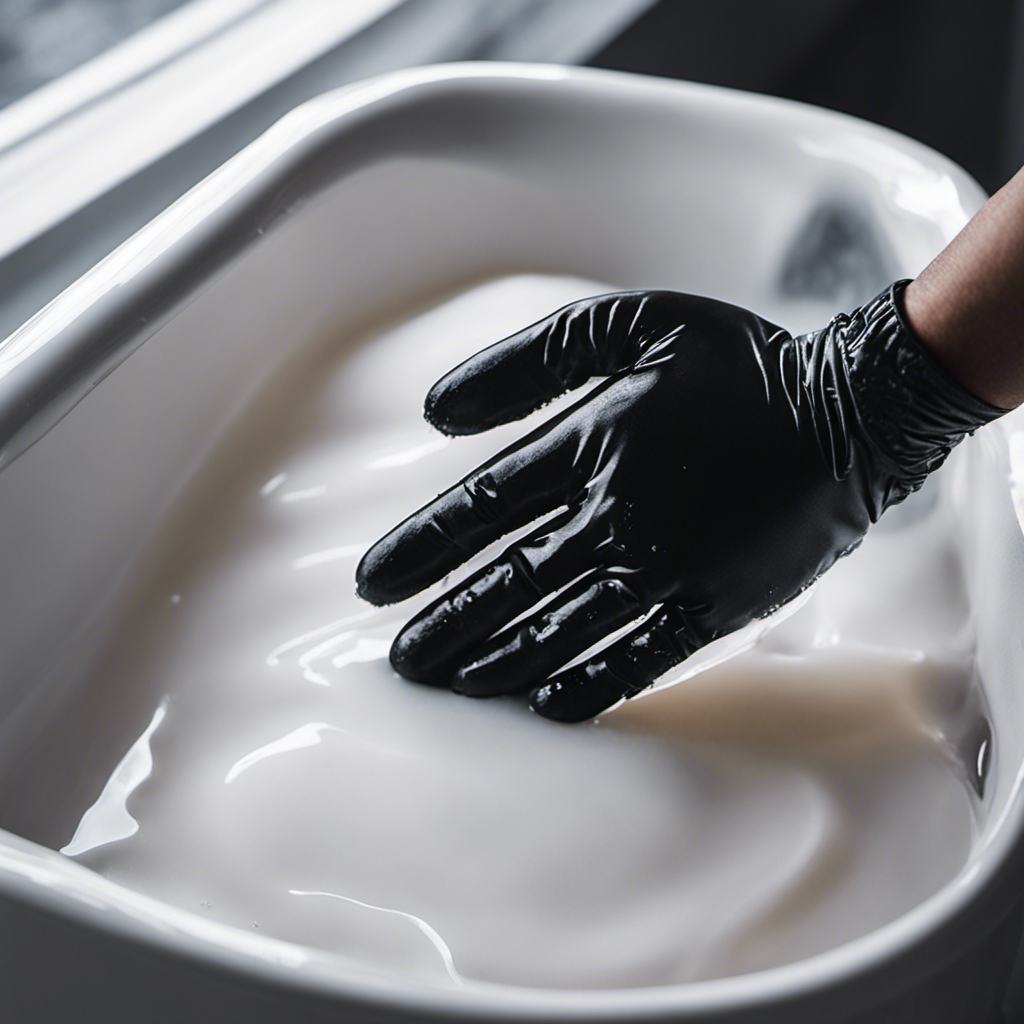
Cleaning and Installing the New Spigot
Once you’ve successfully detached the old spigot, it’s time to clean and install the new one.
First, let’s focus on cleaning the old spigot. Start by removing any dirt, grime, or mineral deposits from the surface using a soft cloth and a mild cleaning solution. Ensure that all areas are thoroughly cleaned, including the threads and the aerator. This will help prevent any potential leaks or blockages with the new spigot.
Once the old spigot is clean, it’s time to move on to the installation process. Begin by applying plumber’s tape to the threaded end of the new spigot. This will provide a tight seal and prevent any water leakage. Then, carefully thread the new spigot onto the water pipe, making sure it is secure but not overly tightened.
Frequently Asked Questions
How Do I Know if I Have a Bathtub Spigot That Needs to Be Replaced?
To determine if I need to replace my bathtub spigot, I should check for signs of a faulty spigot, such as leaks, low water pressure, or difficulty turning the handle. Knowing how to replace a bathtub spigot will ensure a smooth process.
Can I Remove the Bathtub Spigot Without Shutting off the Water Supply?
No, it is not possible to remove a bathtub spigot without shutting off the water supply. Using a wrench may help in loosening the spigot, but the water supply must be turned off first.
What Should I Do if the Spigot Is Stuck and Won’t Easily Detach From the Wall?
If the spigot is stuck and won’t detach easily, I can try repairing it by using lubricant. Applying lubricant to the area where the spigot connects to the wall may help loosen it.
Are There Any Additional Steps I Need to Take After Removing the Spigot From the Wall?
After removing the bathtub spigot, it’s important to inspect it for any damage or wear. Clean the spigot and check the O-rings and washers for replacement if necessary. Regular maintenance ensures proper functioning.
Can I Install a Different Type of Spigot Than the One I Currently Have in My Bathtub?
Sure, you can install a different spigot in your bathtub. Different styles offer unique features and aesthetics. Consider the pros and cons of materials like brass, chrome, and stainless steel to make an informed decision.
Conclusion
So there you have it, folks! Removing a bathtub spigot may seem like a daunting task, but with the right tools and a little know-how, it can be a straightforward process.
By following the steps outlined in this article, you can successfully remove your old spigot and install a new one, giving your bathroom a fresh and updated look.
Remember, a journey of a thousand miles begins with a single step, and in this case, that step is removing your bathtub spigot.
Happy renovating!