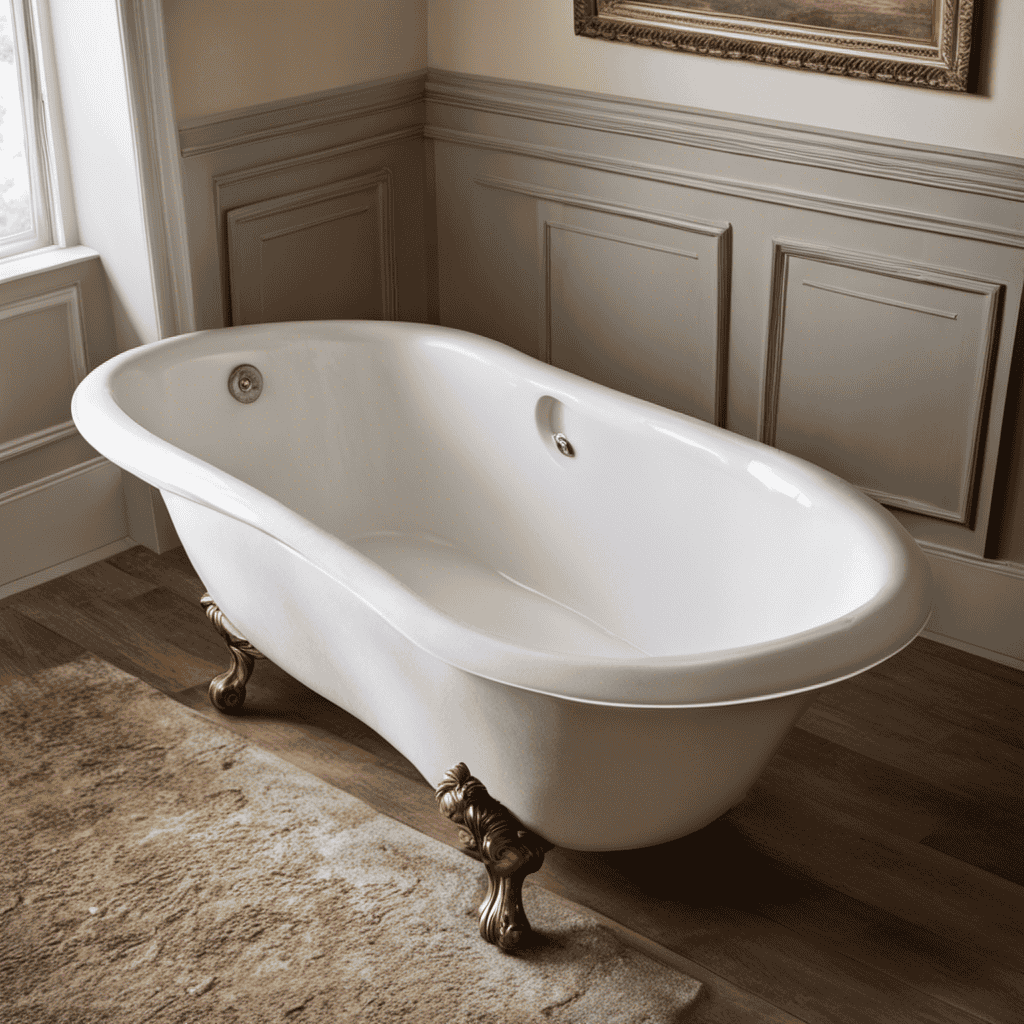
I’ve always been a DIY enthusiast, but when it came to removing a bathtub without damaging the tiles, I was hesitant. The thought of ruining the beautiful tilework in my bathroom was enough to give me sleepless nights.
But fear not, fellow DIYers! In this article, I’ll guide you through the step-by-step process of safely removing a bathtub, preserving those precious tiles, and restoring your bathroom to its former glory.
So, let’s dive right in and get our hands dirty!
Key Takeaways
- Prepare the bathroom by placing drop cloth or plastic sheeting over the floor and waterproofing the walls to minimize the risk of tile damage.
- Disconnect and remove plumbing fixtures by turning off water supply valves, loosening fittings, unscrewing drain cover, and sealing the drain opening to ensure a smooth removal process.
- Detach the bathtub from the tiles by cutting through caulking, gently prying the tub away from the tiles, and using a reciprocating saw if necessary while protecting the tiles.
- Clean and repair the tile surface by inspecting the condition of the tiles, cleaning them thoroughly, and performing regular grout maintenance to keep them in good condition.

Dual-Flush Actuator Plate for Concealed Cisterns Jet Black Gloss Compatible with 115.770.DW.5 Sigma01 Wall Mount Toilets Series
Color:Jet Black, Gloss; Material: High-quality molded plastic
As an affiliate, we earn on qualifying purchases.
Tools and Materials Needed
To remove a bathtub without damaging tiles, you’ll need a few tools and materials. First, gather a utility knife, pry bar, adjustable wrench, and a hammer. You’ll also need a drop cloth or plastic sheeting to protect the surrounding area.
Before starting, turn off the water supply and disconnect the drain and overflow pipes.
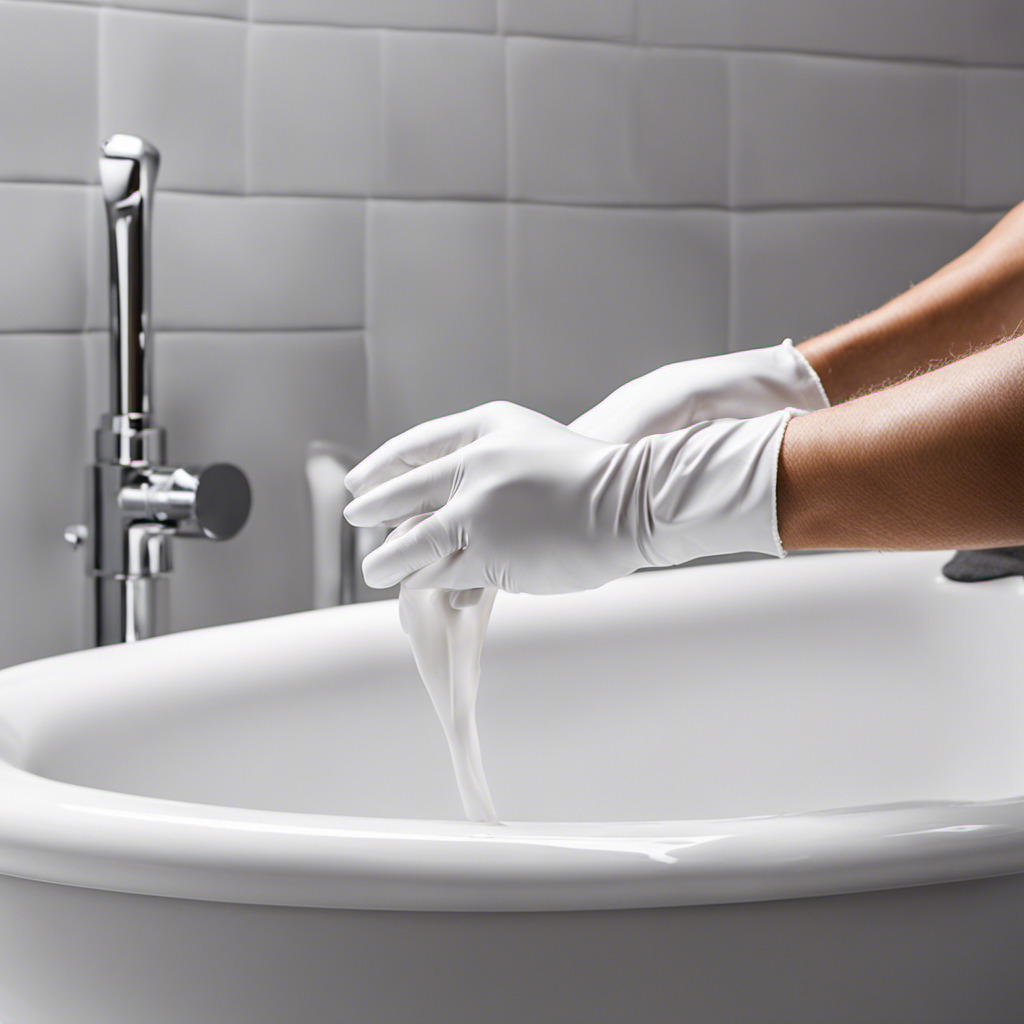
Start by removing the caulk around the edges of the bathtub using the utility knife.
Next, use the pry bar to carefully lift the bathtub away from the wall. Be sure to start at one end and work your way around to avoid damaging the tiles.
Place a piece of plywood or cardboard on the floor to rest the bathtub on.

Banhey Dual Flush Actuator Plate, Compatible with Geberit 115.770.46.5. Replacement Parts for Concealed Cistern Toilet Repair (White)
Exquisite Appearance and Multiple Color Options of Toilet Tank Parts: The dual-flush actuator plate in the toilet tank...
As an affiliate, we earn on qualifying purchases.
Preparing the Bathroom for Bathtub Removal
Before starting, make sure the bathroom is properly prepared for the removal of the bathtub. This involves taking certain steps to protect the surrounding tile flooring and waterproofing the bathroom walls.
To protect the tiles, I recommend placing a drop cloth or plastic sheeting over the entire floor area around the bathtub. This will prevent any accidental damage that may occur during the removal process.
Additionally, it is crucial to ensure that the bathroom walls are properly waterproofed before removing the bathtub. This can be done by applying a waterproofing membrane or sealant to the walls, especially in areas prone to moisture and water exposure.
By taking these precautions, you can minimize the risk of any damage to the tiles and ensure a smooth removal process.
Now, let’s move on to disconnecting and removing the plumbing fixtures.
Ensurix 1200W Macerator Pump – 2800GPH, 28FT Vertical Lift Toilet Water Pump with Anti-Backflow, PCB Smart Control, IPX4 Waterproof, Macerator Pump Basement for Toilet, Sink, Bathroom etc.
STRONG POWER & HIGH EFFICIENCY – Equipped with a 1.6HP motor, this macerator pump supports 28ft vertical and...
As an affiliate, we earn on qualifying purchases.
Disconnecting and Removing Plumbing Fixtures
Now you can start by disconnecting and removing the plumbing fixtures in the bathroom. This is an important step in replacing old plumbing and ensuring a smooth removal process. Here’s what you need to do:
-
Turn off the water supply: Locate the shut-off valves for the bathroom fixtures and turn them off. This will prevent any water from flowing while you work.
-
Disconnect the supply lines: Using a wrench or pliers, loosen the fittings connecting the supply lines to the fixtures. Be careful not to damage the pipes or fittings.
-
Remove the drain assembly: Unscrew the drain cover and remove it. Then, use a drain wrench to disconnect the drain pipe from the tub. It may require some force, so be prepared.
Once you have disconnected and removed all the plumbing fixtures, you can proceed with sealing the drain opening to prevent any debris or odors from entering the bathroom.

600W Macerating Toilet for Basement,Upflush Toilet System Connect Dual Flush & Rear Outlet Toilet, Sink & Tub,included Toilet Bowl, Water Tank & Macerator Pump SUPERFLO
Macerating toilet system: Toilet pump sewage upwards to 32.8 feet and/or 263 feet horizontally, effectively solving sewage problems...
As an affiliate, we earn on qualifying purchases.
Detaching the Bathtub From the Tiles
After disconnecting and removing the plumbing fixtures, it’s important to detach the bathtub from the tiles carefully.
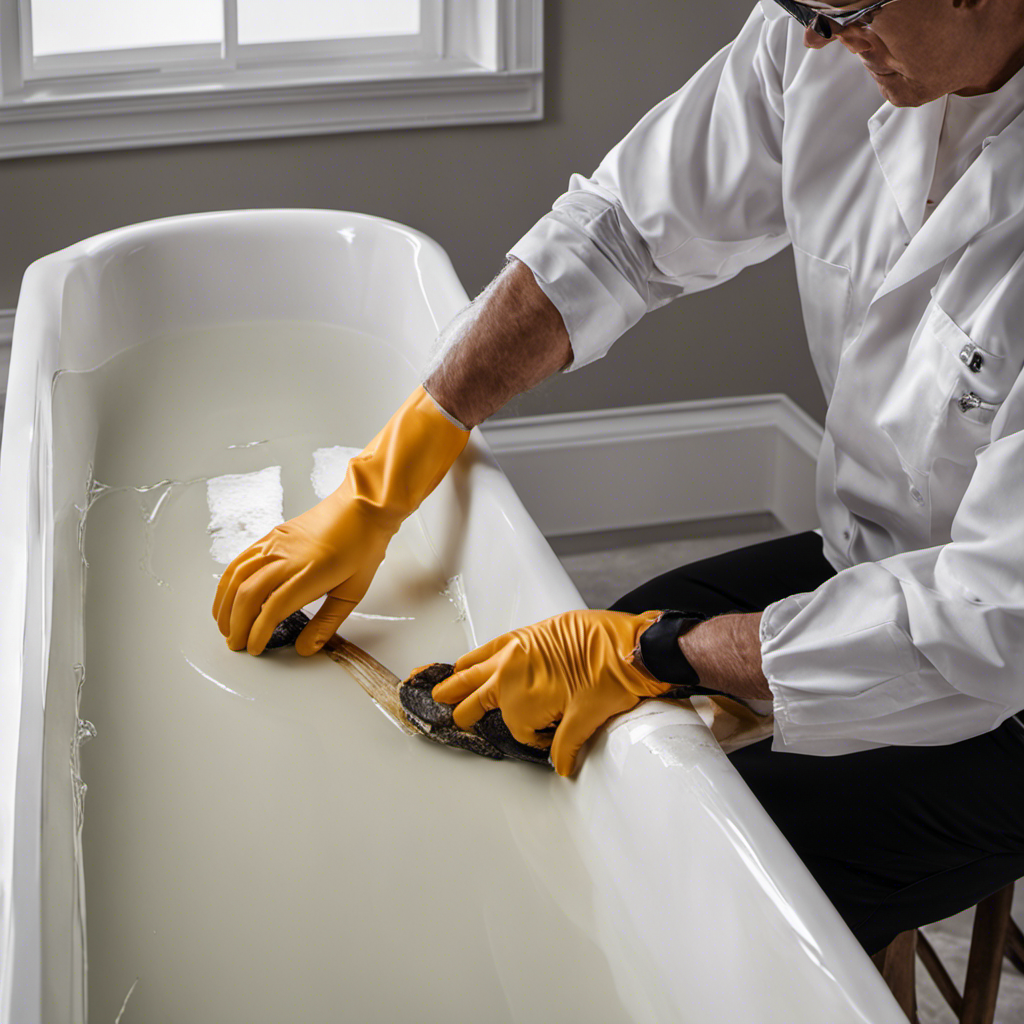
To begin the bathtub removal process, I recommend using a utility knife to cut through the caulking around the edges of the tub. This will help loosen the bathtub from the tiles.
Once the caulking is cut, I suggest using a pry bar or a crowbar to gently pry the tub away from the tiles. Be sure to apply even pressure to avoid causing any damage to the tiles.
If the bathtub is still firmly attached, you may need to use a reciprocating saw to cut through any nails or screws securing it to the wall. Remember to protect the tiles by placing a cloth or cardboard between the tub and the tiles while prying or cutting.
Once the bathtub is detached, you can proceed to the next step of cleaning and repairing the tile surface.
Cleaning and Repairing the Tile Surface
To effectively clean and repair the tile surface, start by gathering the necessary cleaning supplies and inspecting the condition of the tiles. This will ensure that you have everything you need and can identify any areas that require special attention.
Here are three important steps to follow:
-
Begin by cleaning the tiles and grout thoroughly. Use a mild detergent or tile cleaner and scrub the surface with a soft brush or sponge. Pay extra attention to any stained or discolored areas and apply a grout cleaner if necessary.
-
Once the tiles are clean, inspect them for any cracks, chips, or loose tiles. If you find any damaged tiles, you will need to replace them. Carefully remove the damaged tile using a chisel and hammer, then clean the area before installing the new tile.
-
Finally, perform regular grout maintenance to keep the tile surface in good condition. This includes resealing the grout every few years to prevent moisture and dirt from seeping in.
Frequently Asked Questions
How Long Does It Typically Take to Remove a Bathtub Without Damaging Tiles?
Removing a bathtub without damaging tiles typically takes around 4-6 hours. To protect tiles, use a drop cloth and painter’s tape. The necessary tools include a pry bar, utility knife, and a reciprocating saw.
Can I Remove the Bathtub by Myself or Do I Need Professional Help?
I can remove the bathtub safely myself or hire professional help. It depends on my level of experience and comfort with DIY projects. Both options have their pros and cons, so I should carefully consider my abilities and resources.
Are There Any Alternative Methods to Removing a Bathtub Without Damaging Tiles?
There are alternative methods to remove a bathtub without damaging tiles. Some bathtub removal hacks involve using a reciprocating saw, cutting the tub into smaller pieces, and reusing the bathtub in another location.
What Should I Do if I Accidentally Damage a Tile While Removing the Bathtub?
If I accidentally damage a tile while removing the bathtub, I would first assess the extent of the damage. If it’s minor, I can repair it using tile adhesive and grout. For major damage, it’s best to consult a professional.
Can I Reuse the Bathtub After It Has Been Removed?
Yes, you can reuse the removed bathtub. However, the cost of bathtub removal may vary depending on factors like plumbing disconnection and tile damage repair. It’s important to consider these expenses before deciding to reuse the bathtub.
Conclusion
Removing a bathtub without damaging tiles requires careful preparation and the right tools. By following the steps outlined in this article, you can successfully disconnect and remove plumbing fixtures, detach the bathtub from the tiles, and clean and repair the tile surface.
It may seem like a daunting task, but with the proper technique and attention to detail, you can achieve a seamless removal process. Remember to take your time and be patient, as this will ensure a successful outcome without any damage to your beautiful tile work.