
I’ve always thought of my steel bathtub as a sturdy fortress, protecting me from the chaos of the outside world. But now, it’s time for a change.
In this step-by-step guide, I’ll show you how to remove a steel bathtub and transform your bathroom into a blank canvas ready for a fresh start. With the right tools and a little bit of elbow grease, you’ll be able to conquer this task and create a space that reflects your personal style.
So, let’s roll up our sleeves and get started!
Key Takeaways
- Clear the space around the bathtub
- Disconnect the water supply and plumbing fixtures
- Protect surrounding fixtures and the bathroom area
- Safely remove the bathtub by following proper lifting techniques and working with a partner

HAUTMEC Tub Drain Remover Wrench Tool Heavy Duty Aluminum Shower Bathtub Drain Removal Tool PL0030
The dual ended tub drain wrench fits most inner diameter 1 3/8" and 1 1/2" tub drain shoe,ideal…
As an affiliate, we earn on qualifying purchases.
As an affiliate, we earn on qualifying purchases.
Tools and Materials Needed
To remove a steel bathtub, you’ll need a set of tools and materials. The most essential tools include a wrench, pliers, utility knife, pry bar, and a reciprocating saw. These tools will help you disconnect and remove the plumbing fixtures, cut through the caulk and adhesive holding the tub in place, and pry it away from the wall and floor.
Additionally, you’ll need protective gear such as gloves and safety goggles to ensure your safety during the process. It is important to avoid common mistakes such as using excessive force, which can damage the surrounding walls and floor.
Take your time, follow the proper steps, and use the right tools, and you’ll be able to successfully remove your steel bathtub.
bathtub demolition pry bar
As an affiliate, we earn on qualifying purchases.
As an affiliate, we earn on qualifying purchases.
Preparing the Bathroom
Before beginning the process of removing a steel bathtub, it’s important to prepare the bathroom properly.
This involves clearing the space to ensure easy access to the bathtub and surrounding area.
Additionally, disconnecting the water supply is crucial to avoid any potential leaks or water damage.
Lastly, protecting surrounding fixtures such as the toilet, sink, and floor is essential to prevent any accidental damage during the removal process.
Clearing the Space
First, make sure you’ve removed any items around the steel bathtub to clear the space. Before starting the removal process, it is crucial to clear any debris or objects that may obstruct your work area. This includes removing any toiletries, bath mats, or shower curtains.
Clearing the space not only ensures a safe working environment but also allows for easy access to the bathtub. Additionally, organizing your tools beforehand is essential for a smooth removal process. Gather all the necessary tools such as a wrench, screwdriver, and pry bar, and have them within reach. This will save you time and effort, eliminating the need to search for tools during the removal.
Disconnecting Water Supply
Make sure you’ve shut off the water supply before disconnecting the pipes. This step is crucial to prevent any water leakage or damage.
To disconnect the water supply, locate the shut-off valve, usually located near the fixture you are working on. Turn the valve clockwise until it stops to shut off the water flow.
Once the water supply is turned off, you can proceed to disconnect the pipes. Use a pipe wrench to loosen the nuts connecting the pipes to the fixture. Turn the nuts counterclockwise to loosen them.
Once the nuts are loose, you can easily remove the pipes from the plumbing fixtures. Remember to have a bucket or towel handy to catch any residual water that may spill out during the process.
Protecting Surrounding Fixtures
Once the water supply is shut off, you’ll need to protect the surrounding fixtures to prevent any accidental damage. Taking protective measures is crucial to avoid potential damages during the bathtub removal process. Here are some steps you can take to safeguard your fixtures:
| Fixture | Protective Measure |
|---|---|
| Sink | Cover with a thick cloth or plastic sheet to prevent scratches or chips. |
| Toilet | Place a soft padding over it to safeguard against accidental impacts. |
| Flooring | Lay down a protective covering, such as cardboard or drop cloths, to prevent scratches or stains. |
DEWALT 20V MAX Cordless Reciprocating Saw, Compact, Variable Speed, LED Light, Bare Tool Only (DCS387B)
With the compact and lightweight design, 14-inch in total length of DEWALT 20V reciprocating saw fits between studs…
As an affiliate, we earn on qualifying purchases.
As an affiliate, we earn on qualifying purchases.
Disconnecting Plumbing Fixtures
To remove a steel bathtub, start by disconnecting the plumbing fixtures. This is an important step in the process of removing a bathtub, as it ensures that the water supply and drain lines are properly disconnected and won’t cause any issues during the removal process.
Here are three steps to follow when disconnecting plumbing fixtures:
-
Turn off the water supply: Locate the shut-off valves for both hot and cold water supply lines and turn them clockwise to shut off the water flow. This will prevent any water from flowing into the bathtub while you work.
-
Disconnect the water supply lines: Use an adjustable wrench to loosen and disconnect the water supply lines from the faucet or valve connections. Be sure to have a bucket or towel handy to catch any remaining water in the lines.
-
Remove the drain assembly: Underneath the bathtub, locate the drain assembly and use a wrench to loosen and disconnect it from the drain pipe. Again, have a bucket or towel ready to catch any water that may still be in the drain.

HORUSDY 4 Pack Heavy Duty Pipe Wrench Set, Adjustable 8" 10" 12" 14" Soft Grip Plumbing Wrench Set with Storage Bag
The handle is made of high strength malleable cast iron, and the head is made of heavy forged…
As an affiliate, we earn on qualifying purchases.
As an affiliate, we earn on qualifying purchases.
Removing the Surrounding Tiles or Panels
When it comes to removing tiles or panels, it is important to have the necessary tools and equipment at hand. Some of the essential tools include a hammer, chisel, pry bar, and a grout removal tool. These tools will help in effectively removing the tiles without causing any damage to the surrounding areas.
Additionally, it is crucial to follow proper tile removal techniques, such as starting from a corner and gently tapping the chisel to loosen the tiles, to ensure a smooth and efficient process.
Necessary Tools and Equipment
You’ll need a few tools and equipment to remove a steel bathtub. Here are the necessary items:
-
Wrench or adjustable pliers: These tools will help you loosen and remove the nuts and bolts that hold the bathtub in place.
-
Pry bar or crowbar: This tool is essential for prying the bathtub away from the wall and floor. It will help you create enough space to lift and remove the tub.
-
Heavy-duty gloves and safety goggles: Safety should always be a priority when working with tools and equipment. Wear gloves to protect your hands from sharp edges and goggles to shield your eyes from debris.
To remove the bathtub, start by turning off the water supply and disconnecting the drain. Then, use the wrench or pliers to remove the nuts and bolts holding the tub in place.
Once the tub is free, use the pry bar to gently pry it away from the wall and floor. Remember to take your time and work carefully to avoid damaging the surrounding area.
Proper Tile Removal Techniques
Now that we have discussed the necessary tools and equipment for removing a steel bathtub, let’s move on to the proper tile removal techniques.
When removing tiles around a bathtub, it is important to take certain precautions to avoid damaging the bathtub itself. Start by using a utility knife to cut through the grout lines between the tiles.
Then, using a chisel and a hammer, gently tap the chisel under the tiles to loosen them from the adhesive. Take care not to apply excessive force, as this may cause cracks or dents in the bathtub.
Once the tiles are removed, you can assess the condition of the bathtub and decide on the appropriate bathtub refinishing options. These options may include reglazing, resurfacing, or replacing the bathtub entirely.
Loosening and Detaching the Bathtub
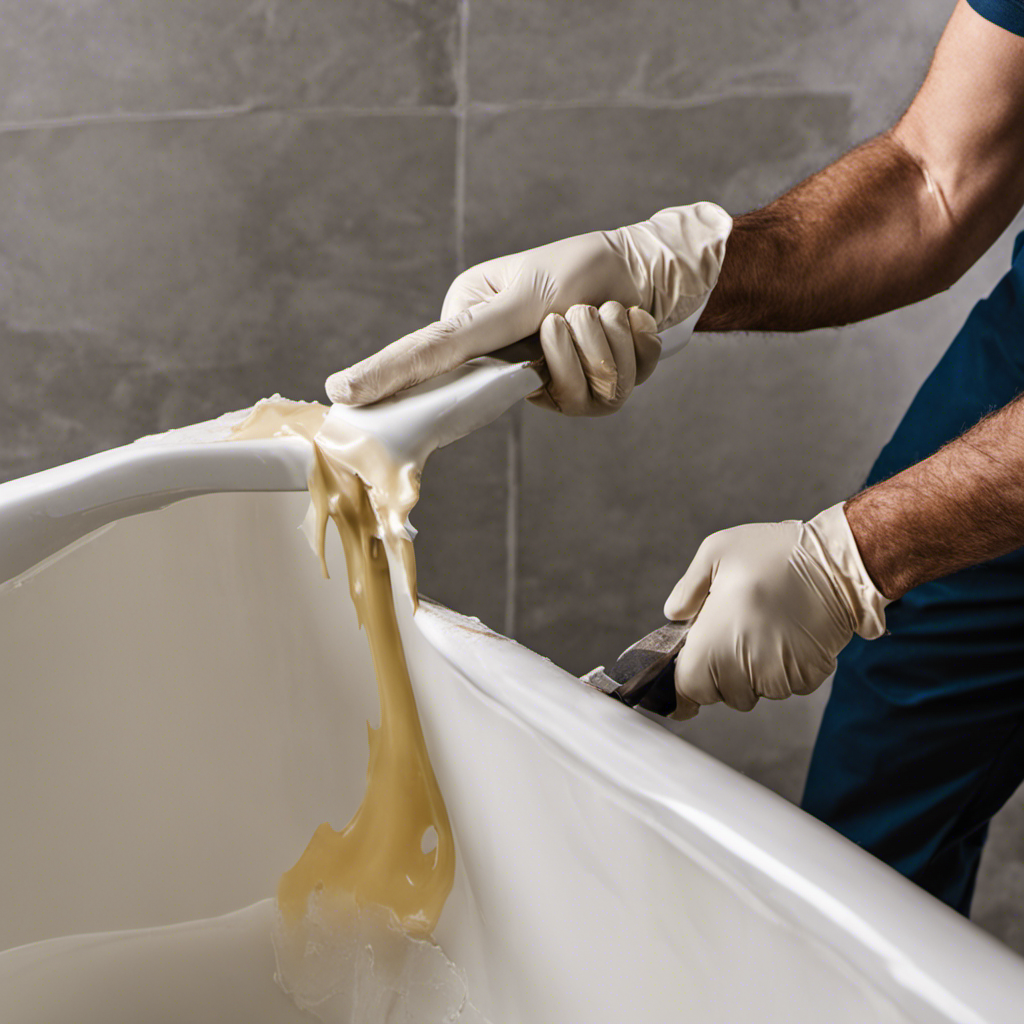
To detach the steel bathtub, start by removing the caulk around the edges. This will allow you to access the fixtures and properly loosen and remove them. Follow these steps to safely and effectively detach your bathtub:
-
Turn off the water supply: Locate the water shut-off valves and turn them clockwise to stop the water flow to the bathtub.
-
Disconnect the drain: Use a wrench to loosen and remove the drain pipe connected to the bathtub. Make sure to have a bucket or towel handy to catch any water that may spill out.
-
Remove the faucets and handles: Use a screwdriver or wrench to loosen and remove the fixtures connected to the bathtub. This may involve unscrewing or unbolting them from the wall.
Maneuvering and Removing the Bathtub
Once the caulk is removed, carefully maneuver and lift the bathtub to safely and efficiently complete the removal process. When it comes to maneuvering techniques, it’s important to take certain safety precautions to avoid injury and damage. Here are some key techniques and precautions to keep in mind:
| Technique | Precaution | |
|---|---|---|
| 1 | Assess the weight distribution | Ensure that the weight is evenly distributed before attempting to lift the bathtub. |
| 2 | Use proper lifting techniques | Bend your knees, keep your back straight, and lift with your legs to avoid straining your back. |
| 3 | Work with a partner | Having someone assist you will make the process easier and safer. Communicate effectively and coordinate your movements. |
Cleaning and Repairing the Bathroom Space
By properly assessing weight distribution and using proper lifting techniques, you can safely and efficiently maneuver and remove the bathtub.
When it comes to cleaning and repairing the bathroom space after removing the bathtub, there are several important steps to follow:
-
Gather the necessary cleaning supplies: To effectively clean the bathroom, you’ll need a variety of supplies such as disinfectants, bathroom cleaners, scrub brushes, sponges, and gloves. Having these items on hand will make the cleaning process much easier and more efficient.
-
Start with a thorough cleaning: Begin by removing any debris or loose dirt from the area. Then, apply the appropriate cleaner to the surfaces, ensuring to target areas that may have accumulated dirt, grime, or stains. Use a scrub brush or sponge to scrub away any stubborn dirt or stains.
-
Repair any damage: If there are any damaged or worn-out areas in the bathroom, such as cracked tiles or chipped paint, now is the time to repair them. Replace broken tiles, patch up holes, and touch up any damaged paint to restore the bathroom to its original condition.
Conclusion
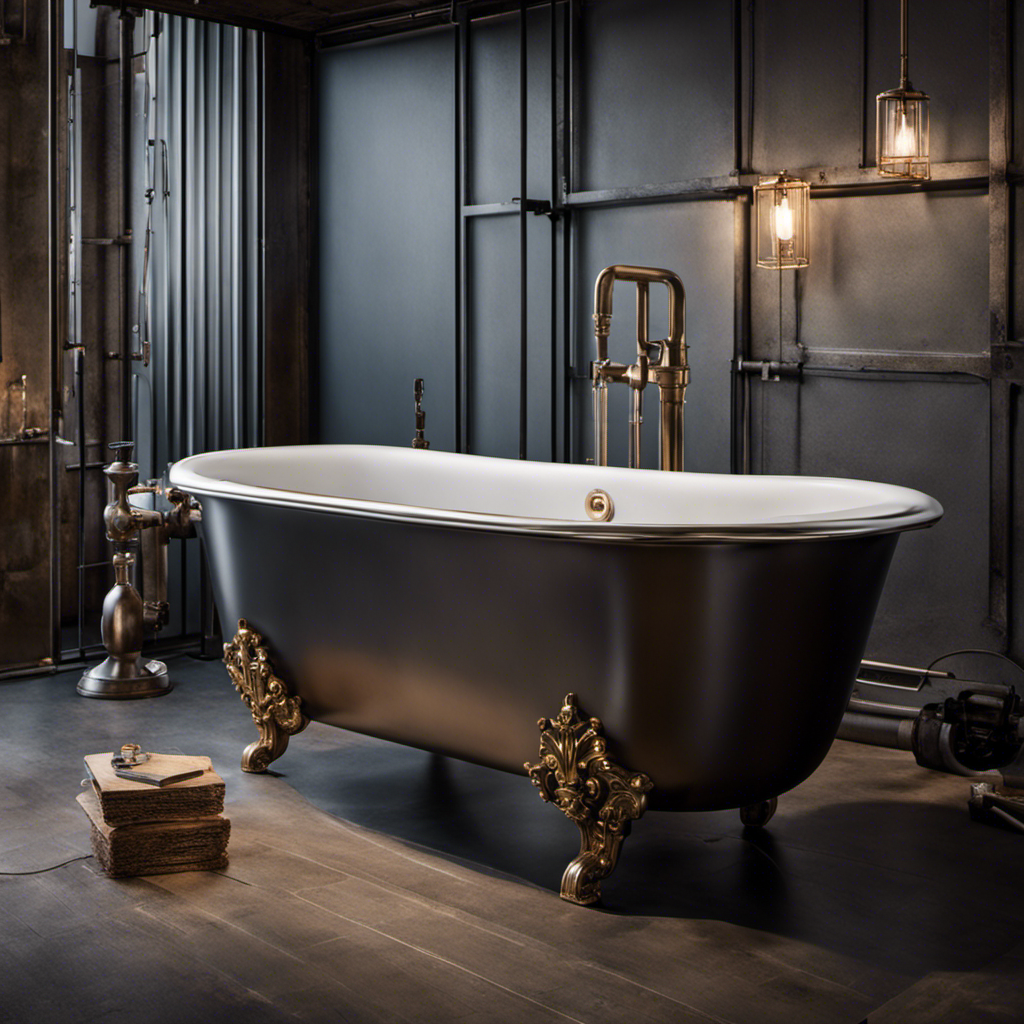
After successfully removing the steel bathtub, I stood back and admired the empty space it once occupied. The bathroom felt rejuvenated, like a blank canvas awaiting a new masterpiece.
With the tiles gleaming and the plumbing fixtures disconnected, the room seemed to breathe a sigh of relief. As I meticulously cleaned and repaired the bathroom space, I couldn’t help but imagine the endless possibilities for its transformation.
Whether it becomes a luxurious spa-like oasis or a modern minimalist retreat, this blank canvas holds the promise of a beautiful future.