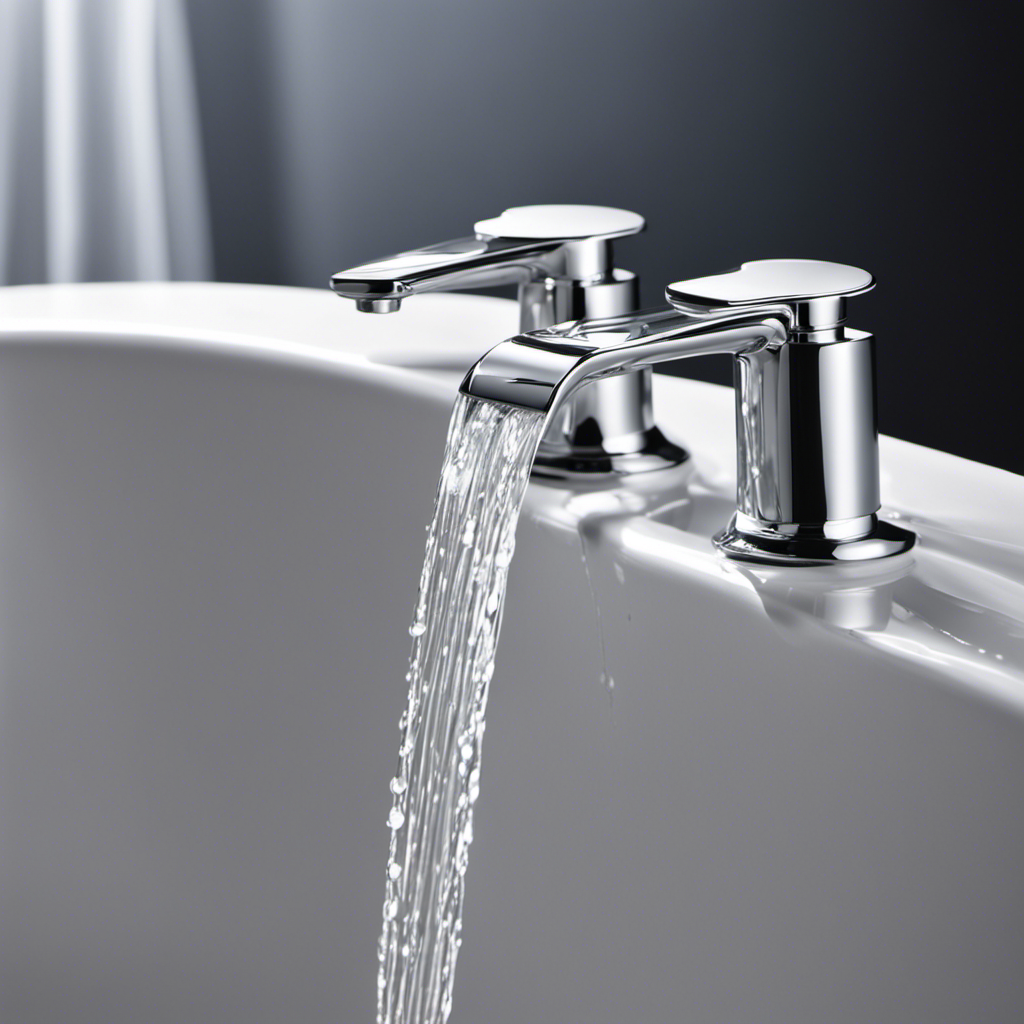

I’ve tackled my fair share of plumbing projects, but removing a toe touch bathtub drain stopper always seemed like a daunting task.
However, with a few simple steps, you can conquer this challenge and have your drain flowing smoothly in no time.
In this article, I’ll guide you through the process of:
- Identifying the type of stopper you have
- Preparing your bathtub for removal
- Removing the drain stopper itself
Get ready to say goodbye to clogged drains and hello to hassle-free showers!
Key Takeaways
- There are two types of toe touch drain stoppers: push-pull stoppers and lift-and-turn stoppers.
- Before removing the drain stopper, inspect and prepare the bathtub surface by cleaning it, filling any cracks, and applying sealant.
- To remove the toe touch drain stopper, unscrew the small screw on the side, pull the stopper straight up, and be careful not to lose the screw.
- Regularly clean and maintain the drain stopper to prevent clogs and ensure smooth water flow through the pipes.
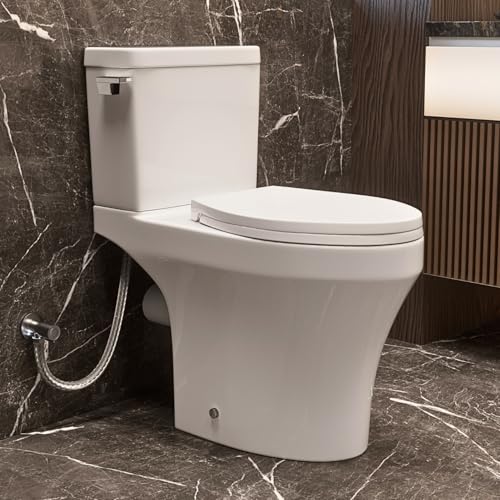
Rear Discharge Toilet with Powerful Rimless Flush, 18'' Comfort Height, Elongated Bowl, 1.28 GPF, Back Outlet Two Piece Toilet with Tank, P-Trap, Skirted Modern Design, Two Extension Pipes Included
Simple Rear Outlet Installation: This rear discharge toilet connects to wall-mounted plumbing, making it a great solution for...
As an affiliate, we earn on qualifying purchases.
Tools and Materials Needed
To remove a toe touch bathtub drain stopper, you’ll need a screwdriver, pliers, and a pair of gloves. Removing a stuck toe touch drain stopper can be a bit tricky, but with the right tools and techniques, it can be done easily.
One common issue with toe touch drain stoppers is that they can become stuck over time due to mineral buildup or rust. In such cases, you may need to apply some lubricant to loosen the stopper before attempting to remove it.
Another common issue is that the stopper may not lift properly when pressed down. This could be due to a broken linkage or a worn-out spring. In these cases, you may need to replace the entire drain stopper mechanism.

WinZo WZ5311 Rear Outlet Toilet One Piece Modern Design,Back Wall Discharge Right Side Dual Flush For Basement Bathroom,White
⭐ Rear outlet and back flush Design: The one piece toilet is with a Rear Outlet, which means...
As an affiliate, we earn on qualifying purchases.
Step 1: Identifying the Type of Toe Touch Drain Stopper
First, you’ll need to determine the specific type of drain stopper you have in your bathtub. This is crucial before installing a new drain stopper or troubleshooting common bathtub drain issues.
To help you identify the type of toe touch drain stopper you have, here are two sub-lists to guide you:
-
Push-Pull Stopper:
- This type of stopper is commonly found in older bathtubs.
- It is operated by pushing or pulling the stopper to open or close the drain.
-
Lift-and-Turn Stopper:
- This type of stopper is often found in modern bathtubs.
- It requires lifting the stopper and giving it a quarter turn to open or close the drain.

Skirted & Elongated Rear Outlet Toilet with 7" Rough-In, Two Types Extension Pipes Included, Powerful Tornado Flush Rear Discharge Toilet, P-Trap Back Flush Two-Piece Toilet, 17.6" Soft-Close Seat
Efficient Rear Outlet Design: Built with a 3" outlet diameter and 7" rough-in, this 17.6" rear outelet toilet...
As an affiliate, we earn on qualifying purchases.
Step 2: Preparing the Bathtub for Removal
Before starting, make sure you have all the necessary tools and materials for preparing the bathtub for removal. It’s important to properly prepare the surface to ensure a smooth and successful removal process. One of the key steps in preparing the bathtub is to seal any cracks or damages on the surface. This will prevent any further damage during the removal process and ensure a clean finish. To seal the cracks, you can use a bathtub repair kit that is easily available in most hardware stores. These kits usually include a filler compound and a sealant. Simply follow the instructions provided in the kit to fill and seal the cracks. Once the surface is prepared and cracks are sealed, you can proceed with the removal of the bathtub.
| Tools | Materials | Steps |
|---|---|---|
| Screwdriver | Bathtub repair kit | 1. Inspect the surface for any cracks or damages. |
| Adjustable wrench | Sandpaper | 2. Clean the surface thoroughly and remove any debris. |
| Putty knife | Filler compound | 3. Apply the filler compound to the cracks and smooth it out. |
| Silicone sealant | Paintbrush | 4. Allow the filler to dry completely. |
| Cleaning supplies | Safety goggles | 5. Apply the sealant over the filled cracks and let it cure. |

Swiss Madison Hugo H Power Flush Tankless Toilet 7" Back Outlet 1 GPF Non-Electric Toilet with Integrated Tank and Manual Bidet in Glossy White
Single Vortex Flush: 1 GPF
As an affiliate, we earn on qualifying purchases.
Step 3: Removing the Toe Touch Drain Stopper
Once you’ve completed the preparation steps, it’s time to take out the drain stopper in the bathtub. Removing a toe touch drain stopper is a relatively simple process that can be done in just a few steps. Here’s how to do it:
-
Locate the small screw on the side of the drain stopper and use a screwdriver to unscrew it counterclockwise. This will loosen the stopper and allow you to remove it.
-
Once the screw is removed, grasp the stopper firmly and pull it straight up to remove it from the drain.
- Be careful not to lose the screw as it is necessary for reassembling the drain stopper.
- If the stopper is stuck, you can use pliers to gently twist and release it.
Step 4: Cleaning and Maintaining the Drain System
To keep your drain system clean and functioning properly, it’s important to regularly clean and maintain it.
One key aspect of drain maintenance is taking care of your drain stopper. By keeping your drain stopper clean and in good condition, you can prevent clogs and ensure that water flows smoothly through your pipes.
To maintain your drain stopper, start by removing any hair or debris that may have accumulated on it. Use a brush or cloth to scrub away any grime or residue.
Additionally, consider using a drain cleaner or a mixture of baking soda and vinegar to clear any potential blockages.
Conclusion
In conclusion, removing a toe touch bathtub drain stopper is a relatively simple process that can be done with just a few tools and materials. By following the steps outlined in this article, you can effectively remove the stopper and ensure proper cleaning and maintenance of your drain system.
Did you know that approximately 47% of households in the United States have a bathtub? That’s a significant number, and knowing how to remove a drain stopper can help keep your bathtub in top condition.