So you’ve decided it’s time to finally bid farewell to that old, worn-out bathtub of yours. Well, my friend, you’ve come to the right place.
In this handy guide, I’ll take you through the step-by-step process of removing and replacing a bathtub. Trust me, with a little elbow grease and some know-how, you’ll have that sparkling new tub installed in no time.
So grab your tools and let’s get to work!
Key Takeaways
- Clear out all items from the bathroom before starting the bathtub removal and replacement process.
- Disconnect the water supply and plumbing connections before removing the old bathtub.
- Measure the available space in the bathroom and consider personal preferences when choosing the size, shape, and style of the new bathtub.
- Ensure all plumbing connections are properly sealed and check for common plumbing problems like leaks and drainage issues before finishing the installation.
bathtub removal tool kit
As an affiliate, we earn on qualifying purchases.
As an affiliate, we earn on qualifying purchases.
Preparing the Bathroom
Now, you’ll need to clear out any items from the bathroom before starting the bathtub removal process.
First, measure the dimensions of your bathtub to ensure the new one will fit properly. Use a tape measure to measure the length, width, and height of the tub. Note down these measurements for reference later.
Next, remove any fixtures attached to the bathtub, such as faucets, showerheads, and drains. Use a wrench or pliers to carefully disconnect these fixtures, making sure to turn off the water supply beforehand. It’s important to be cautious and gentle during this process to avoid damaging the fixtures or surrounding tiles.
Once the fixtures are removed, you can proceed to the next step in the bathtub removal process.

DANCO Bathtub and Shower 3-Handle Remodel/Rebuild Trim Kit for Gerber Faucets | Knob Handle | 11B-1H, 11B-1C, 11B-4D | Chrome (39617)
EASY UPGRADE – The classic chrome finish will update and complement your existing bathroom decor without any expensive…
As an affiliate, we earn on qualifying purchases.
As an affiliate, we earn on qualifying purchases.
Disconnecting and Removing the Old Bathtub
First, you’ll need to disconnect the old bathtub from the plumbing. This can be done by turning off the water supply and disconnecting the pipes using a wrench. Once the plumbing is disconnected, you can move on to removing the caulk around the edges of the bathtub. This can be done by using a utility knife or a caulk removal tool. Be sure to wear gloves and eye protection during this process.
After the caulk is removed, you can start removing the old bathtub. This can be a challenging task, so it’s important to have assistance if needed. Finally, when disposing of the old bathtub, check with your local waste management facility for proper disposal methods.
- It can be satisfying to disconnect the old bathtub and start fresh.
- Removing the caulk can be a tedious task, but it’s worth it for a clean removal.
- Seeing the old bathtub being lifted out can bring a sense of accomplishment.
- Properly disposing of the old bathtub ensures a responsible and eco-friendly process.
bathtub caulk removal tool
As an affiliate, we earn on qualifying purchases.
As an affiliate, we earn on qualifying purchases.
Installing the New Bathtub
To begin installing your new bathtub, make sure to carefully measure the space available in your bathroom. This step is crucial to ensure that the bathtub fits perfectly and allows for comfortable use.
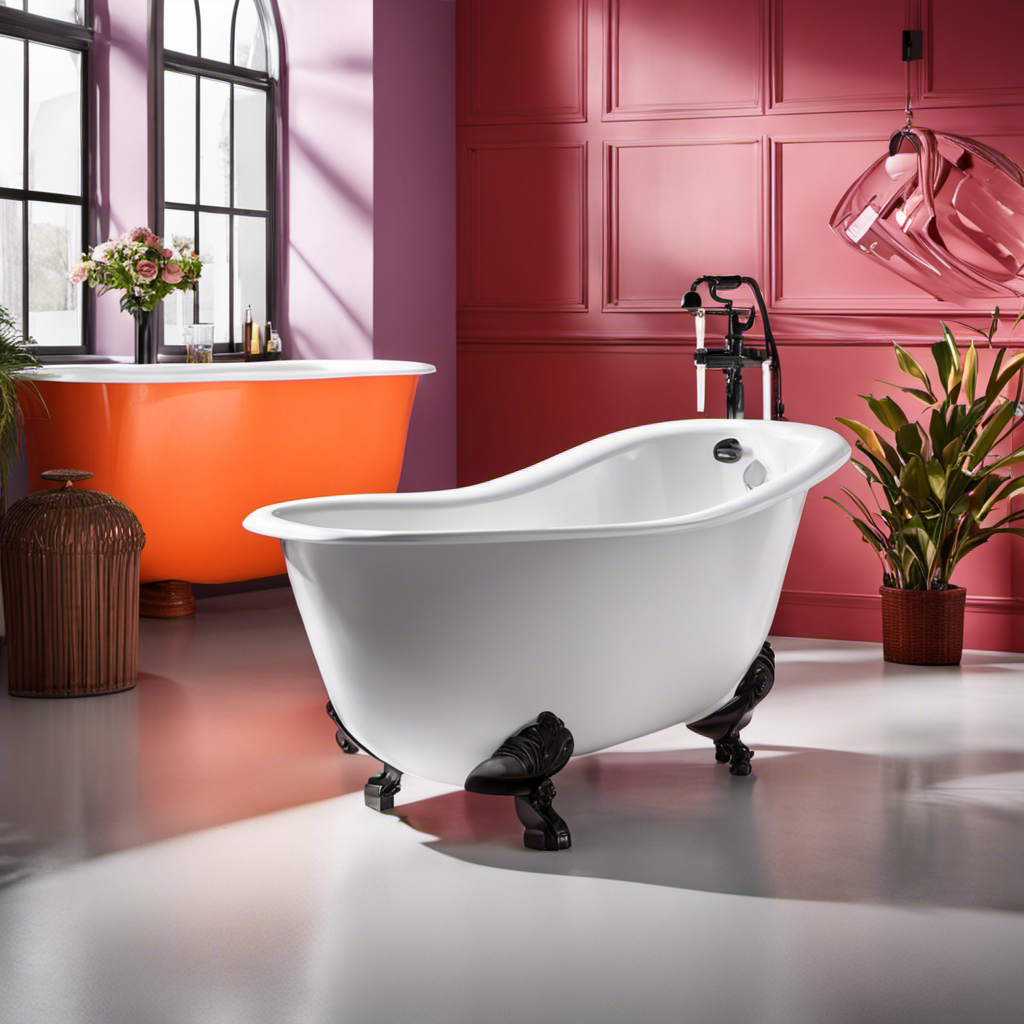
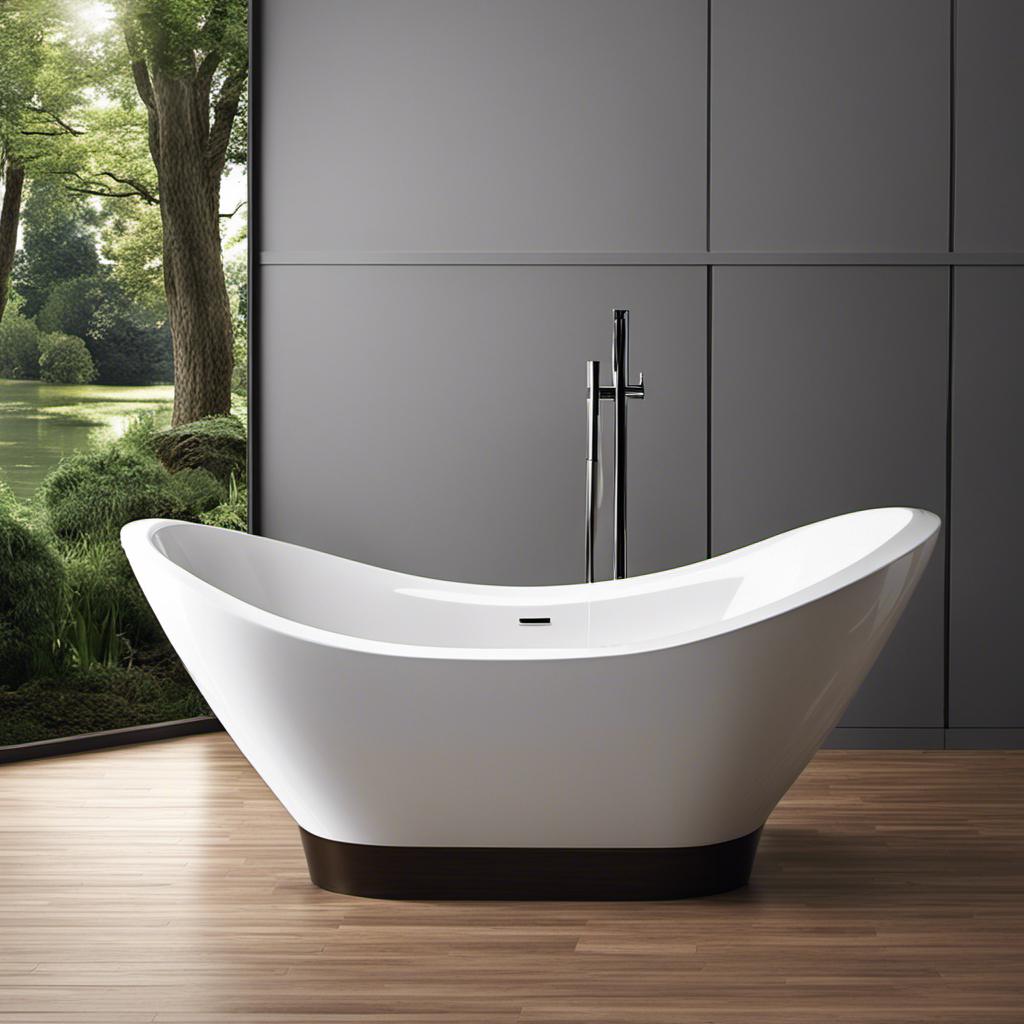
When choosing the right bathtub for your bathroom, there are a few factors to consider. First, think about the size and shape of your bathroom. A smaller bathroom may require a compact bathtub, while a larger bathroom can accommodate a freestanding or corner tub. Additionally, consider your personal preferences and needs. Do you prefer a deep soaking tub or a whirlpool tub for relaxation?
Once you have chosen the perfect bathtub, follow these installation tips: ensure proper plumbing connections, level the tub using shims if necessary, and seal all joints to prevent leaks.
bathtub plumbing repair parts
As an affiliate, we earn on qualifying purchases.
As an affiliate, we earn on qualifying purchases.
Connecting the Plumbing
After measuring the space available in your bathroom, it’s important to connect the plumbing for your new bathtub. This step is crucial in ensuring that your bathtub functions properly and provides you with a comfortable bathing experience.
Here are some important considerations when connecting the plumbing:
-
Common plumbing problems:
-
Leaks: Ensure that all connections are tight and properly sealed to prevent leaks.
-
Drainage issues: Make sure the drain pipe is clear of any obstructions to avoid clogging.
-
Water pressure: Check the water pressure to ensure a steady flow of water.
-
Choosing the right plumbing fixtures:
-
Faucets: Select a faucet that matches the style of your bathroom and meets your personal preferences.
-
Showerhead: Opt for a showerhead that offers different spray settings for a customized shower experience.
Finishing Touches and Clean-up
When completing the finishing touches and clean-up, don’t forget to wipe down the surrounding area to remove any dust or debris.
After installing the new bathtub and connecting the plumbing, it’s important to give the entire space a thorough cleaning. Start by polishing the bathtub to make it shine like new. Use a non-abrasive cleaner and a soft cloth to gently scrub away any residue or stains. Pay attention to the edges and corners, making sure to remove any grime or soap scum.
Once the bathtub is sparkling, it’s time to dispose of the old materials. Gather up any discarded pipes, fixtures, or caulking and place them in a sturdy trash bag. Make sure to properly seal the bag and dispose of it according to your local waste management guidelines.
With the finishing touches complete and the area cleaned up, you can now enjoy your newly replaced bathtub.
Conclusion
In conclusion, removing and replacing a bathtub may seem daunting, but with the right preparation and guidance, it can be a manageable DIY project.
By following the steps outlined in this article, you can successfully disconnect and remove the old bathtub. Then, you can install the new one, connect the plumbing, and add those finishing touches.
Remember, attention to detail and careful clean-up are crucial for a successful outcome. So, grab your tools, roll up your sleeves, and get ready to transform your bathroom with a brand new bathtub.